TEJASYOTA
Adventurer
Well today, 3/22/2009, I did some :saw: on my truck.
Last week, I purchased an ARB Snorkel kit for my 2001 Tacoma from Toyota of Dallas (TRD Parts4U.com). Thanks to Gerone Scott!
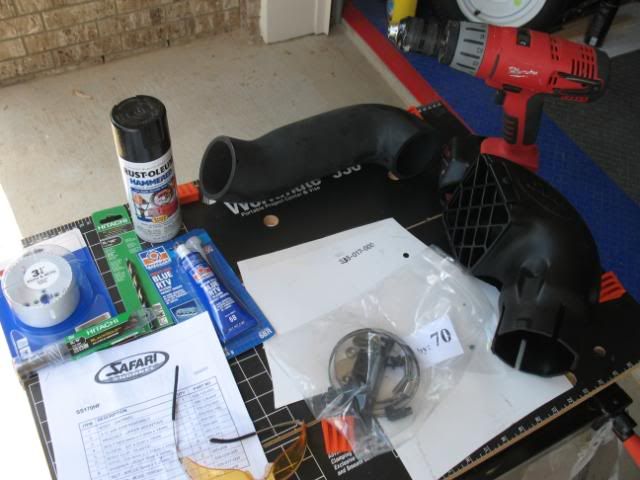
I visited the local Lowes to get a 3-1/4" (83mm) Hole saw, 5/8 (16mm) Drill bit and a 5/16" (8mm) drill bit.
Then off to Autozone for some RTV Sensor safe silicone (Permatex blue RTV silicon sealant, part number 80022).
First I read up on both Expeditions West install and Parks Off Road install.
Parks Offroad Snorkel Install - click here
Expeditions West Snorkel Install - click here
So instead of basically rewritting their most excellent instructions, I will give the highlights.
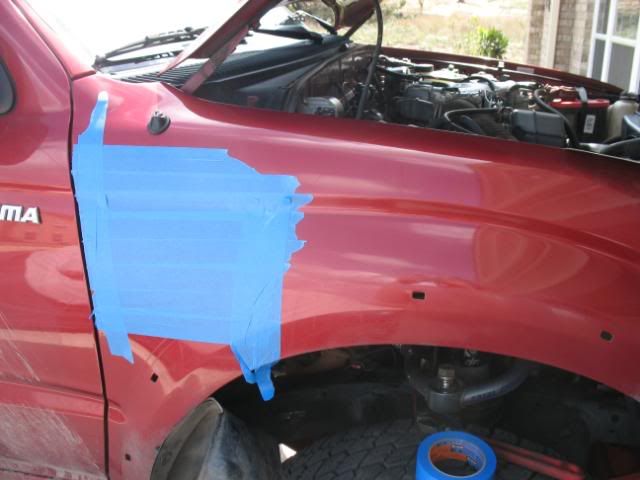
After the removal of the outter fender.
I taped the fender (to prevent the paint from chipping) and then laying out the pattern.
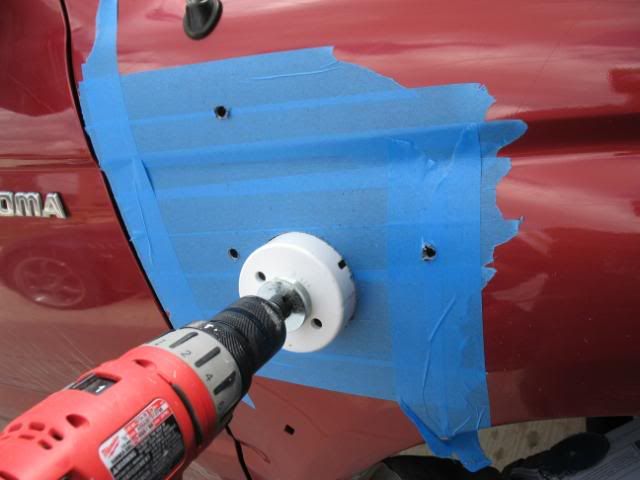
The drilling!
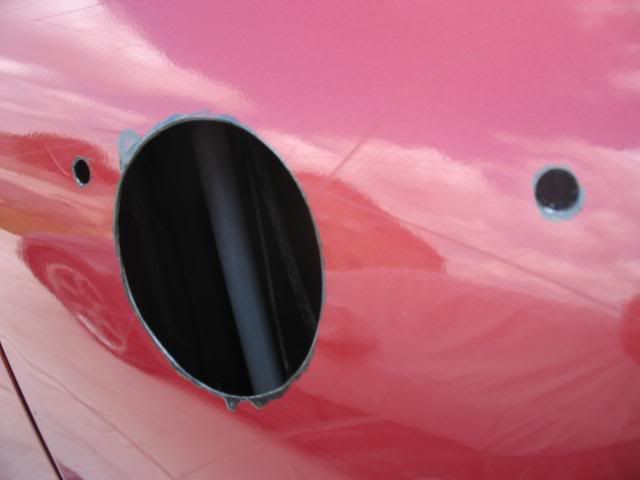
After using a chamfering drill bit, I deburred the inner and outer edges.

I then painted the edges with Rustolium Paint to prevent corrosion.
Drilled and installed the main Snorkel Intake - do not tighten down.
NOTE - DO NOT bolt down the upper A-pillar bracket.
TECH TIP to install the three studs with lock nuts and washers.
For the two closest to the wheel well was done LAST.
The one nearest the antenna was done first.
1) I did NOT mount the stud into the Snorkel.
2) Premounted the stud with the washer and lock nut together.
3) Reach inside and pre-thread the sub-assembly into the main Snorkel Intake's threaded bushing.
This made this task slightly easier.
You may need to rotate/pivot the main Snorkel Intake away from the body fender to gain enough room to get your hand up there.
Now tighten everything down.
Now remove the factory air box and hose.
Clean, clean, clean!
Reinstall the factory box and SILICONE the plastic to plastic connections.
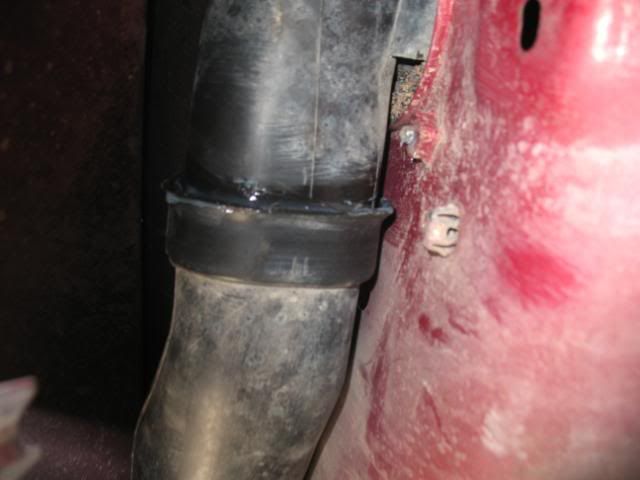
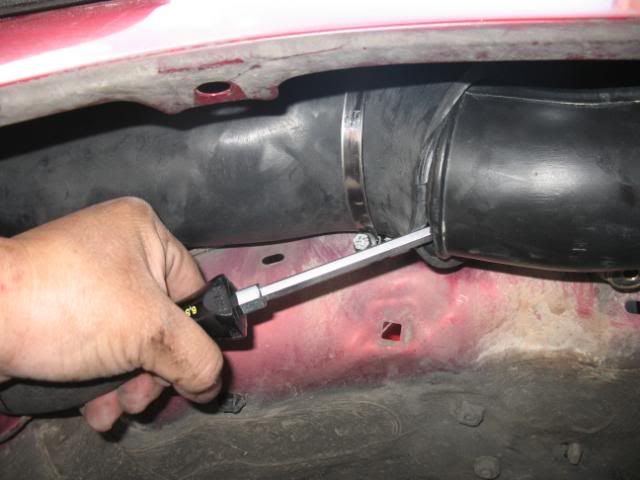
Joining the ARB Rubber Hose to the end of the Factory Hose.
Because of the close fit of the inner diameter to the outter diameter of the mating hoses, I used a screwdriver to help force the factory end into the ARB hose.
Going from left to right.
Factory Hose and ARB Hose - prior to being force together with my screwdriver.
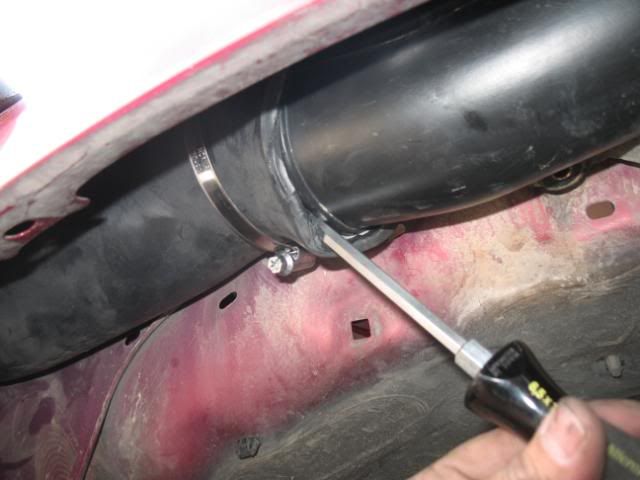
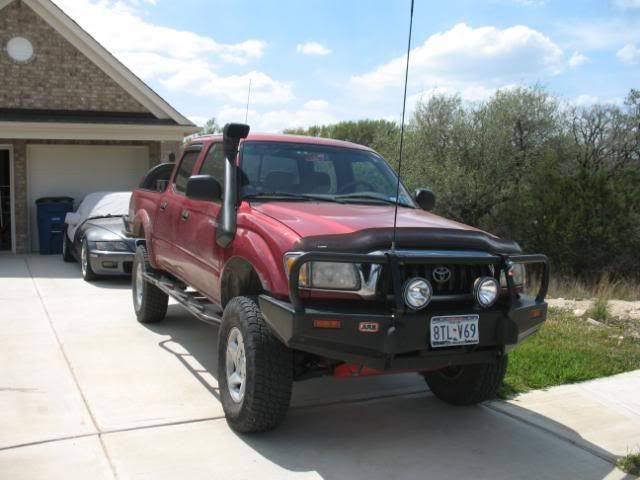
All together.
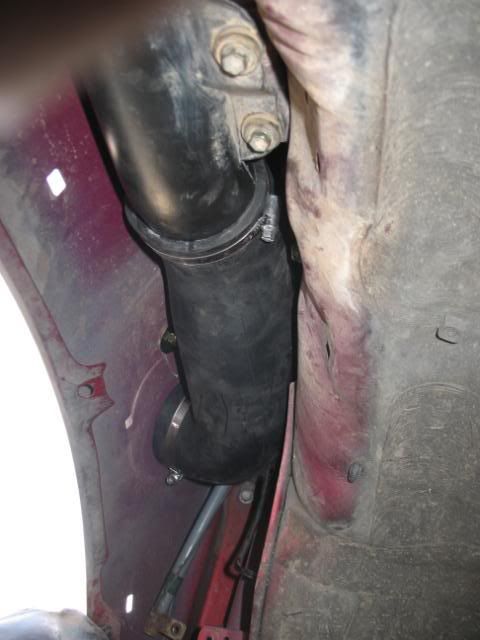
All Done!
One last note, PLAN on purchasing the FACTORY Plastic clips.
The black versions, I was able to reuse, but the ones that were for the fender (Red and Blue), most did not make the disassembly process.
Here are their part numbers.
Black square snaps: 90189-06013
Red snaps: 90904-67036
Blue snaps: 90904-67037
So I will be heading to the dealer to get extras later this week...the factory fender flare was not reinstalled - yet.
Last week, I purchased an ARB Snorkel kit for my 2001 Tacoma from Toyota of Dallas (TRD Parts4U.com). Thanks to Gerone Scott!
I visited the local Lowes to get a 3-1/4" (83mm) Hole saw, 5/8 (16mm) Drill bit and a 5/16" (8mm) drill bit.
Then off to Autozone for some RTV Sensor safe silicone (Permatex blue RTV silicon sealant, part number 80022).
First I read up on both Expeditions West install and Parks Off Road install.
Parks Offroad Snorkel Install - click here
Expeditions West Snorkel Install - click here
So instead of basically rewritting their most excellent instructions, I will give the highlights.
After the removal of the outter fender.
I taped the fender (to prevent the paint from chipping) and then laying out the pattern.
The drilling!
After using a chamfering drill bit, I deburred the inner and outer edges.
I then painted the edges with Rustolium Paint to prevent corrosion.
Drilled and installed the main Snorkel Intake - do not tighten down.
NOTE - DO NOT bolt down the upper A-pillar bracket.
TECH TIP to install the three studs with lock nuts and washers.
For the two closest to the wheel well was done LAST.
The one nearest the antenna was done first.
1) I did NOT mount the stud into the Snorkel.
2) Premounted the stud with the washer and lock nut together.
3) Reach inside and pre-thread the sub-assembly into the main Snorkel Intake's threaded bushing.
This made this task slightly easier.
You may need to rotate/pivot the main Snorkel Intake away from the body fender to gain enough room to get your hand up there.
Now tighten everything down.
Now remove the factory air box and hose.
Clean, clean, clean!
Reinstall the factory box and SILICONE the plastic to plastic connections.
Joining the ARB Rubber Hose to the end of the Factory Hose.
Because of the close fit of the inner diameter to the outter diameter of the mating hoses, I used a screwdriver to help force the factory end into the ARB hose.
Going from left to right.
Factory Hose and ARB Hose - prior to being force together with my screwdriver.
All together.
All Done!
One last note, PLAN on purchasing the FACTORY Plastic clips.
The black versions, I was able to reuse, but the ones that were for the fender (Red and Blue), most did not make the disassembly process.
Here are their part numbers.
Black square snaps: 90189-06013
Red snaps: 90904-67036
Blue snaps: 90904-67037
So I will be heading to the dealer to get extras later this week...the factory fender flare was not reinstalled - yet.
")

