Building this for my brother, so a bit of back story and some pictures. Probably not everyone's cup of tea, but some here like these sorts of things.
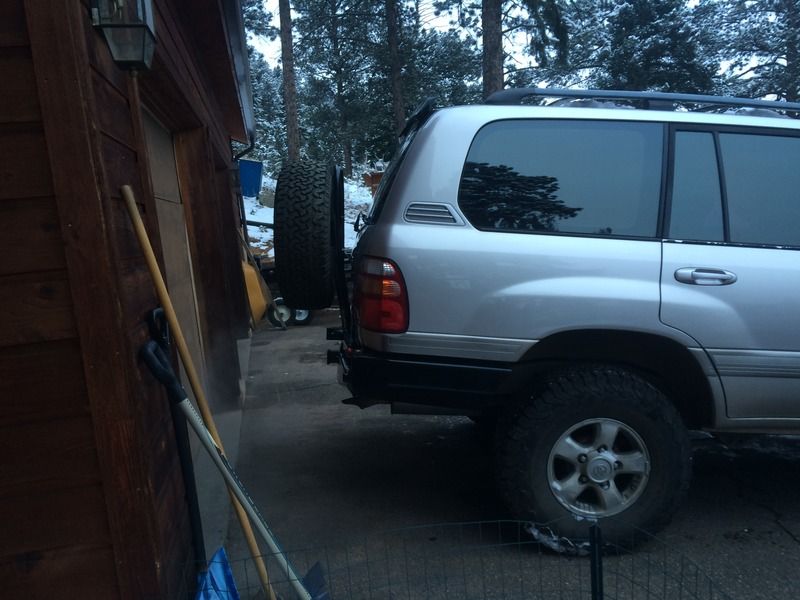
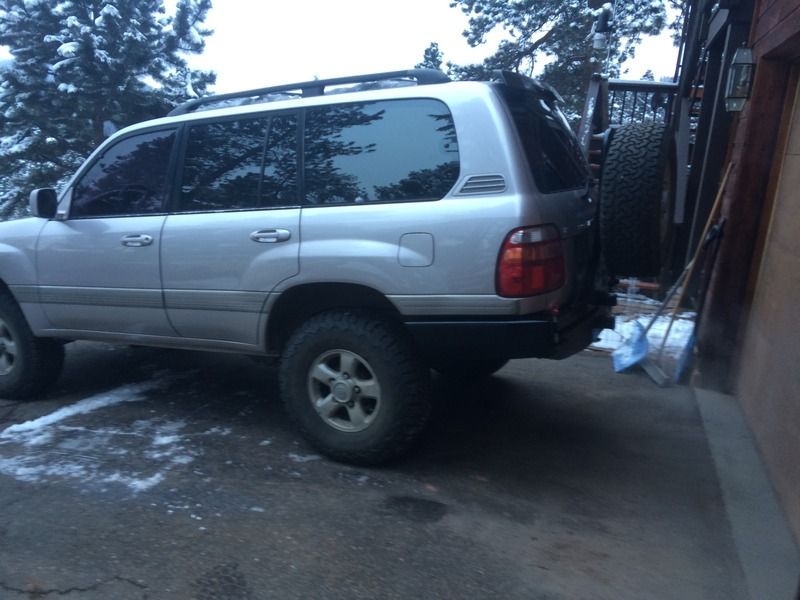
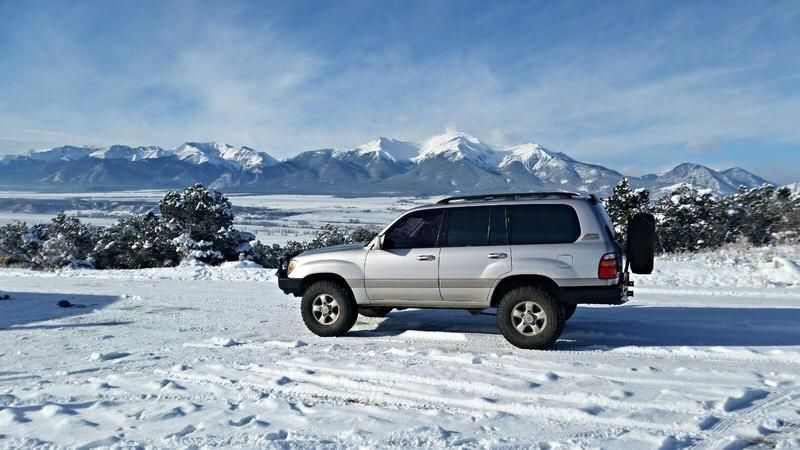
My brother bought a 1999 100 series Cruiser in "Champagne", with 200k on the clock. Truck was over all in pretty good shape, minus a few of the more annoying things, like the imobilizer and some slow windows, but we *think* we have the imobilizer figured out, and the windows are getting new track rubber and the regulators cleaned here soon.
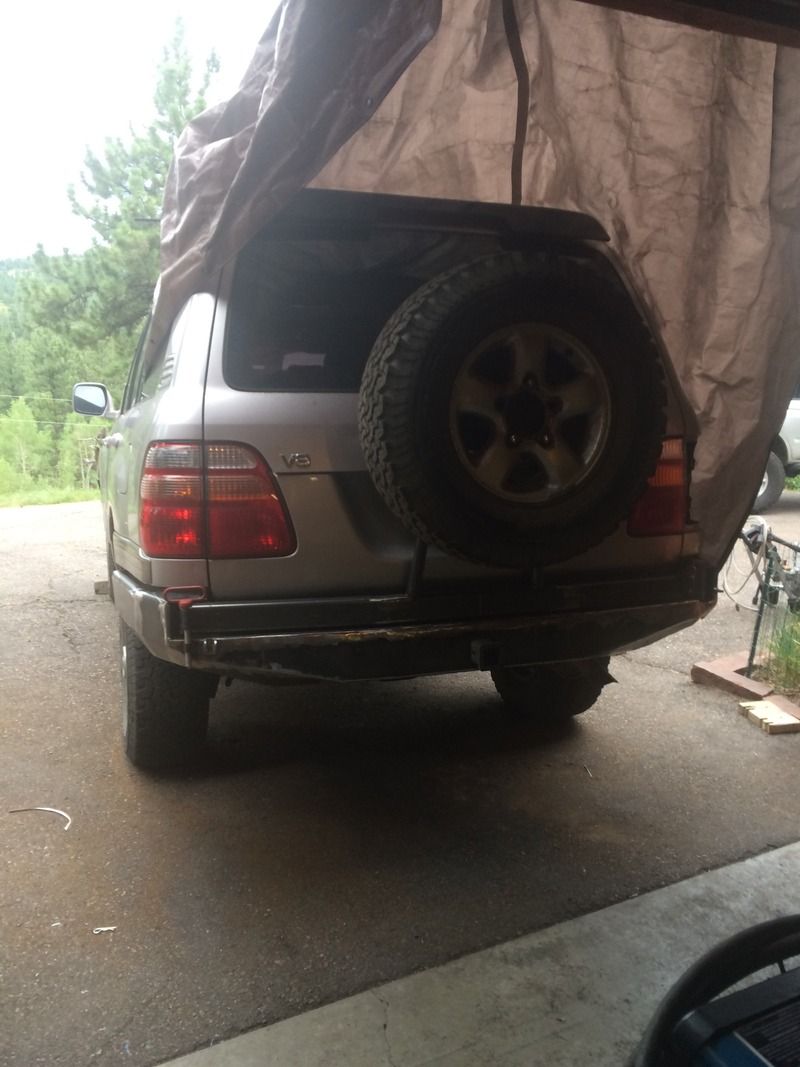
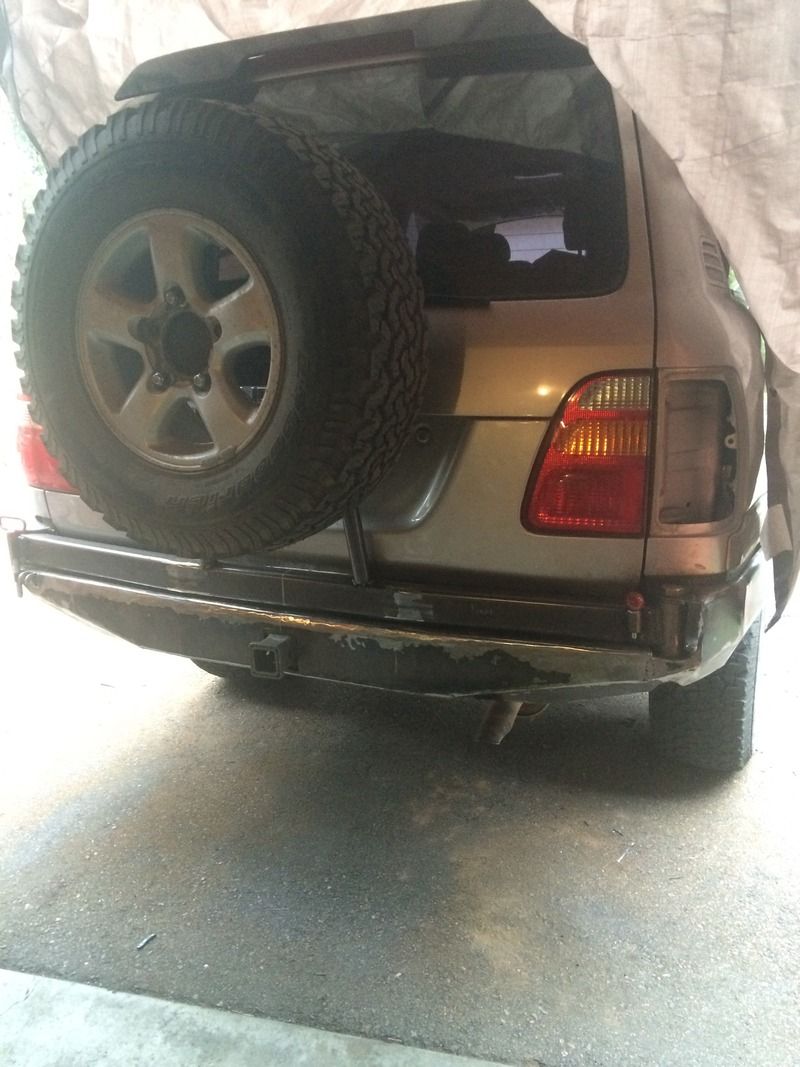
Anyway, my brother was married in Nepal a few years ago, and came back to the states last December. In March, his wife was able to finally come here on a "fiance" visa (the US State Department and Homeland Security do not recognize Nepali weddings), and they did a quick courthouse wedding to satisfy the state department per the terms of the visa. After that, they did a honeymoon in Utah, rock climbing, doing slot canyons, and some hiking up on ************** Benches via Black Dragon Canyon. Since he never has had a truck with a locker before, he was keen to try it out, and promptly did this:
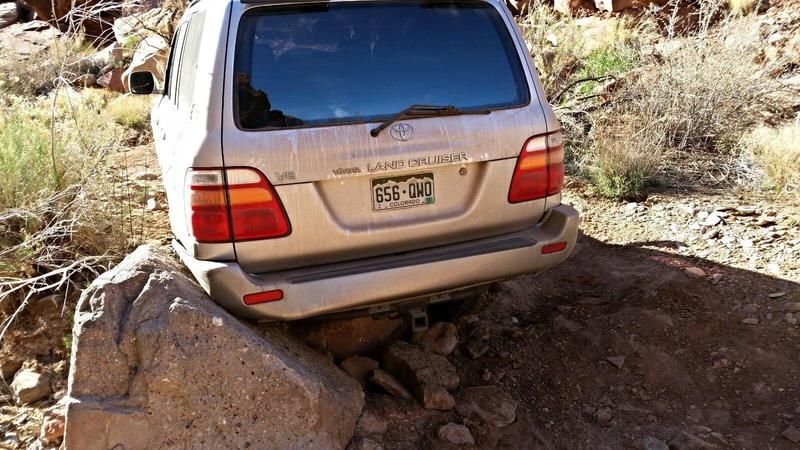
Broke the driver wing mounts and put a small bend in the lower corner of the tail gate. That was the motivation for the build.
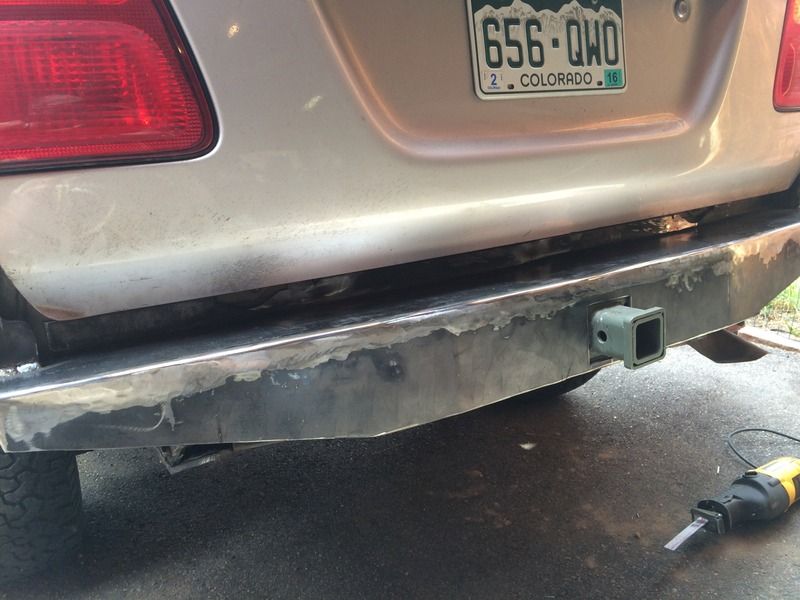
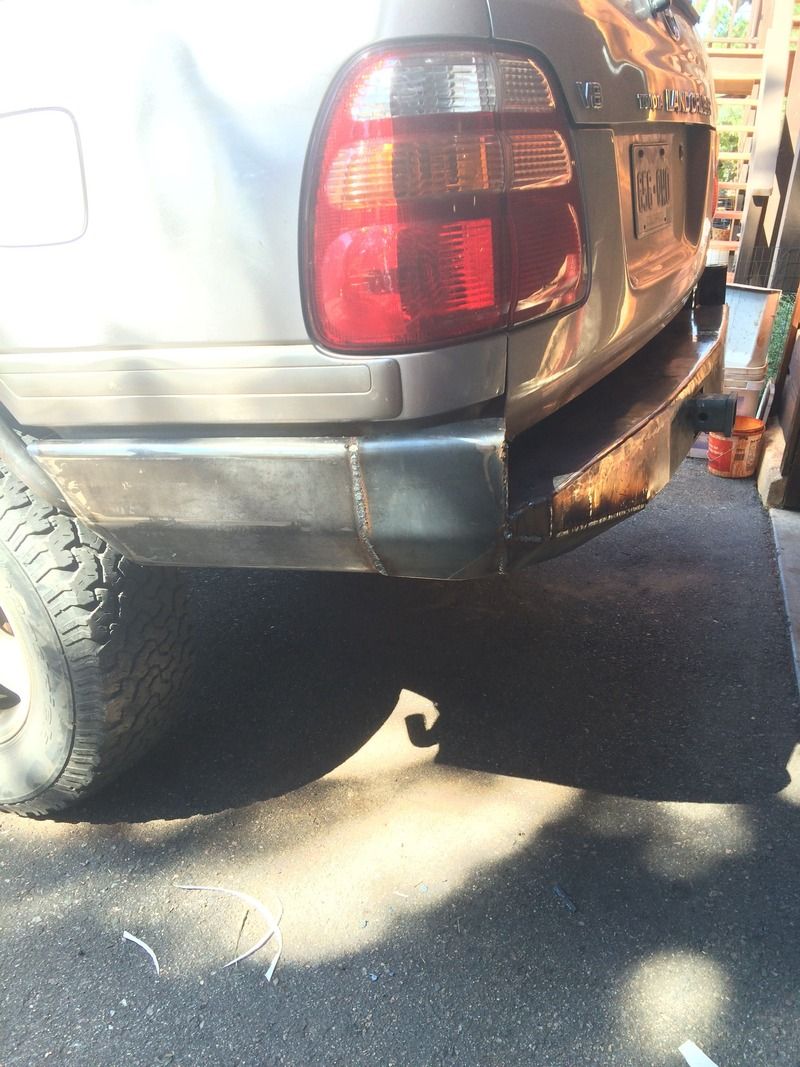
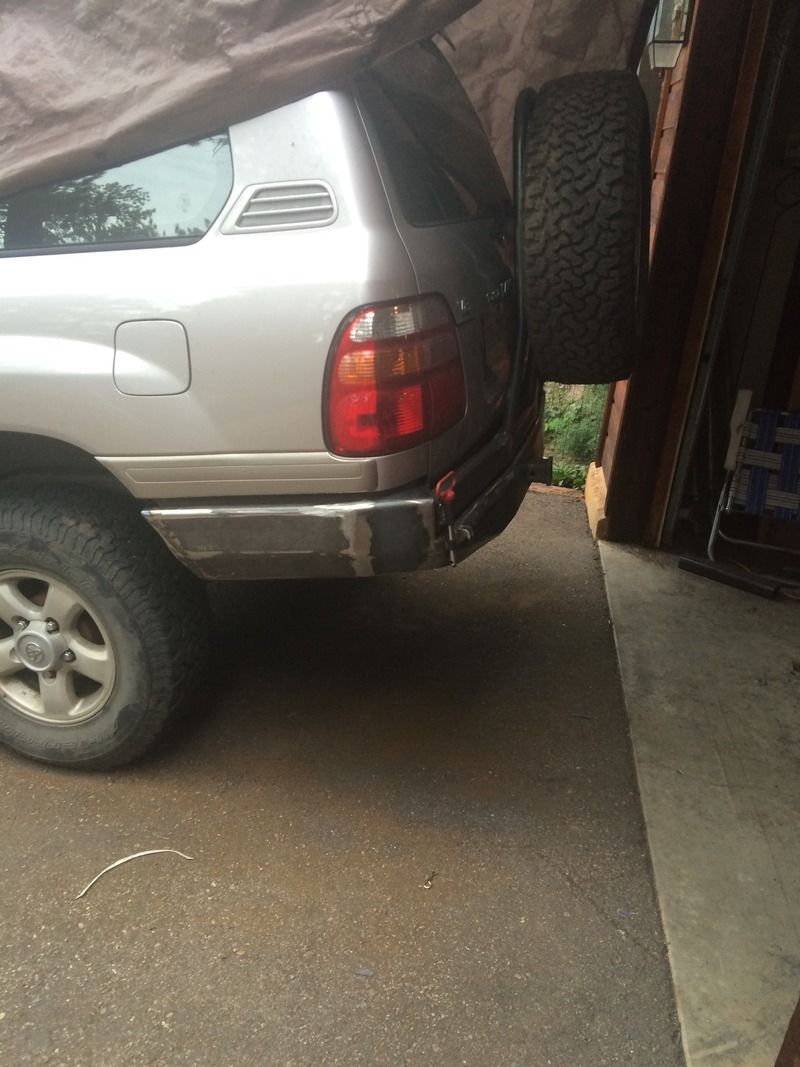
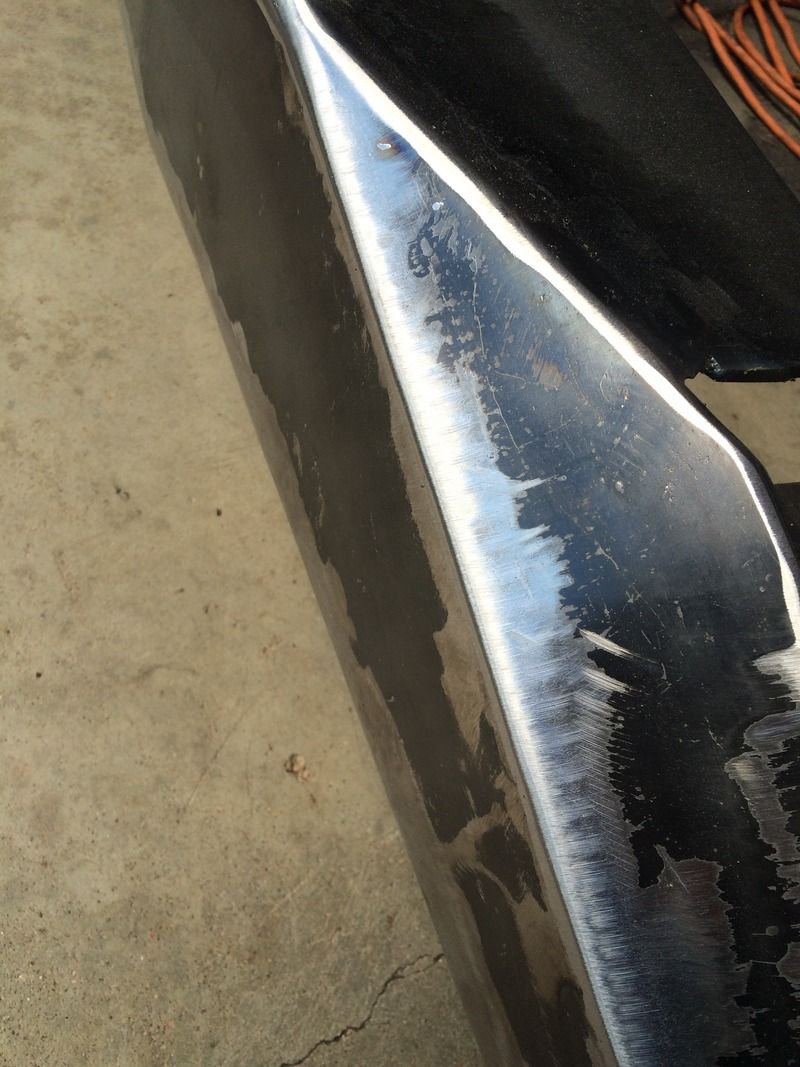
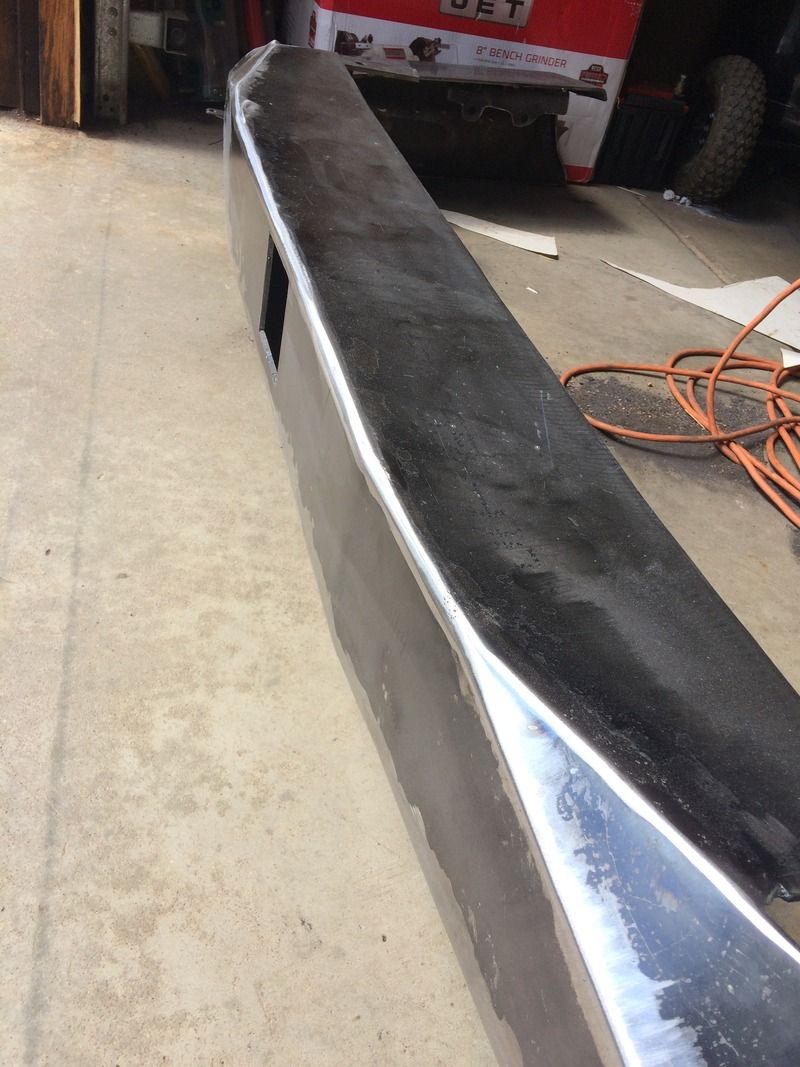
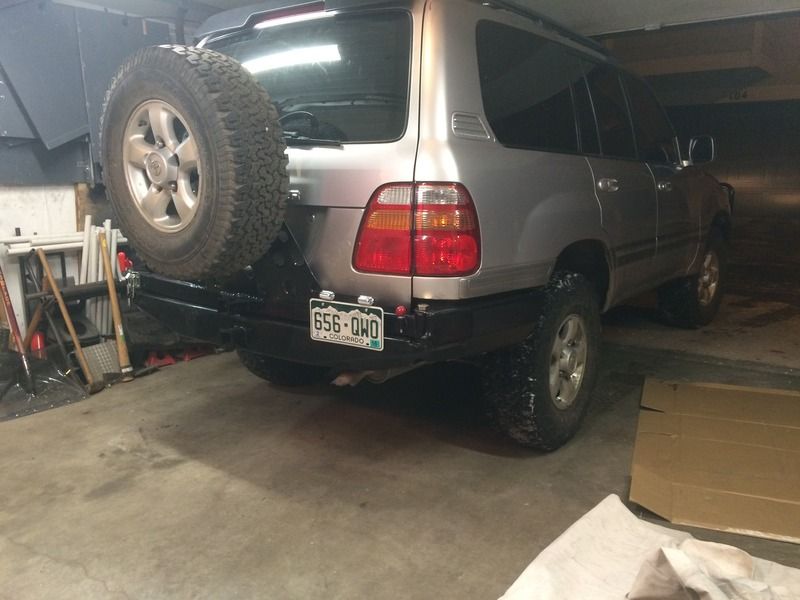
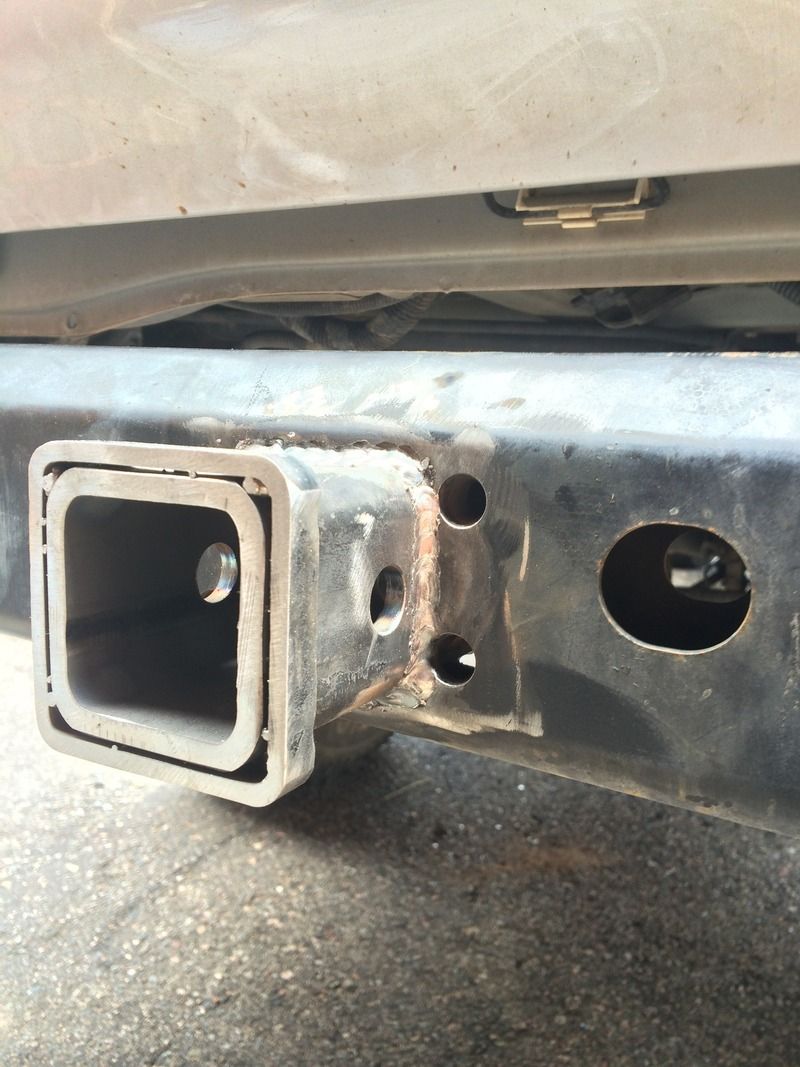
I've been very impressed with the cruiser frame thus far (always had mini-trucks). This rear crossmember is a very nice part of the truck. Its folded and bent 1/8", with some extra plate in the middle for a bolt on hitch of some type. Since the factory tow hitch hung down about 8 inches below this, and I didn't really want to cut it all out since it seems to be a pretty good structure, I simply added to it. The bumper bolts on, but the hitch really doesn't need to, and without removing the crossmember, or have the bumper stick WAAYY out from the back of the truck, I didn't see a good way to get the hitch up without going into the crossmember.
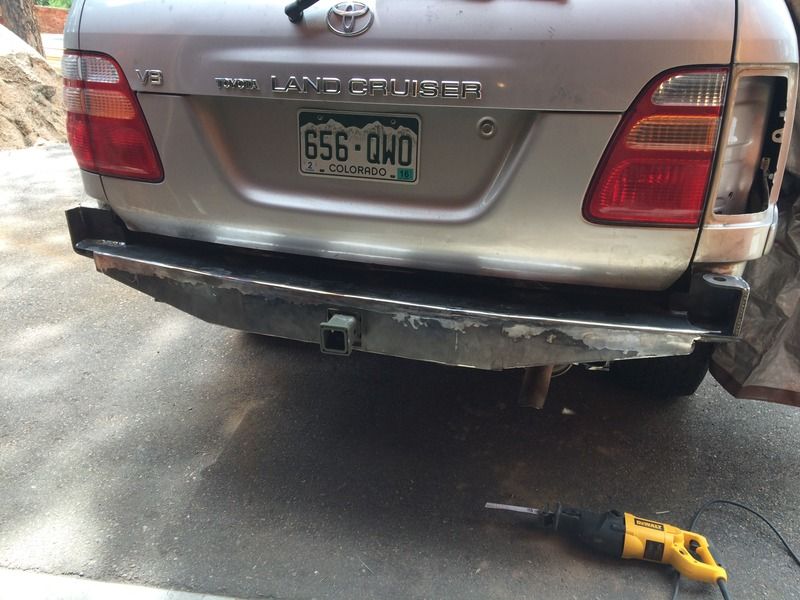
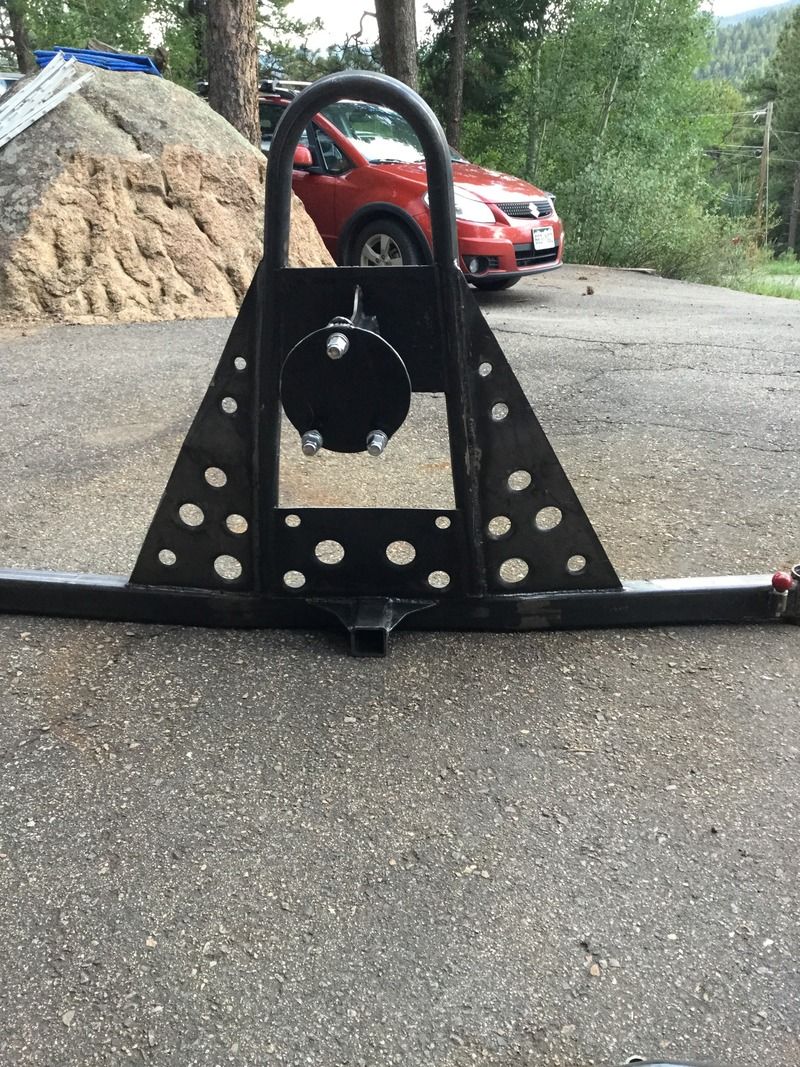
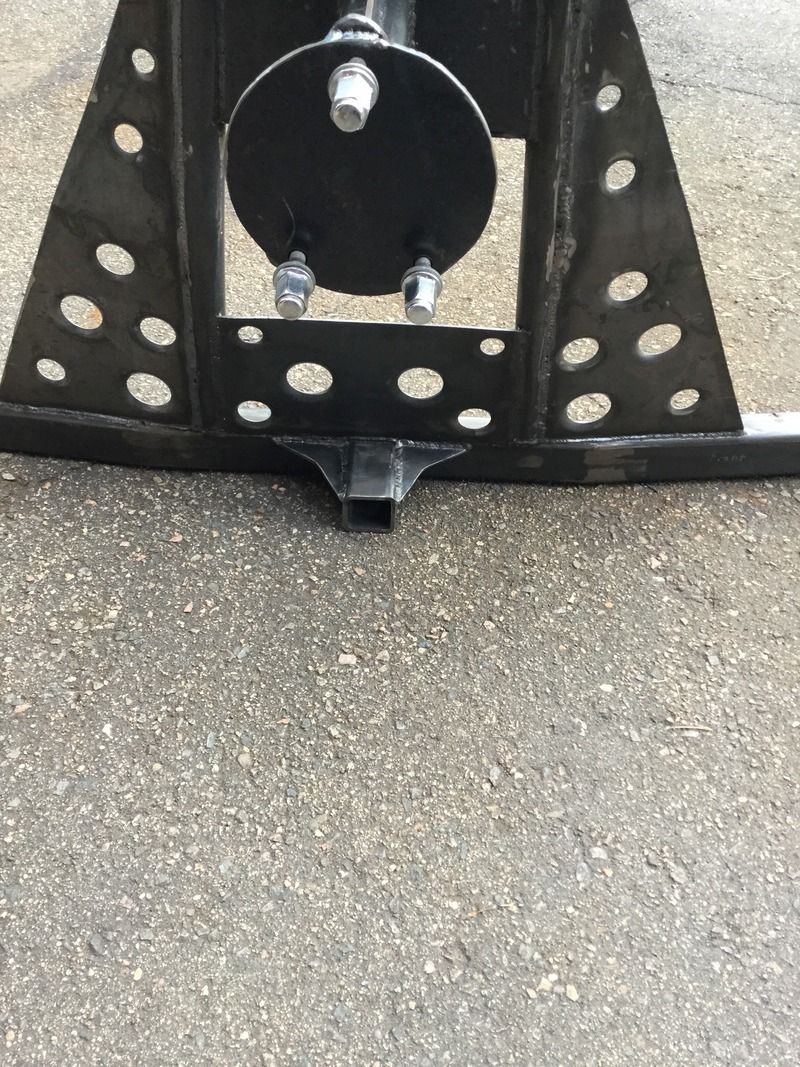
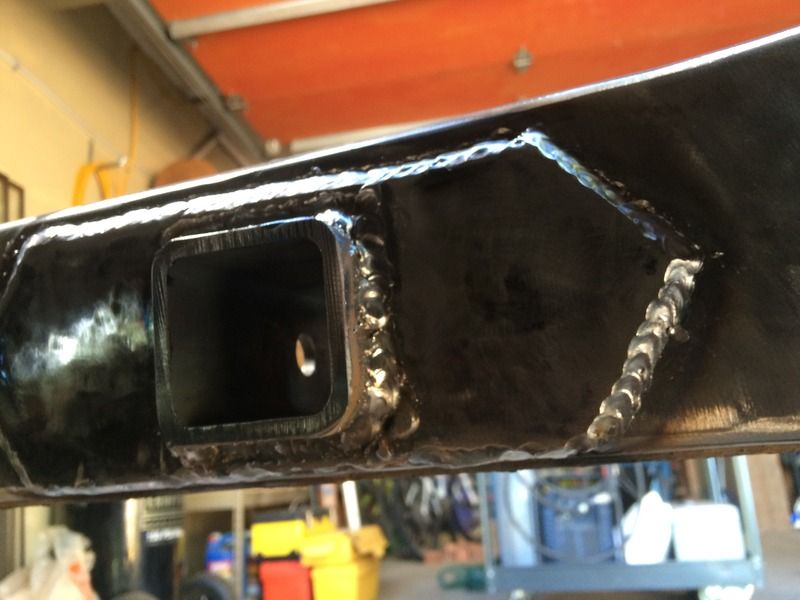
First, I sunk the hitch into the middle:
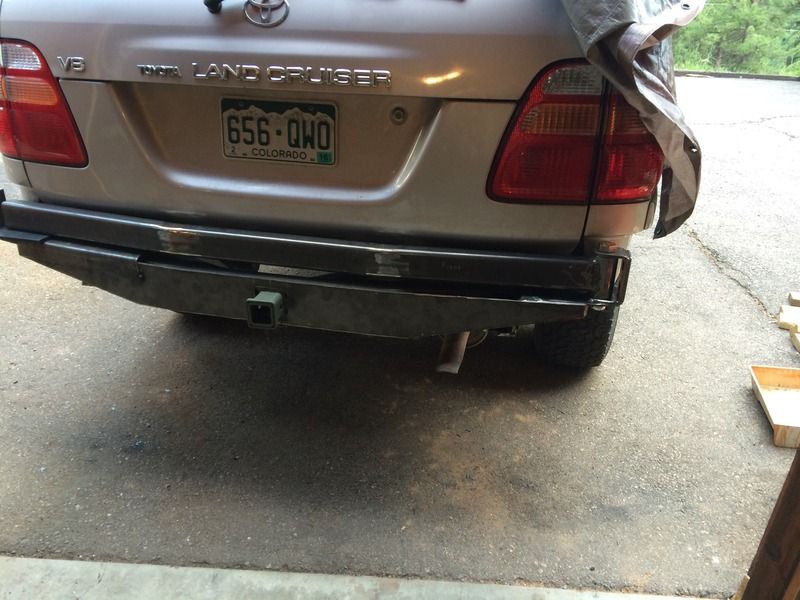
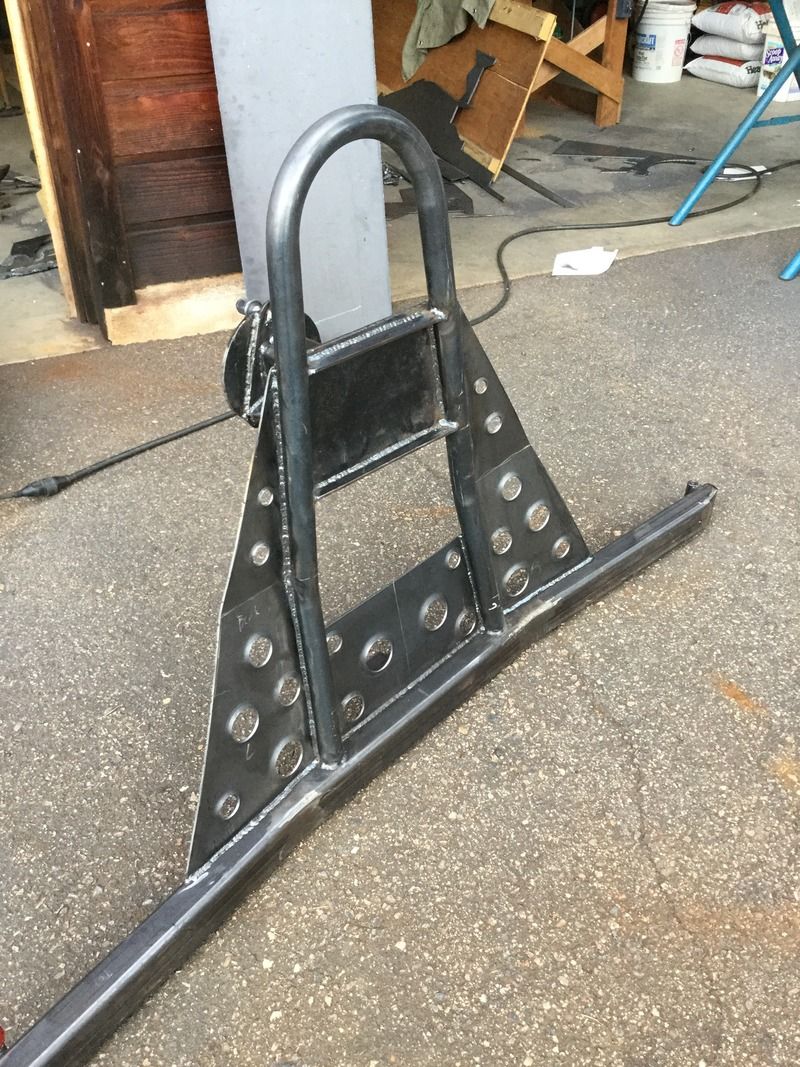
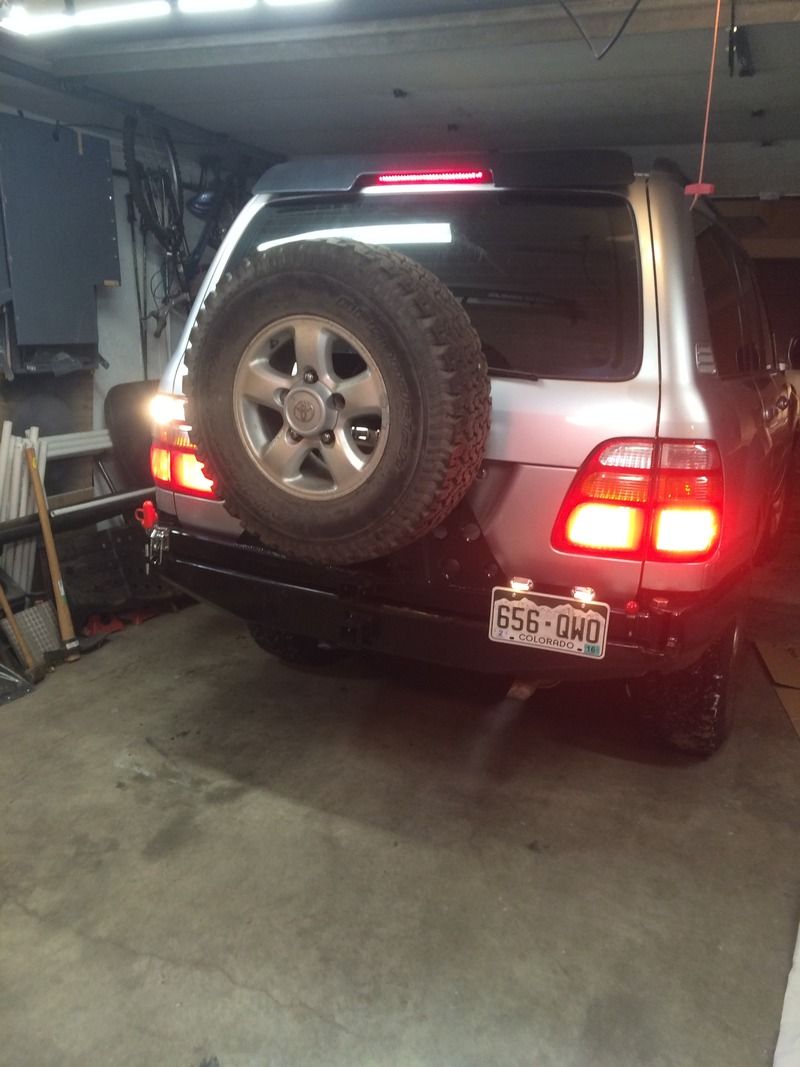
Then I got to reinforcing everything:
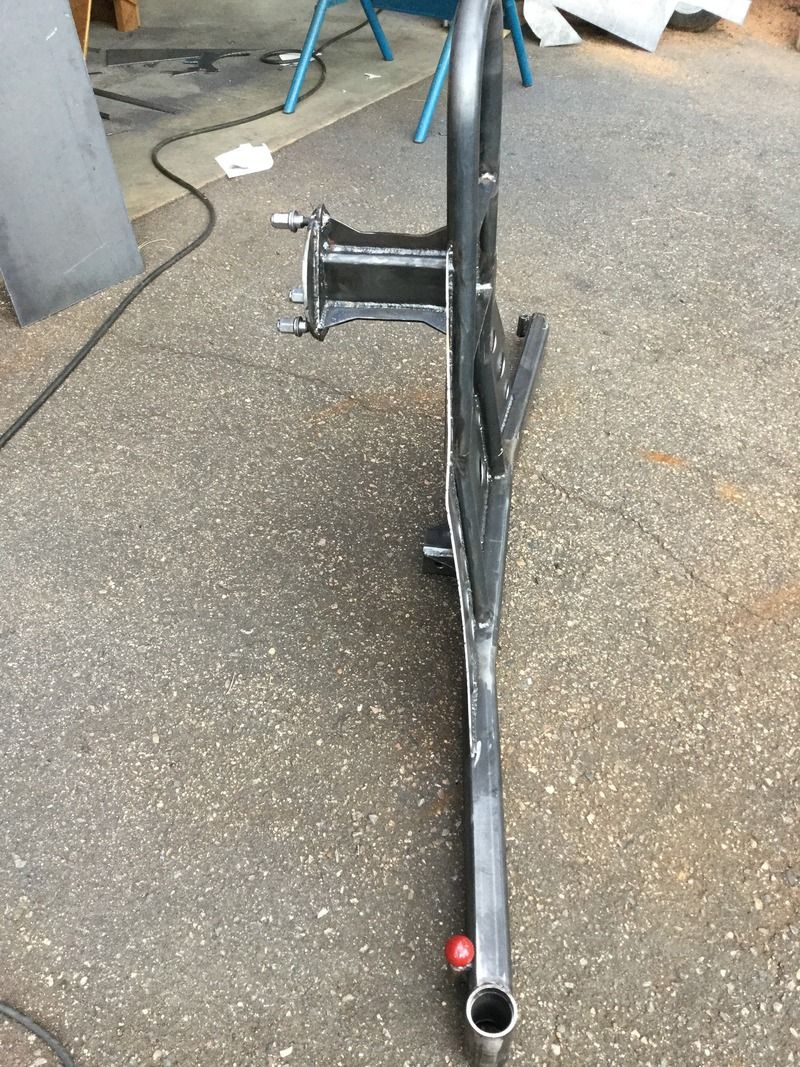
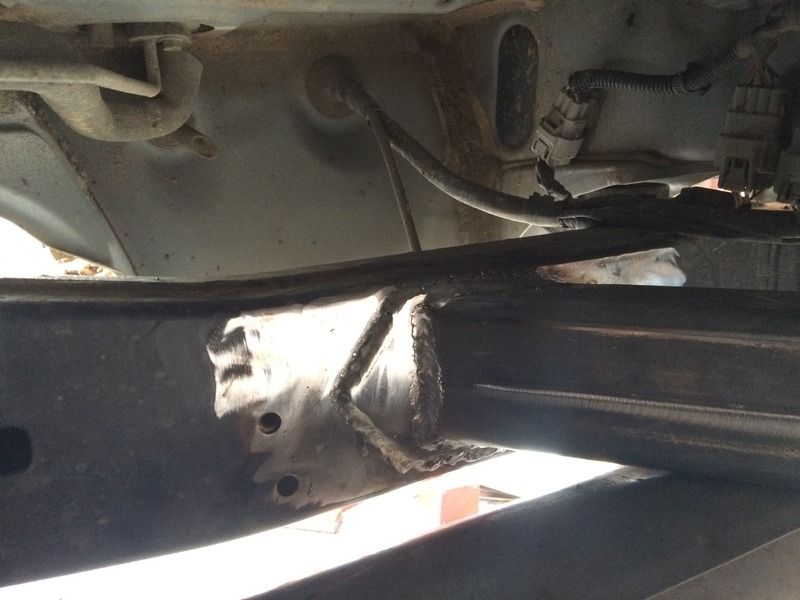
Plates on the inner frame:
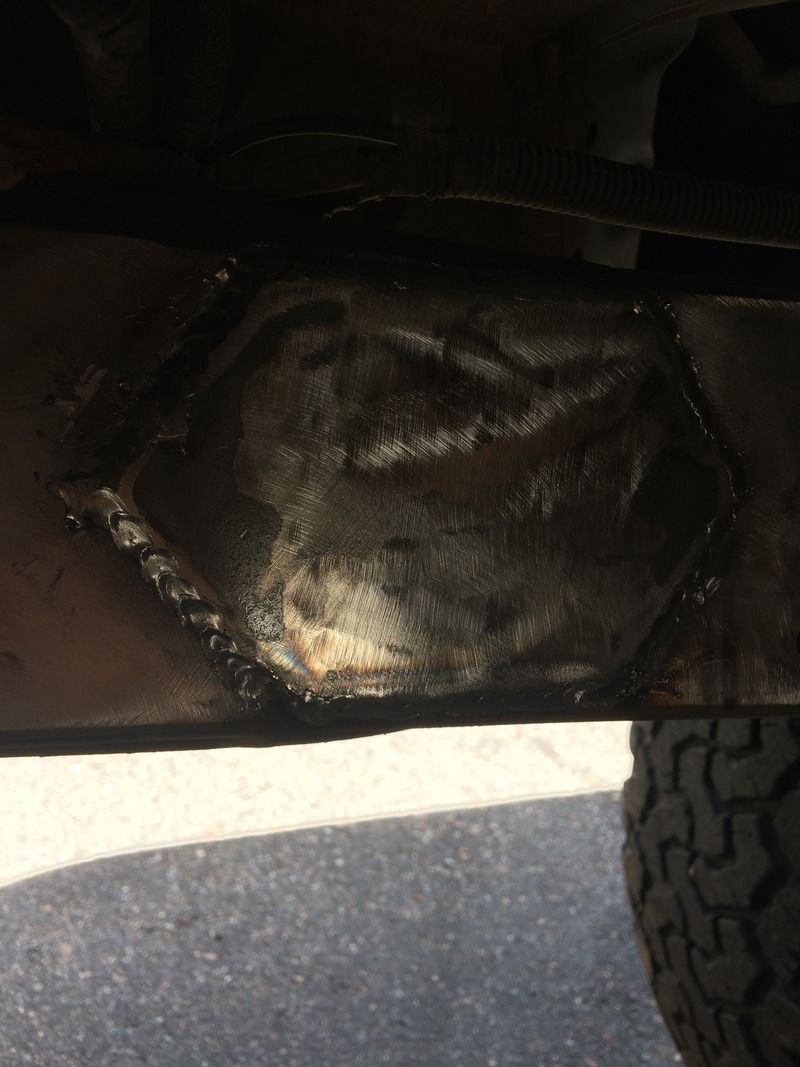
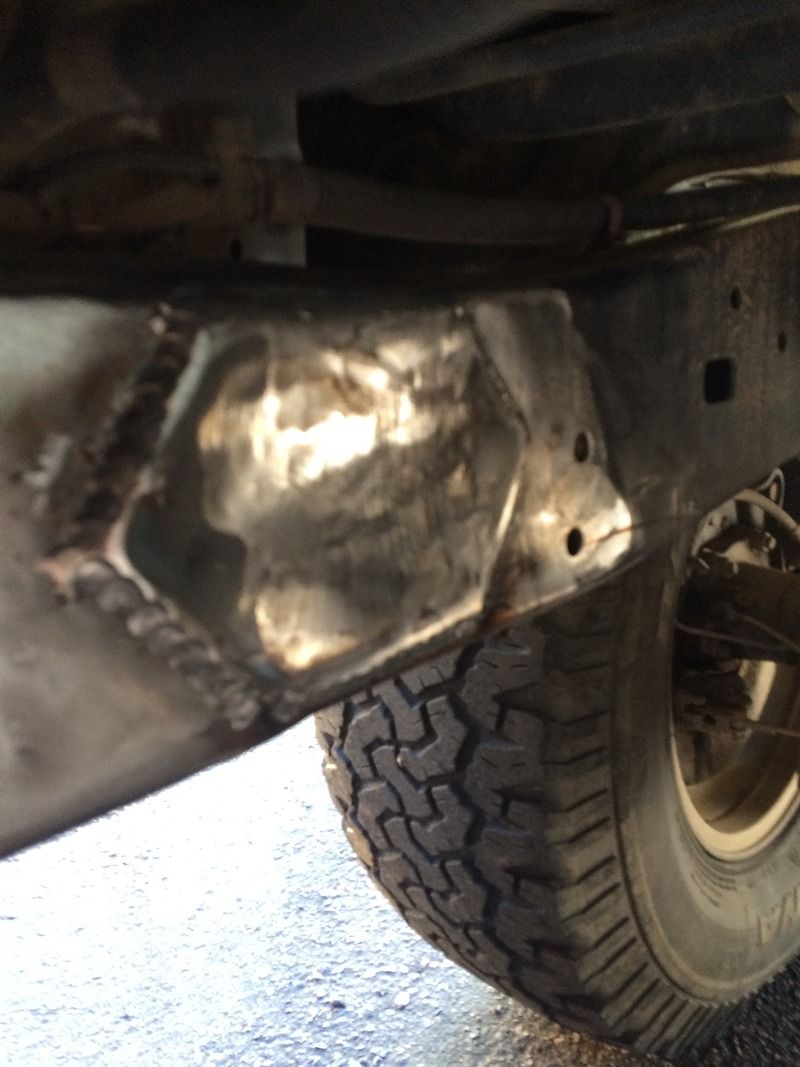
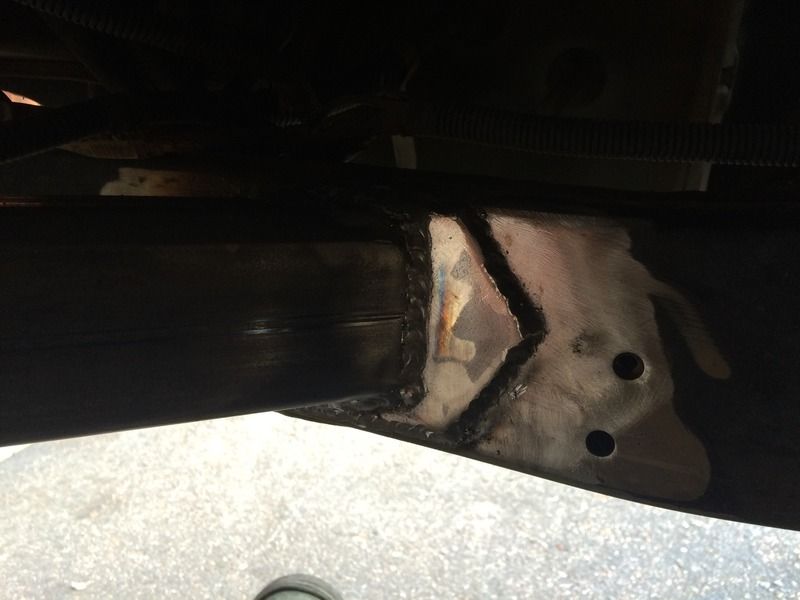
Plate behind the hitch:
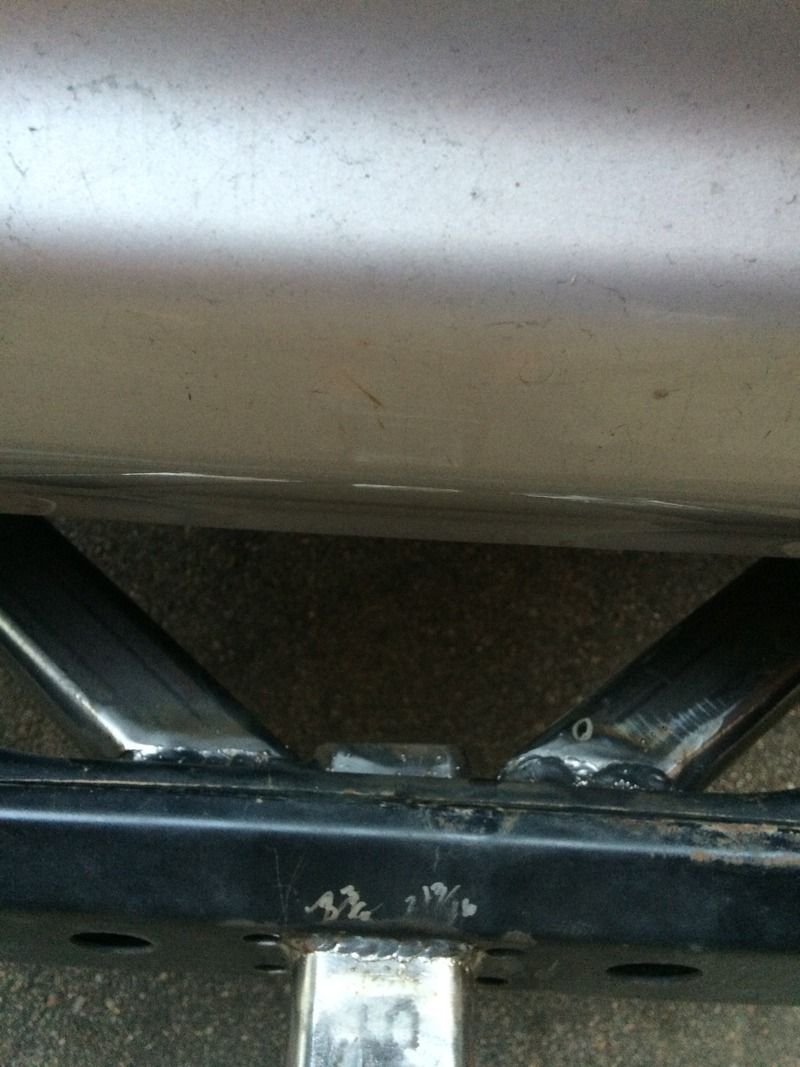
I then added 2x3x1/4" tube from the hitch plate to the frame diagonally, to help re-inforce the crossmember and handle the stress of the hitch. I may also plate the top of the crossmember as well, just to be safe. Not sure on that yet.

I am finally starting to get the hang of welding on my back under the truck. Its not stacking dimes yet, but its better than when I started trying this stuff. My travel speed and stickout length are still quite variable when working upside down. Well, if I'm honest, I sometimes have trouble on the bench as well, but I'm trying.
My brother bought a 1999 100 series Cruiser in "Champagne", with 200k on the clock. Truck was over all in pretty good shape, minus a few of the more annoying things, like the imobilizer and some slow windows, but we *think* we have the imobilizer figured out, and the windows are getting new track rubber and the regulators cleaned here soon.
Anyway, my brother was married in Nepal a few years ago, and came back to the states last December. In March, his wife was able to finally come here on a "fiance" visa (the US State Department and Homeland Security do not recognize Nepali weddings), and they did a quick courthouse wedding to satisfy the state department per the terms of the visa. After that, they did a honeymoon in Utah, rock climbing, doing slot canyons, and some hiking up on ************** Benches via Black Dragon Canyon. Since he never has had a truck with a locker before, he was keen to try it out, and promptly did this:
Broke the driver wing mounts and put a small bend in the lower corner of the tail gate. That was the motivation for the build.
I've been very impressed with the cruiser frame thus far (always had mini-trucks). This rear crossmember is a very nice part of the truck. Its folded and bent 1/8", with some extra plate in the middle for a bolt on hitch of some type. Since the factory tow hitch hung down about 8 inches below this, and I didn't really want to cut it all out since it seems to be a pretty good structure, I simply added to it. The bumper bolts on, but the hitch really doesn't need to, and without removing the crossmember, or have the bumper stick WAAYY out from the back of the truck, I didn't see a good way to get the hitch up without going into the crossmember.
First, I sunk the hitch into the middle:
Then I got to reinforcing everything:
Plates on the inner frame:
Plate behind the hitch:
I then added 2x3x1/4" tube from the hitch plate to the frame diagonally, to help re-inforce the crossmember and handle the stress of the hitch. I may also plate the top of the crossmember as well, just to be safe. Not sure on that yet.
I am finally starting to get the hang of welding on my back under the truck. Its not stacking dimes yet, but its better than when I started trying this stuff. My travel speed and stickout length are still quite variable when working upside down. Well, if I'm honest, I sometimes have trouble on the bench as well, but I'm trying.