You are using an out of date browser. It may not display this or other websites correctly.
You should upgrade or use an alternative browser.
You should upgrade or use an alternative browser.
1958 Unimog 404 with cabover flex
- Thread starter joeblack5
- Start date
joeblack5
Active member
Thank you, Yes they take life with less worries and more zen.
Rosie is a master for sure.
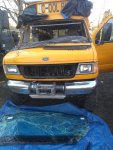
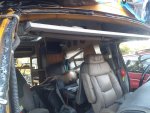
Today I pulled the shattered windshield.
The reason I was posting my small disaster was that I wondered how one of the super insulated glued boxes would have held up in this kind of accident..
The other thing is that these vehicles have sucked hundreds and hundreds of hours to make...that is if it is DIY. So they become like a pet...
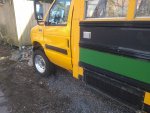
In case of accidents and damage it becomes very personal.. I am fortunate this seems to be salavagable... Yes with battle scars .. painfull, frustrating and costly .
Anybody else DIY had accidents and how do people deal with it or think about the risk while they did not have an accident? I have had many technical break downs but no real accident damage... I feel now that DIY might create to much emotional connection.. better buy ready and insure it.
Attachments
Last edited:
joeblack5
Active member
It has been a while.
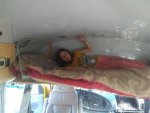
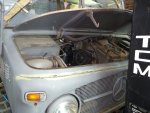
The bus is almost repaired. New windshield..bunk bed above driver reinstalled.. Reinforcements have been made to a A and B pillar. The old double bus doors have been changed to an insulated rv door.. emergency escape repaired.. 16" wheels replaced with 19.5 aluminum rims to easily carry the load.
Still working on a 15 k lbs hitch Integrated in the back bumper. That also is going to stiffen up the rear frame a bit.
That concludes this thread drift.
Johan
Attachments
joeblack5
Active member
Back to the original 404 conversion..
The studying about the swivel subframe how and what held me up a bit.
An original 404 pivoting subframe showed up in my neighborhood.. only problem was that it was attached to 404 without engine..What to do...I knew I wanted to convert the 404 to a diesel at some point so this one being without engine and with the right price made my dilemma easy.
So now although progress is made with the pivoting frame the project had expanded by adding a Volkswagen TDI conversion to it.
Johan
toylandcruiser
Expedition Leader
If there's room in there, a Cummins 6Bt and ZF5-42 would work well. I designed a conversion plate to mate the ZF5-42 to a Land Rover LT230 full time 4x4 transfercase (which was then copied and marketed by a Reece Myers in the UK), which i fitted into my Land Rover 101. It was a perfect engine, with good road manners, plenty of power and sensible speed. By making the plate, I was able to keep the transfer case close as the wheelbase of the 101 was short (101")!
I’d be learry of putting that combo in there. The 404 doesn’t have engine mounts. The weight of the engine is on the tranny housing.
joeblack5
Active member
Hi toylc, yes the engine mount is completely on the front in the 404. With 6 cyl gasser there are extra straps on the 404 bell housing that help to prevent sagging of the engine / bellhousing / transmission combo.
I am mounting the tdi up front, making the bell housing even longer. The tdi is lighter and shorter. With that weight closer to the front motor mount that should result in less stress on the bell housing / bolts part..all theory so far..
Are your concerns the original bell housing of the 404 or do you feel that the original construction of the 404 is marginal?
Johan
joeblack5
Active member
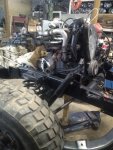
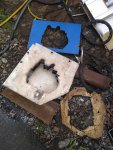
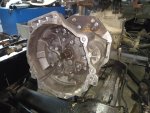
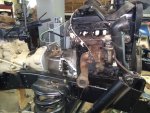
This engine part goes slow. Here is the first attempt with a plywood mockup adapter plate. The second with the cab back on. The goal was no modification to the cab. This proved possible. Thus on with an aluminum adapter plate.
The next step is aligning everything and making an extension for the 404 transmission shaft.
The next step is aligning everything and making an extension for the 404 transmission shaft.
Attachments
joeblack5
Active member
Thanks krick3tt, We always camped with a 4*4 econoline van, later I build a 4*4 small bus. This unimog build is just fun to do.. these larger vehicles are to heavy and expensive to expose them to real of road expedition travel, unless you have money like from a company or government research department and it becomes just a write off.
joeblack5
Active member
Well the adapter setup is more or less done. The transmission extension machined, still has to be finished.
On to the front motor mount and other stuff.
Johan
On to the front motor mount and other stuff.
Johan
Attachments
joeblack5
Active member
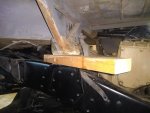
Worked a bit on the front motor mount. Have not made my mind made up yet. In this first setup the pivot swing arm point is under the crossmember. Similar as the original but in a different location. Do not think it makes whole lot of difference seeing that the same a amounts and direction of freedom are in the design..will see what I can do with the original location.
Attachments
joeblack5
Active member
Just for fun I tried to incorporate the original 404 motor mount.. the problem is that it sits 2" to the driver side of center. The tdi motor has al main amount of mount attachment bolts on the passengers ( right side over here) side.
Anyhow stayed with the previous setup.
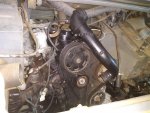
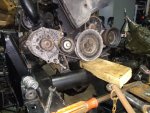
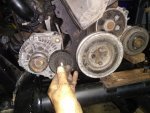
The water pump pulley is a separate v belt that would require and tensioner pulley..to keep the design clean I decided that changing the water pump pulley to an available flatbelt pulley would save some space ,less complexity and less spare to carry.
To get more purchase around the crankshaft pulley an idler was added. Will see if that is enough. The alternator is pivoting around the top bolt and functions as the tensioner.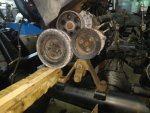


joeblack5
Active member
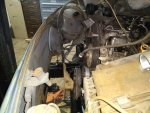
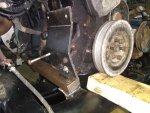
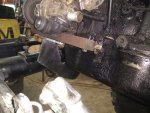
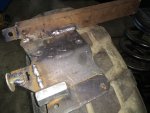
Modified the V belt water pump pulley with a flat belt idler. A picture of the passenger side motor mount and alternator plate. This part will carry 2/3 of the weight up front .
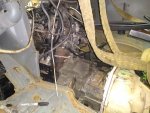
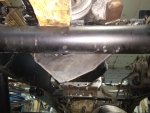
Finalized the pivot part of the front motor mount. Next step will be the remote oil filter and the lower transmission braces that help preventing the overstressing the 404 bellhousing bolts.
Now I will have to do some fitting of the intercooler and radiator under the hood.
Also the drive by wire throttle pedal needs to be mounted. ....slow but in the right direction.
Attachments
joeblack5
Active member
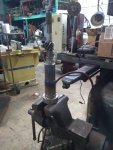
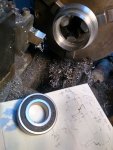
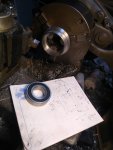
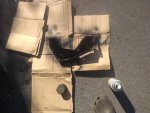
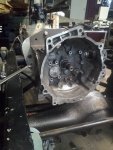
Slow...transmission shaft coupling got finished..clutch pilot bearing got installed, motor mount cradle painted.
Final assembly can get started
Final assembly can get started
Attachments
-
 IMG_20210910_161157676.jpg1.6 MB · Views: 20
 -
 IMG_20210910_164502290.jpg3.3 MB · Views: 21
 -
 IMG_20210911_155115851_HDR.jpg3.1 MB · Views: 20
 -
 IMG_20210911_133600547_HDR.jpg1.4 MB · Views: 20
 -
 IMG_20210911_132017720.jpg1.4 MB · Views: 19
 -
 IMG_20210911_154957408.jpg4.7 MB · Views: 18
 -
 IMG_20210911_185127548.jpg1.3 MB · Views: 17
joeblack5
Active member
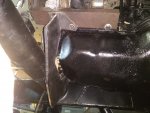
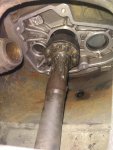
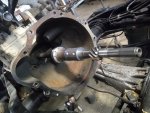
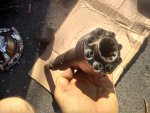
Just to complete the pics of the transmission.
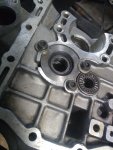
The first one is made thru the inspection cover of the 404 bell housing..you can see how the back part of the TDI transmission housing is partially inside the 404 bell housing.
The second one is backside of the clutch pilot bearing with three M7x1 12 point screws to prevent the bushing to back out.
Johan
Attachments
Similar threads
- Replies
- 1
- Views
- 661
- Replies
- 3
- Views
- 1K
- Replies
- 0
- Views
- 427

