1977 Pop Up Camper Rebuild

TheThom

Adventurer
Got some good work done lately. I went over (almost) all of the exterior wood seams with marine 5200 adhesive - the same stuff I used on the fenders.
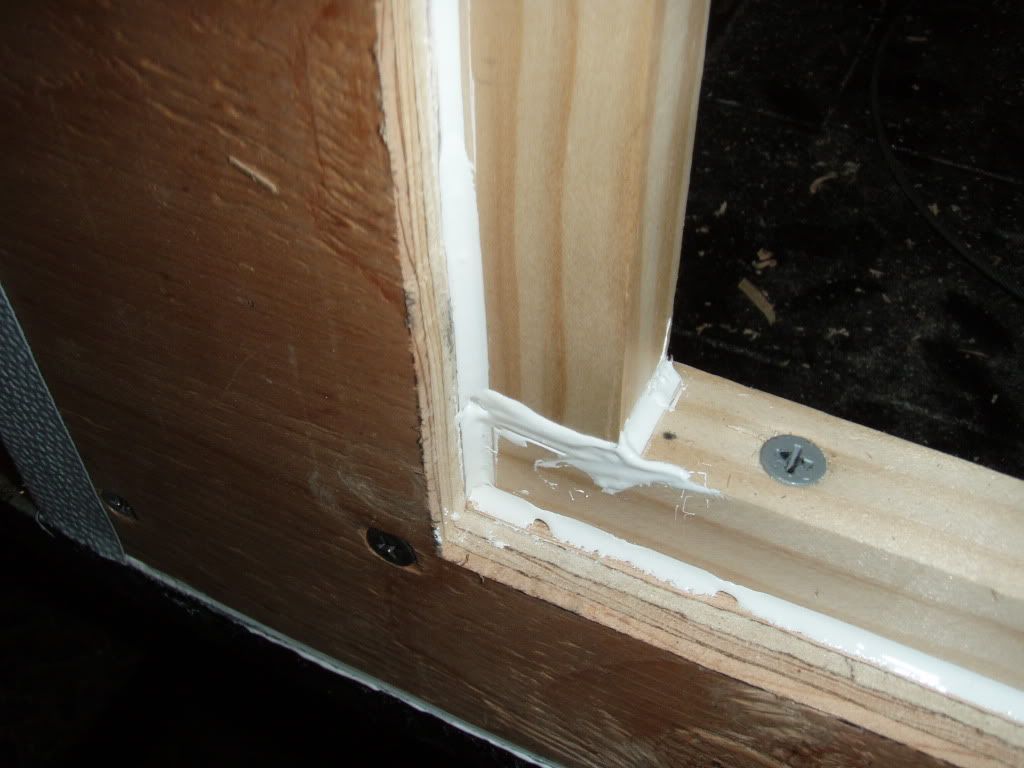
P1010023-1.jpg


Then I did something a little different, that I hope works. I took some adhesive self-sealing window tape and put it over the top edge and corners of the walls. This will seal off any screw holes from the trim. I'll still use a ton of silicone sealing with trim too. It's probably overkill, but the whole thing weighs less than 5lbs so it's worth a try.
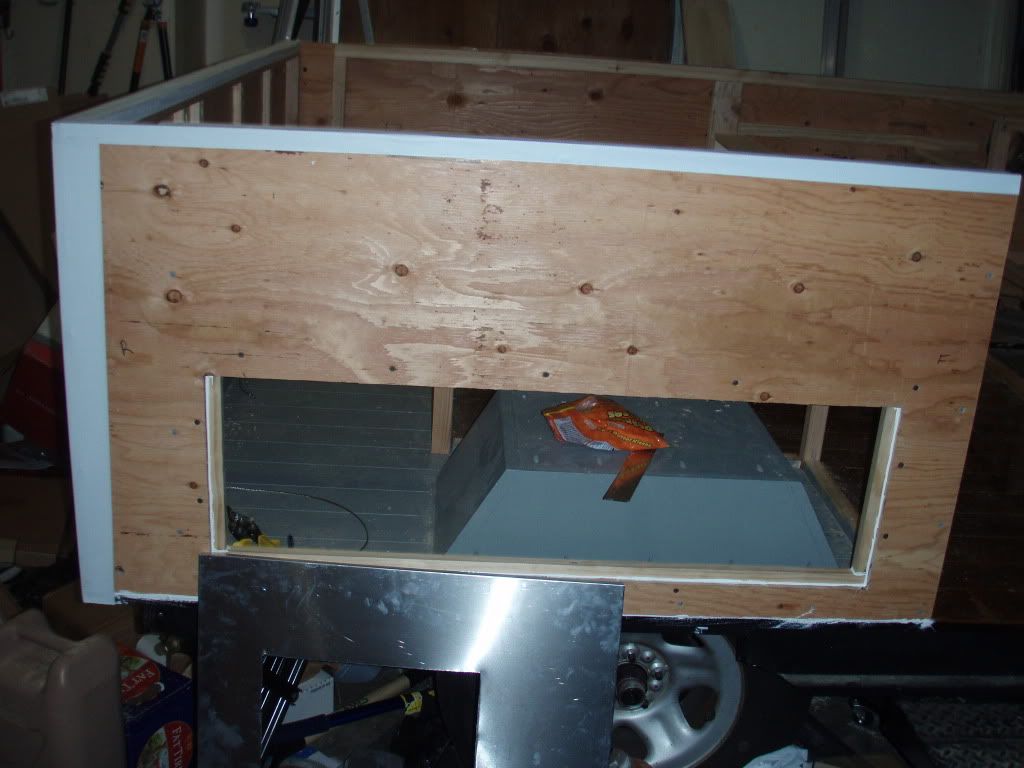
P1010019-1.jpg


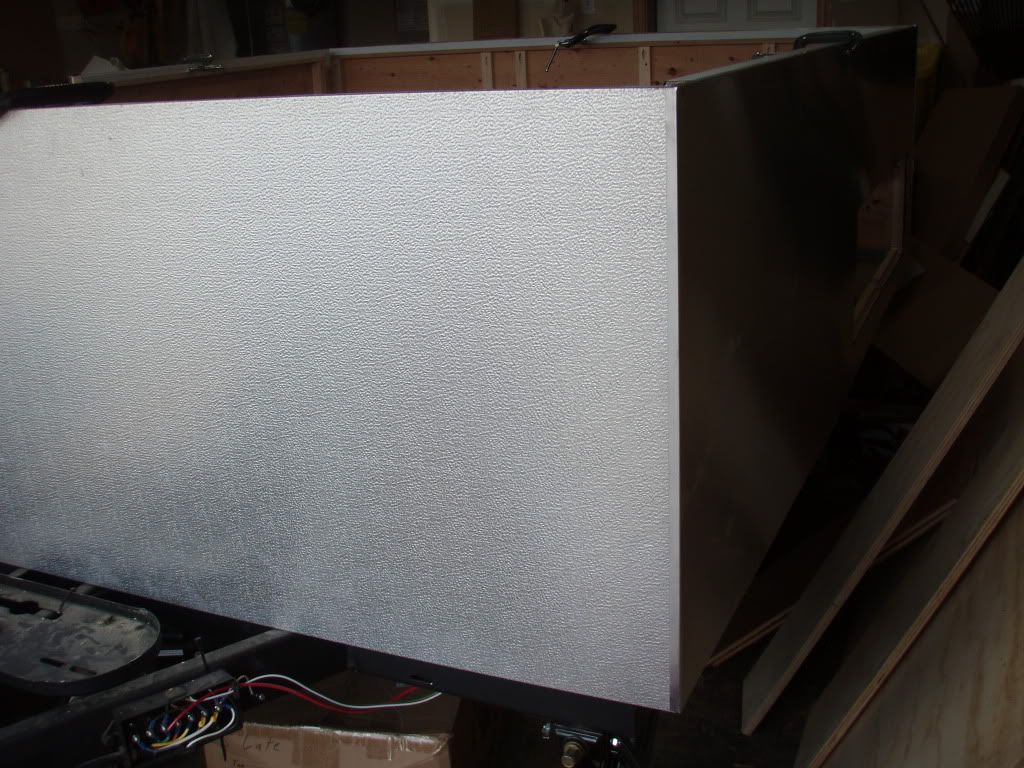
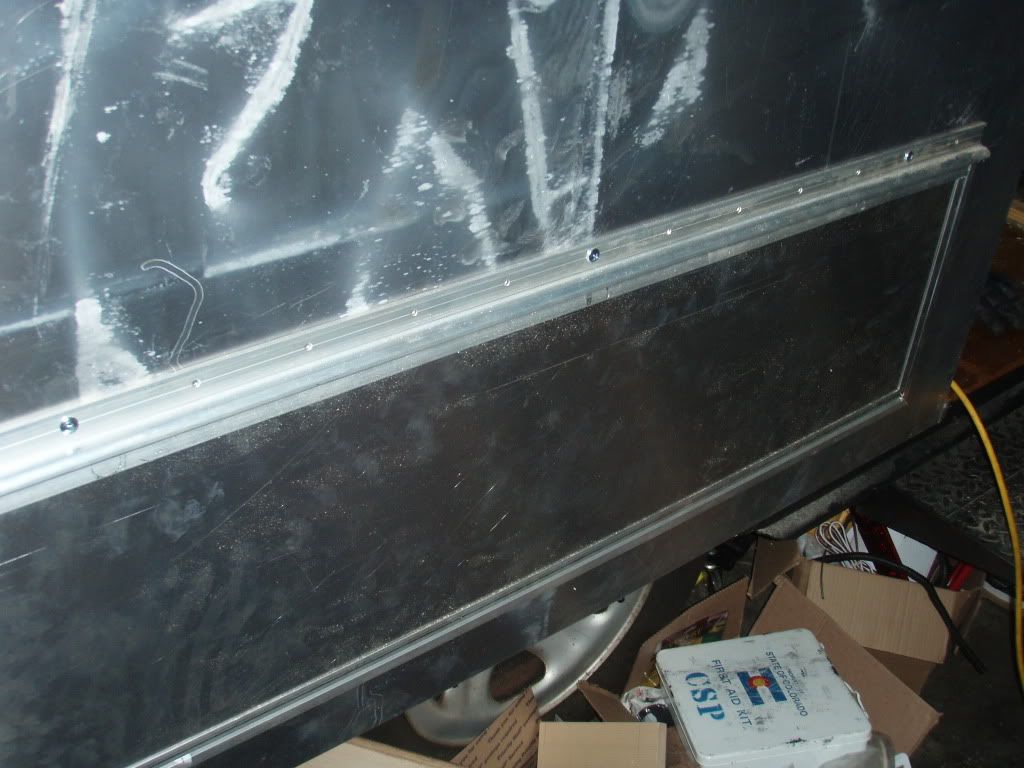
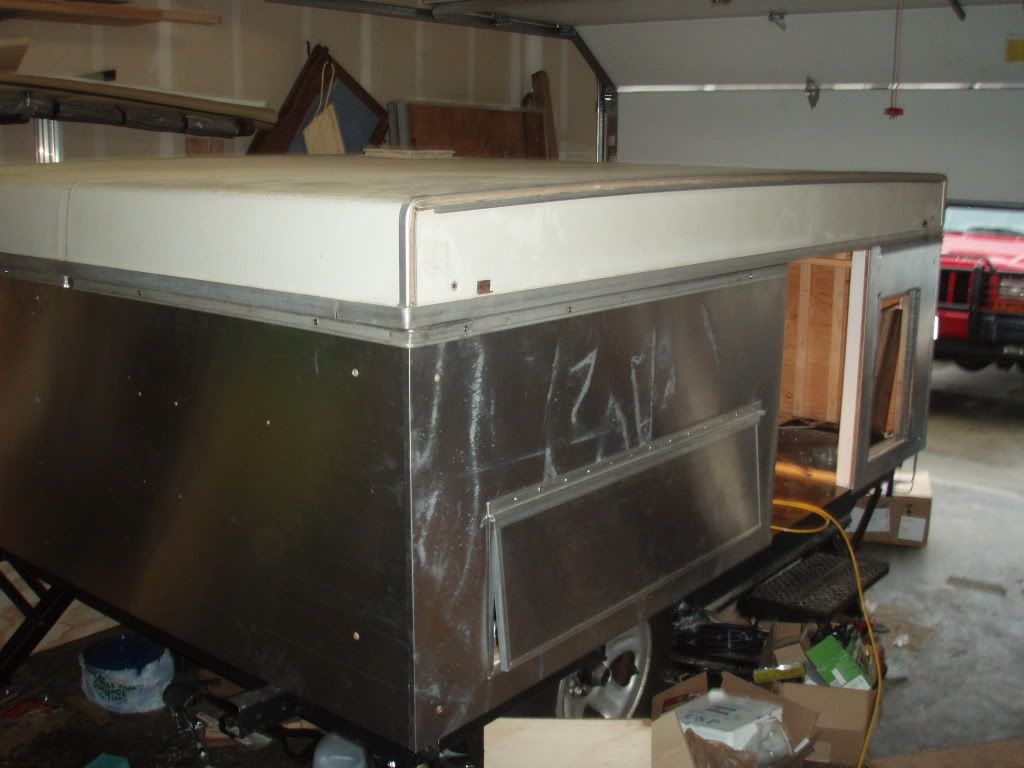
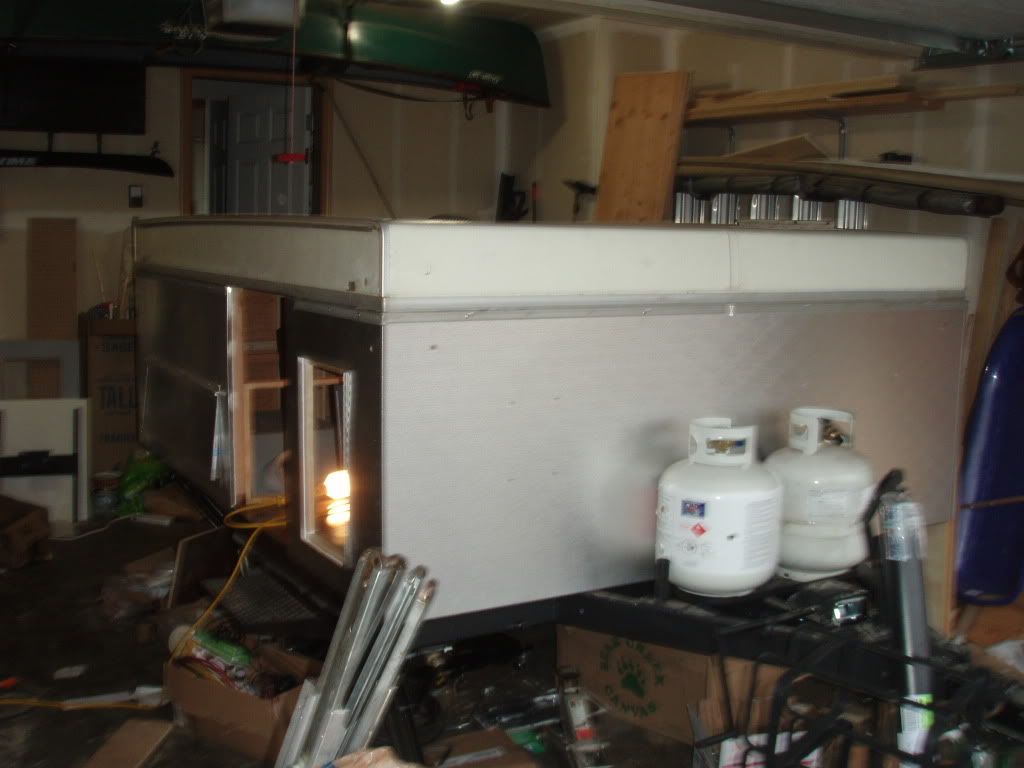
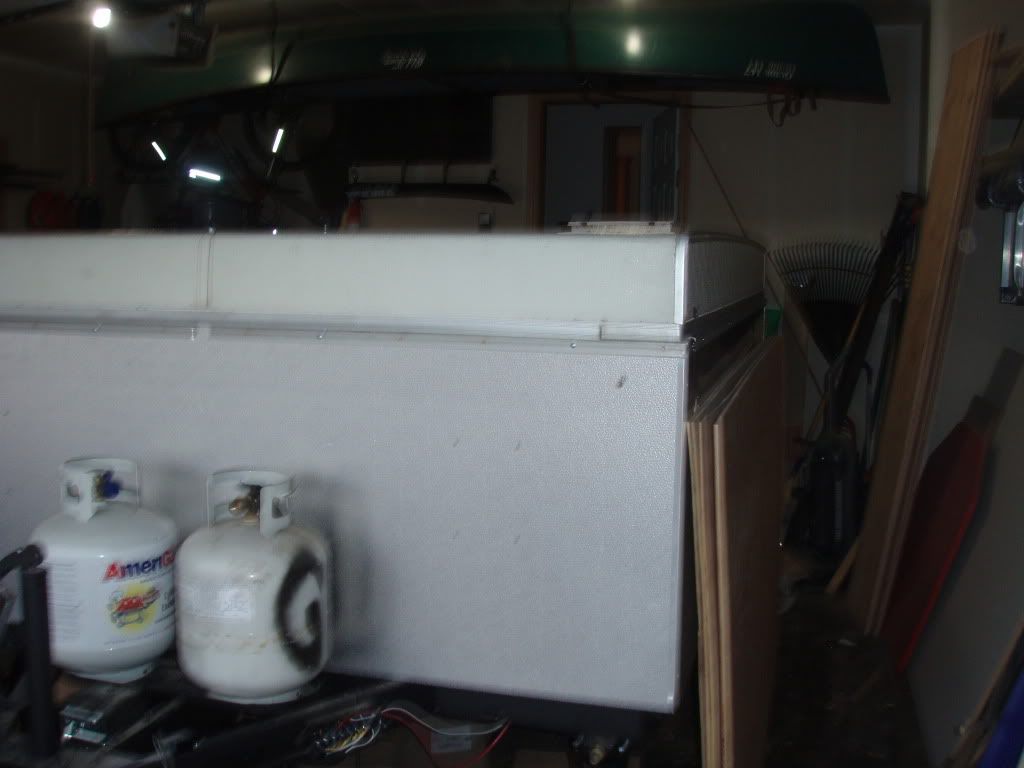
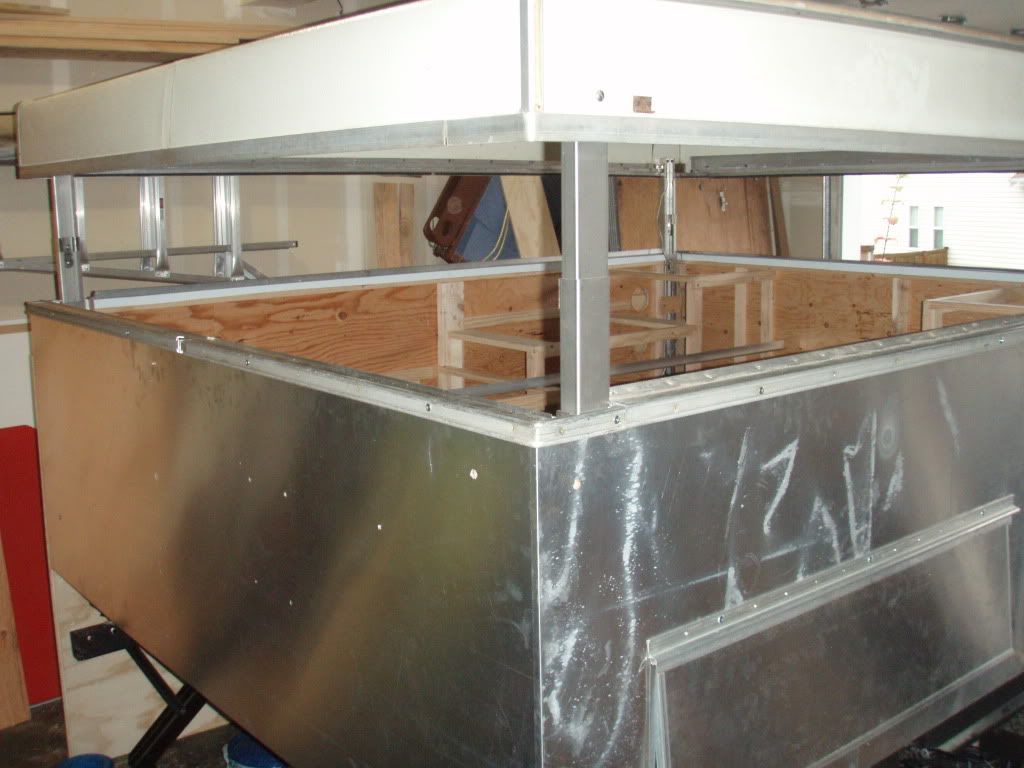
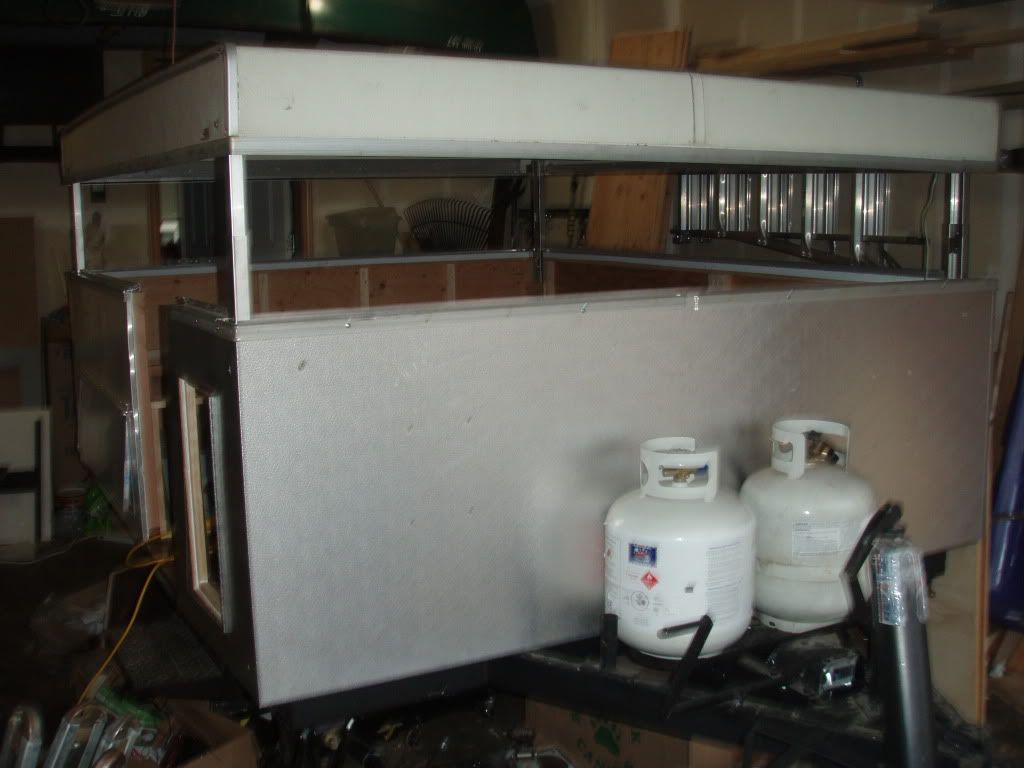
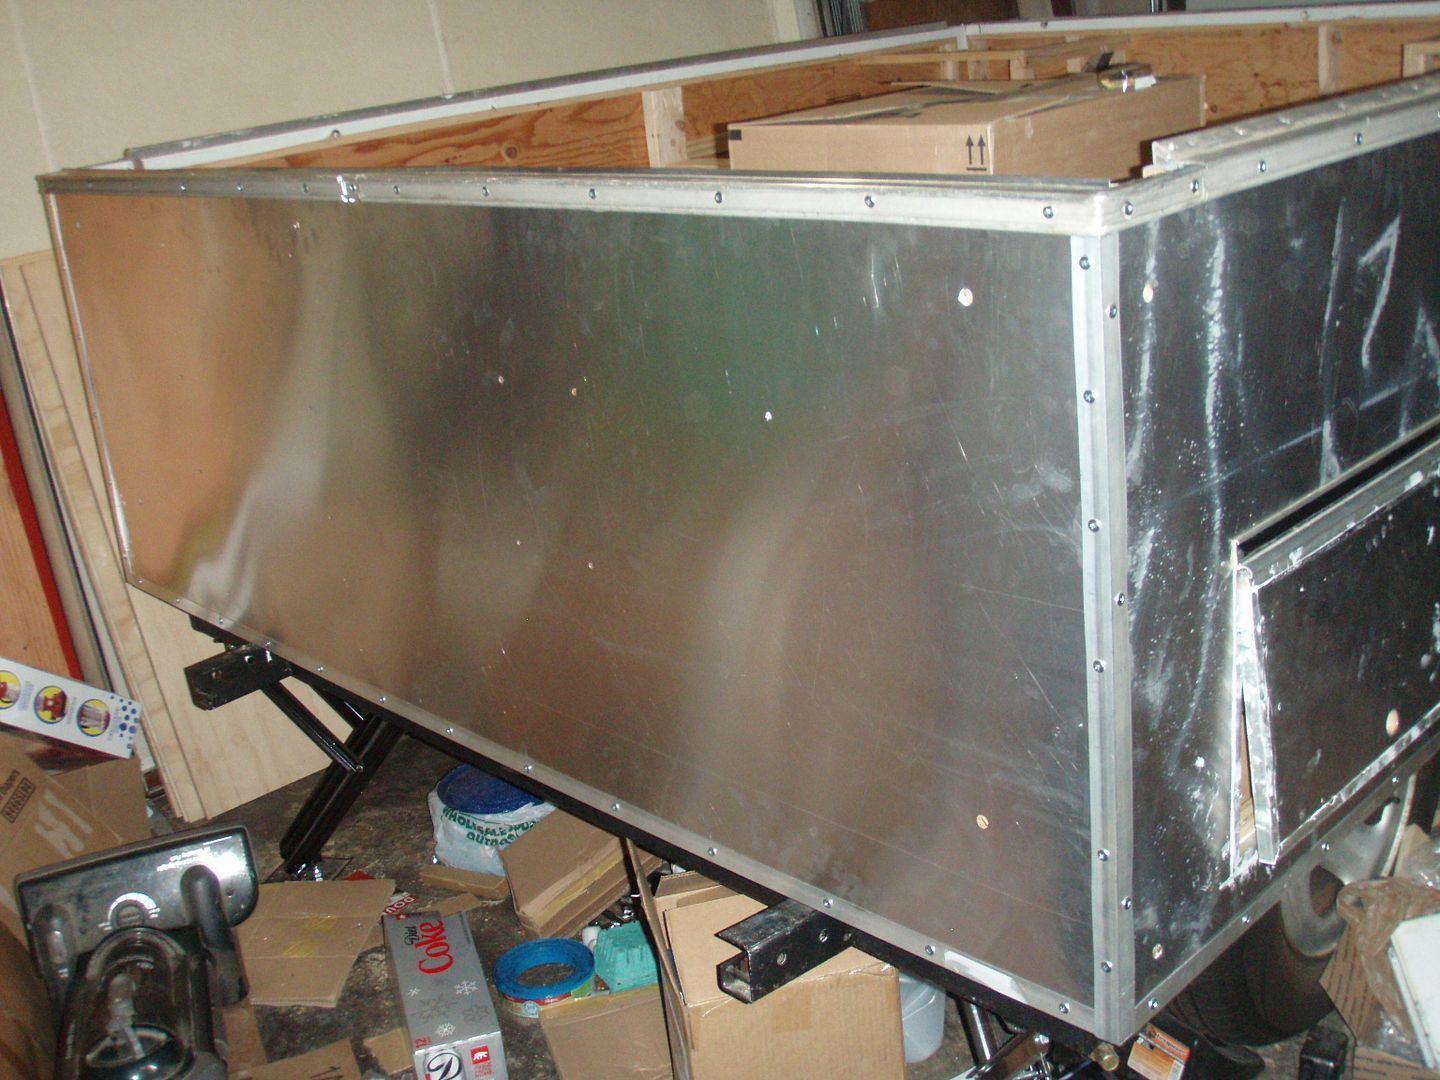
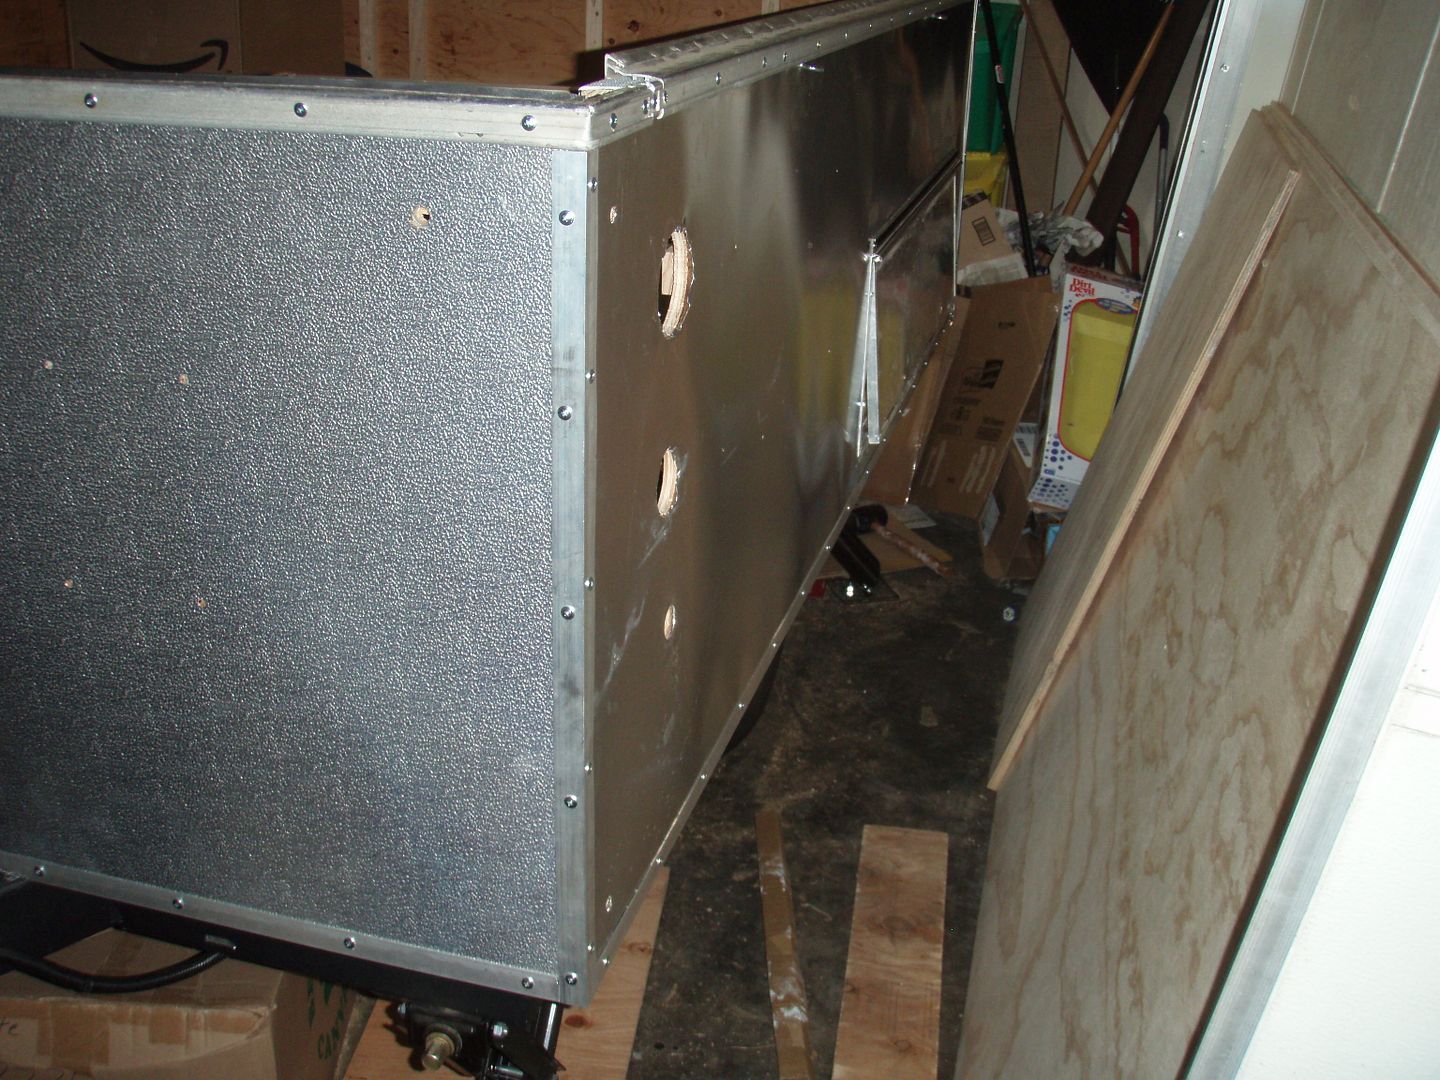
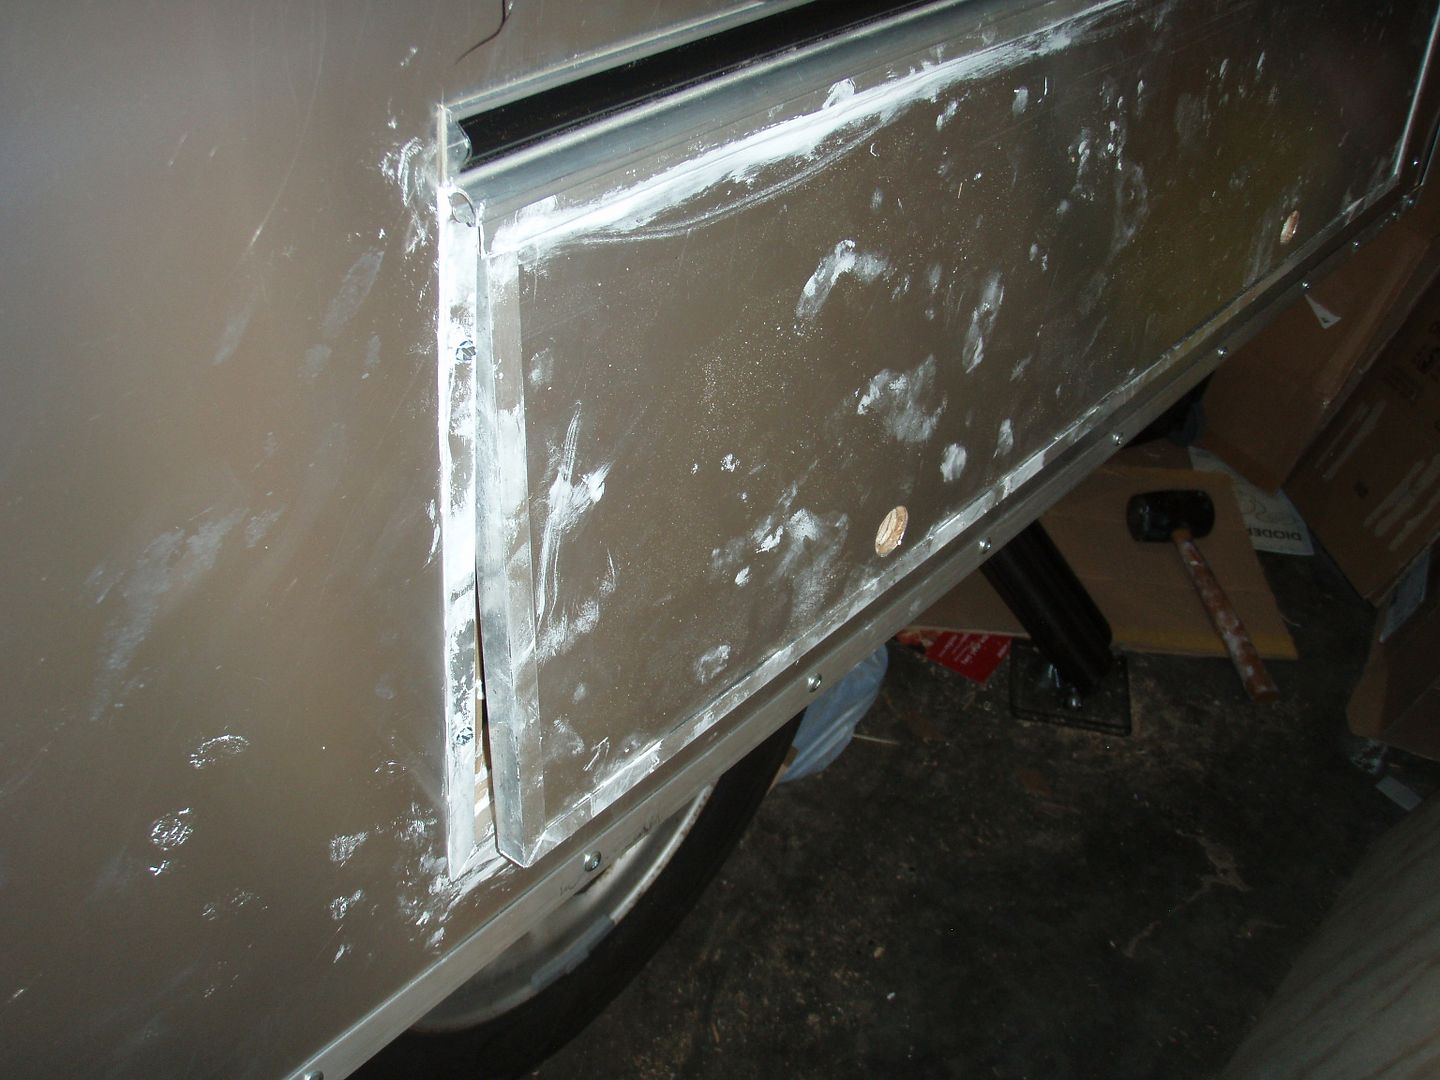
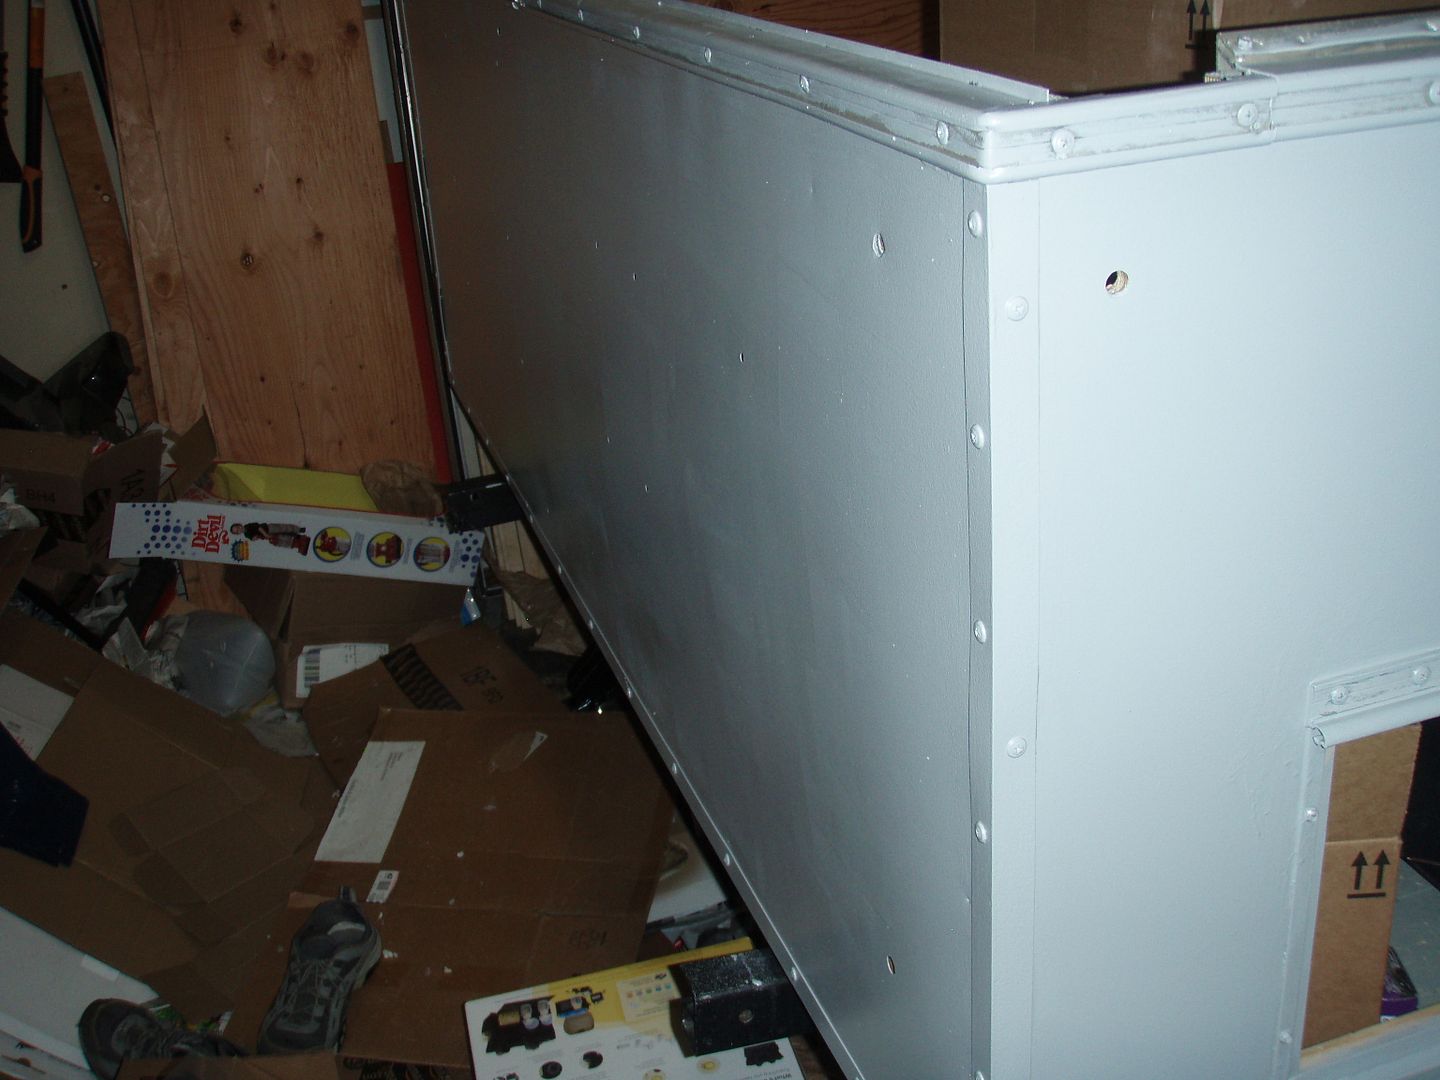
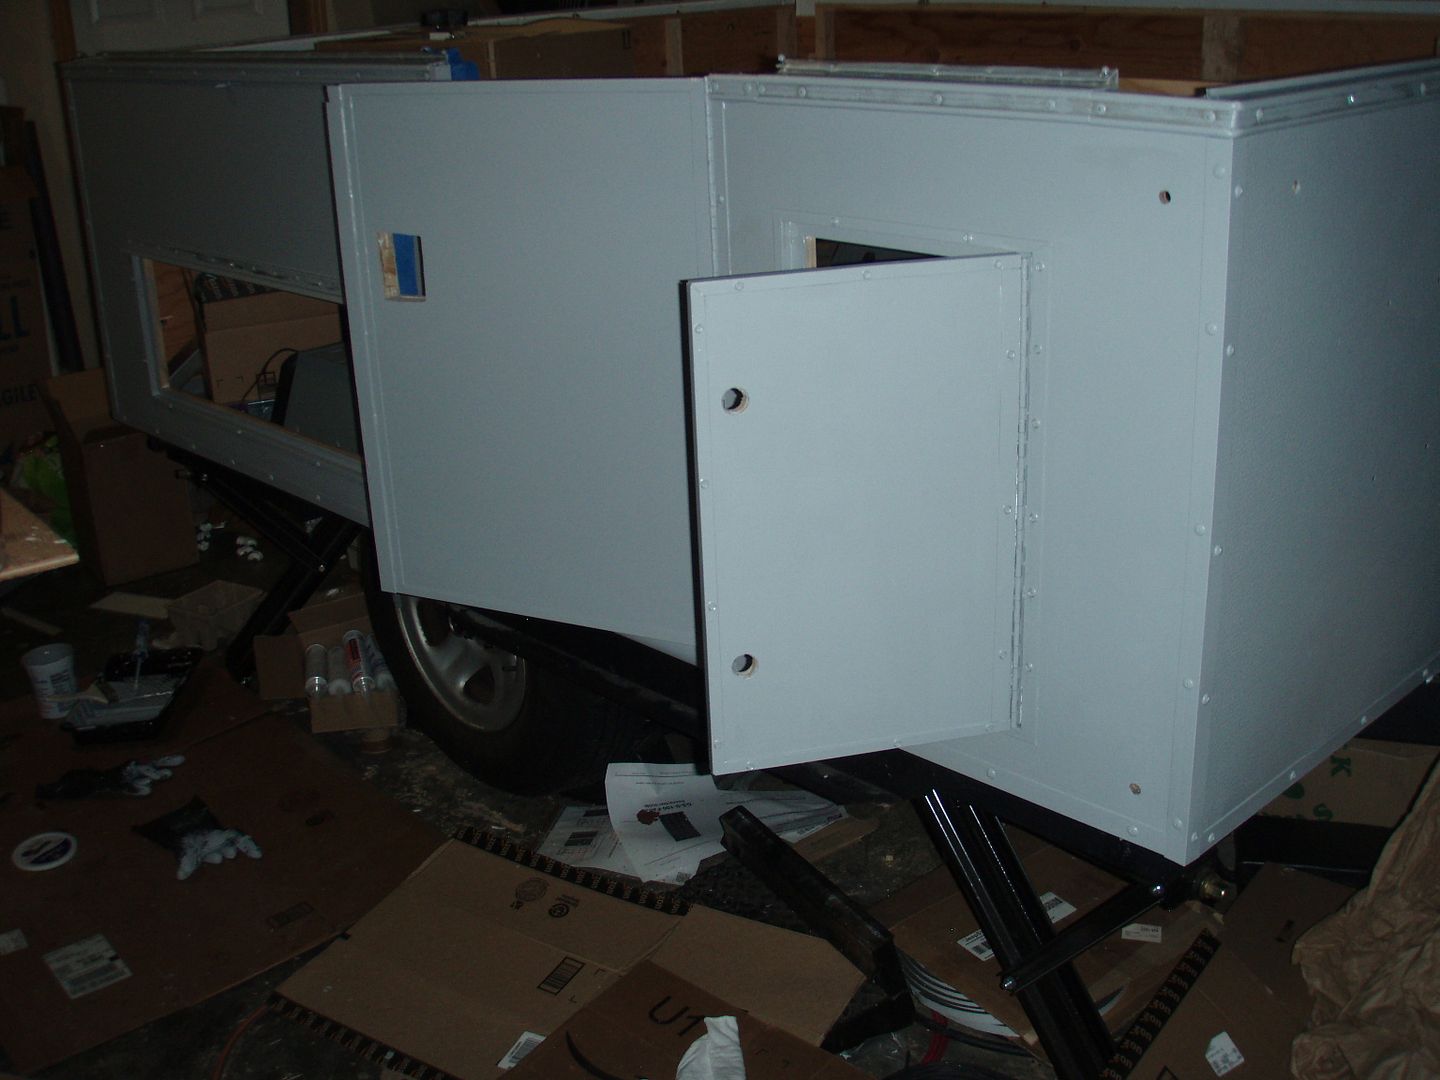
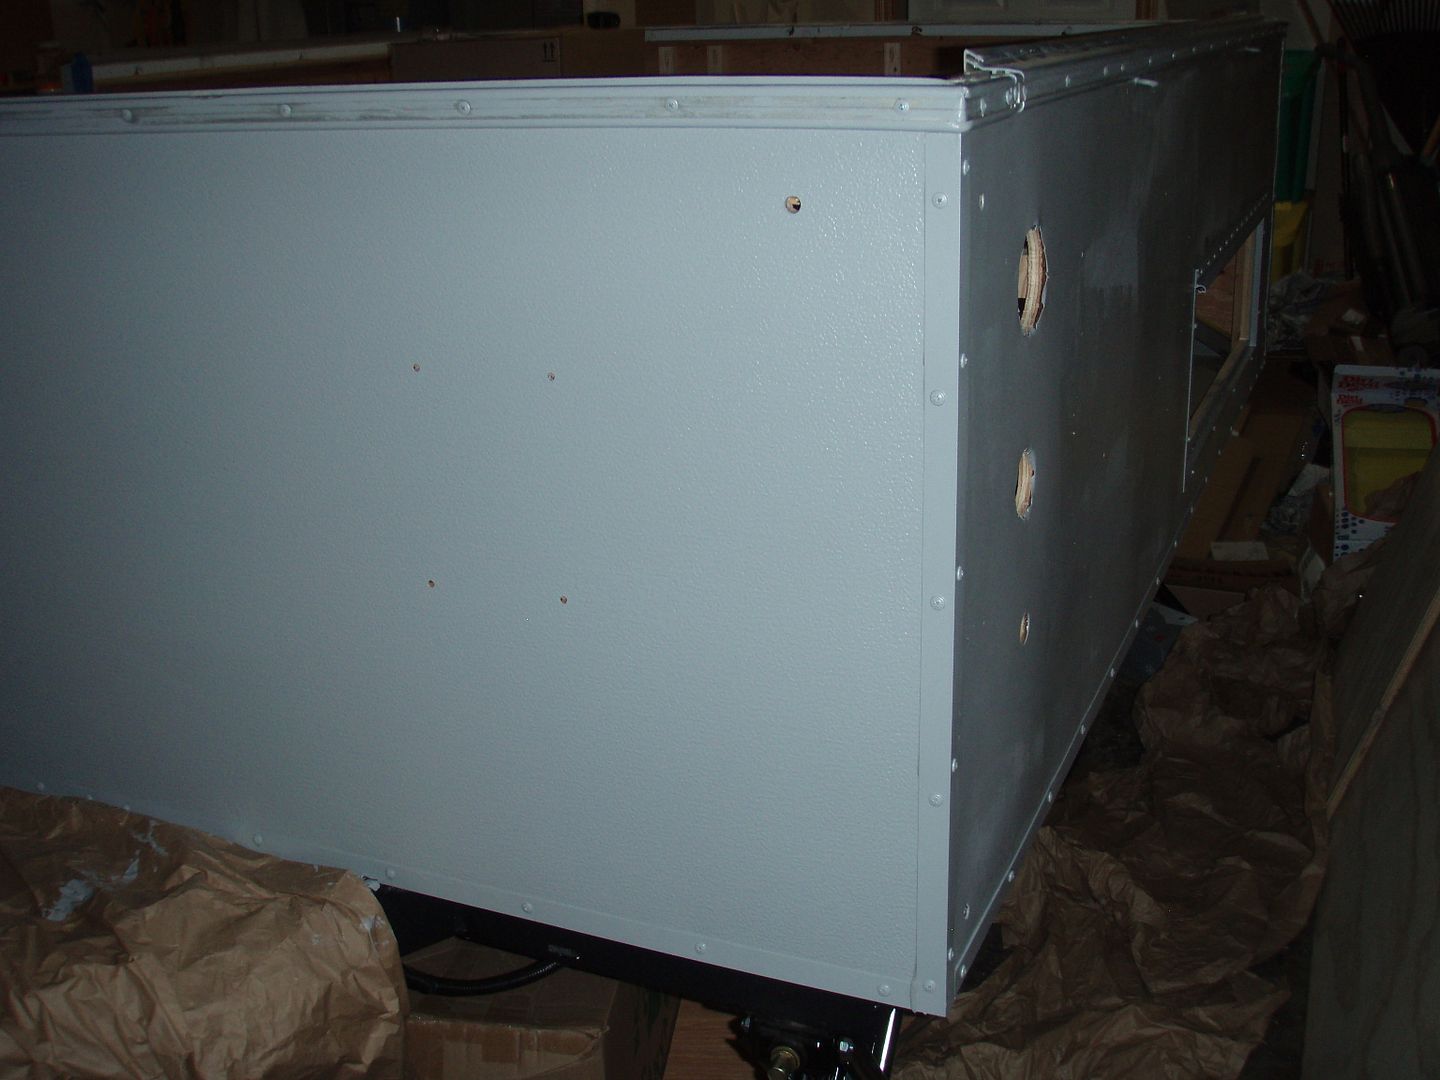
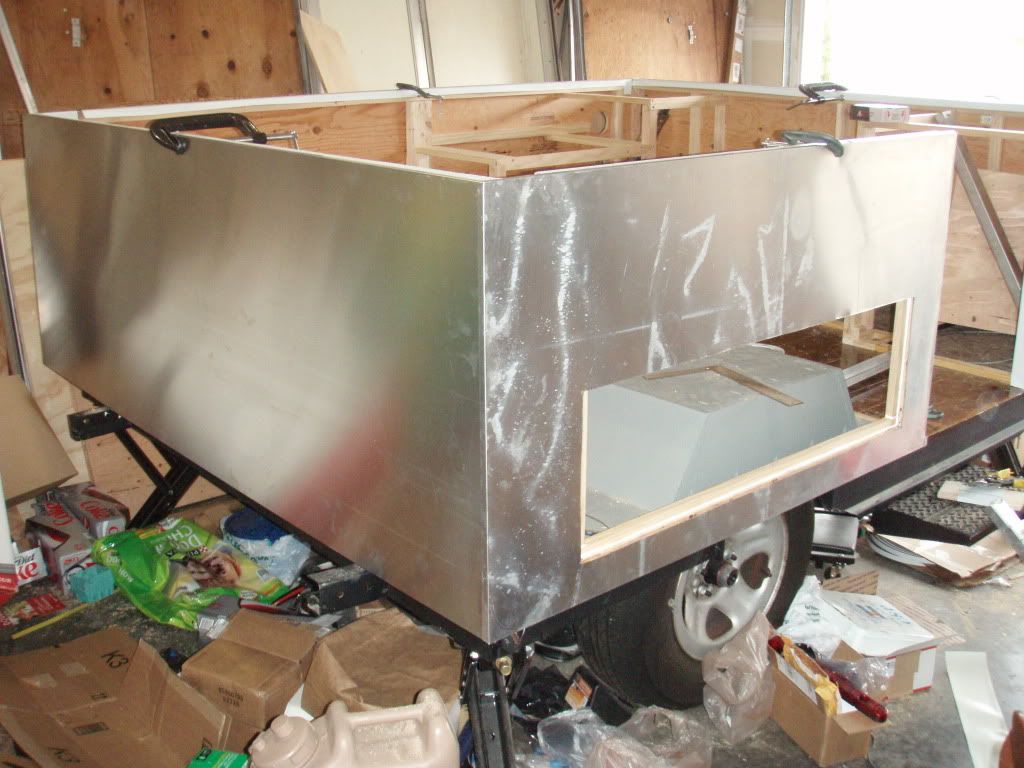
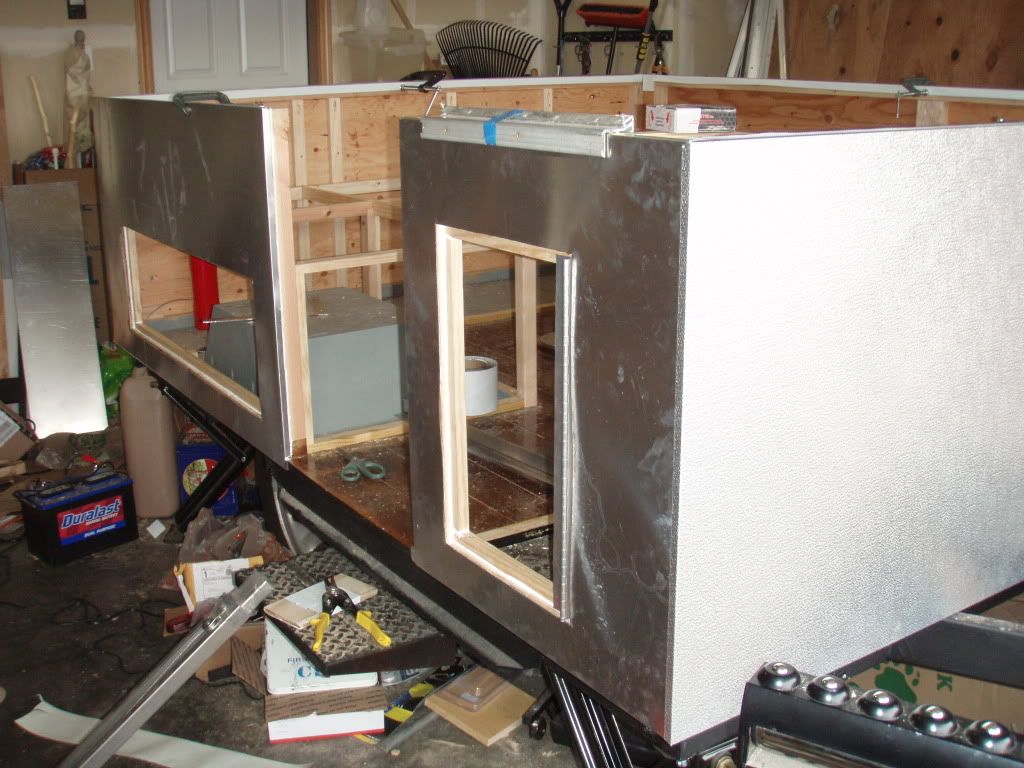
Then I hit what in my head has been a major milestone. I got the aluminum side panels put on!! I'm pretty stoked! I was also pleased. I got the panels cut and bent last April. Several months before I even had the wall panels cut. That being said, there was one panel that was about 1/8" off and took some finagling to get in place. Otherwise they all fit perfectly. Every once in a while the ball bounces your way. Here's some pics. There's a little bit of marking because of some condensation, but that'll be covered well by primer/Monstaliner. The front panel is actually a textured aluminum, because the guys who sold me the metal didn't have enough of the smooth in stock. I'm putting it in front because that's what's likely to catch rocks.
P1010027-5.jpg


P1010028-4.jpg


P1010030-2.jpg


Next comes trimming the siding and then paint!
 

Fresno

Adventurer
I, like everyone else, am very impressed with your work and your pace. I am currently stuck on how to build a pop up top. Your mechanical for the top look simple but I don't really understand how they lift the canvas and top.

I like the idea of using the lift to raise a tent walls and a lid for my military M1102. I read your thread on the pop up portal. Any idea where you can get plans for a vertical lift system?
 

TheThom

Adventurer
I, like everyone else, am very impressed with your work and your pace. I am currently stuck on how to build a pop up top. Your mechanical for the top look simple but I don't really understand how they lift the canvas and top.

I like the idea of using the lift to raise a tent walls and a lid for my military M1102. I read your thread on the pop up portal. Any idea where you can get plans for a vertical lift system?

If you do a google search for "starcraft lift system diagram" and you'll find a few leads. There are numerous kinds of lift systems. I have a PDF Starcraft manual, but I don't really know how to share it. There are cable systems, outside lift arms (search for C&R Universal lift), and even systems that use threaded gears. On pop up portal there is actually a sub-forum on Lift Systems. I'll bet you might find some help there.

I think your biggest challenge is that the M1102 has such short walls - most lift arms have a minimum length that is taller than your side walls.
 

OZKAM

New member
Hi Frezno ..
Mate here in Australia is a place called RV -Air lifters, the system is fairly basic but does work great, and realisticaly could be Chinese cloned without to much trouble .
http://www.youtube.com/watch?v=xtgvxD1Lgcw..
If you used an X type set of arms along the side of the trailer and a couple of solid safety uprights to put in place once the top is raised, you should be ok .
 

TheThom

Adventurer
I had a little time off work, so I've been working on the camper.

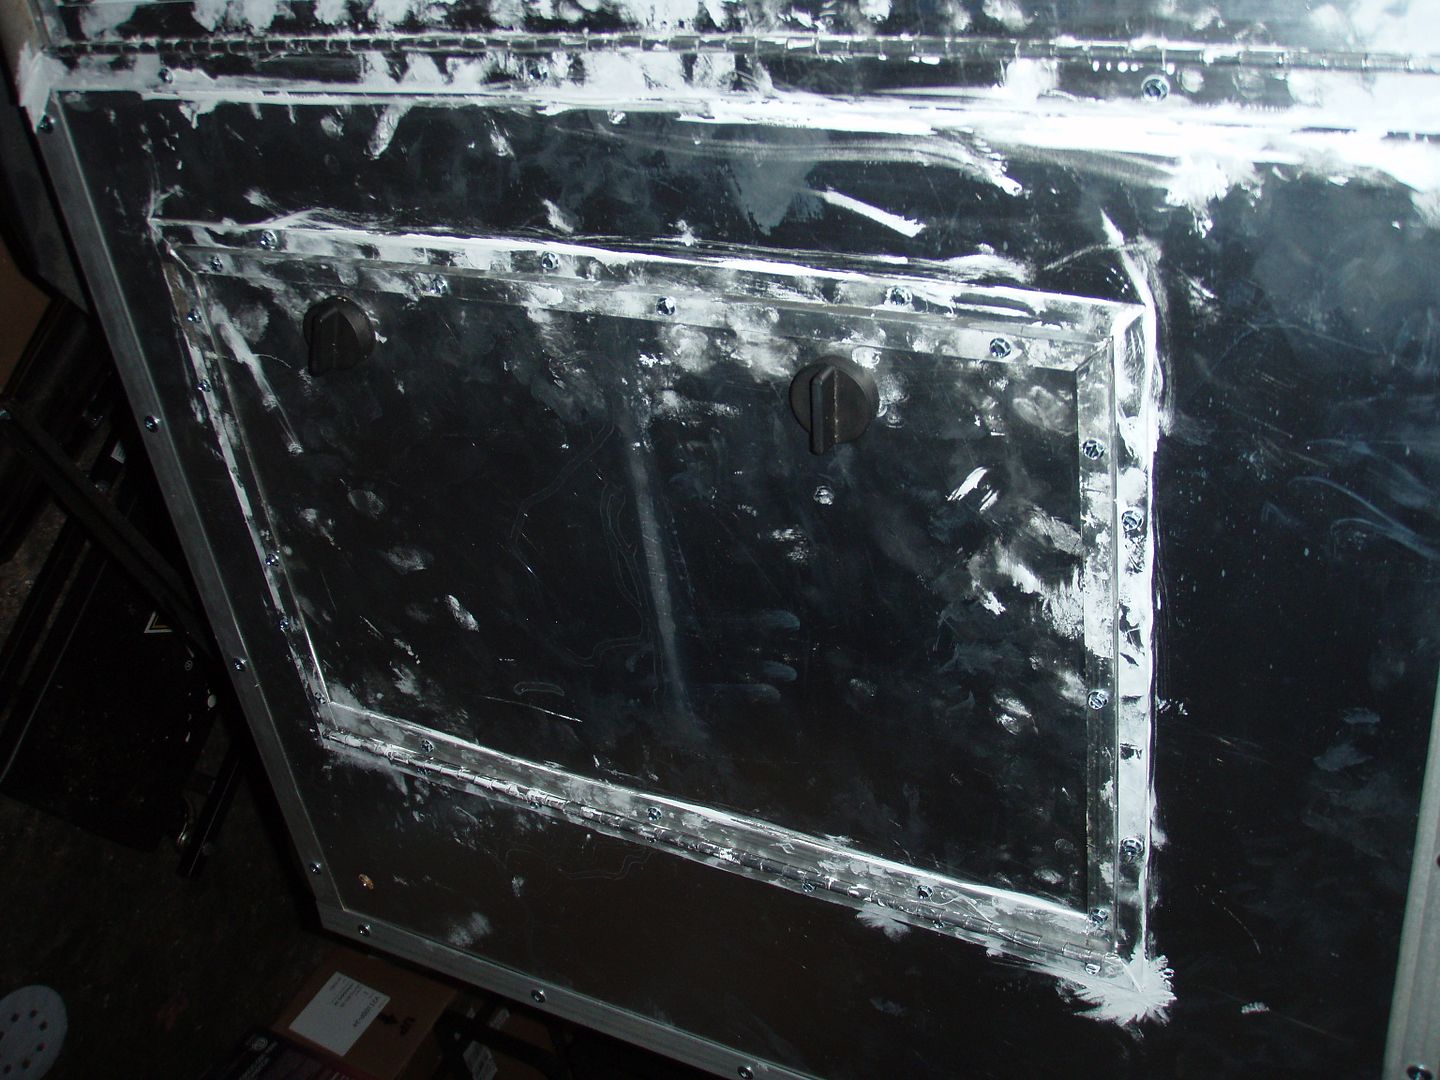
I've been trimming the storage compartment doors. I'm very pleased with the way they are turning out. Trim and finishing details are NOT my strength. Sorry the pics are kind of blurry

Here's one of the doors that leads to the under bench storage. There are identical doors on either side

P1010010-1.jpg


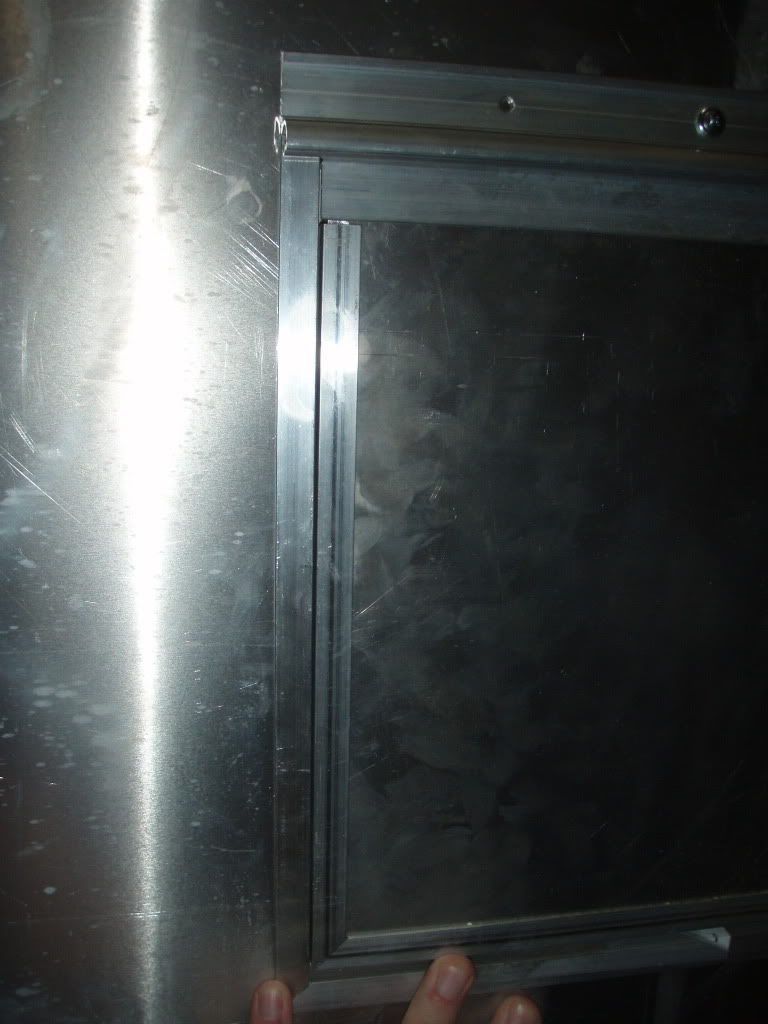
Here's a close up. I still need to glue and screw the trim down. The top hinges came from Lil Bear teardrop and the rest of the trim is just aluminum stock from the local hardware stores

P1010011.jpg


Then I had a reckoning: I got the lift system hooked up and had a buddy come over and put the lid on to test for fit. I had made a couple of deviations in my trim measurements. I was VERY nervous. I took the roof off last November and it had been sitting against the wall of my garage since then.

It fit like a glove! Hooray math!

Again, some blurry pics

P1010005-10.jpg


P1010006-7.jpg


P1010007-5.jpg


This sucker is a beast. I'm 6' even and the roof comes to my shoulder when collapsed. But the only change in height comes from the lift in the frame. The walls and roof are the same height.

Then I cranked it up just a little bit to confirm that it worked. I can't lift it all the way due to the beam across my garage ceiling Again, sorry the pics are blurry.

P1010009-1.jpg


P1010008-4.jpg


I'm stoked! I have a little more trim to cut. Then I can attach it all. After that comes paint. I already have the black Monstaliner on order and it's in transit.

Thanks for looking

Peace out
 

TheThom

Adventurer
I haven't had much time to work on the camper. We got a new addition just before Thanksgiving. Gratuitous kid shots.....

IMG_0104.jpg
IMG_0111.jpg


That has obviously cut into the garage time.

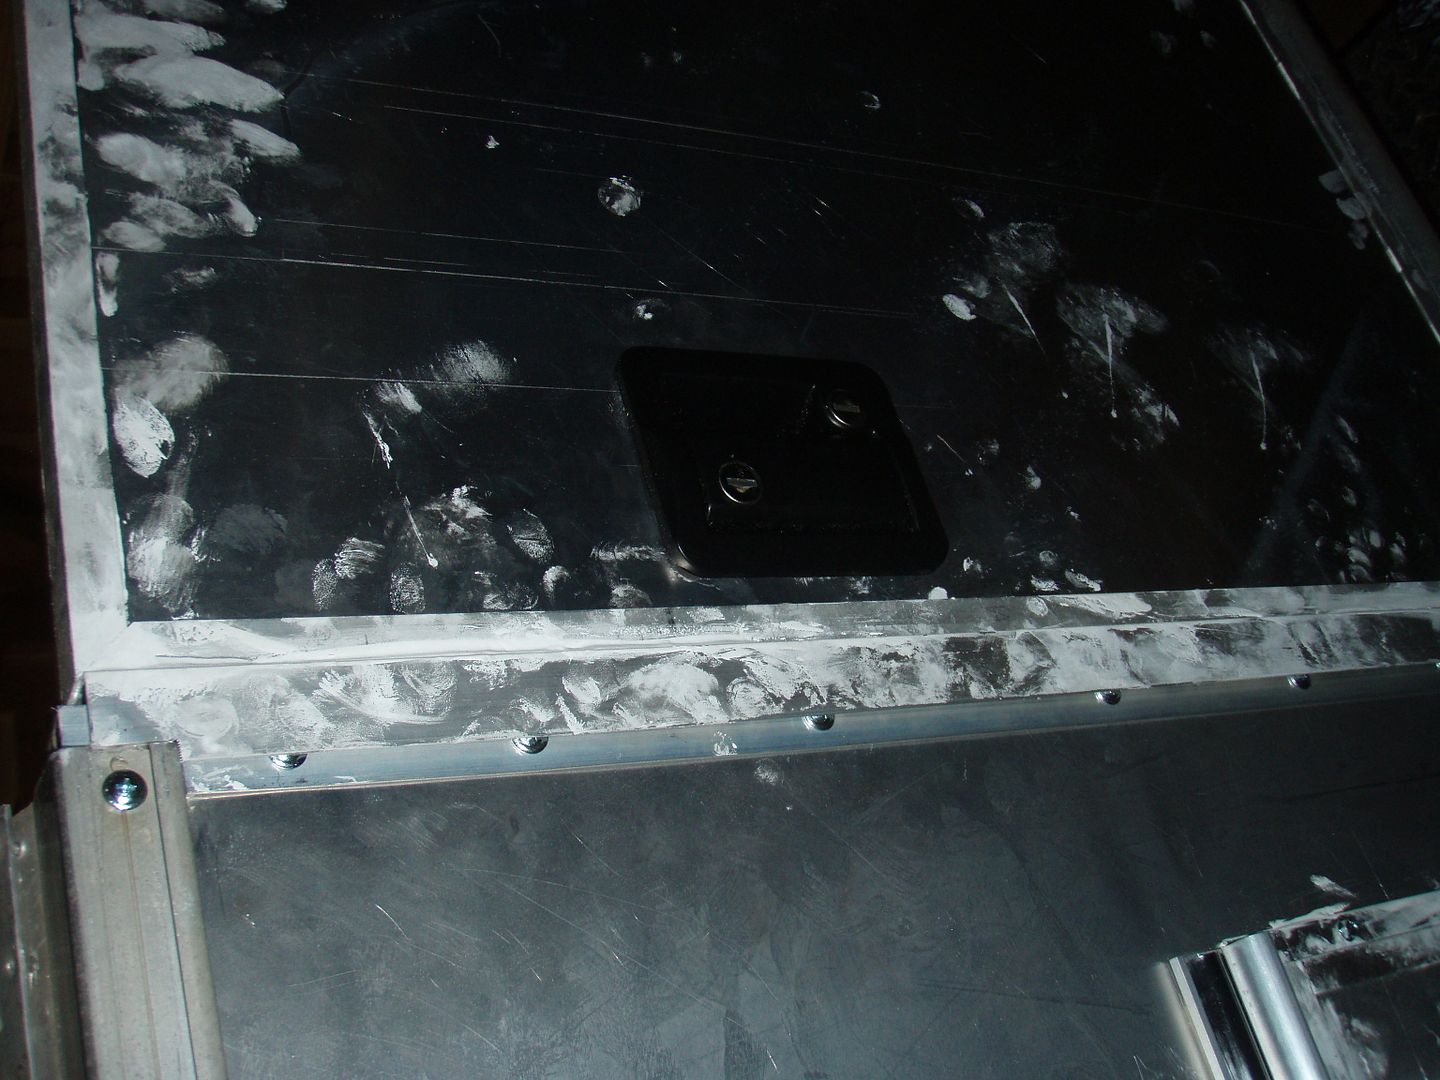
I got the exterior all trimmed out. The stuff that looks like bird poop is excess adhesive. In order to be a miser, I had to apply is with a putty knife rather than through the caulk gun. It was messy but effective.

P1010021-2.jpg
P1010027-6.jpg
P1010028-5.jpg


This is a shot of the cam latches that will secure all of the cargo doors (2 under the bench seats and one in the front that will house my chuck box).

P1010022-2.jpg


Here's a shot of the main door latch

P1010023-2.jpg


I primed it with Magnapoxy epoxy primer from Monstaliner (RANDOM SIDE NOTE: pet peeve: primer is a noun. Prime is the verb. You don't "primer" things, you prime them). What doesn't show is the HOURS I spent cleaning it with MEK substitute to get the oil (and excess adhesive) off the sheet metal. That wasn't very enjoyable

P1010031-1.jpg
P1010032-1.jpg
P1010033-1.jpg
P1010034.jpg


I hope to paint it with the black Monstaliner bedliner by the end of the week.

Thanks for looking
 

TheThom

Adventurer
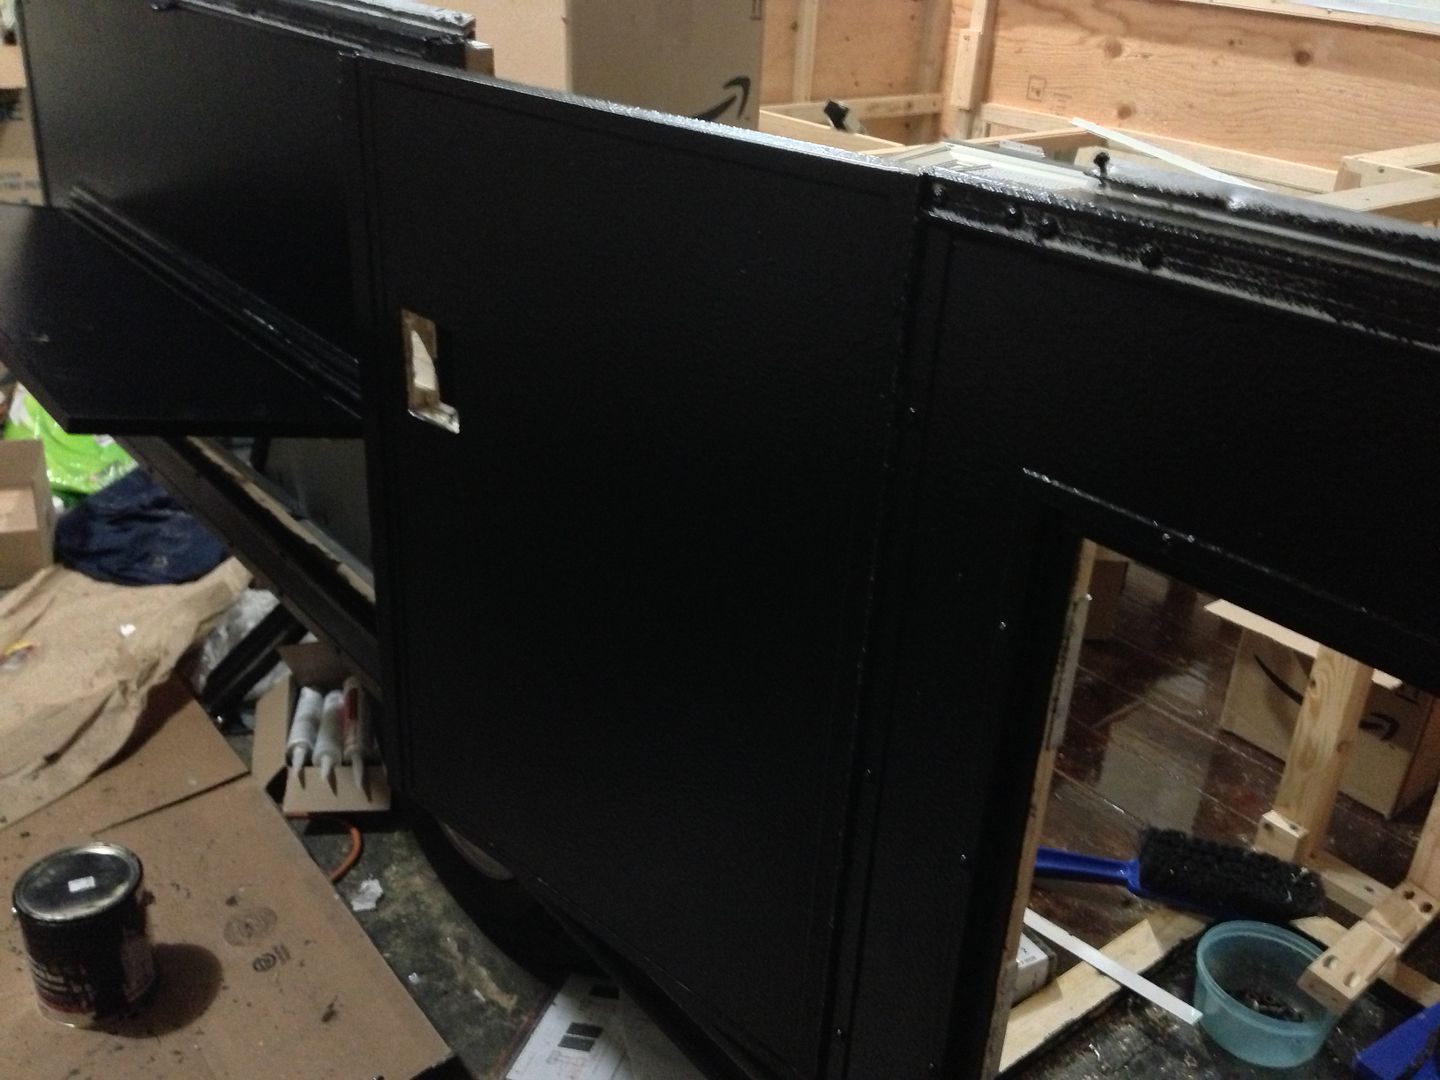
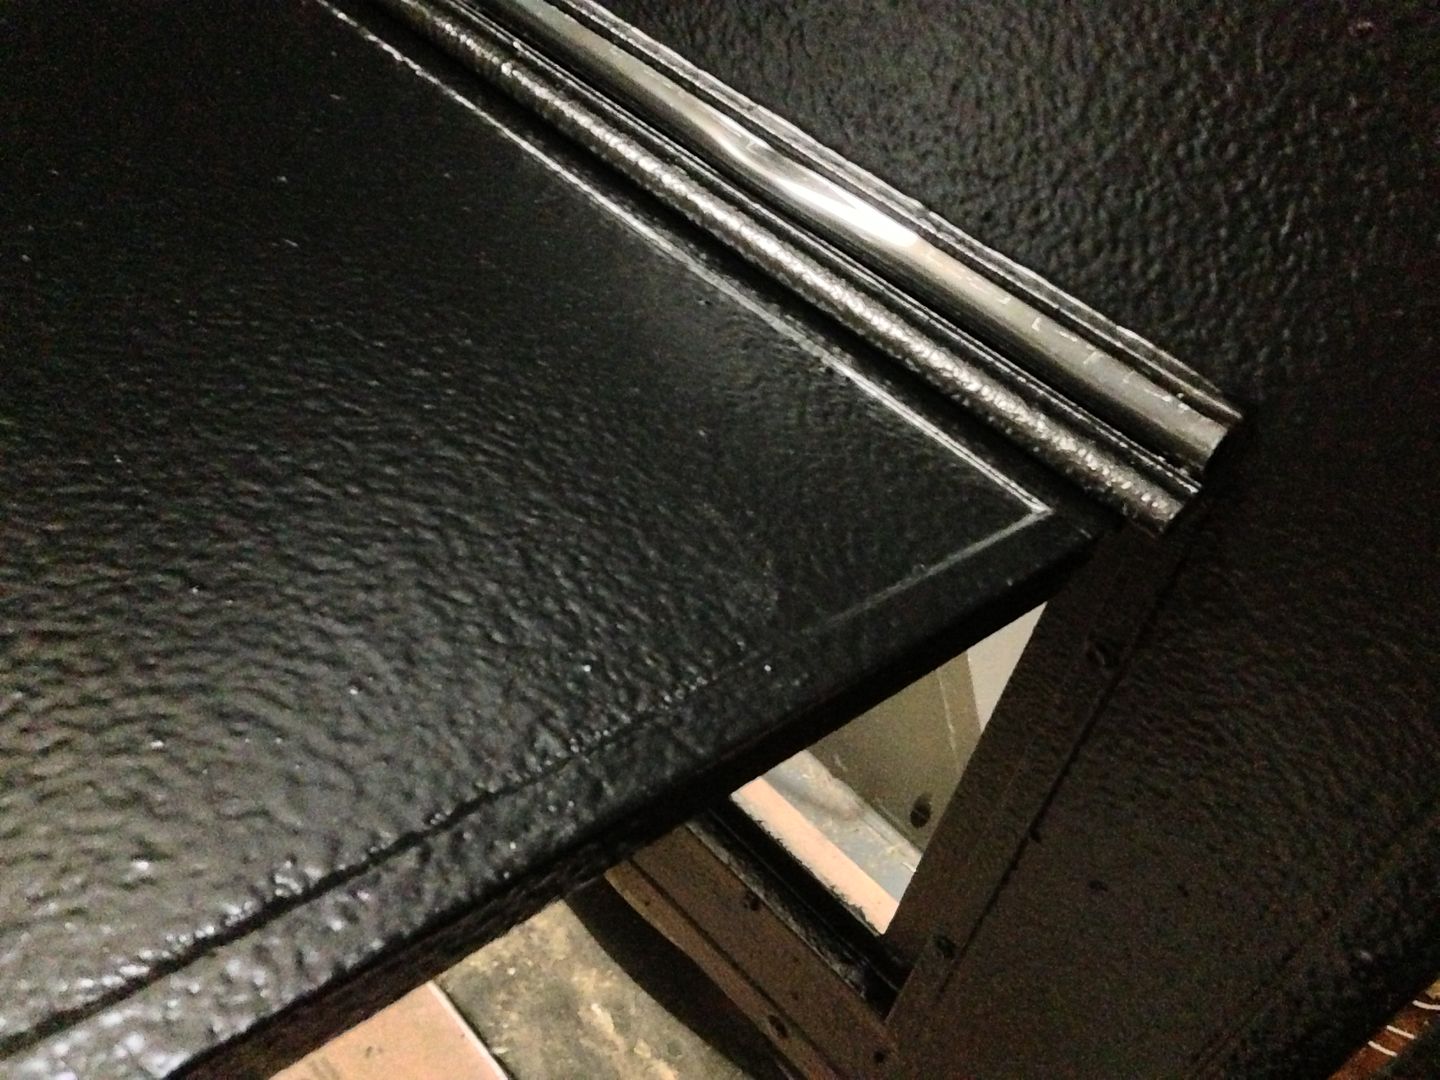
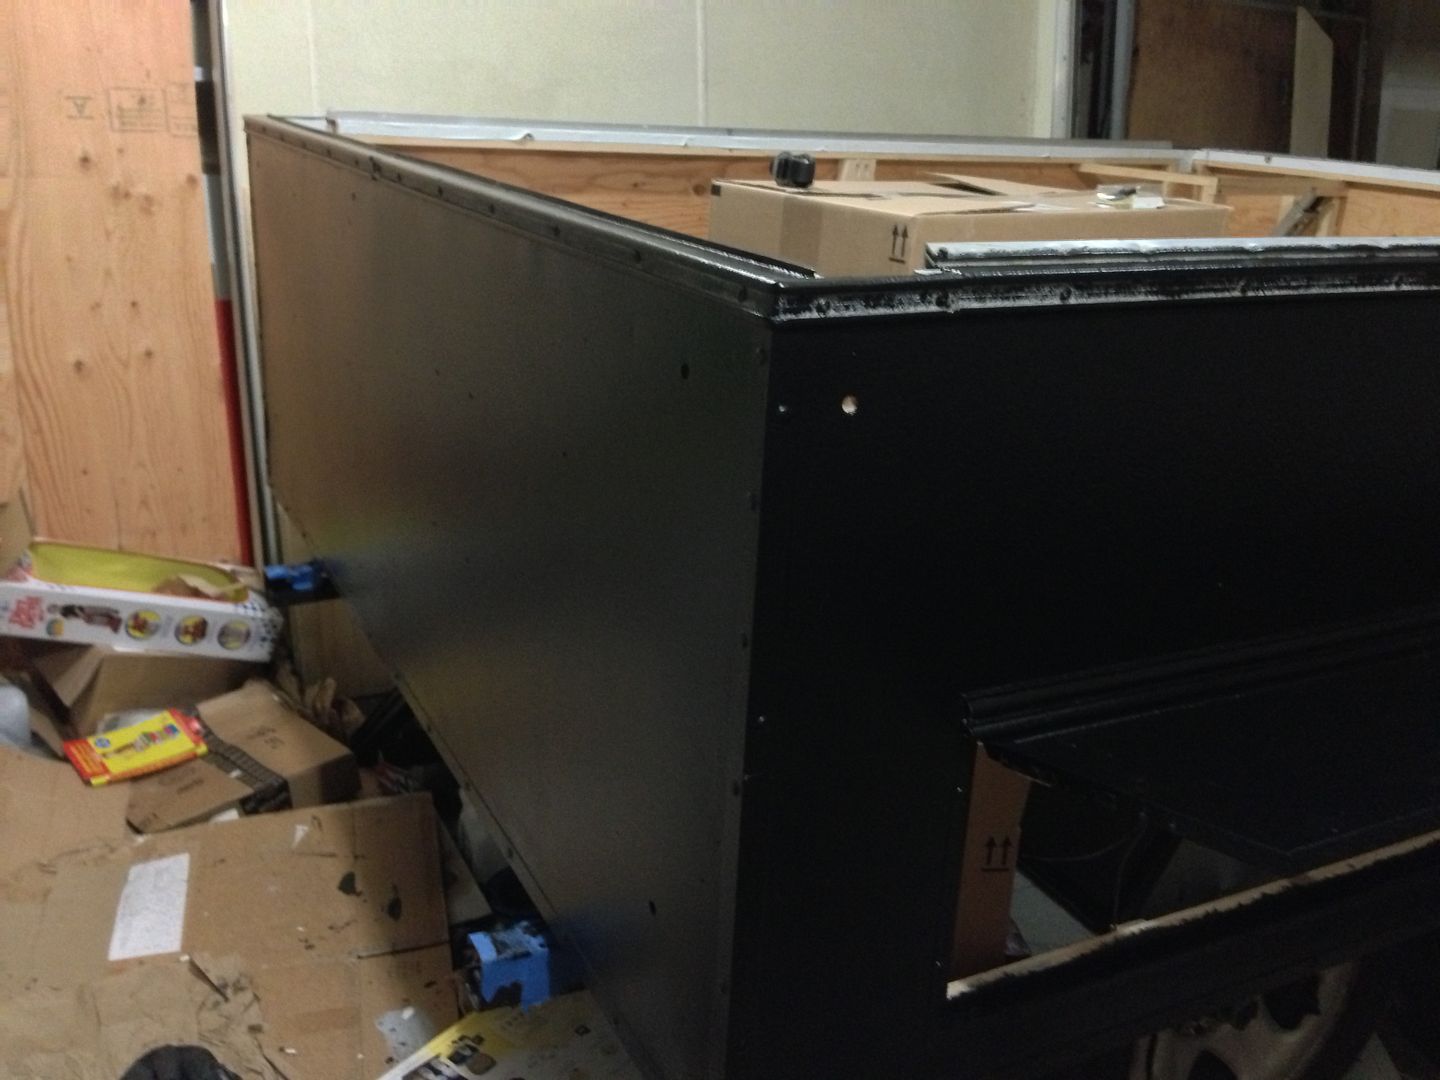
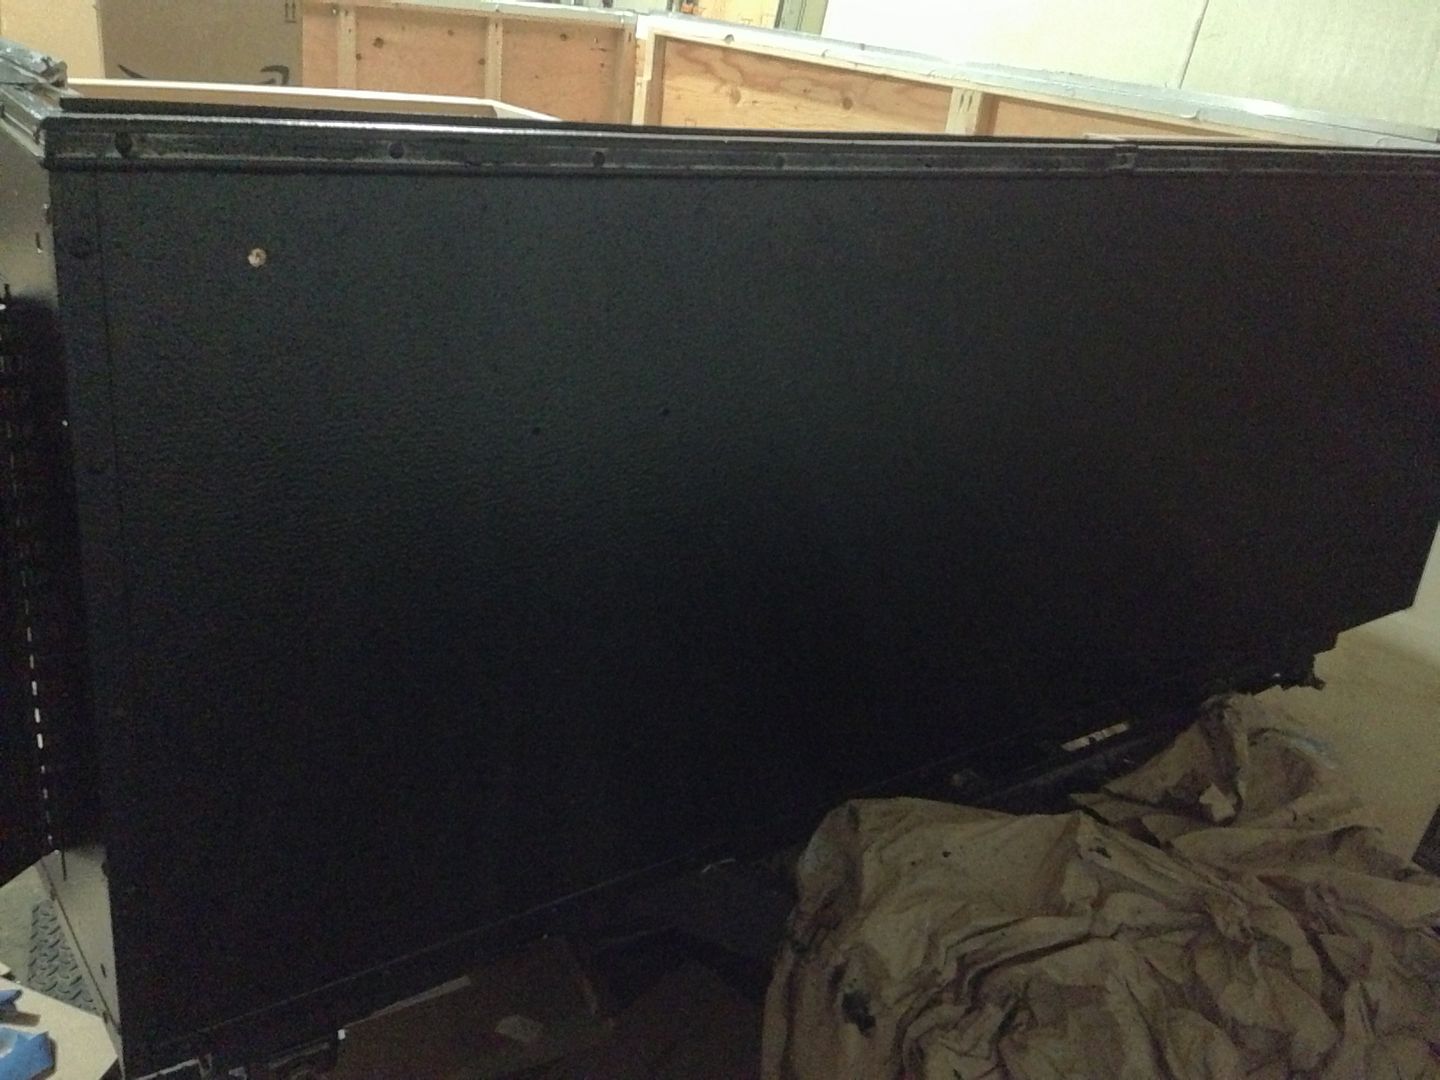
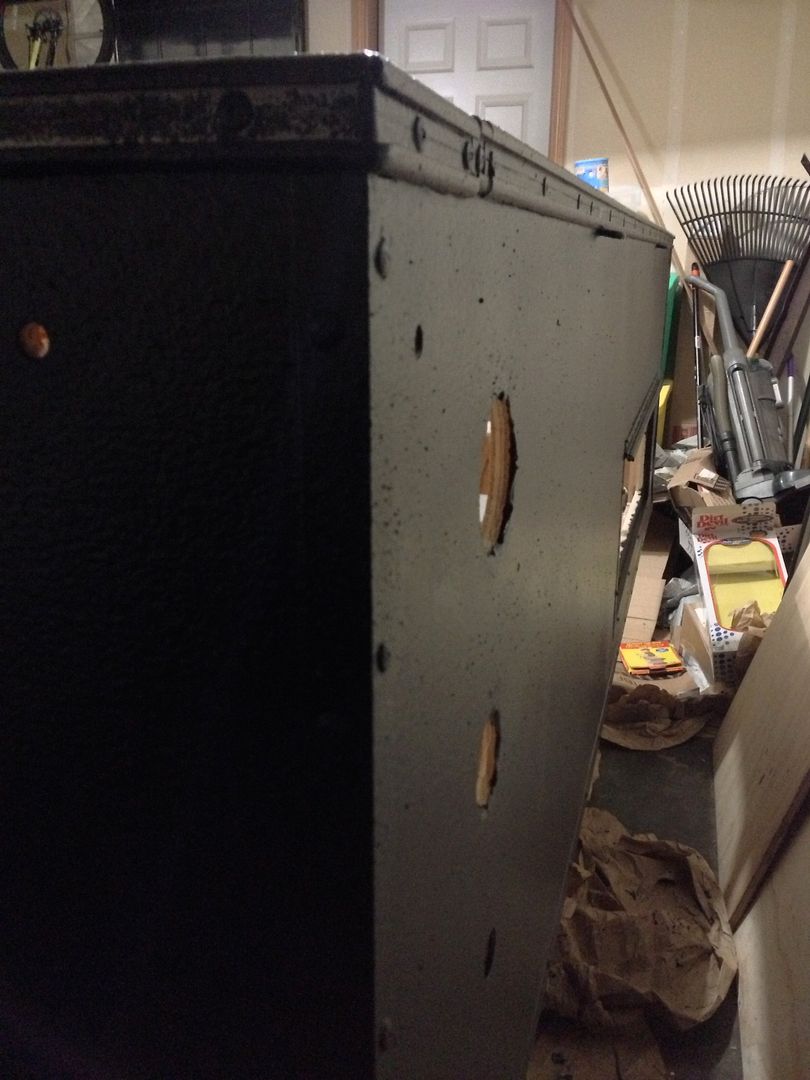
Well, I got the paint on it, but whole process was kind of frustrating. The first coat of Monstaliner went on fine. The second coat (the one that provides the texture) was more touchy, which is to be expected. But at about 60% of the way through the second coat I had to take an emergency 2 hour break (not to divulge too much on an internet forum, but it involved an ER visit for the wife - everybody's going to be OK though). When I got back I had the decision of leaving it as is and buying more bedliner with the hope that I could blend it in weeks from now, or to stay up late and try to get it done that night. I chose that night and it was probably the wrong decision. The last part of it has lots of chunks of dried paint. I tried to pick them out when I could, but I finished around midnight and my resolve was fading.

Anyway, it'll work, but parts of it won't look nearly as good as a pro would've done. Also, I shouldn't have tried to paint over the hinges (obvious now) because it will just make the paint peel and chip. Also, I didn't allow enough clearance when the doors swing shut to allow for the thickness of bedliner, so it'll probably rub off in some areas. I'm VERY glad I chose to go with black rather than OD green because I know I'll need touch-ups over time.

Here's the side with the camper door and 2 storage doors

IMG_0146.jpg


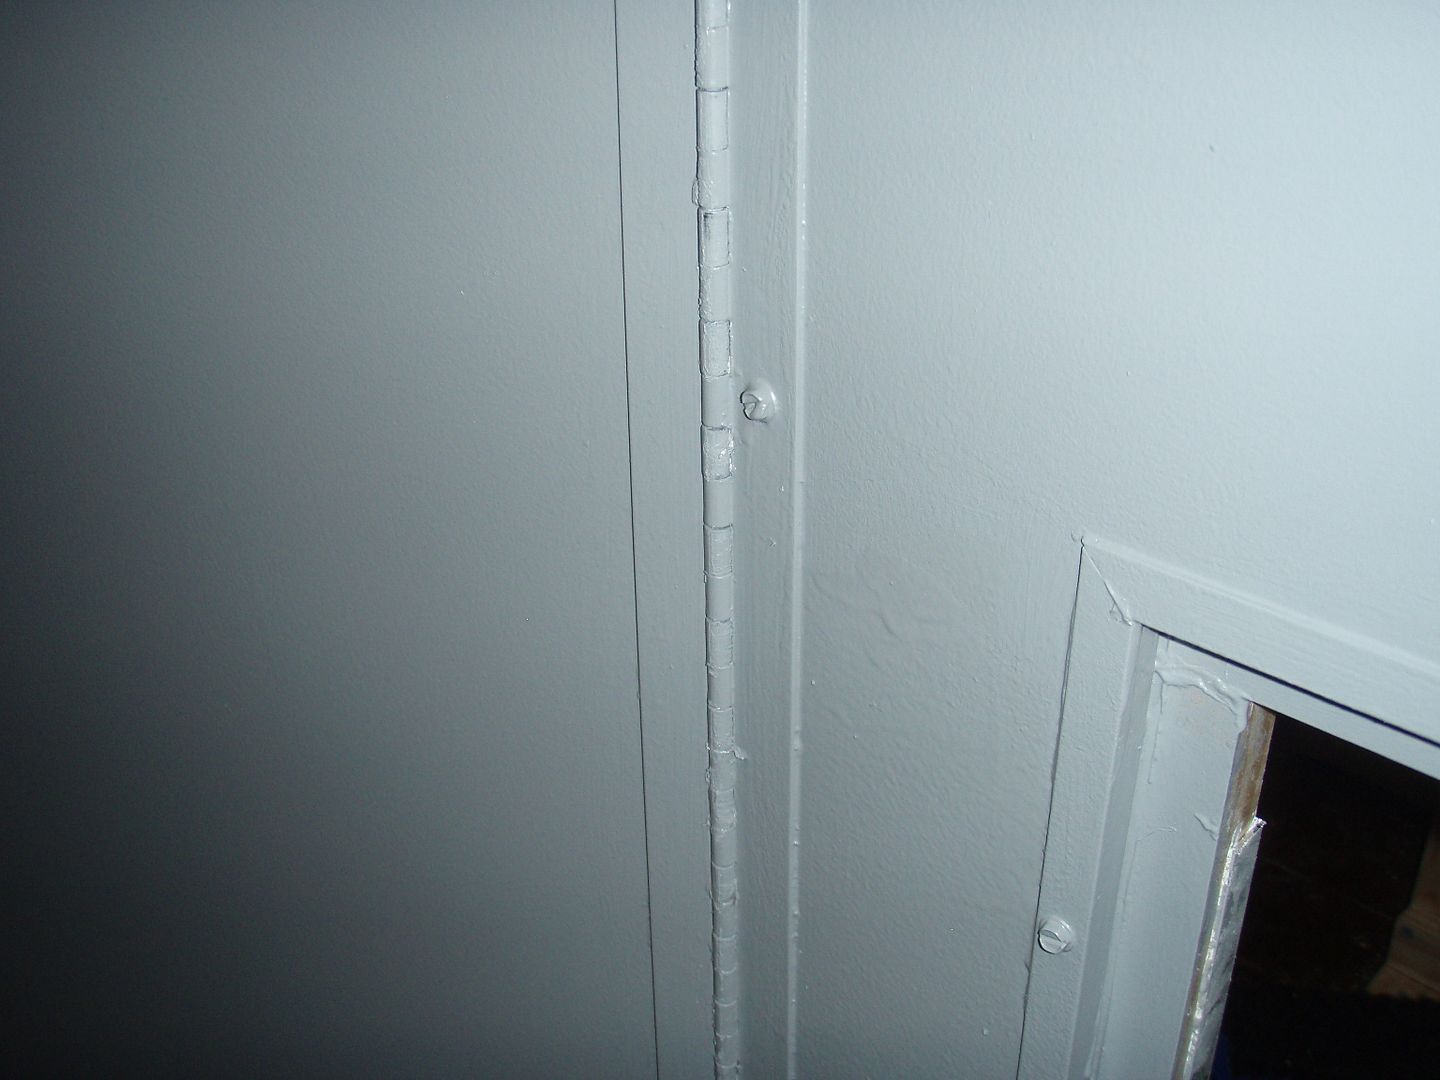
Close up of the door. The teardrop hurricane hinges seem to be a good choice: easy to paint and those hinges won't peel, just the door hinges. Here's a close up of the teardrop hinge over the under bench storage area.

IMG_0148.jpg


The back

IMG_0140.jpg


Here's the front. It's part with the worst finish

IMG_0144.jpg


Here's a close up of the driver's side panel, which is where I started running into trouble. You can see the lumps pretty well in this one. You can even see that I got the back half done before and then the problems started.

IMG_0150.jpg


I really debated just posting the pics of the areas that turned out better (as I know some people do), but I figured that I learned from reading people's threads and I hope someone can learn from this one as well.
 

Forum statistics

Threads
187,323
Messages
2,893,405
Members
228,166
Latest member
Nchamp
Top