TheThom
Adventurer
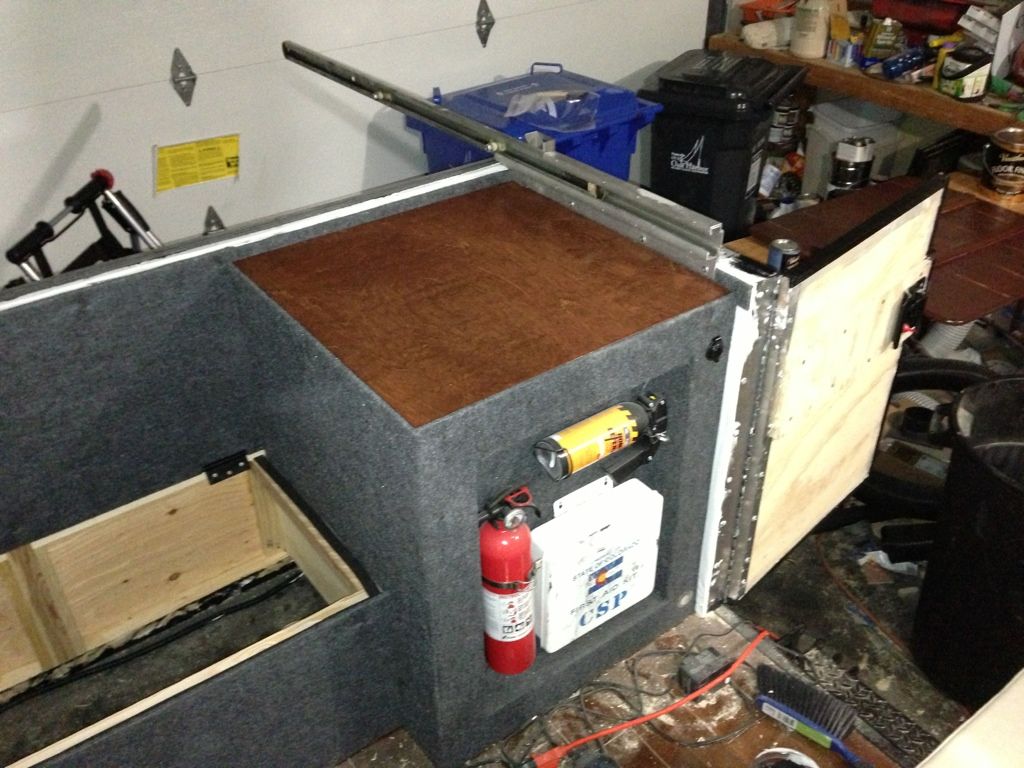
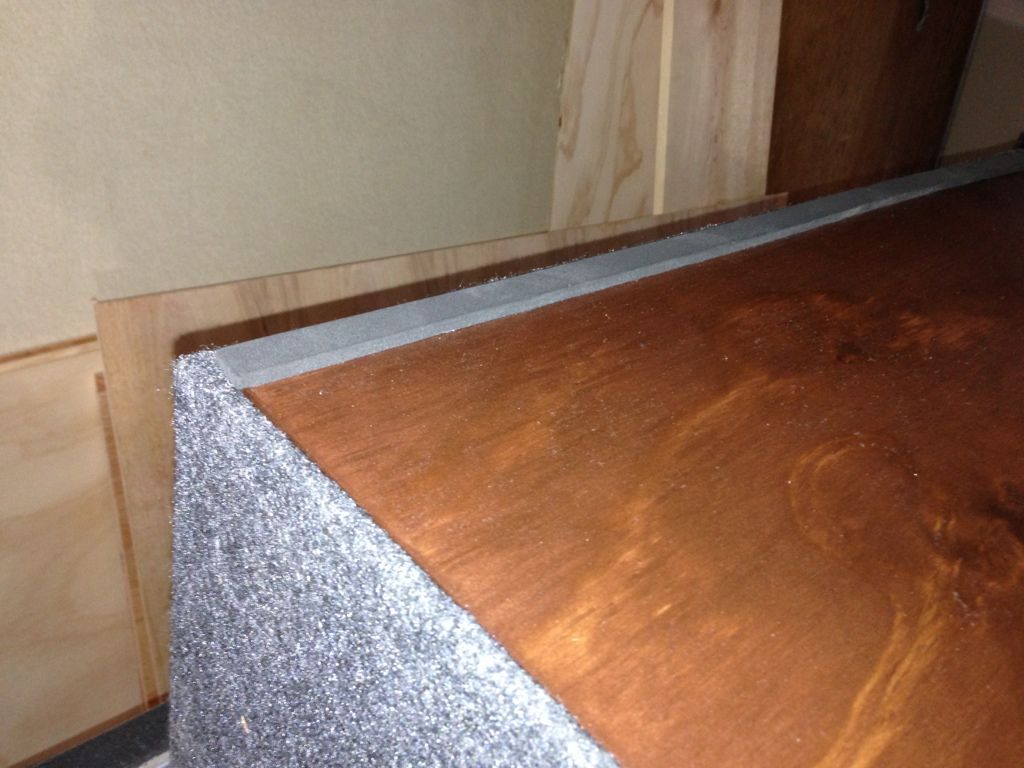
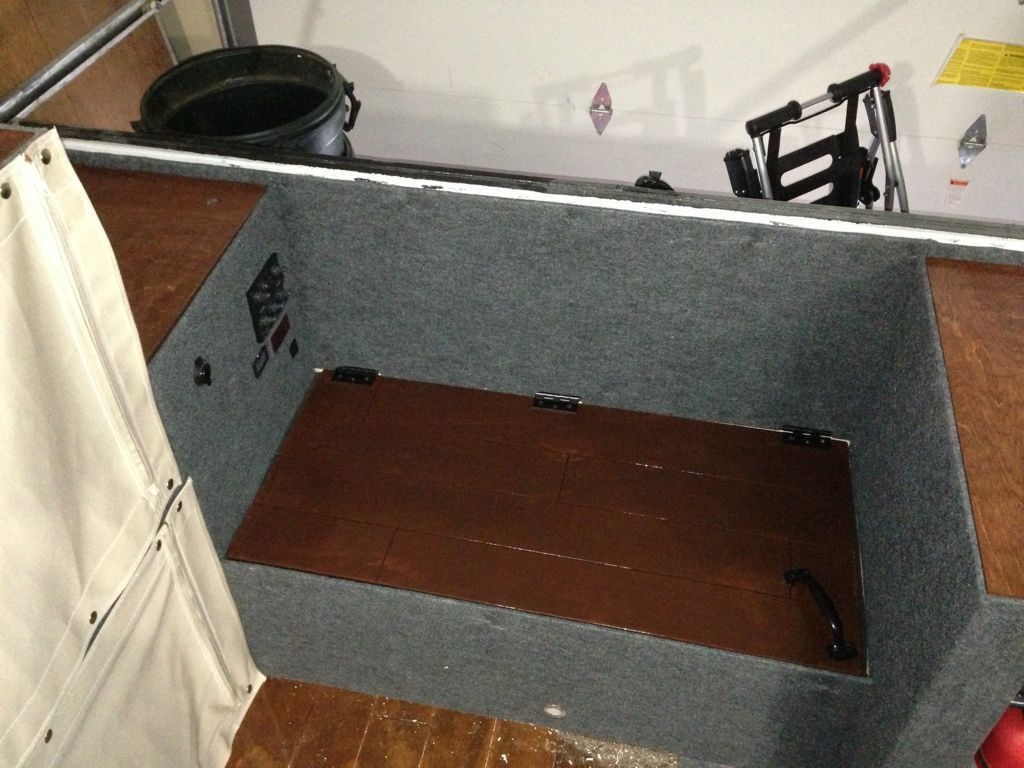
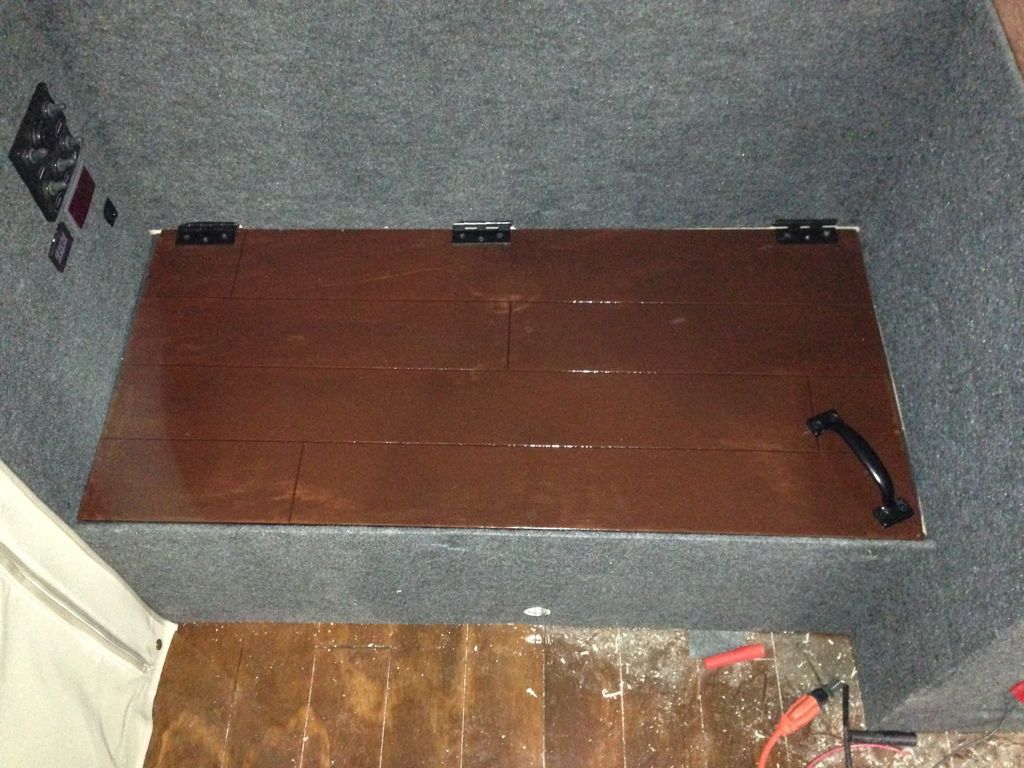
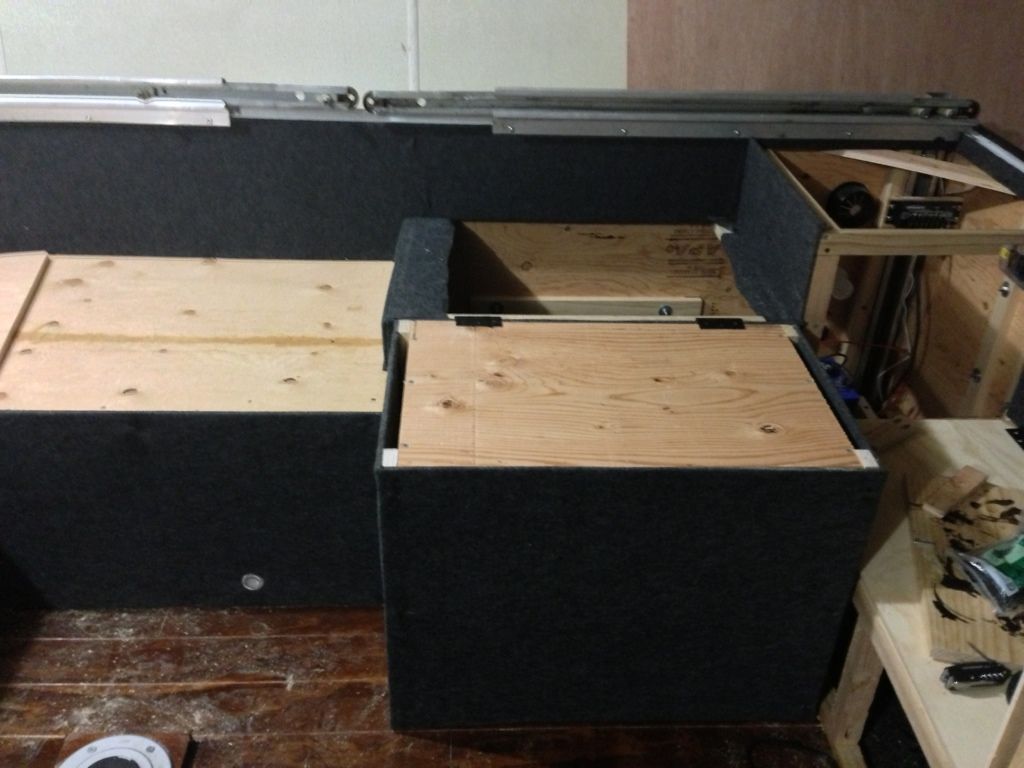
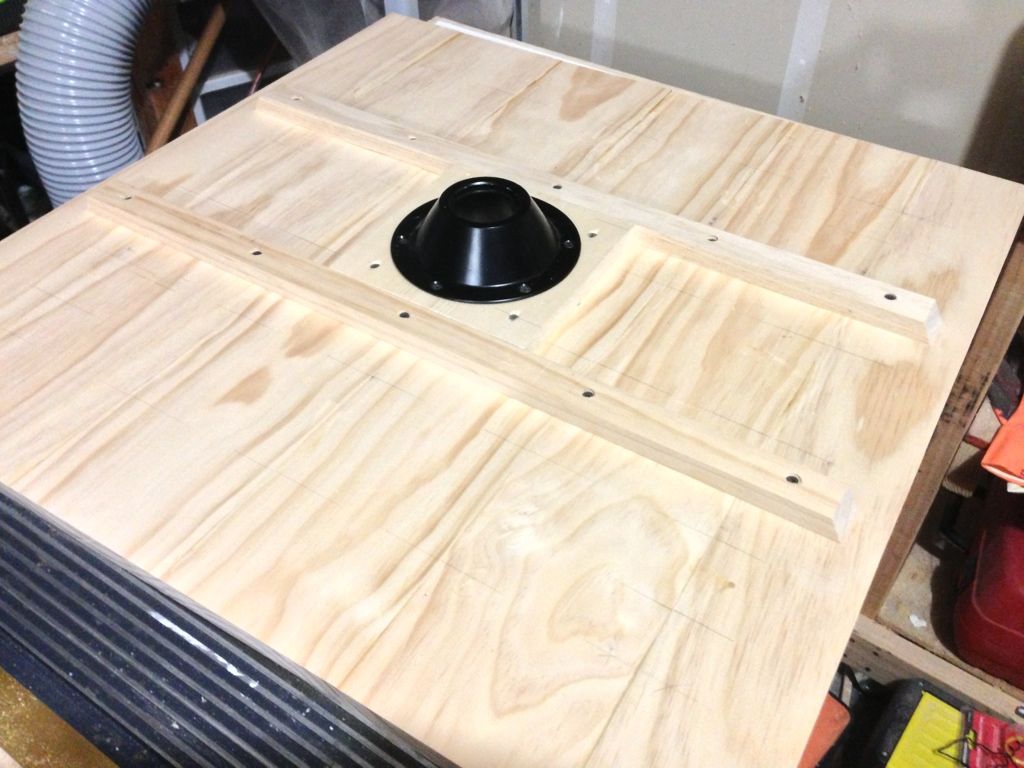
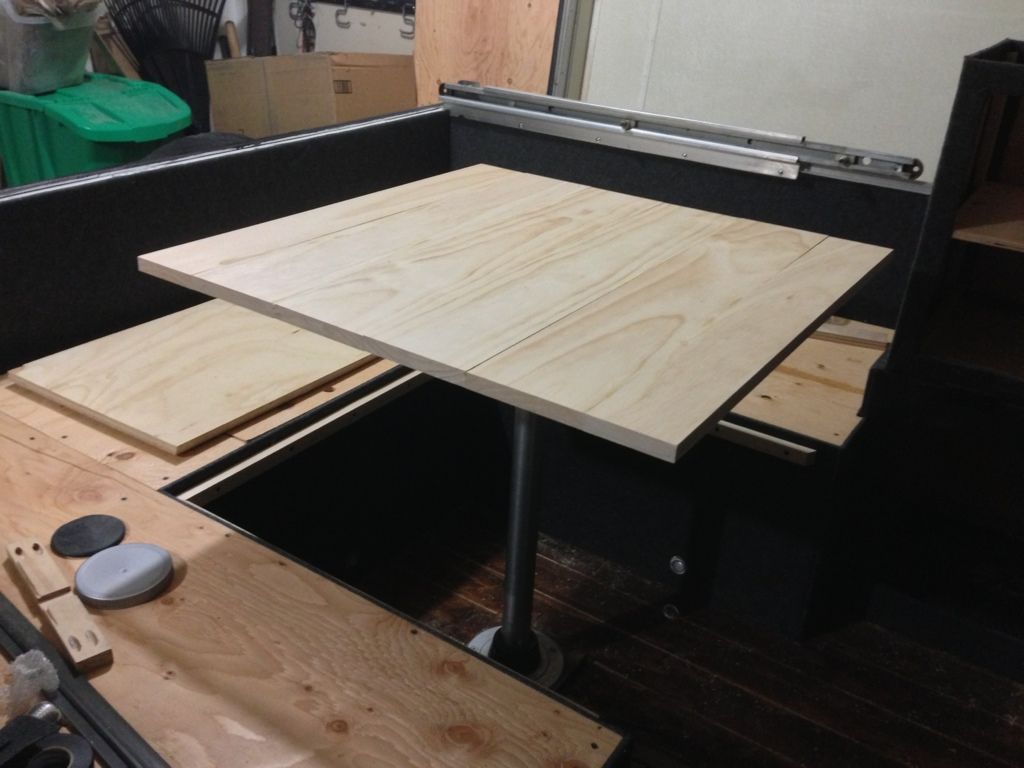
I've got the folding shelf/counter built. That ended up being more work than I thought it would for such a simple shelf. Between the facing covered in fabric, tweaking the dimensions, and figuring out the best way to attach the hinges, it took a bit of brainstorming/fiddling. I'm going to stain all of my counter top wood and table at the same time, so there's currently no top on it.
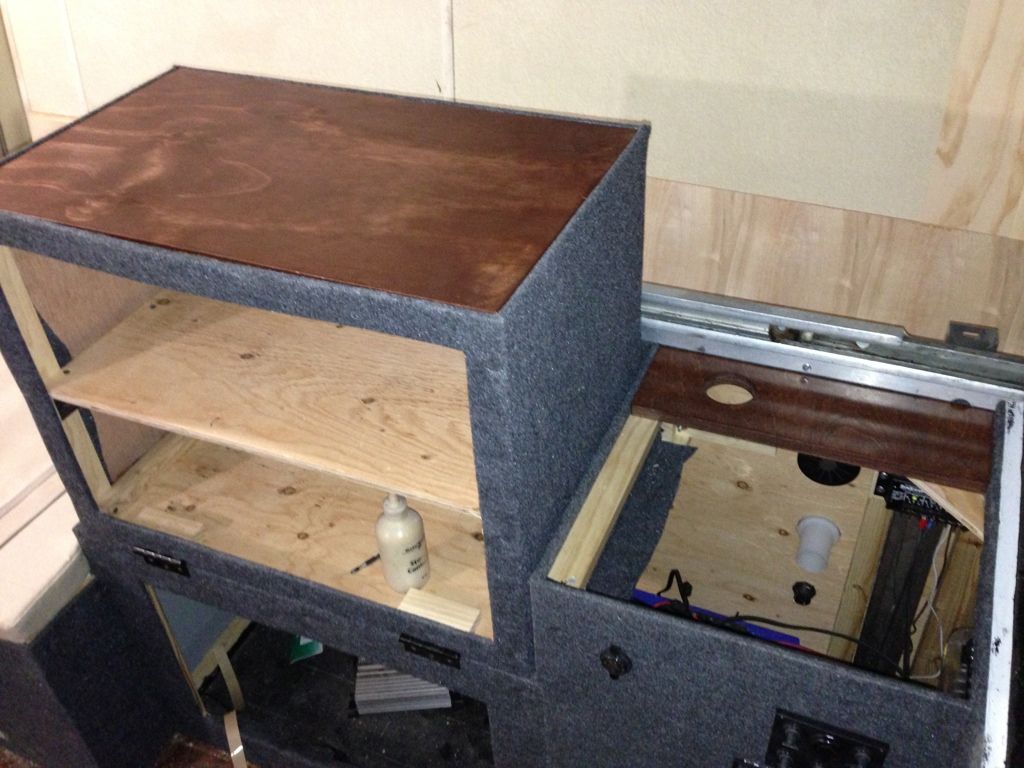
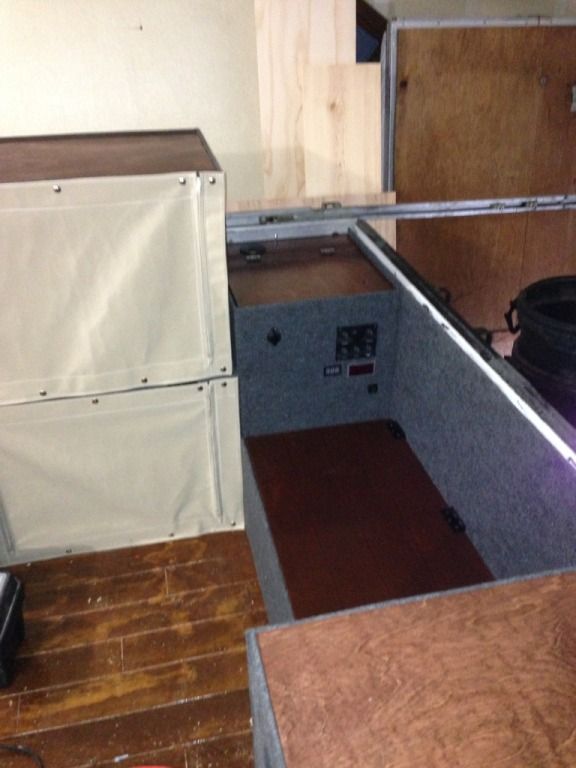
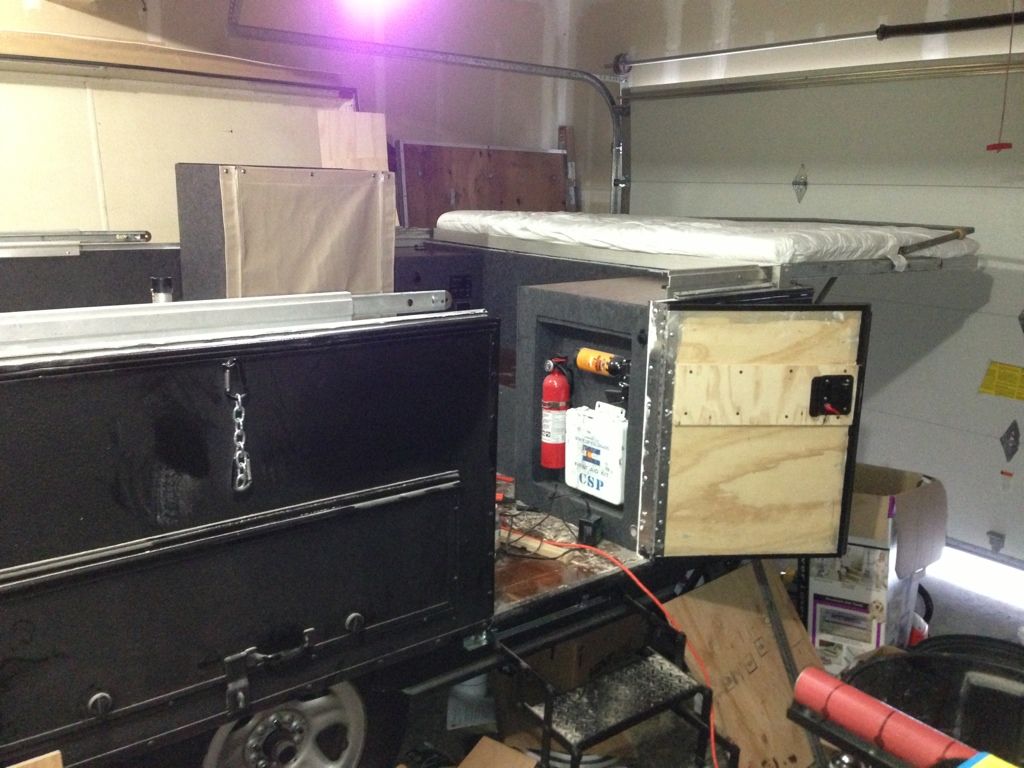
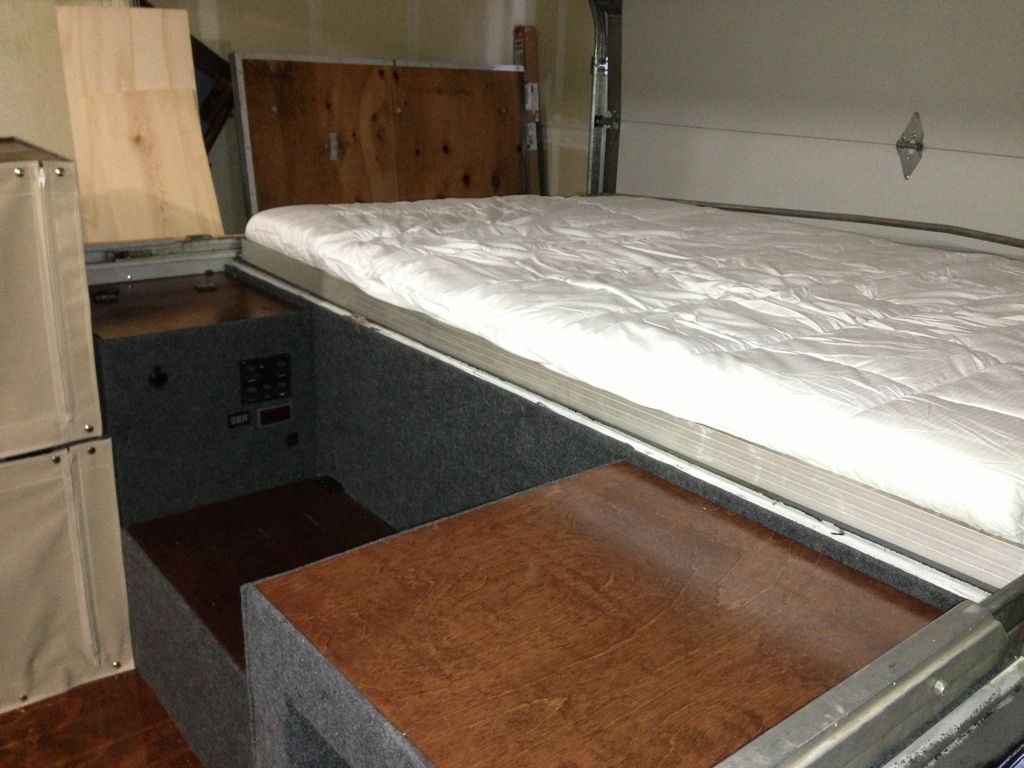
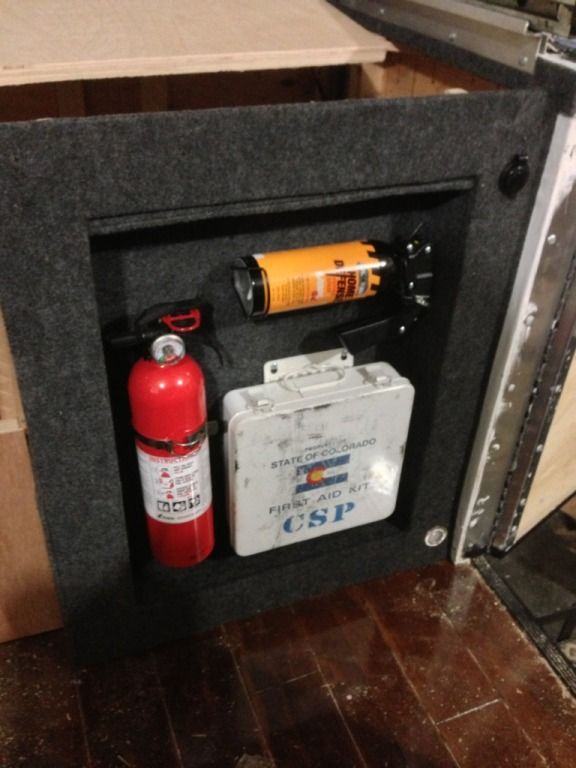
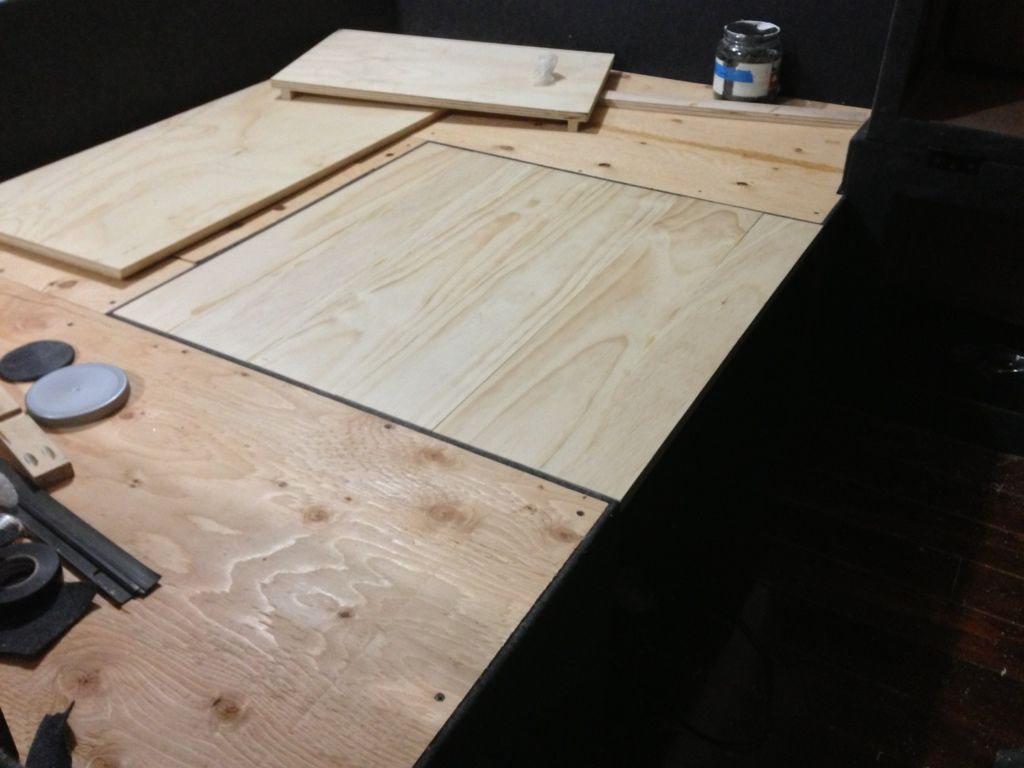
Here it is collapsed
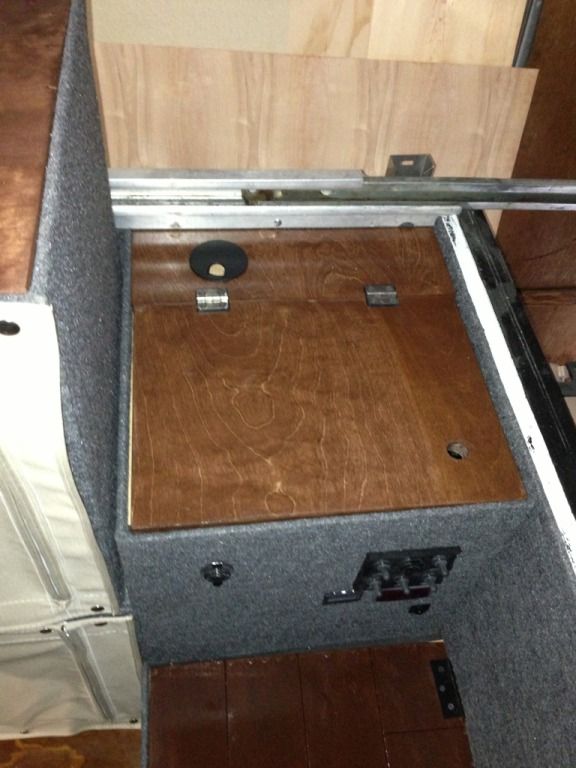
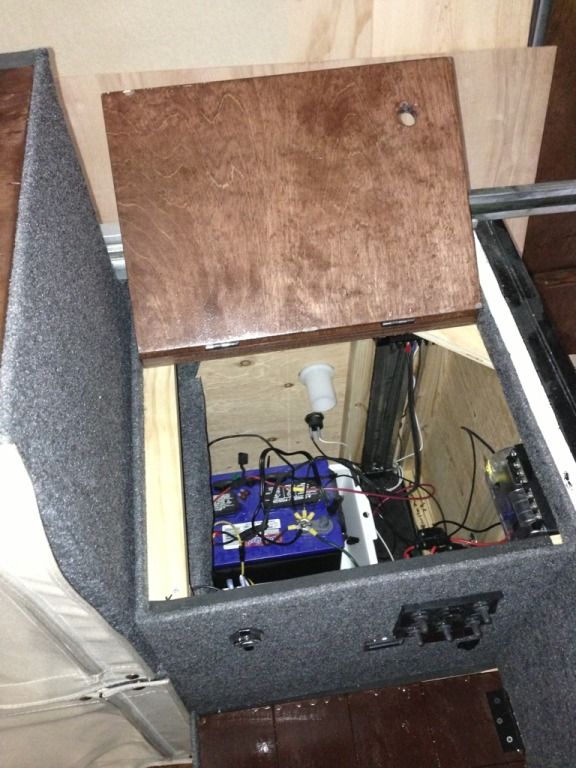
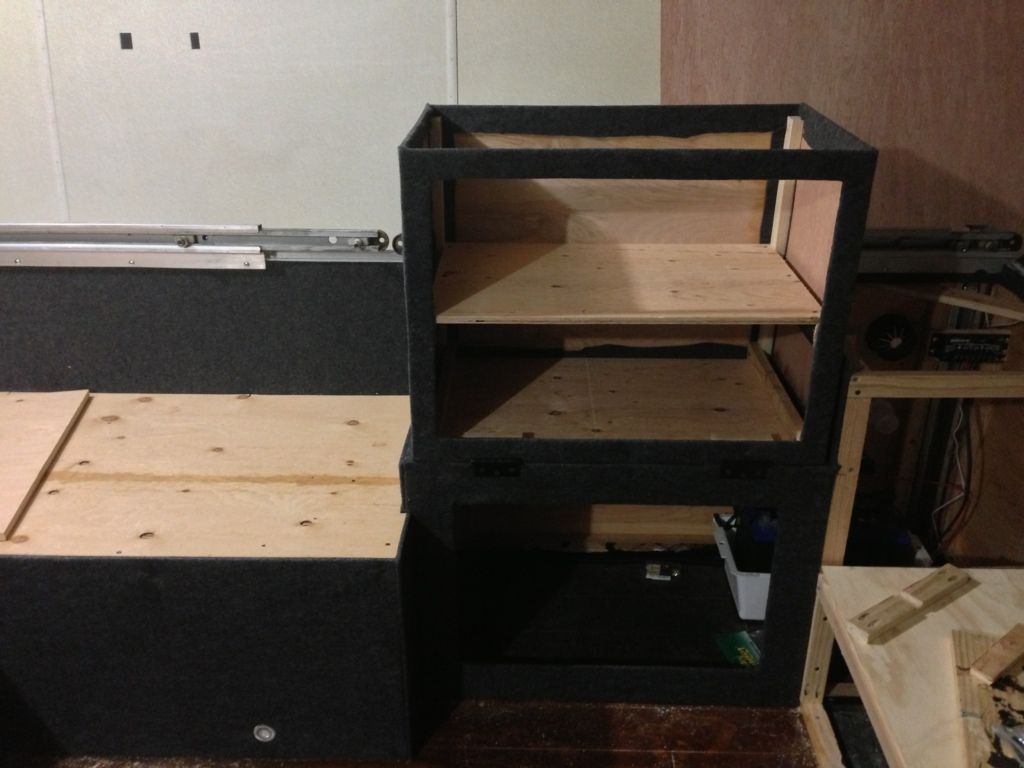
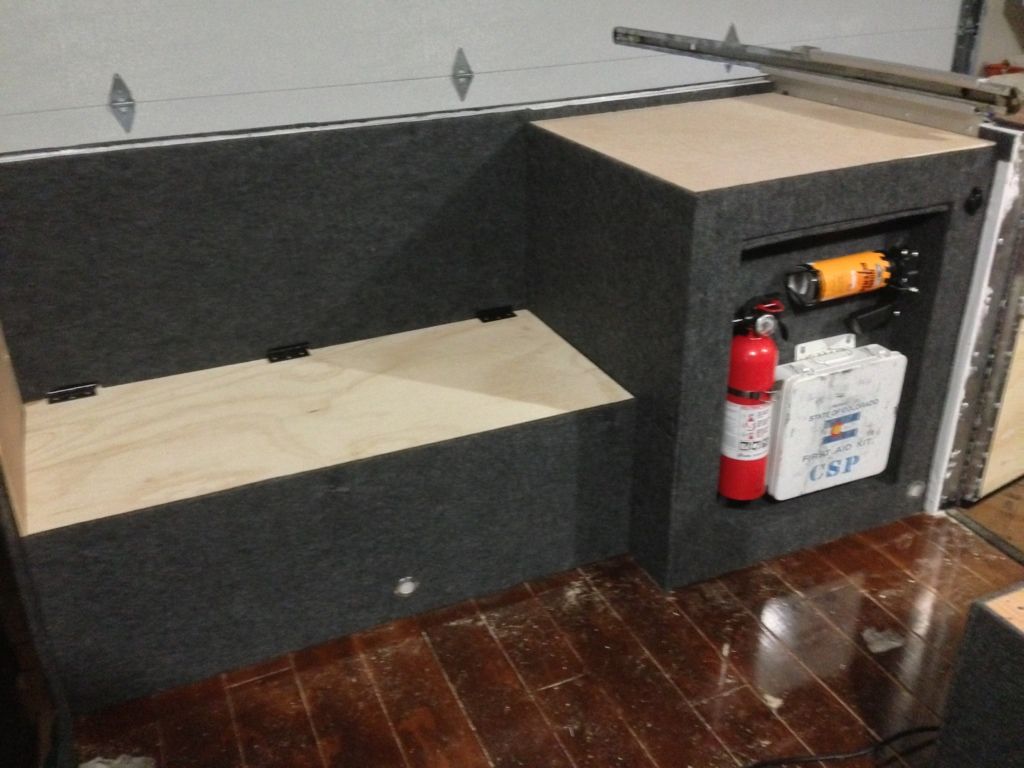
Here it is set up
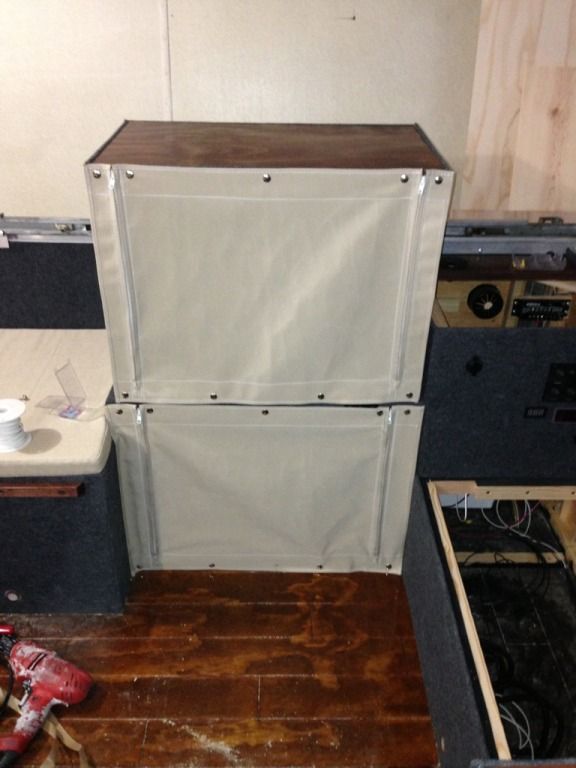
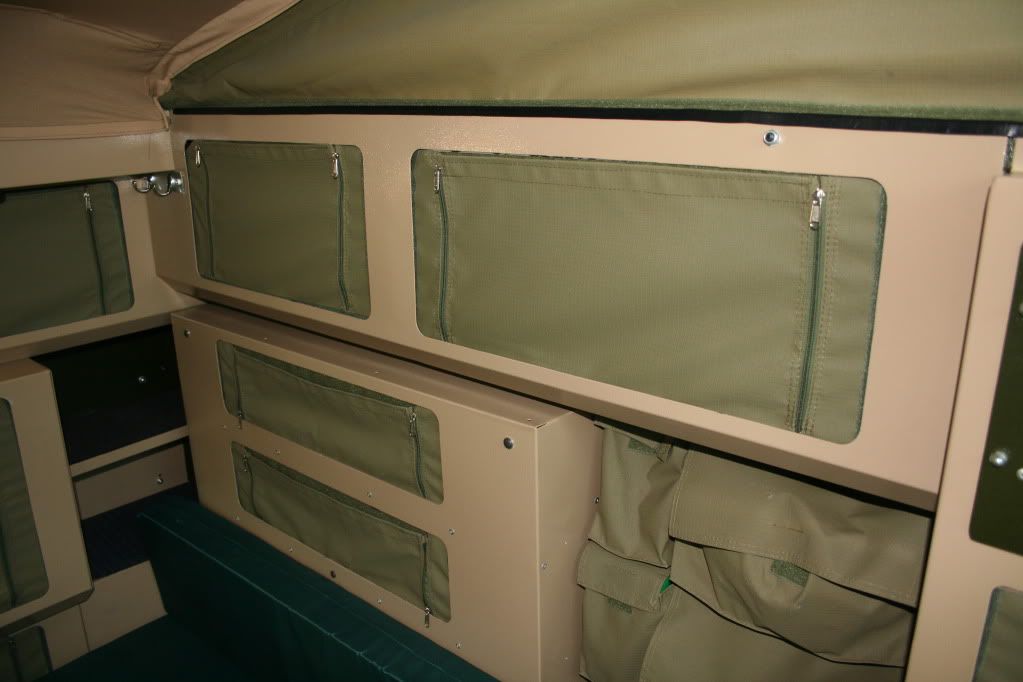
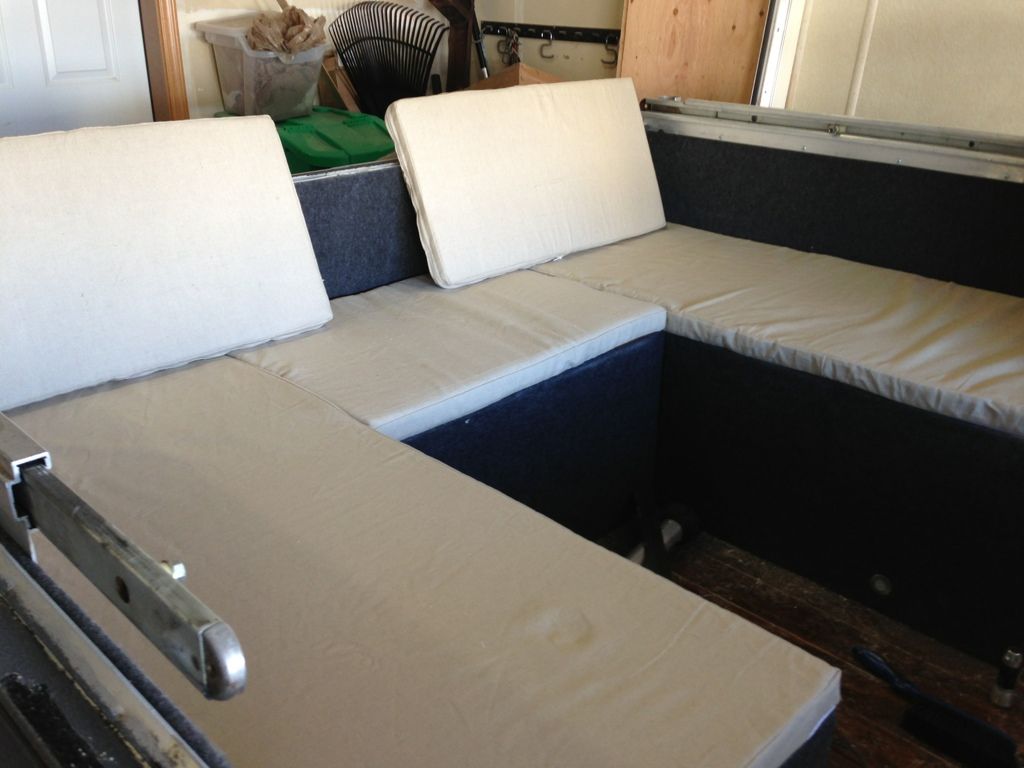
For the doors, I'm hoping to "borrow" and idea from the conqueror trailers-but I'll see if the upholsterer can use some tan canvas to match the main canvas
Here it is collapsed
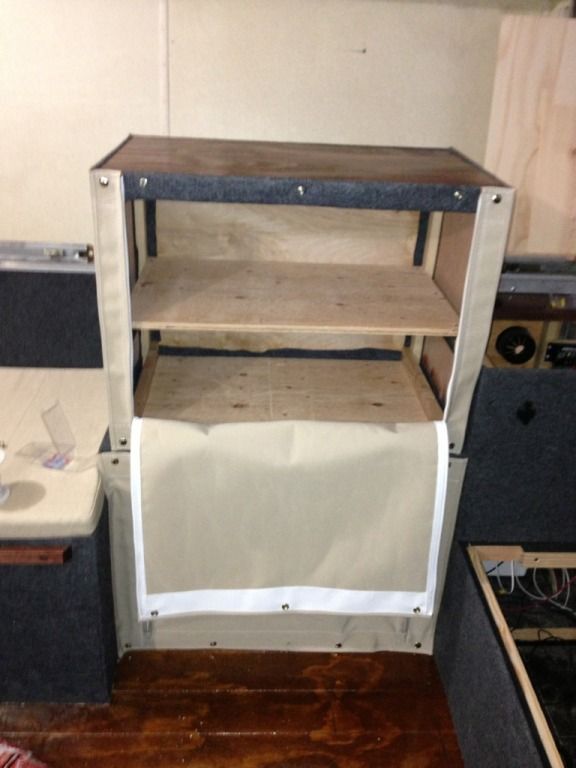
Here it is set up
For the doors, I'm hoping to "borrow" and idea from the conqueror trailers-but I'll see if the upholsterer can use some tan canvas to match the main canvas

 O])
O])