zelseman
Observer
It has been a whirlwind of a couple of weeks, apologies for the lack of updates. We through a lot of work in on the 4Runner before heading off to Expo EAST and didn’t have a ton of time to post progress.
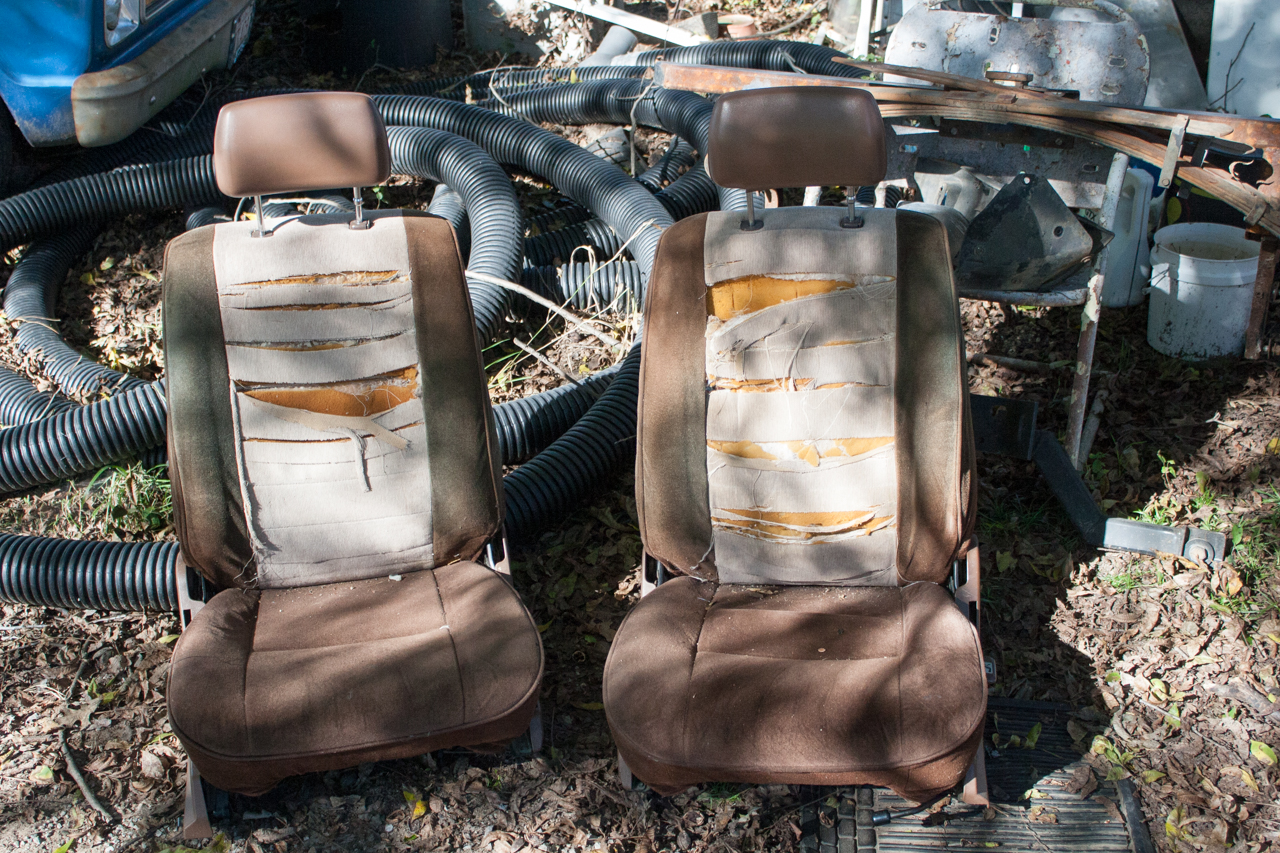
We pulled the seats and crappy seat covers to reveal some pretty chewed up seats. We will be keeping an eye out for some vintage correct Toyota seats, but in the meantime some Cabelas Trail Gear seat covers will do the trick. These are some of the best seat covers I have ever used for the price. While the seats were out we added a vinyl floor kit from OC Auto Carpets.
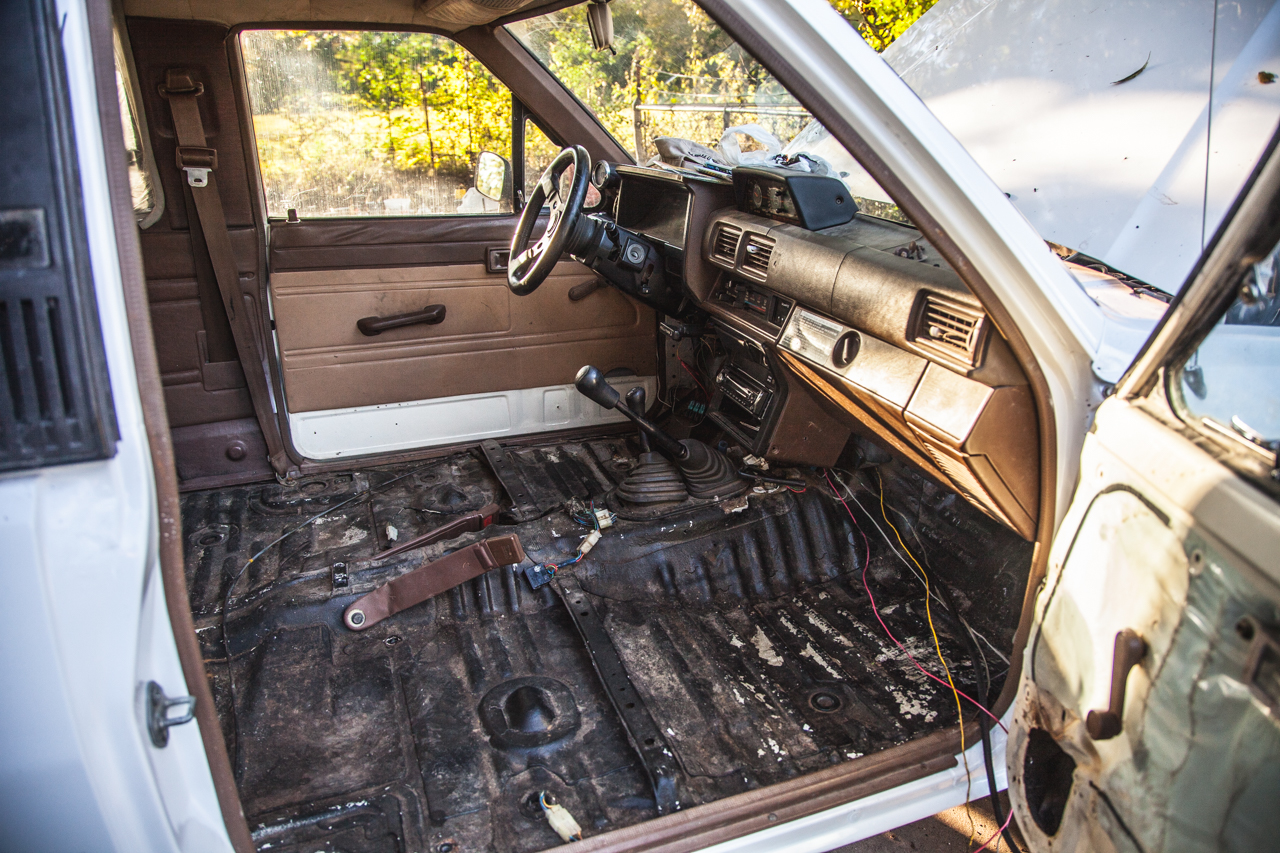
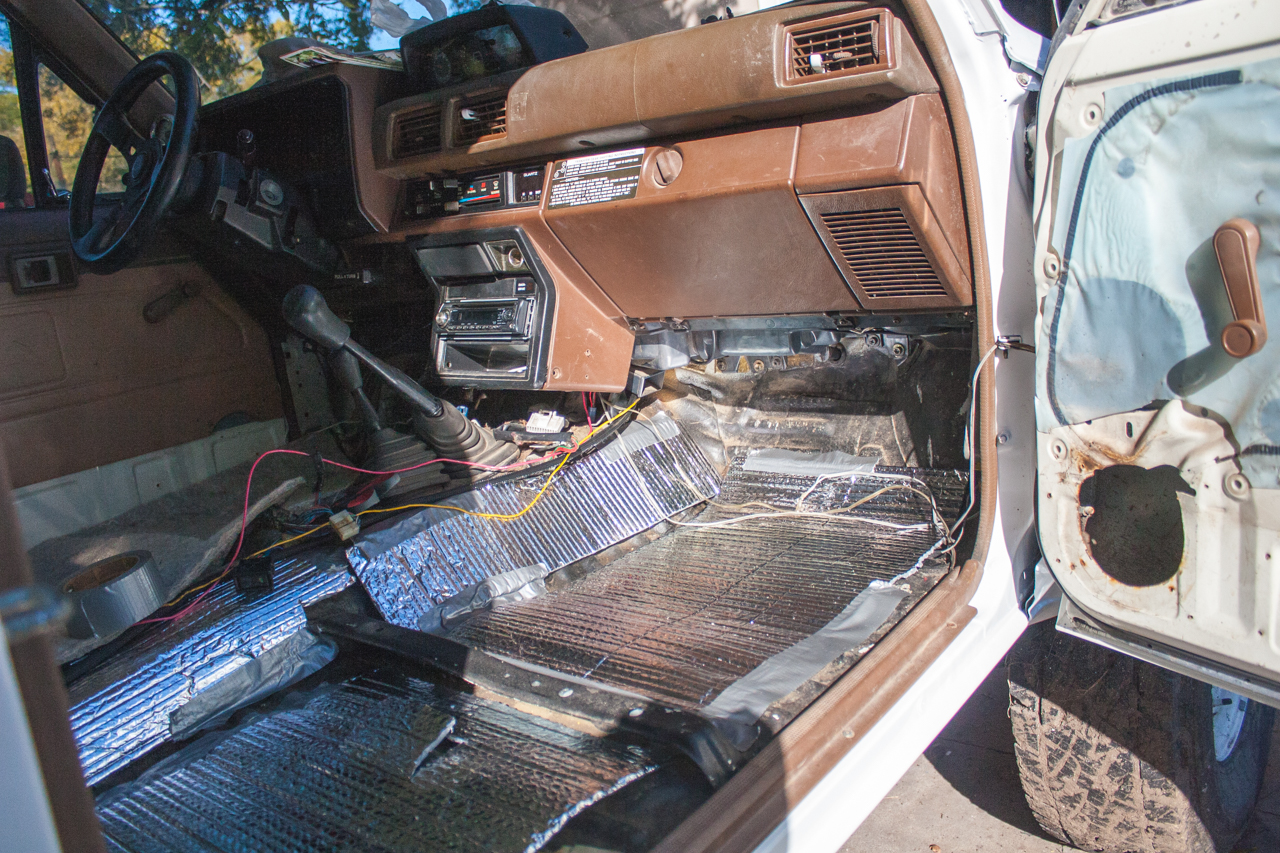
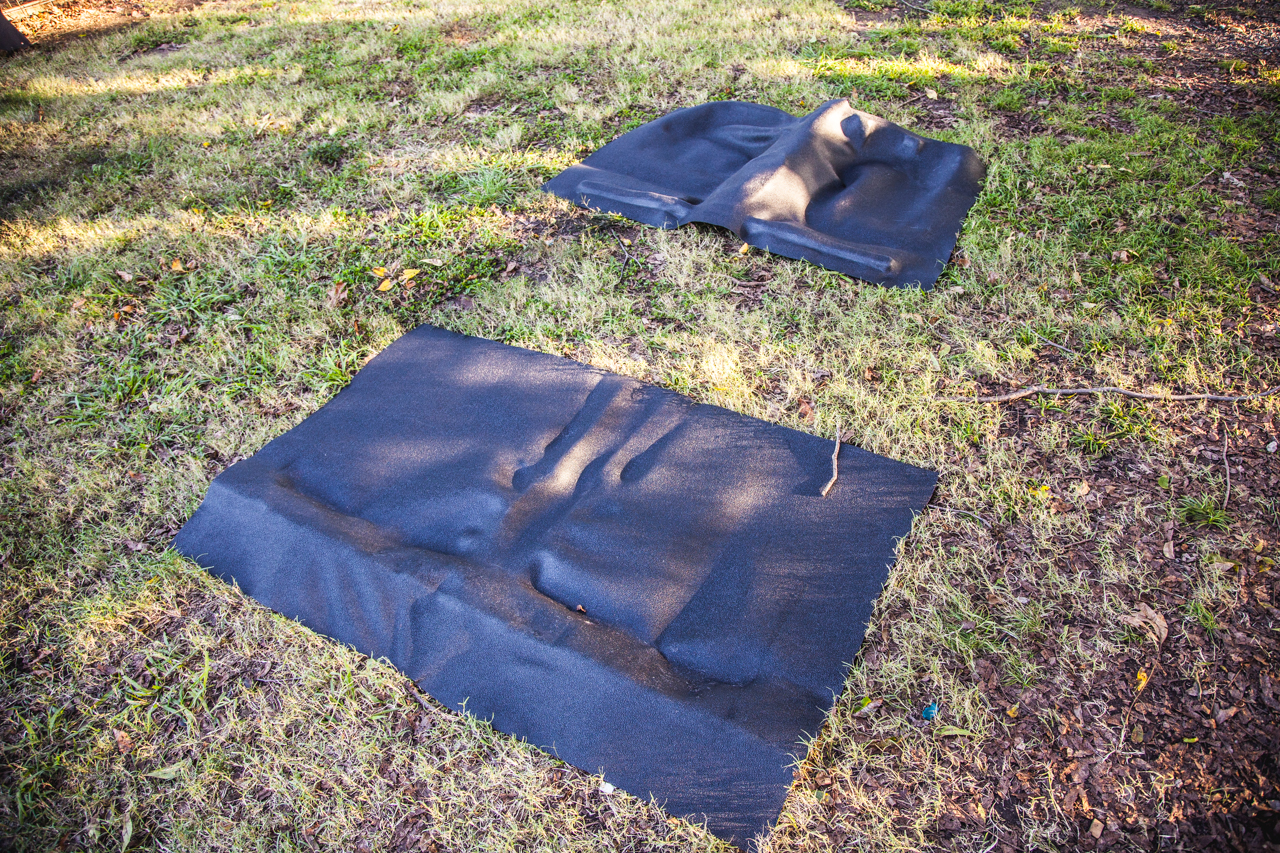
The vinyl quality is top notch, however cutting it to fit the floor and still fit under the trim and around the shifters is not easy. I didn’t have existing carpet to compare to and in hindsight I should have picked up a carpet piece from a junker 1stgen and marked all of the holes and edges. I made some bad cuts and there are definitely some issues, but it is much quieter and easier to clean than the metal floor. I added some reflectix to the floor boards to help insulate and reduce the noise and the sound difference is HUGE!

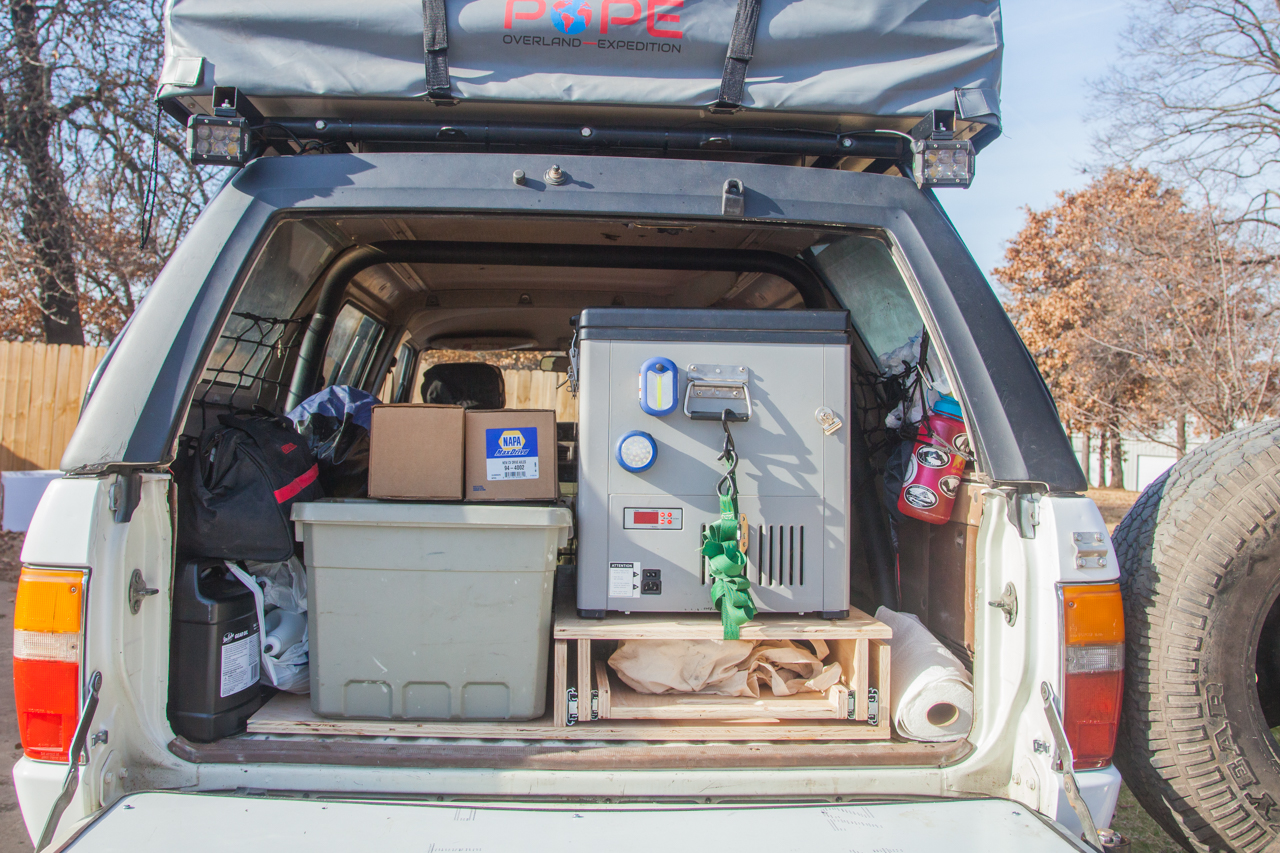
We ran all of the wiring for the dual battery (behind the seats) and all of the accessories running off of the AUX fuse box. Accessories will include the radio (stock wiring was useless), LED Lighting over the tailgate, and the refrigerator for now. I will post more details of the electrical system once we get the rear platform area constructed and finalized.
We ran out of time and took off for the 1000-mile trip to Expo EAST. The drive through the South is extremely beautiful in the Fall and our campsite half-way was no exception. We stopped at the Meriwether Lewis Campground near Hohenwald, TN (https://freecampsites.net/#!1082&query=sitedetails).
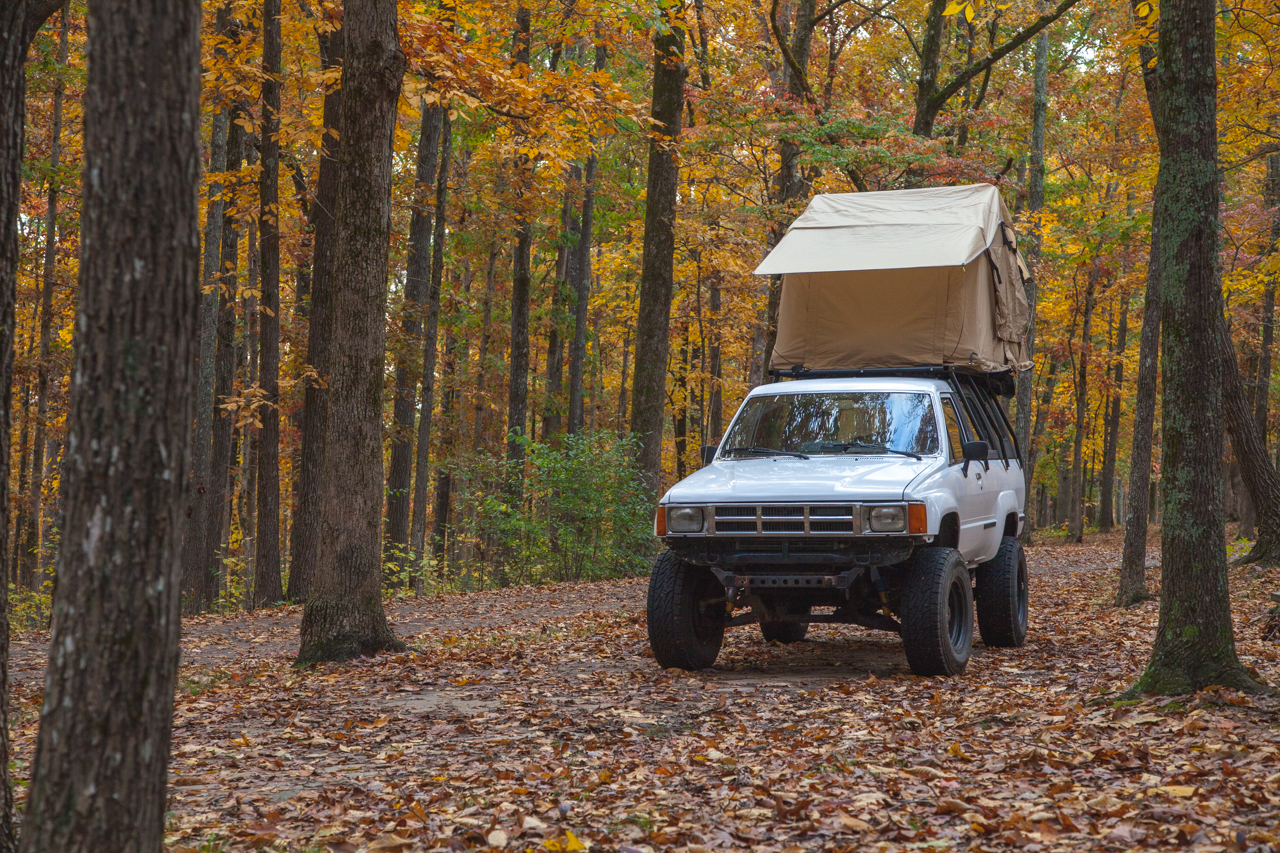
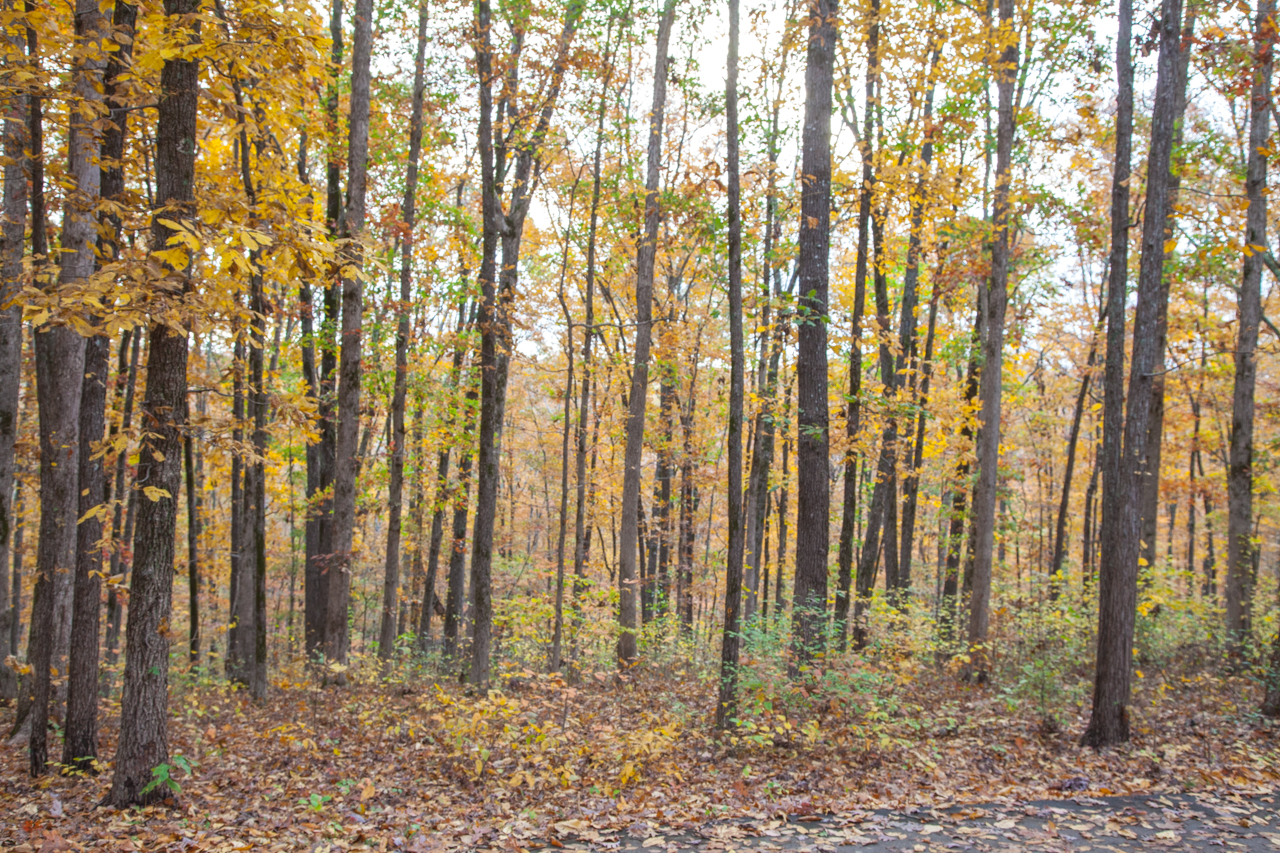
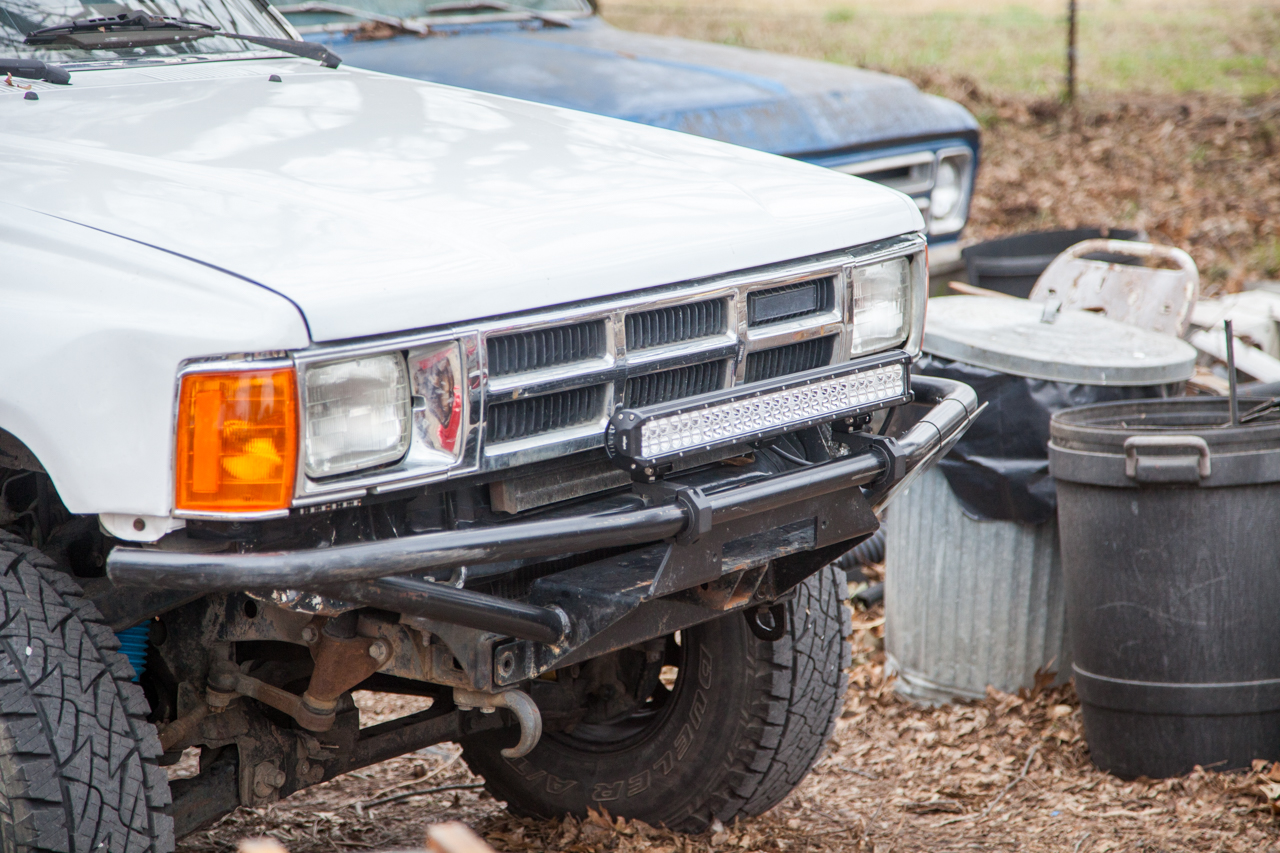
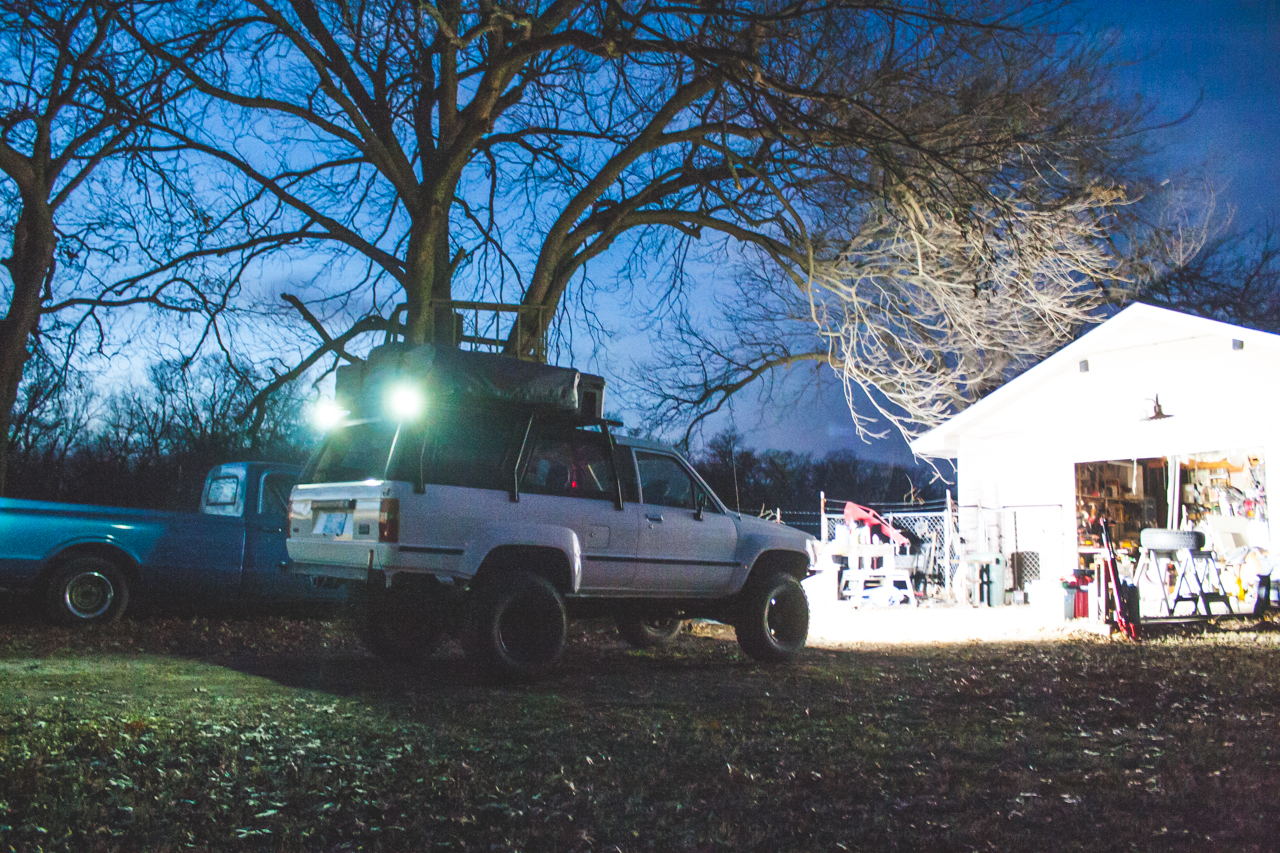
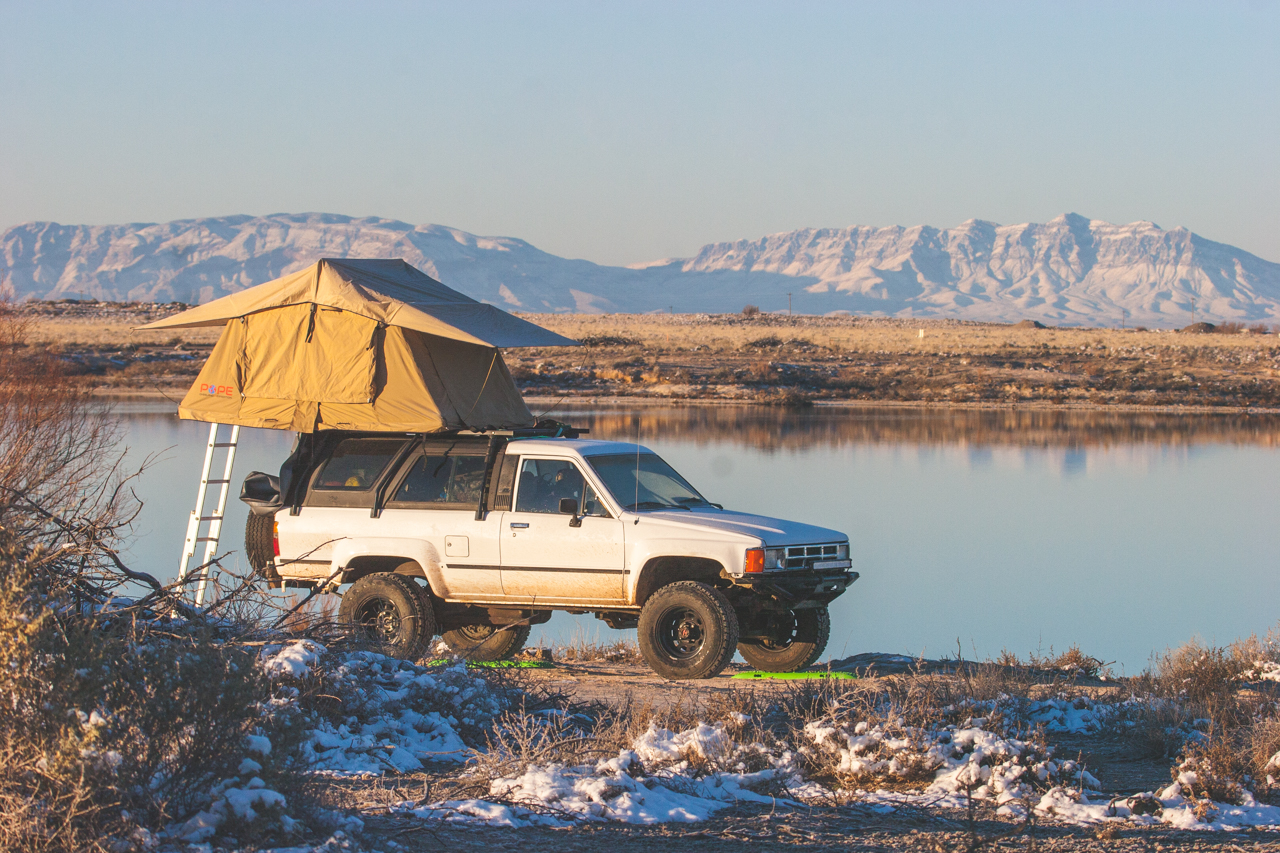
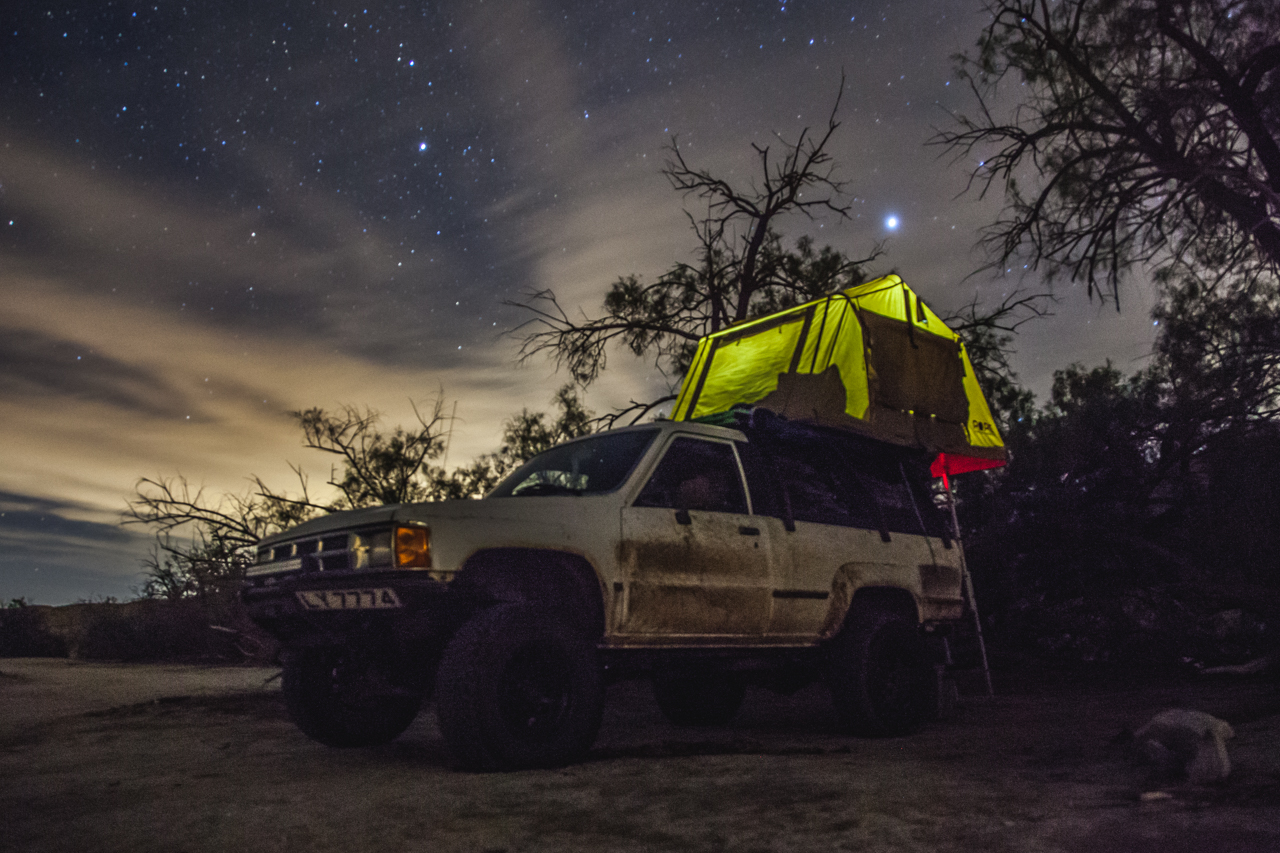
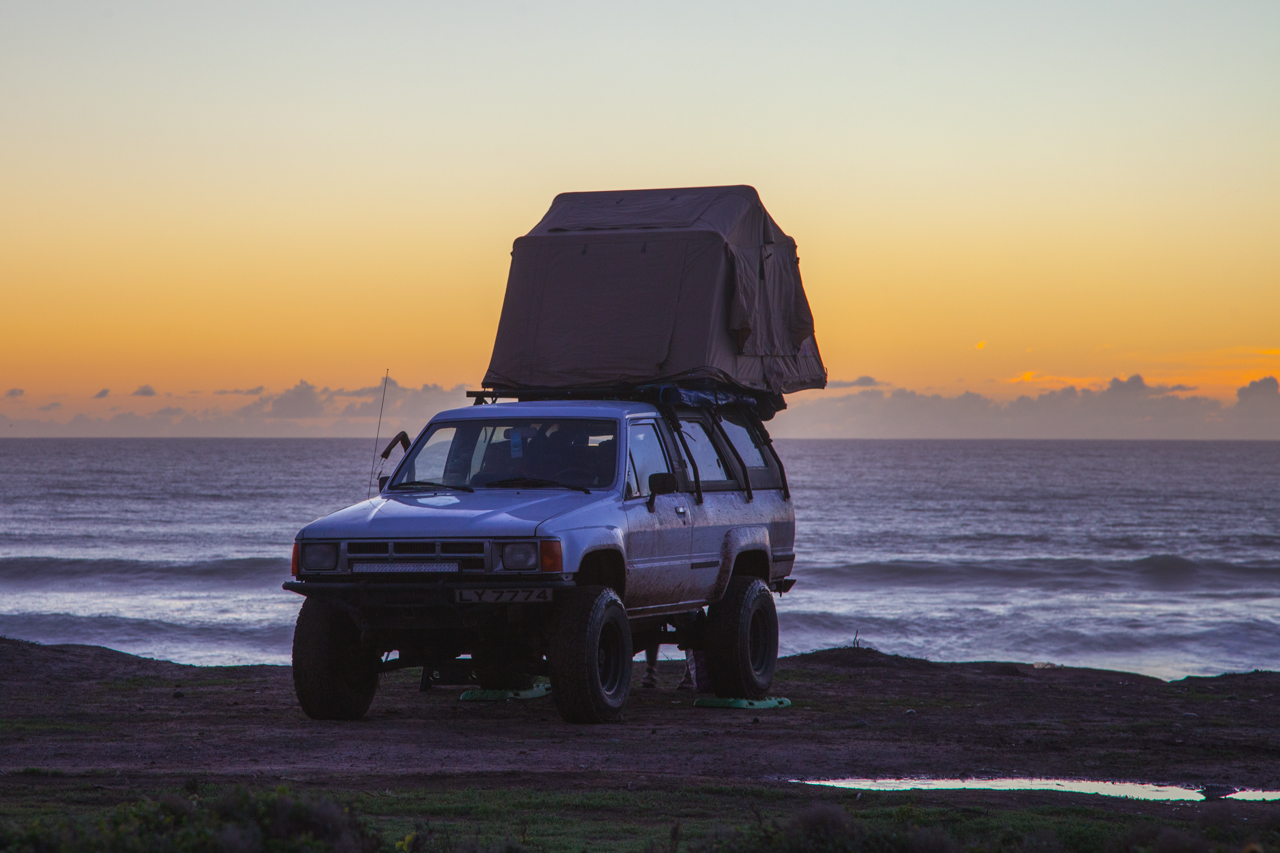
This campsite was way too nice to be free and both times that we stopped there it was flawlessly clean and well maintained. This was our first trip camping in the roof top tent and it worked really well. We are really excited about camping in this rig more. We took a detour up to Winston-Salem to pick up the Trail Gear front bumper for our rig. We got a good deal on it and it looks so much better and functions so much better than the DIY hack-job bumper (150lbs) that was welded on when we bought it. The TG bumper will allow us to run a winch eventually, have a recovery point, and greatly increase the appearance of the front end.

Our second campsite (https://freecampsites.net/#!60883&query=sitedetails) was almost as good as the first. It was a simple trailhead in the National Forest and it was a really nice place to stay the night.
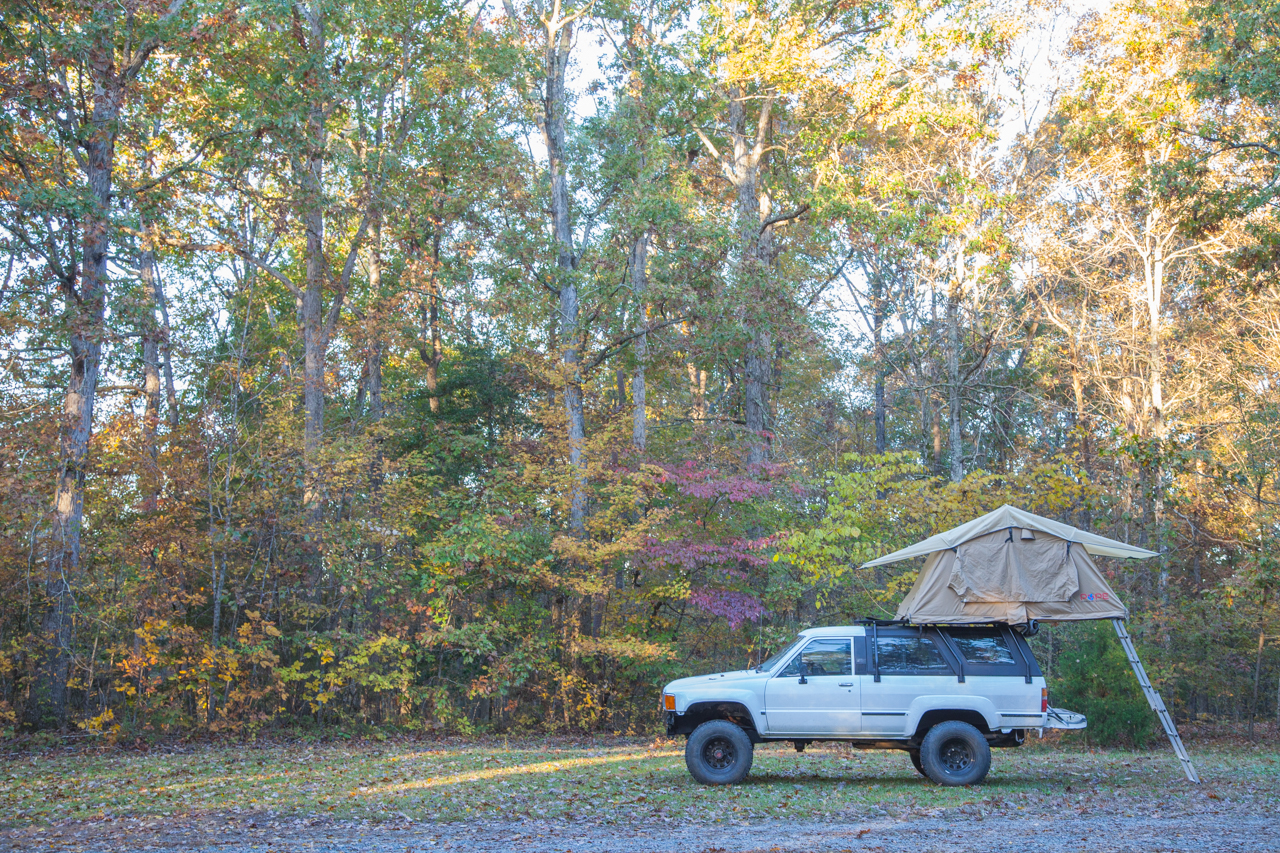
Our third campsite in the East-South was lack luster to say the least. We met up with a friend and tried to camp in Pisgah National Forest and ended up crashing a campsite that was being used as a permanent tent home for a local on a bicycle. The domestic violence and loud noises that carried on that night was less than impressive. Needless to say, we skipped breakfast and got out of there early in the AM.

We wandered into Brevard, NC for EAST and enjoyed a really good week at REEB Ranch. The event was very wet which created a really challenging week, but it was a fun first Expo EAST experience. We now want to return with bikes to enjoy REEB Ranch and DuPont State Forest properly.
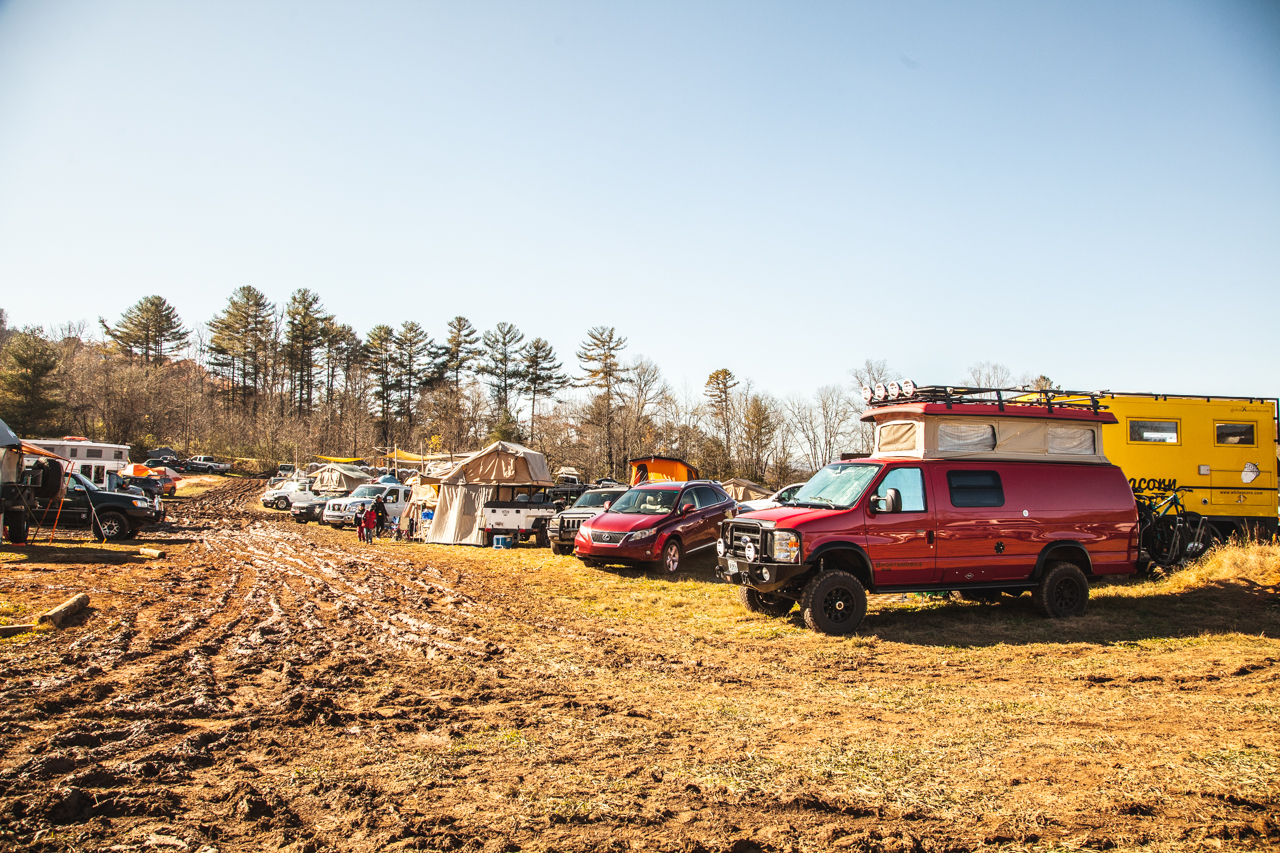
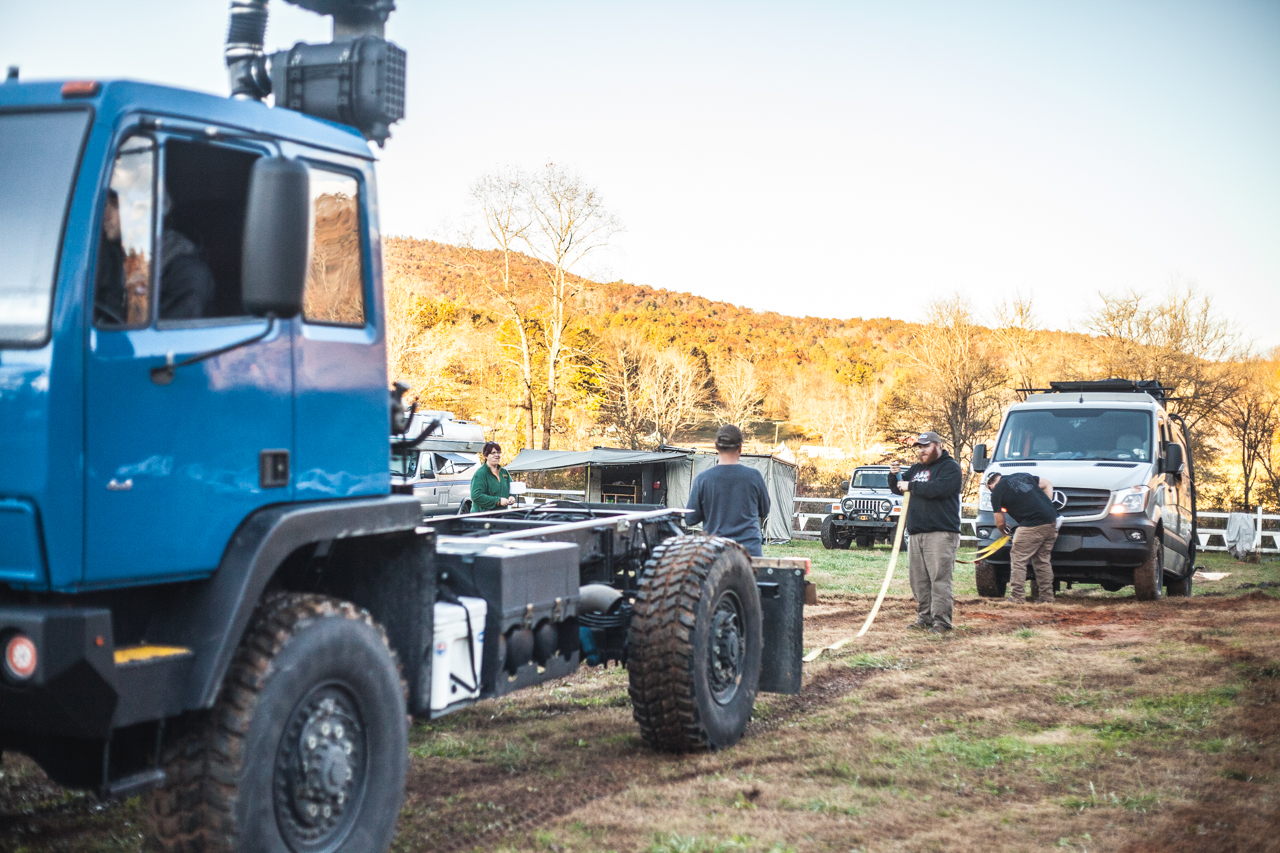
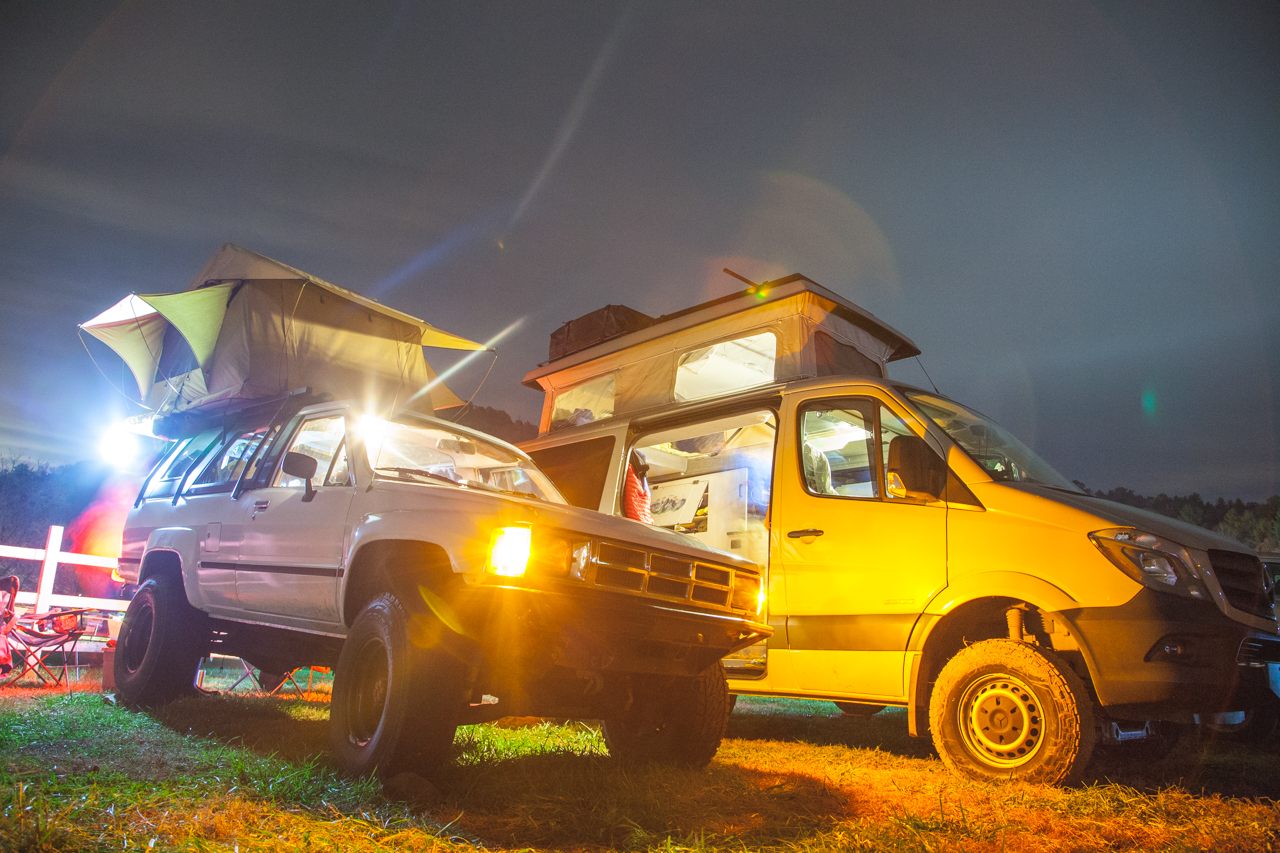

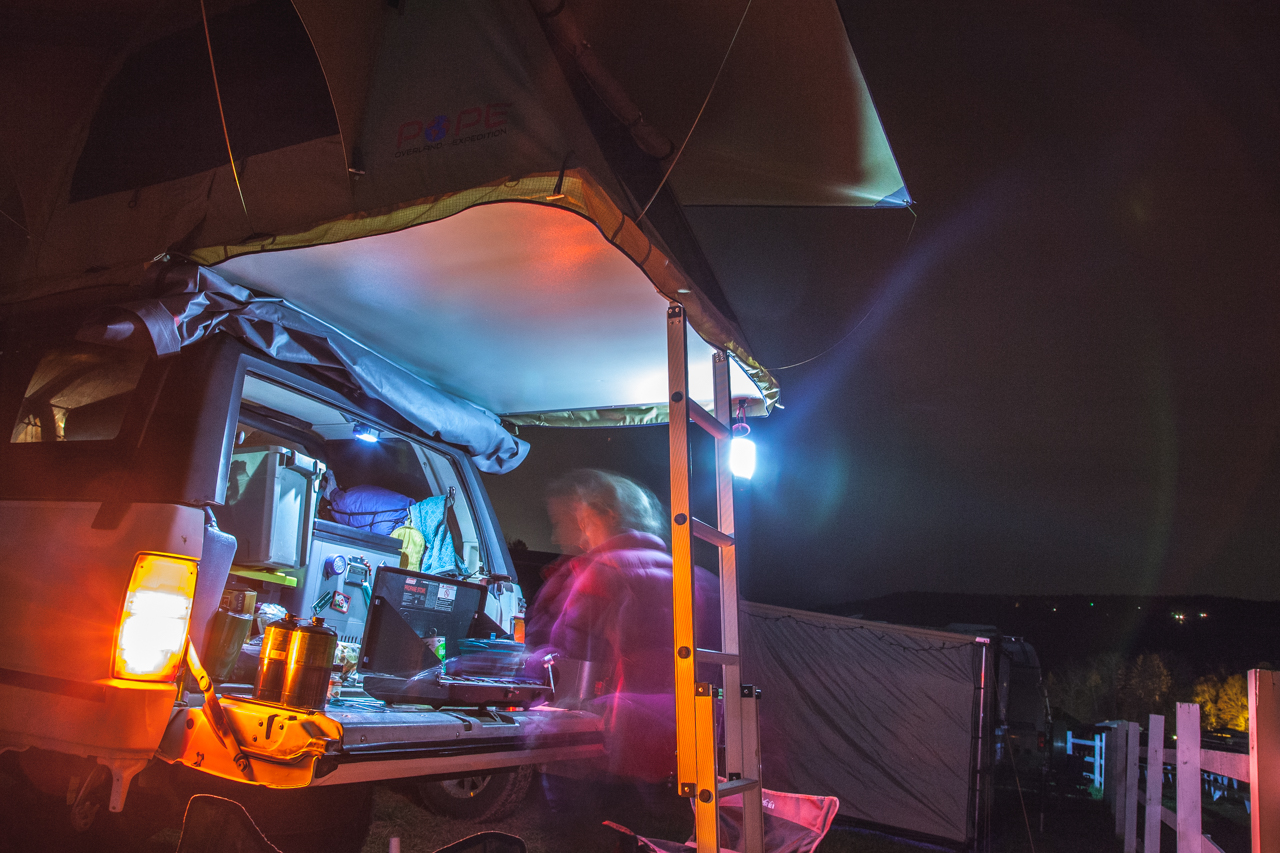
The weather was crazy and the truck handled the mud, rain, and more mud with ease. We were hoping that this shakedown trip would give us a chance to shakedown the truck and find any issues that could possibly come up on our trip to Baja. The list is growing…
-Suspected rear main leak
-Torn CV boots
-Brights don’t work (potentially a combo switch failure)
-License plate light doesn’t work
-Needs trans fluid change
-Needs oil change
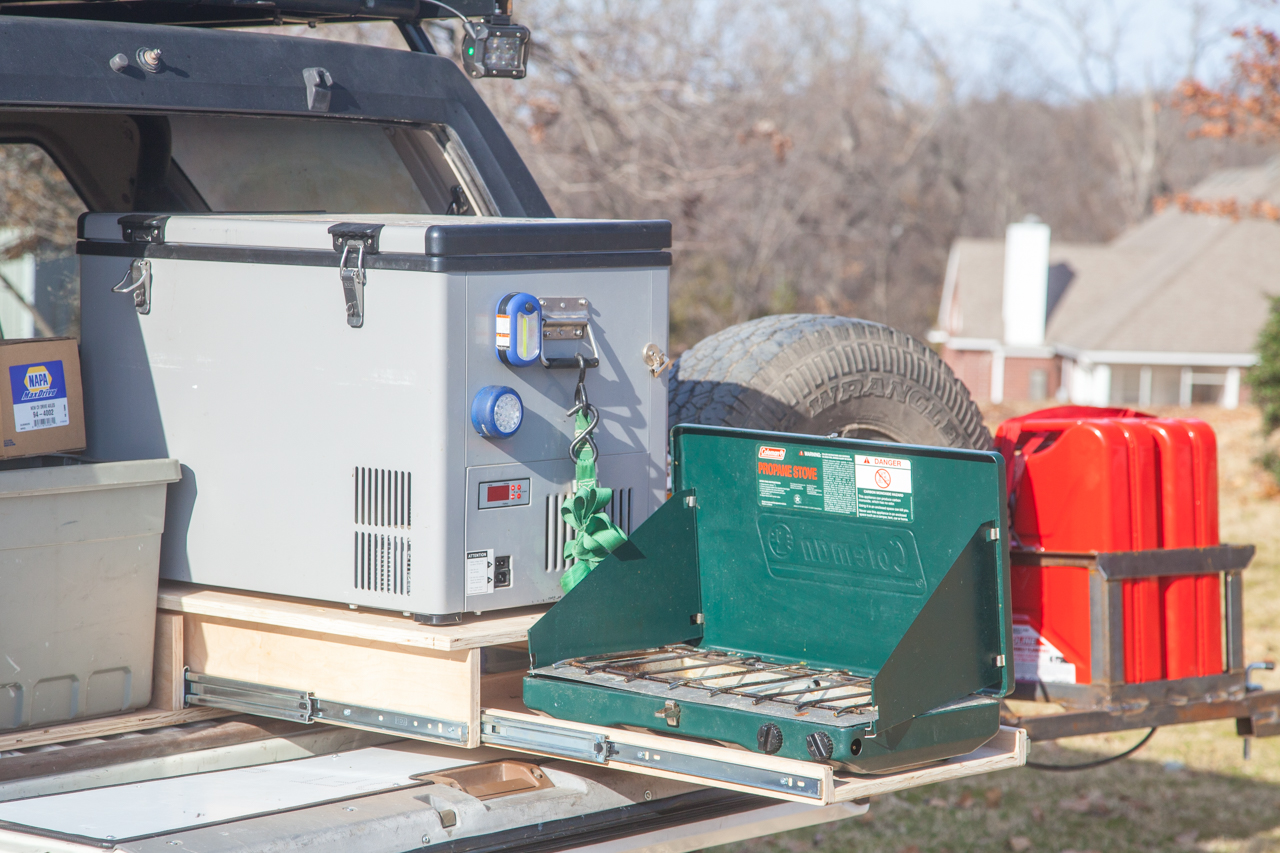
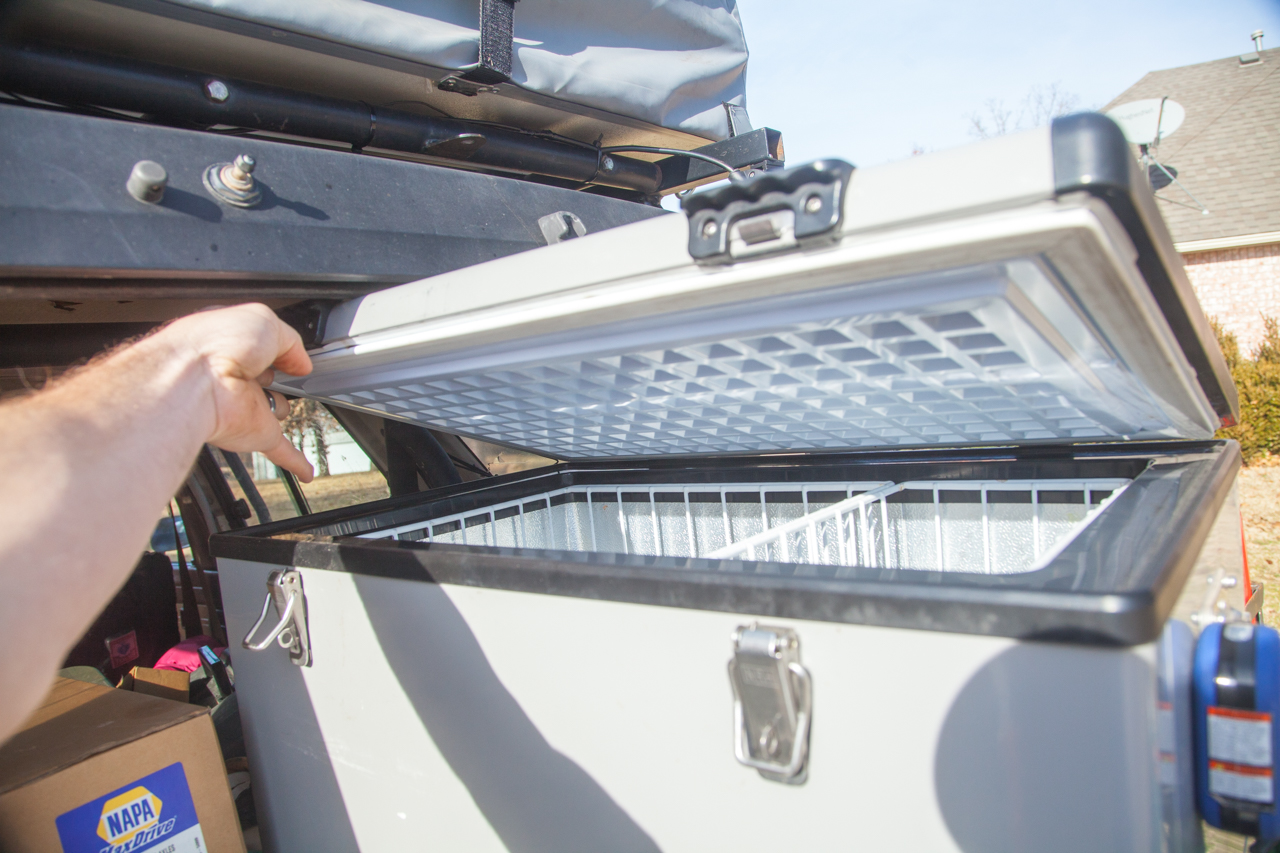
We leave for Baja after Christmas, so we will be cranking on this thing again starting on Monday. The good news is that the living situation with the tent and fridge works really well and the 100AH AGM battery is going to work with our needs. Will update when we have some more progress!
We pulled the seats and crappy seat covers to reveal some pretty chewed up seats. We will be keeping an eye out for some vintage correct Toyota seats, but in the meantime some Cabelas Trail Gear seat covers will do the trick. These are some of the best seat covers I have ever used for the price. While the seats were out we added a vinyl floor kit from OC Auto Carpets.


The vinyl quality is top notch, however cutting it to fit the floor and still fit under the trim and around the shifters is not easy. I didn’t have existing carpet to compare to and in hindsight I should have picked up a carpet piece from a junker 1stgen and marked all of the holes and edges. I made some bad cuts and there are definitely some issues, but it is much quieter and easier to clean than the metal floor. I added some reflectix to the floor boards to help insulate and reduce the noise and the sound difference is HUGE!

We ran all of the wiring for the dual battery (behind the seats) and all of the accessories running off of the AUX fuse box. Accessories will include the radio (stock wiring was useless), LED Lighting over the tailgate, and the refrigerator for now. I will post more details of the electrical system once we get the rear platform area constructed and finalized.
We ran out of time and took off for the 1000-mile trip to Expo EAST. The drive through the South is extremely beautiful in the Fall and our campsite half-way was no exception. We stopped at the Meriwether Lewis Campground near Hohenwald, TN (https://freecampsites.net/#!1082&query=sitedetails).


This campsite was way too nice to be free and both times that we stopped there it was flawlessly clean and well maintained. This was our first trip camping in the roof top tent and it worked really well. We are really excited about camping in this rig more. We took a detour up to Winston-Salem to pick up the Trail Gear front bumper for our rig. We got a good deal on it and it looks so much better and functions so much better than the DIY hack-job bumper (150lbs) that was welded on when we bought it. The TG bumper will allow us to run a winch eventually, have a recovery point, and greatly increase the appearance of the front end.

Our second campsite (https://freecampsites.net/#!60883&query=sitedetails) was almost as good as the first. It was a simple trailhead in the National Forest and it was a really nice place to stay the night.

Our third campsite in the East-South was lack luster to say the least. We met up with a friend and tried to camp in Pisgah National Forest and ended up crashing a campsite that was being used as a permanent tent home for a local on a bicycle. The domestic violence and loud noises that carried on that night was less than impressive. Needless to say, we skipped breakfast and got out of there early in the AM.

We wandered into Brevard, NC for EAST and enjoyed a really good week at REEB Ranch. The event was very wet which created a really challenging week, but it was a fun first Expo EAST experience. We now want to return with bikes to enjoy REEB Ranch and DuPont State Forest properly.


The weather was crazy and the truck handled the mud, rain, and more mud with ease. We were hoping that this shakedown trip would give us a chance to shakedown the truck and find any issues that could possibly come up on our trip to Baja. The list is growing…
-Suspected rear main leak
-Torn CV boots
-Brights don’t work (potentially a combo switch failure)
-License plate light doesn’t work
-Needs trans fluid change
-Needs oil change
We leave for Baja after Christmas, so we will be cranking on this thing again starting on Monday. The good news is that the living situation with the tent and fridge works really well and the 100AH AGM battery is going to work with our needs. Will update when we have some more progress!

