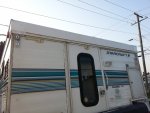
This past weekend the wife and I made it to the mountains with the Yamaha's and the refreshed Starcraft Roadmaster 850. I don't know how many times in talking about this thing I have called it a Skamper...Explains some of the strange looks.
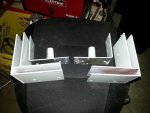
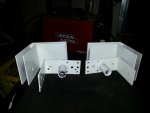
So all in purchase price included all mounting hardware, jacks, extensions for lifted rigs, tripod feet, rotted roof front and rear, gross mold, bad roof electrical, tons of dog hair, stairs for lifted rigs, propane tank, working fridge, working stove, working furnace, working inverter, gross moldy/threadbare canvas, and other small awesomes that I have forgot to mention. Anway, $2500.00CAD.
We had the canvas remade with new tinted windows and screens, zippers and the lower flaps extended by two inches. It may not seem like much but the added coverage is piece of mind. Also the front of the camper gets covered in bug guts while mobile and we found that when the flap is deployed while camping it is in contact with the fresh bug juices. Canvas guy sewed in a heavy duty vinyl backing into the front flap that is very easy to clean. Canvas guy $800.00CAD
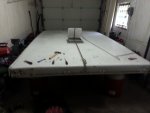
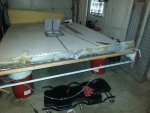
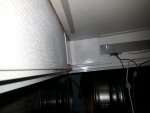
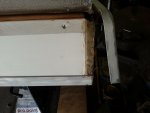
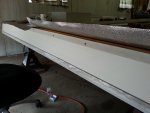
The vinyl boards that I used to repair the front and rear roof panels were $31.00CAD each. I used 4, and have enough leftover to cover the rest of the light holes in the roof panel to eliminate any further leaking. $124.00CAD.
Rubber bed mat=$125.00CAD
Fantastic Fan, screw strip flat and edge, screw strip cover, porch light, butyl tape, caulking, hardware, adhesives $350.00CAD.
$3900.00 after the repairs, what matters is that its weatherproof and ours. :ylsmoke:

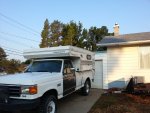
It felt great going down the highway, the low profile is way better than the early 80's hard side I used for only 1 camping trip(too heavy for offroad camping). We used to tent out of a Jeep and were trying out options.
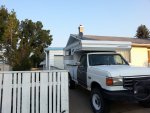
The old Ford is a 7.5Lgas f250 2"lift, 35,000 miles, with a 5speed Manual and has no trouble with the weight of the Starcraft and trailer/quads. In the picture I am trying out a new tilt loading atv trailer I purchased, don't know If I like it or not as it sure rattles and clangs going down the road or trail. Both atv's fit side by side north south, my other trailer is side by side east west. I like the narrower trailer for the tight trails. The point is the tilt trailer is too low for some spots I like to camp in and It sure got drug around on its frame getting to the creekside.
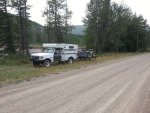
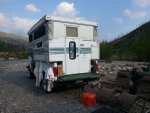
The extended flaps are pictured here. Cord is for the solar panel that is temp on the roof. I don't know whether to hard mount it or pack it inside the camper all the time...
There is slack in the corners of the canvas because the wife and I have been wondering what the best solution for retaining the canvas in the corners might be. When it was removed it was bunched up and screwed to the wood with wood screws. It did hold for 25 years that way I guess. The wife thinks some HD velcro might be the ticket. Still worked great, water tight, and we got some, windproof as it blows 40 mph sometimes.
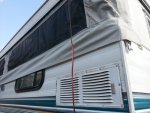
I knew the front of the camper would get pasted in insect carnage when driving down the highway and had the canvas guy sew in a cleanable liner to the inside of the front flap. He used a HD vinyl that wipes easily. Wish I would've taken a pic of that, maybe I will this weekend... It did its trick, regular canvas would soak up those juices on contact....Ewwwww. :ylsmoke: Don't mind the caulked over light socket, I have plans to remove all of them and replace with vinyl board as well. Some things were done in haste to get going(I procrastinate...):ylsmoke:
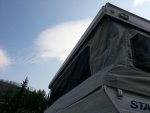
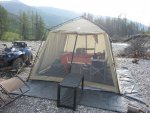
We bought this when we used to tent camp. It serves as the bugproof/waterproof kitchen and dining area if need be. Entry on either side with awnings on all 4 sides. A super sturdy camping utility table holds the Coleman two burner and a flat folding table for preparation. The black table in the pic is actually the bottom of some tubular racking that I found sitting just like that in the middle of the highway. Undamaged. Been using it for years as it also colapses flat and stores well. In the bottom left are some zero gravity chairs. Long gone are the days of those peasant camping chairs, you know, with the soft horrible cupholders and the low back that had no support and the front edge that seemed to put your legs to sleep. Anyway, if you have never tried a zero gravity chair, you should. You won't go back, and they fold up pretty flat as well.
Here is another with the chairs:ylsmoke:, and the rear of the camper. The camper is not really level here and pulls the canvas funny. I have some nice carpet to cover the tailgate/porch.
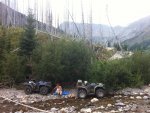
Pic of my wonderful wife and the mountains. Always thankful that we can go to these places...
It was 35 degrees Celsius during the day in the sun. We stopped here to wash the dust off our faces and have a hot coffee. I have a thing for perked coffee in the mountains...
We had a great time in the new to us camper. I hope that it will last another 25 years! I hope to get some wheeling pics up this year with the camper and the truck on 40's. We will see how the year progresses! Thanks for all the help and advise during the roof rebuild, things were learned, tools were used, time was saved, fun was had. I have some other questions that I will post up later.:ylsmoke:

