2004 E350 pop top campervan build

kbeefy

Adventurer
Sold my Syncro, time for another van build.

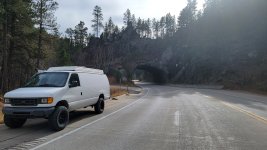
Meet name TBD 2004 E350, 6.0 diesel w/ 91k.

405974145_1040802057159536_7512606875381280965_n.jpg

Had shelving inside that I removed and sold. Otherwise an empty base model work van.
I like doors with windows so I managed to get some side and rear barn doors with windows.
So much brighter inside!

20240229_111131.jpg

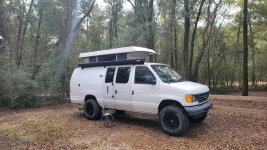
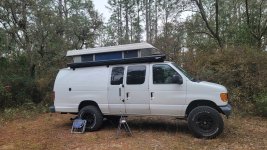
I got kinda spoiled with a pop top on the syncro, so I set about finding one for this van. Found a 'Chef's Camper' top on Market place.

Some chopping and fiddling, and it's about installed.
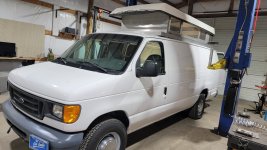
20240321_101513.jpg

Thats pretty much where I'm at today. I'm laying down a run of butyl tomorrow and screwing the thing down.

I have amassed a pretty good pile of parts for the camper part...
12v:
200ah LiPo, 400w Solar, MPPT controller, 40A DC-DC, 75A 110v charger, 2000w inverter
Appliances:
5cu ft 12v fridge/freezer, convection oven/microwave, 25x19 kitchen sink, H20 Pump & accumulator, 6g calorifier style water heater, Diesel coolant heater (for hot water and heat)

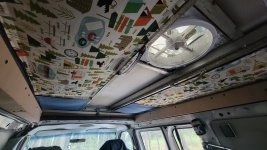
I also have a RV bench/bed, captains chairs with swivel bases, Fiama Awning, and a Maxxair Fan.
 

iggi

Ian
Nice! Have you had a 6.0 before? FORscan can save you a lot of heartache and headache in diagnosis and monitoring.
 

kbeefy

Adventurer
Nice! Have you had a 6.0 before? FORscan can save you a lot of heartache and headache in diagnosis and monitoring.
Yeah, I actually have 4 6.0 right now, and a 7.3. I'm getting pretty good at fixing 6.0 stuff, but this is my first van.
I have forscan and a snap on Verus scan tool.

I tried enabling cruise control with forscan, but I guess this van is too old. Hopefully I can talk someone at the Ford dealer into trying.
 

kbeefy

Adventurer
Had to massage the floor a bit...

18822-albums1662-picture49000.jpg


Poly Iso...

18822-albums1662-picture49001.jpg


plywood

18822-albums1662-picture49003.jpg


Modify seat bases to fit the wrong van....

18822-albums1662-picture49016.jpg


Yay! Swivel captains chairs!

18822-albums1662-picture49013.jpg
 

kbeefy

Adventurer
Got the subfloor painted and everything glued down.
I was originally going to use joining biscuits to help keep everything aligned/flat, but due to the way I cut all the pieces it would be impossible to use half the biscuits, so I bagged the whole idea. I just layed everything down and weighted it in an attempt to make everything flat. Due to the waviness of my floor, it's not perfect but it's pretty close and will suffice for me.
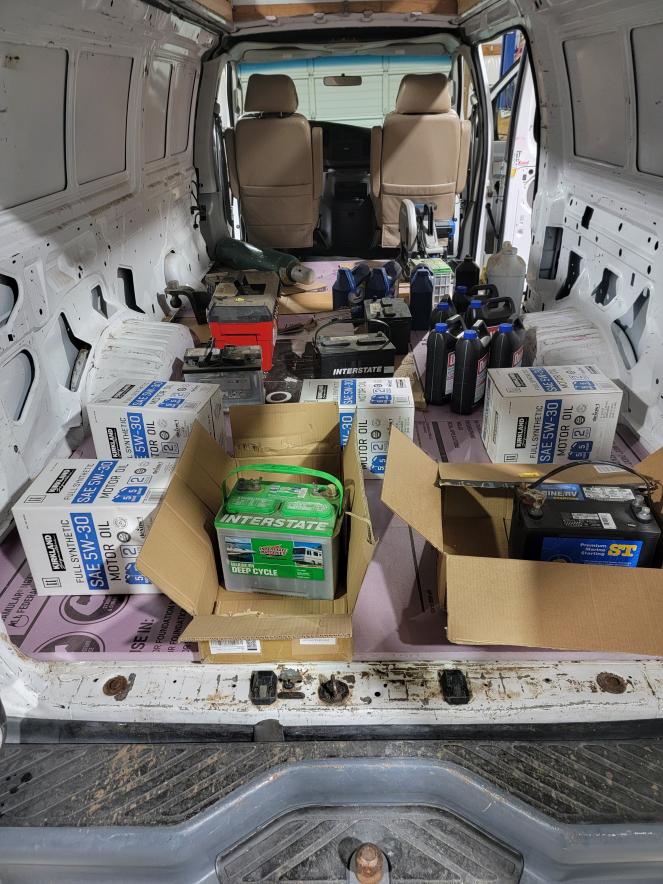
Oh look, most of the easily moveable heavy things in my shop...
18822-albums1662-picture49062.jpg

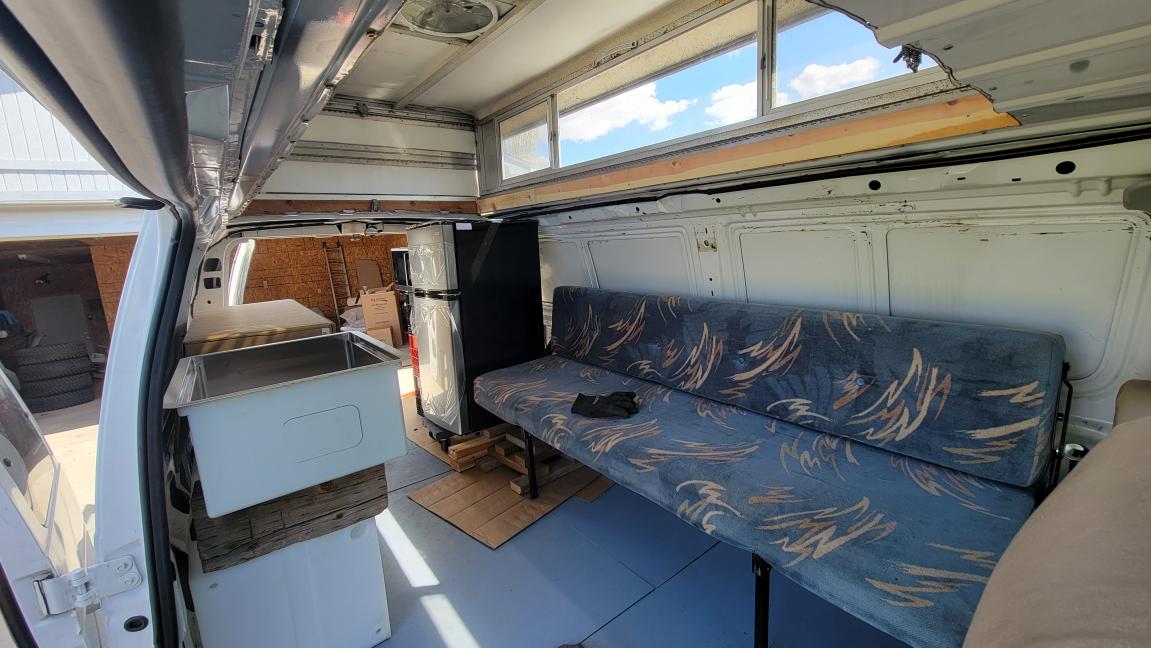
It's pre-mature, but I was just excited to have the floor in so I decided to do a mock up placement of the big chunks. The couch is a bit larger than ideal, and the fridge wound up being bigger than expected as well. I'll have to shave a bit off a few other areas to make everything work, but I don't think anyone ever complained about having too big of a fridge or bed.
18822-albums1662-picture49064.jpg

I wanted the fridge under the pop-top, but the size of the couch and the room required to swivel the drivers seat pushes the fridge back to the edge of the roof cutout. It still works, but I lost almost a foot from my original idea. I'm not sure how useful the drivers swivel will be with this floorplan, you can spin it 180 as it actualy goes under the bench, but you cant sit in it that way. At least it provides a little 'elbow room'.
18822-albums1662-picture49067.jpg

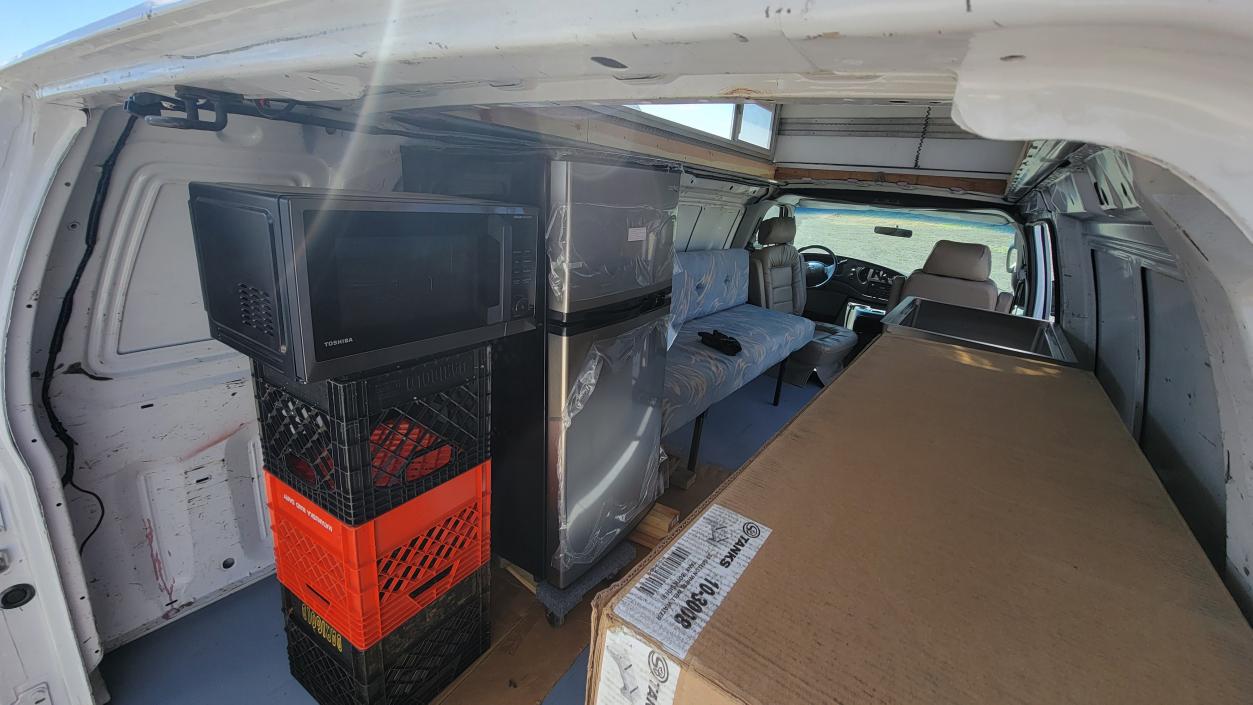
I wanted to keep the bay doors clear of furniture, so I think the sink will land at the threshold. The cardboard box represents the countertop and drawers.
18822-albums1662-picture49066.jpg

Since I lost some length due to the bench/swivel seat and fridge, I'm still up in the air for the rest of the drivers side. I want the microwave as high as possible, and the electrical bay on the floor. I'll see where I wind up, I suspect there will be a few cabinets in this area.
18822-albums1662-picture49063.jpg

The cardboard 'countertop' will actually stop about 18" short of the box in this picture. Our portable toilet will live it that area, with a tip up countertop to cover it when not in use.
 

kbeefy

Adventurer
A couple days after that last post I got a job in Alaska for the summer. Had to put the van on hold.
Got back in August and have been working on it... I'll try to copy my build thread from SMB over here....

Water tank mount and sound deadening

18822-albums1662-picture49342.jpg


Firing out the walls...

18822-albums1662-picture49349.jpg


Insulation...

18822-albums1662-picture49379.jpg


Mocking up the galley

18822-albums1662-picture49380.jpg


shore power

18822-albums1662-picture49383.jpg


Electrical wizardy...

18822-albums1662-picture49384.jpg


Also got most of the electrical installed after this pic... 2 x 200aH of LiPo, 2000w inverter, solar charge controller, DC-DC charger, Shore power charger, Automatic transfer switch, battery buss bars and shunt, switches for the shore power charger and 110v element in hot water heater.
 

kbeefy

Adventurer
Took an impromptu camping trip and discovered the turbo vanes were intermittently sticking (classic 6.0 issue) and the alternator was barely keeping up (classic ford issue).

Turbo comes off...

18822-albums1662-picture49395.jpg


18822-albums1662-picture49401.jpg


Cleaned soot, cleaned corrosion, lubed and reassembled.
Since it was out I installed this Coolant filter manifold...

18822-albums1662-picture49398.jpg


270a Alternator...

18822-albums1662-picture49412.jpg


Turbo back on.

18822-albums1662-picture49416.jpg


Deleted Intake horn throttle body. It was only on 04 vans and sometimes fails and causes problems.

18822-albums1662-picture49434.jpg


Opened a can of worms during a gauge and radio install...

18822-albums1662-picture49436.jpg


Installed EGT, Coolant and fuel pressure gauges

18822-albums1662-picture49437.jpg


Dropped the fuel tank to get the diesel coolant heater fuel line hooked up.

18822-albums1662-picture49441.jpg


It already had a 'spare' pickup line, I probably (maybe) could have hooked it up without dropping the tank. Tank is super easy to drop on this thing, thats nice.

I extended the fuel pickup line to about 2" from the bottom of the tank. Originally it was 4.5" from the bottom.

18822-albums1662-picture49443.jpg


Tank back in.

I installed Sullastic shackles.

18822-albums1662-picture49409.jpg


Ant a receiver hitch...

18822-albums1662-picture49410.jpg
 

kbeefy

Adventurer
Lets see here.... what has been going on.

Figured out how to make cruise control work on a non-cruise equipped van, that was cool. Just installed the missing parts and it started working.

Built some drawers...

18822-albums1662-picture49467.jpg


Got some lights...

18822-albums1662-picture49523.jpg


18822-albums1662-picture49524.jpg


Sparky bits

18822-albums1662-picture49525.jpg


Built a outdoor shower panel

18822-albums1662-picture49563.jpg


Grey tank hanger

18822-albums1662-picture49575.jpg


looks like this under the van

18822-albums1662-picture49574.jpg


tore the suspension off...

18822-albums1662-picture49583.jpg


made this mess

18822-albums1662-picture49582.jpg


starting to put some stuff back on, not done yet

18822-albums1662-picture49584.jpg
 

Forum statistics

Threads
188,132
Messages
2,902,557
Members
229,582
Latest member
JSKepler
Top