2006 Xterra

sami

Explorer
How did you mount the lights?

Installing lights into your grille ~ Approx 1hr job

My List of Hardware:
2ea 3/8x1” bolts
2ea 3/8” Fender Washer
2ea 3/8” Rubber Fender Washer
2ea Light of choice – I used IPF 968's with included wiring harness
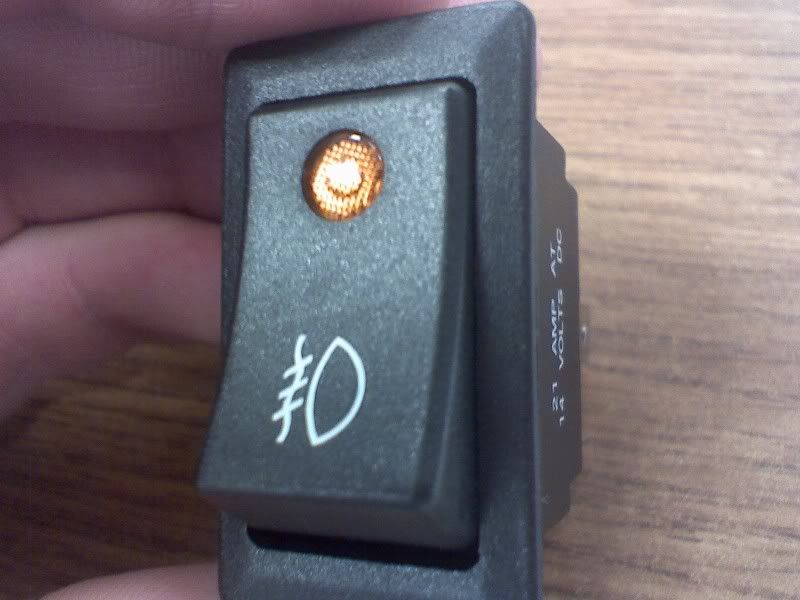
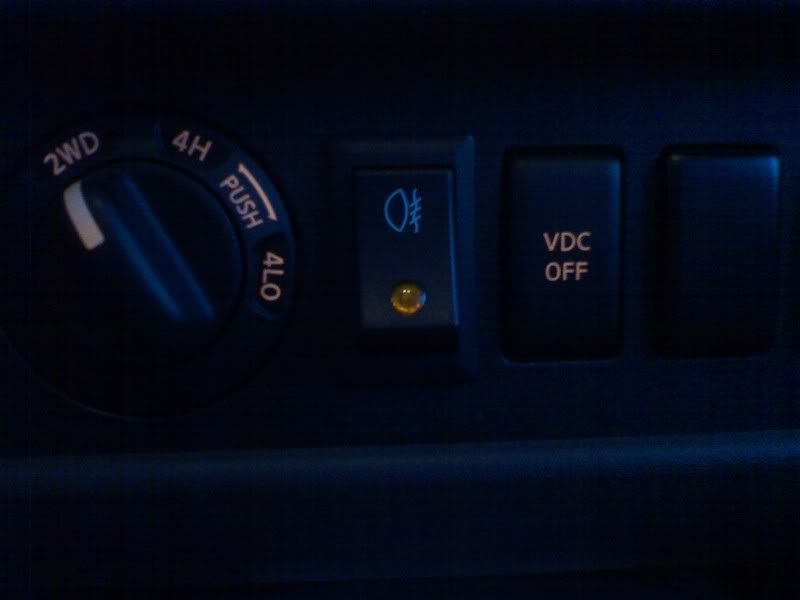
1ea OE Toyota Fog Illuminated Switch

List of needed Tools:
Flathead screwdriver
Any wrenches you might need for your particular lights
Drill w/ correct size bit to your bolts
Measuring tape or similar
Sharpie

Pop the hood

Grille Removal:
Remove the 8-10 black plastic clips on the grille. There are 6 or so on top that you can see, and 4 or so behind the grille connecting the bottom of the grille to the bumper. To remove these you simply place a flathead screwdriver or similar tool under the circle in the middle of the clips, lift up, and then remove the clip. These are very easy. To get to the lower ones you'll need to pull gently on the top corner/sides of the grille to release the grille, as there are stationary clips holding it in place. Once you release these, there is enough wiggle room to get at the lower black clips on the grille. You now need to locate the 4 square clips at the bottom of the grille, still attaching the grille to the bumper. Put your finger on the bottom of these, and pull up while pulling the grille out toward you. These are the last 4 clips that hold the grille onto the bumper. Nissan pretty much guaranteed that the grille on these rigs will never go anywhere; which is great piece of mind when installing some lights onto the grille.
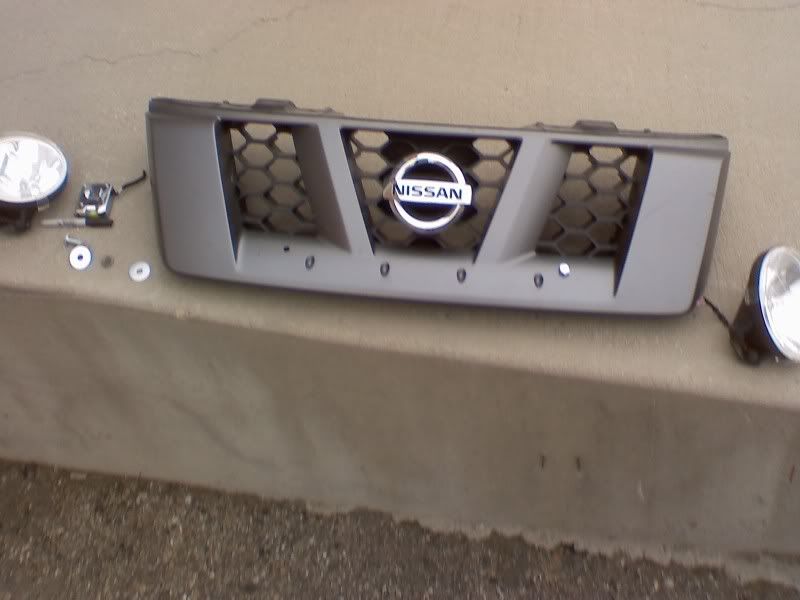
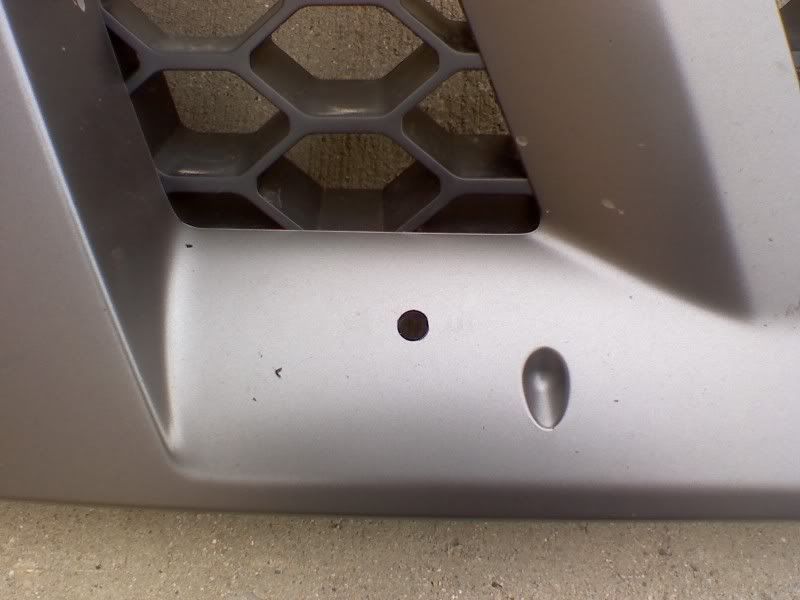
Drill on the dots:
Mock the lights up to where you wanted them, and then feel the backside of the grille to make sure that your big fender washer will have enough room to mount cleanly. When you've found the spot you want the lights mark the center of the hole with the Sharpie. This is where I used the tape measure merely to double check the lights were indeed symmetrically mounted. Drill on your dots, making sure to go through two layers of plastic. You've now just made holes in your perfectly good grille. Wipe or blow away the plastic removed from the drill bit.

0408091248.jpg


0408091249.jpg


0408091249a.jpg


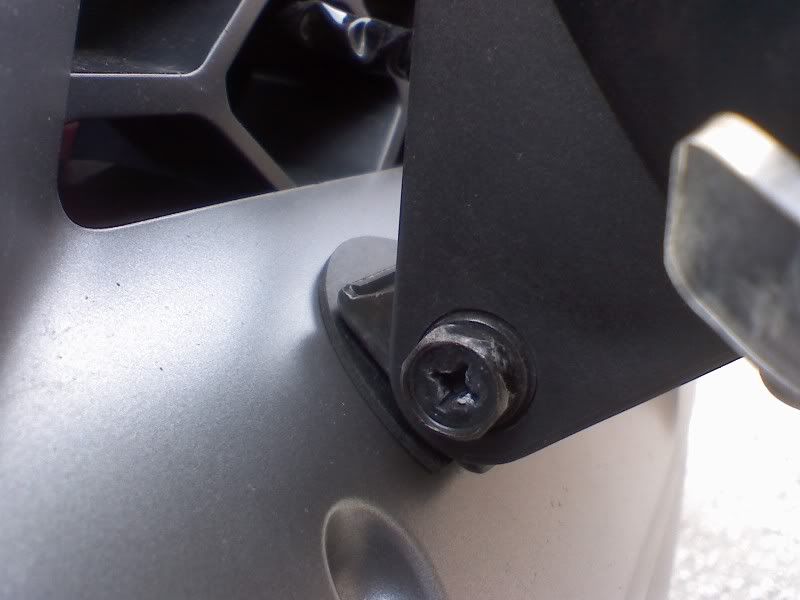
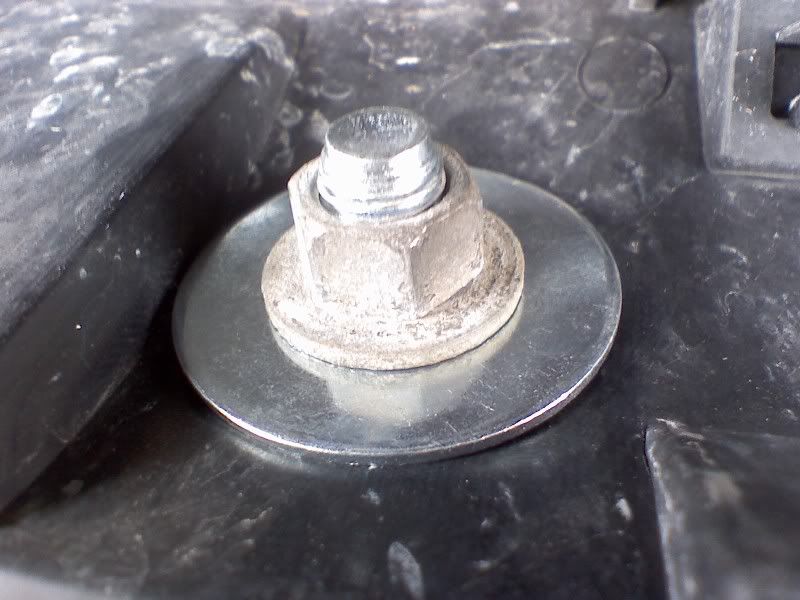
Mounting Lights to the Grille:
Place the bolt through the mounting bracket, followed by the rubber washer(I cut the rubber washers down so they wouldn't be seen underneath the lights ~ see pic), then push through grille. On the backside of the grille, place large fender washer over bolt, then tighten the nut down to a good finger tight level. Repeat this for the other side. Now, double check that your lights look to be mounted evenly. Make any adjustments here if you need to. If you measured and drilled on your dots correctly, there will be no need to re-drill or make modifications at this point. Tighten the nut down and make sure there is no play in the lights/bolts.

0408091258.jpg


0408091258a.jpg


Reinstall Grille:
Run your wires through to meet the lights at the back of the grille, zip tying where needed. Now reinstall grille by reversing the methods and steps of removal.

I made a visit to my neighborhood Toyota Dealership to grab an illuminated fog lamp switch. This one was $12. PT#00550-35976

ToyotaOEMfogswitch2.jpg


drivinglightoff.jpg


drivinglighton.jpg
 
Last edited:

Moody

Needs to get out more
Looking really good. What is your feeling on the X vs. the 4Runner at this point?
 

sami

Explorer
Looking really good. What is your feeling on the X vs. the 4Runner at this point?

That is a tough question, as you could imagine. However, I have been asked several times, and of course think about it alot since some good times were had behind teh wheel of my 4runner.

At this point in time, I'd choose this Xterra over the 3rd gen 4runner. I feel that the fuel range, power, torque, storage capacity, and overall roominess beats out the offerings of the ten year old 4runner. I feel that the E-locker in the 4runner is the only area that I wish I still had. Had I known a bit more about the Xterra, I would've searched a bit harder for an 'Offroad Package'. So far in my adventures in the Xterra I haven't needed a locker though. Oh, I miss the hood scoop too ;)

So in a nut shell.. After swallowing much pride to drive an Xterra... I'd take the Xterra over the 4runner. I never thought i'd feel that way about it, but I do. :smiley_drive:
 
Last edited:

Moody

Needs to get out more
Good deal, thanks for that input. I often have people ask me about this 4x4 vs. that 4x4, but my #1 response is "Which one do you like best?" and I tell then to go with that one. Few people will ever utilize the engineering that goes into a modern 4x4, other than snow. They should just be pleased about driving it.

I saw your Xterra at the Cruiser Outfitter bbq, I thought it looked great. My BIL just sold his 02 X, and we have wheeled it around here and there, and I was quite impressed. If I wasn't already into an 80 and Pathfinder, I would have snagged it up.

We are heading up camping up near Mineral Basin Friday night, come on up...
 

sami

Explorer
Not sure how I missed you at the bbq.. Did you show up kind of late? I broke away from signing up rigs to photograph and eat.

Anyways, thanks for the invite but i've got some side jobs going down this weekend.

-Jason
 

Moody

Needs to get out more
We just made it quick, we had a condo up in Park City for the weekend, so it was down and back in a little over an hour. I didn't even bring my cruiser to the event...
 

TNxterra

Observer
You will love the new x. I have had mine for about 2.5+ years wwith no problems. Enjoy it and welcome to xterra ownership. Check out thenewx.org.
 

sami

Explorer
You will love the new x. I have had mine for about 2.5+ years wwith no problems. Enjoy it and welcome to xterra ownership. Check out thenewx.org.

That place drains wallets.. I've been on there for almost a year.. :)
 

sami

Explorer
I was inspired by 'expeditionxterra's console, and wanted a similar setup for communications, switches etc. With the little room available in the 2nd gen Xterra's due to the floor mounted parking brake, we had just enough room to squeeze a console inbetween the passenger seat and p-brake. We didn't have to move or mod the parking brake at all.

We didn't have time to figure out a mounting system for the OE arm rest, but my buddy has an idea and just couldn't find the right part to mount it last night.. So that might come a little later.

I chose to put the mics right above the p-brake just because that feels like a great out-of-the-way spot(I never use the brake).. Though the brake can still fully engage. We did two 100w speakers, one for each radio so that interference between radios is avoided. The switches, outlets, and radios are all wired hot, but we have the power looped into the console to add anything to be keyed-power if we want.

My buddy does awesome wiring and as you can see, clean custom installs of these consoles. This console fits my needs, and i'll switch it around as I see fit..

Communications:

*Yaesu FT-2800M FM Mobile transeiver 65/25/10/5W. Maxrad 2 Meter steel whip aerial on adjustable trunk lid NMO mount

*Cobra CB 19 DX III w/ Maxrad CB aerial on trunk lid NMO mount


photo1-7.jpg


photo3-7.jpg


photo2-7.jpg


photo4-6.jpg


photo6-3.jpg
 
Last edited:

soonenough

Explorer
Wow that console looks awesome :drool:

Did you use Gamber Johnson parts (thebrand eXpeditionXterra used)? If so, did you look into any other brands?
 

sami

Explorer
Wow that console looks awesome :drool:

Did you use Gamber Johnson parts (thebrand eXpeditionXterra used)? If so, did you look into any other brands?

I have a friend who installs equipment into emergency vehicle all day. I asked him if he used Gamber Johnson, and he told me to check out Jotto. I believe he said something like, "Gamber Johnson? Bring a stack of cash to that dance.." I'm told Gamber Johnson is quite pricey.

We were able to find a universal console that fit like a glove between the p-brake and passenger seat. We rested the console on the tube connecting the p-brake to the cable, then dropped in some self tapping bolts.. This kept the box from touching the ECU at all. We notched a few inches out of the chassis of the console to make room for the p-brake cable bracket ~ so that it can move freely. Adding the cupholders to the slightly tilted console set off the look.. It fits perfectly.

If you're interested in a price for some of this stuff, I can get you my buddies contact info.
 

sami

Explorer
Newest upgrades...

Truck-Bedz inflatable mattress... Sleepin in style now..

DSC_0427.jpg


DSC_0429.jpg


DSC_0430.jpg


And SUV tent...

cartent.jpg


I got them both brand new for $105 total! Can't justify an RTT right now so this was my next best setup IMO.
 

sami

Explorer
Plus..

I got my sliders back from the powder coater.. Just need to install them..

pre-powder coating ;)
photo2-2.jpg


Building an interior rear cargo rack as well (42x24).. Rack itself is done, just figuring out the mounting system now. It will utilize the OE Utilitrak.. Should be done by this weekend.

DSC_0404.jpg
 

Forum statistics

Threads
189,053
Messages
2,912,470
Members
231,545
Latest member
JPT4648
Top