conqueror4x4usa
New member
Update On FEV Status
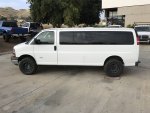
Well it has been way too long since I have given an update on the FEV Build.
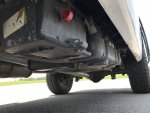
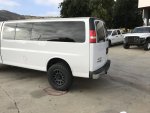
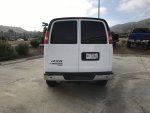
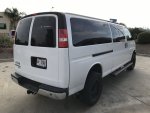
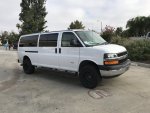
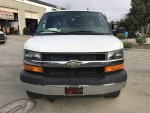
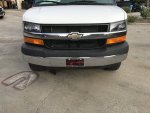
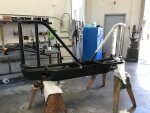
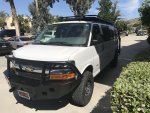
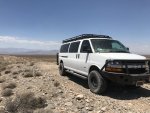
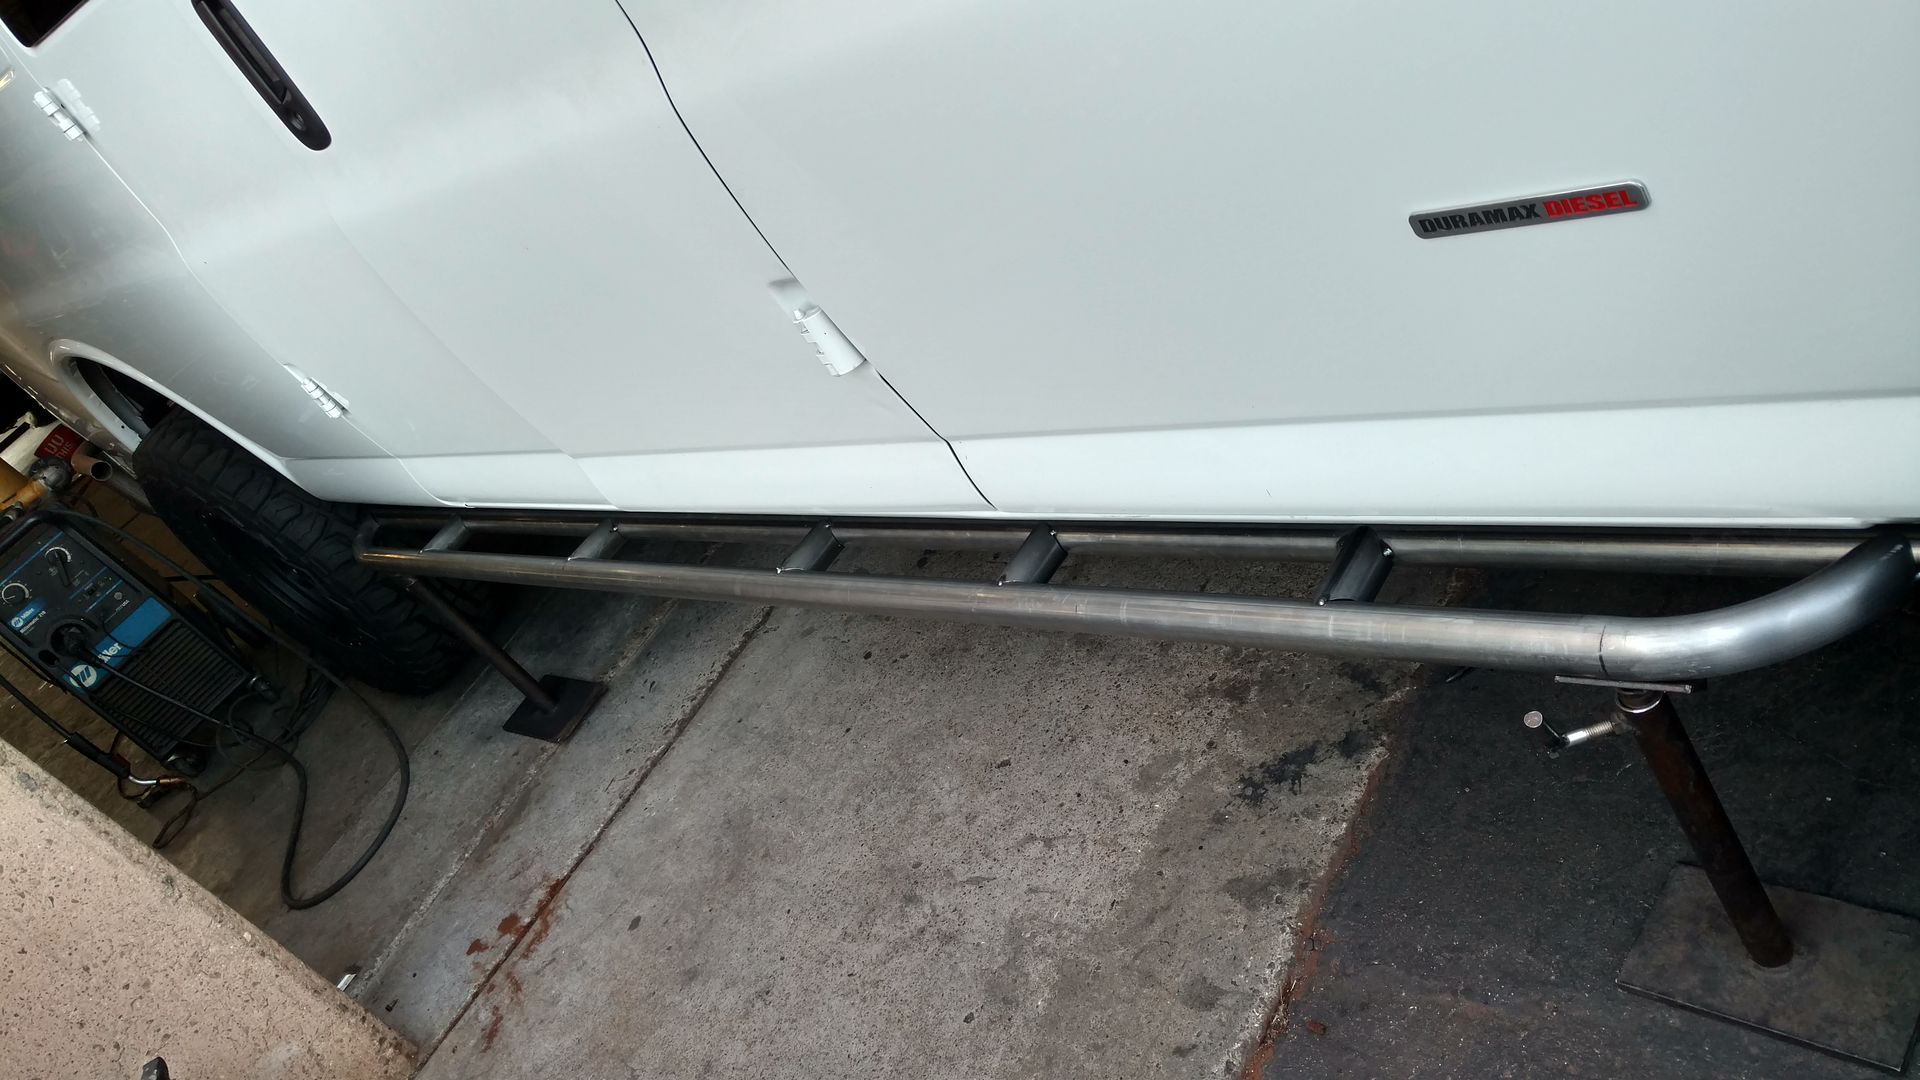
Advanced 4x4 Conversion: I got word today that Advanced 4X4 has finished the conversion. It is still at their shop in Salt Lake because we are still in the process of engineering some real nerf bars for the van that will actually protect it. Since the van has the Duramax in it, the DEF tank and the emission systems are directly in the way of us being able to mount to the bars to the frame. Not an easy task to work around them. We just need some time to think of a creative way to mount to the frame. Any ideas out there?
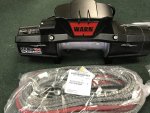
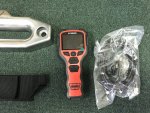
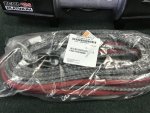
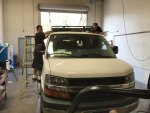
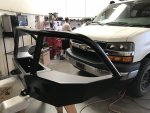
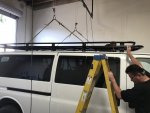
Accessory Update: We put in an order with Aluminess to build the front and rear bumpers, along with a roof rack. The front bumper will have the square light cutouts for LED lights, larger diameter brush guards, hitch receiver, and also this is where we will be mounting the Warn Zeon 12-S Platinum winch. Since the winch is a little too tall for the bumper we will be relocating the controls to another location. The rear bumper will have the two swing out arms with a spare tire on one side and then a special surprise on the other side... We actually ordered a spare swing arm so that if we want to change out an arm to a different configuration then we could so that. The roof rack is going to be a low profile rack with mesh floor and some custom cutouts. It will be made 12' long which is about 1 foot longer than their base roof rack. Ahh one more thing, we will have a ladder mounted permanently on the drivers side.
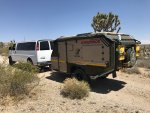
Since we have 10 kids we really can't shoehorn them into one of our Conqueror UEV-490's so we have decided to go with a roof top tent and stuff some of the kids in there...but not any ordinary roof top tent. We are going to go with a 10 foot long BunduTop from Bundutec USA. I don't know if anyone has ever seen the 10' one and I think that the one we are getting is going to be the first one in the states. Personally I am pretty excited to see what it will look like. I am sure the kids will fight over who gets to sleep up on top of the van. It will be like a mobile tree house.
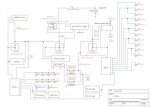
Some other things we are spooling up is the electrical system. There is going to be a lot going on there but I have two main goals when is come to the electrical. 1) Keep the Van Electical and the Aux systems a separate and isolated as possible. 2) Keep it simple. I know I will have a hard time with goal number two. Since I am an Engineer and did Engine research for Honda for the last dozen years any my expertise is in control systems, automation and vehicle telemetry I have a strong tendency to go overboard some times. I will need some tempering in this department. I talked to John at sPOD and I think that is the platform that we will be using to at least run most of the Aux systems. We will need to still integrate a MPPT solar controller in there, an AC/DV charger and some other small items but I think the sPOD platform will serve us just fine. They build some great stuff over there.
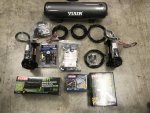
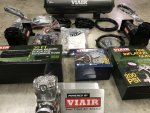
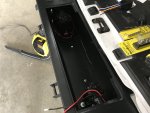
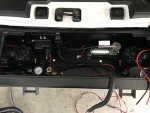
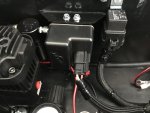
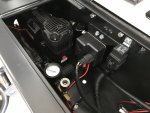
We are going to install air bags in the rear of the vehicle to aid in keeping the van level when towing. Air Lift is where we will source the bags and compressor. I am going to add a 2.5 gallon tank to the system so that we can use the airbag's compressor as a dual purpose system. It will keeps the bags inflated and also have an aux line that we can use to fill tires, kids toys, and air tools if necessary. Since the van is lifted 3" then we need some spacers under the bags and they will come from Tuff Country.
Lighting: We are going to go with an LED setup from Baja Designs. Based on my research and talking to the guys over there, they have the best LED's on the market. If my kids are afraid of the dark they won't be after we get the lights on this van.
I also had a conversation with the guys over at Nuthouse Industries about doing some custom aluminum boxes for the van. Yes, some may say that we are competitors but who really cares? This market is huge and I love working with the guys that are in the same industry.
I have been going on for a while now with no pictures...I know, I know. We will post some when the things we ordered have arrived.

