You are using an out of date browser. It may not display this or other websites correctly.
You should upgrade or use an alternative browser.
You should upgrade or use an alternative browser.
2018 Sprinter 4x4 144" Take 2
- Thread starter freshlikesushi
- Start date
freshlikesushi
Free Candy
Im ok with that.Imho, poor placement of the batteries /weight behind the axle.
freshlikesushi
Free Candy
A big issue for me while in arizona was having to air up and down like 3 or 4 times a day depending on where i was going. With the weight of the van and handling, I don't like to run low pressures on the street. I don't mind the TIME it takes to air up and down, but more the process. It sucks going from tire to tire and squatting forever and im lazy.
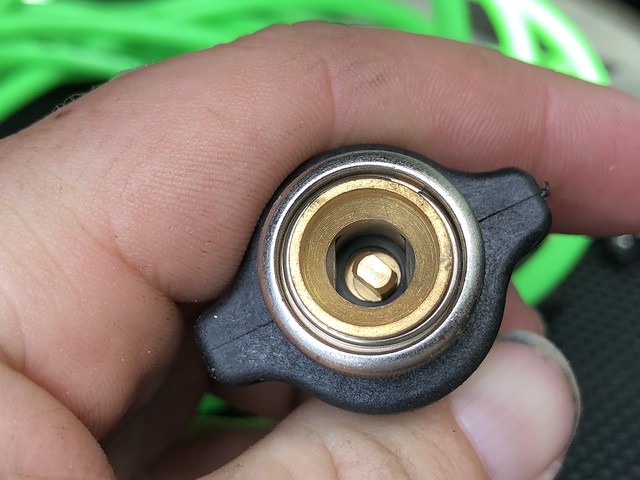
So, when I saw these guys at Expo West, I jumped on it. I'm a super hardware nerd, and the materials and choices they made on this product is outstanding. All stainless construction, it appears as brass on areas on the quick release chucks (which are a work of art in their own) and just general awesomeness.
The things of note on this system.
If you have an air tank, you have to plumb it PRIOR to the air management unit. Same for horns or air chucks. I will be using a 3/8 to 1/4" tee and running the hose back to the tank from the front and teeing the air horn off of that line.
They dont really have a universal setup. I bought the JK version, and just bend the mount flange to the angle i needed to clear the hood using a vice and a really damn big adjustable with tape on all surfaces then screwed it into the super thick core support plastic. Good enough for the girls I hang out with.
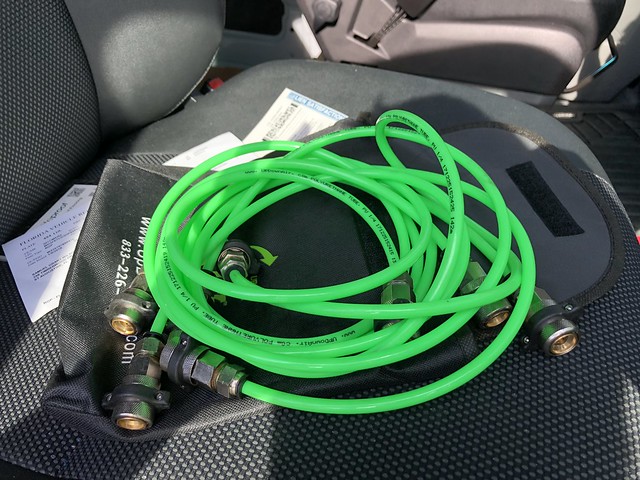
It includes the fitting for the compressor you need and a good amount of hose. I required some more 1/4" and 3/8" line due to the size difference between the JK/JL and sprinter, but that is cheap and i had the 1/4 on hand anyways.
You will need to make brackets for the air valves at the tires. I used 1 x 2 x 1/8 angle and trimmed to size and appearance. some 5/16 holes and off to the races.
Whole process took about an hour and a half, so not all that bad, for just the unit and hoses and brackets and stuff.
Unit costs about 260 bucks without compressor and jazz.
That being said. Here is the required pics!
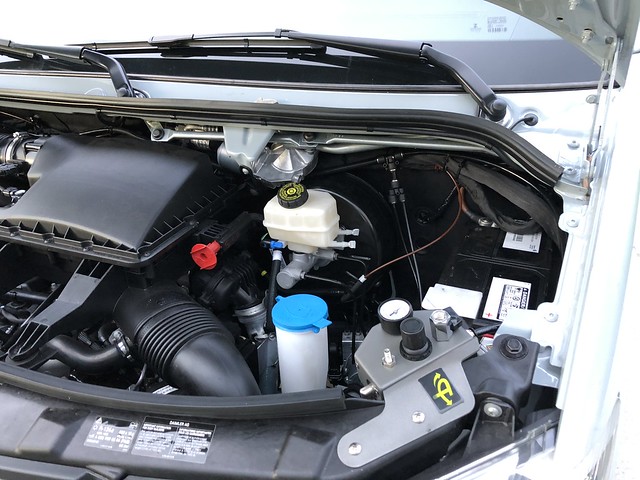 Untitled by Grant Wilson, on Flickr
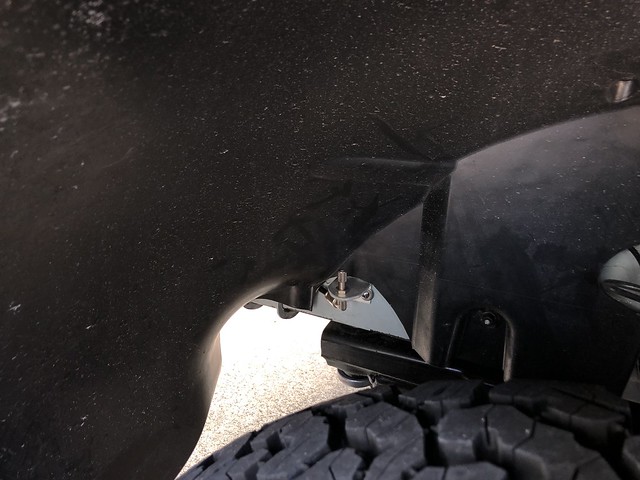 Untitled by Grant Wilson, on Flickr
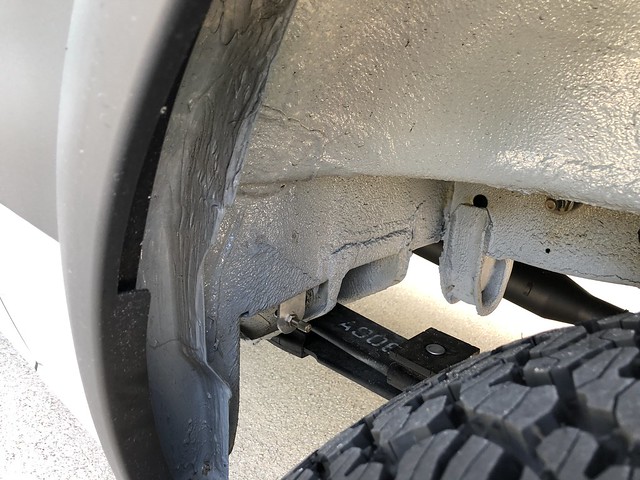 Untitled by Grant Wilson, on Flickr
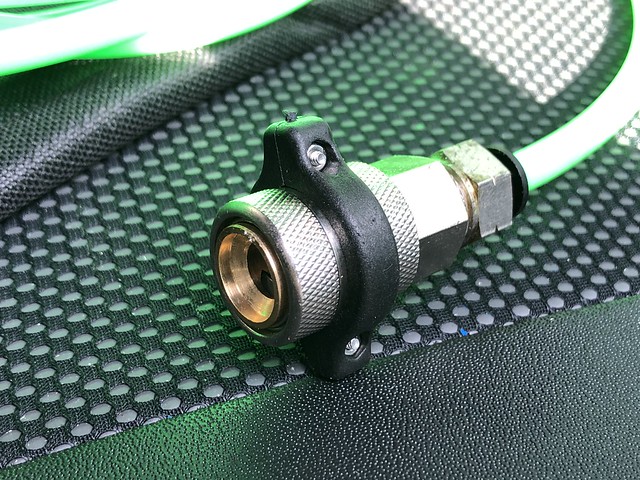 Untitled by Grant Wilson, on Flickr
 Untitled by Grant Wilson, on Flickr
 Untitled by Grant Wilson, on Flickr
So, when I saw these guys at Expo West, I jumped on it. I'm a super hardware nerd, and the materials and choices they made on this product is outstanding. All stainless construction, it appears as brass on areas on the quick release chucks (which are a work of art in their own) and just general awesomeness.
The things of note on this system.
If you have an air tank, you have to plumb it PRIOR to the air management unit. Same for horns or air chucks. I will be using a 3/8 to 1/4" tee and running the hose back to the tank from the front and teeing the air horn off of that line.
They dont really have a universal setup. I bought the JK version, and just bend the mount flange to the angle i needed to clear the hood using a vice and a really damn big adjustable with tape on all surfaces then screwed it into the super thick core support plastic. Good enough for the girls I hang out with.
It includes the fitting for the compressor you need and a good amount of hose. I required some more 1/4" and 3/8" line due to the size difference between the JK/JL and sprinter, but that is cheap and i had the 1/4 on hand anyways.
You will need to make brackets for the air valves at the tires. I used 1 x 2 x 1/8 angle and trimmed to size and appearance. some 5/16 holes and off to the races.
Whole process took about an hour and a half, so not all that bad, for just the unit and hoses and brackets and stuff.
Unit costs about 260 bucks without compressor and jazz.
That being said. Here is the required pics!
 Untitled by Grant Wilson, on Flickr
 Untitled by Grant Wilson, on Flickr
 Untitled by Grant Wilson, on Flickr
 Untitled by Grant Wilson, on Flickr
 Untitled by Grant Wilson, on Flickr
 Untitled by Grant Wilson, on Flickr
just eric
Adventurer
So, when I saw these guys at Expo West, I jumped on it.
Sorry if I missed it but who was it that made/sold the inflation kits? Hoping they’re available online...
brianjwilson
Some sort of lost...
freshlikesushi
Free Candy
freshlikesushi
Free Candy
freshlikesushi
Free Candy
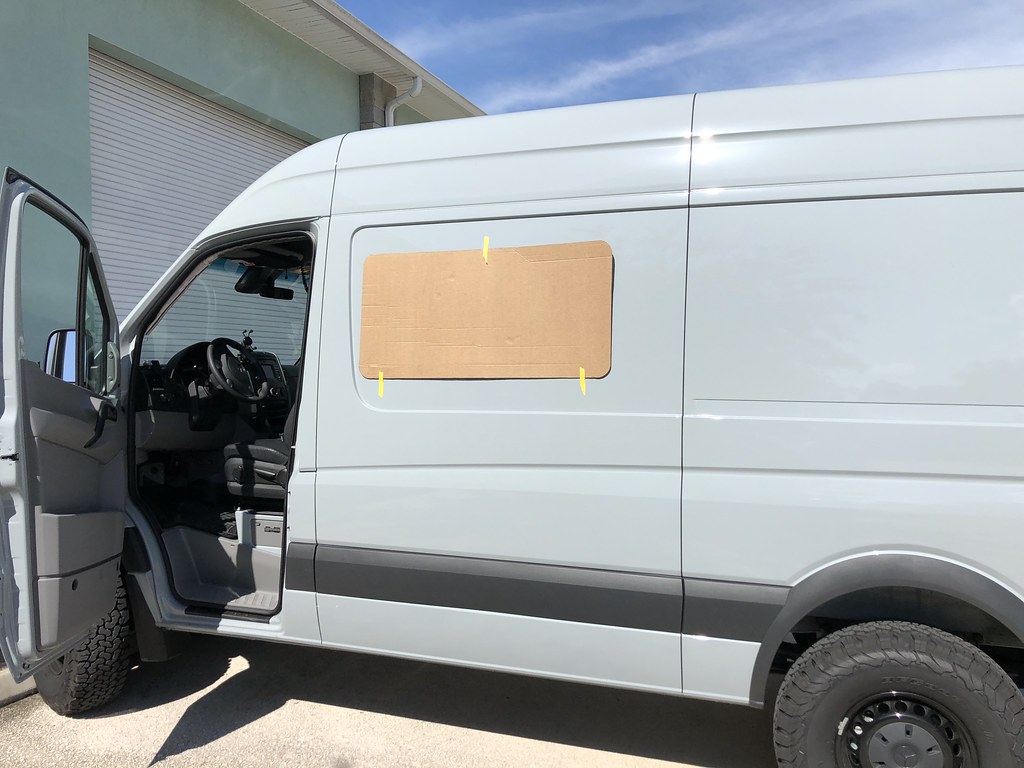
Installed me some window!
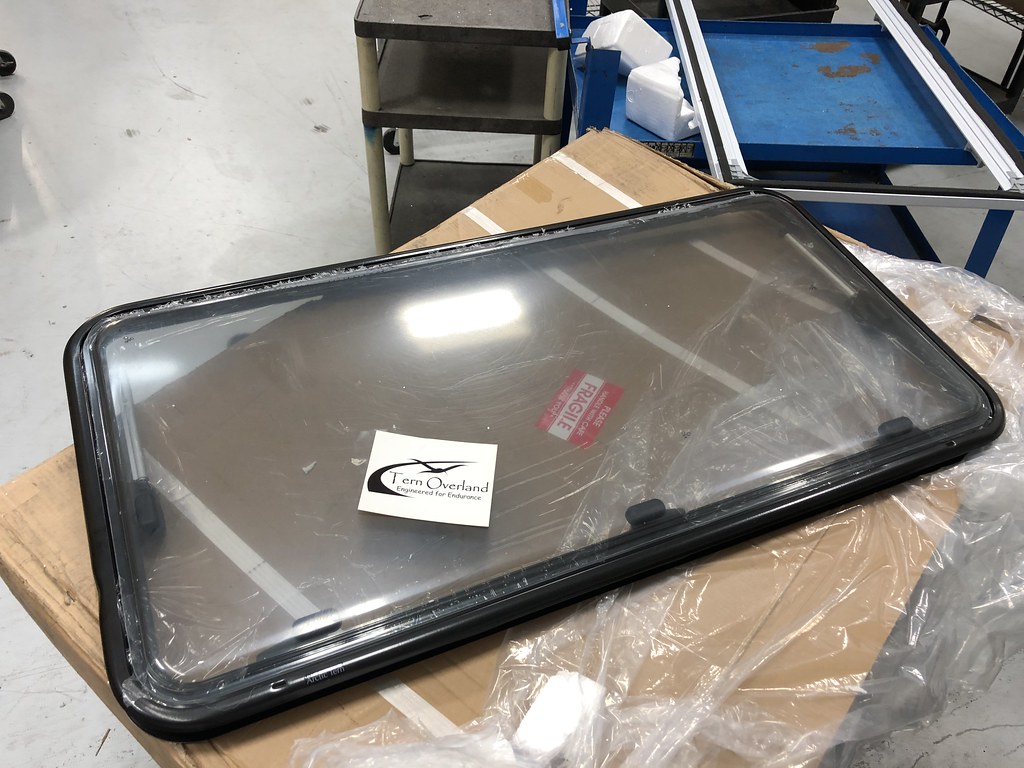
The Tern Overland windows are pretty much the bees knees IMO. Super solid construction and huge opening radius.
 Untitled by Grant Wilson, on Flickr
 Untitled by Grant Wilson, on Flickr
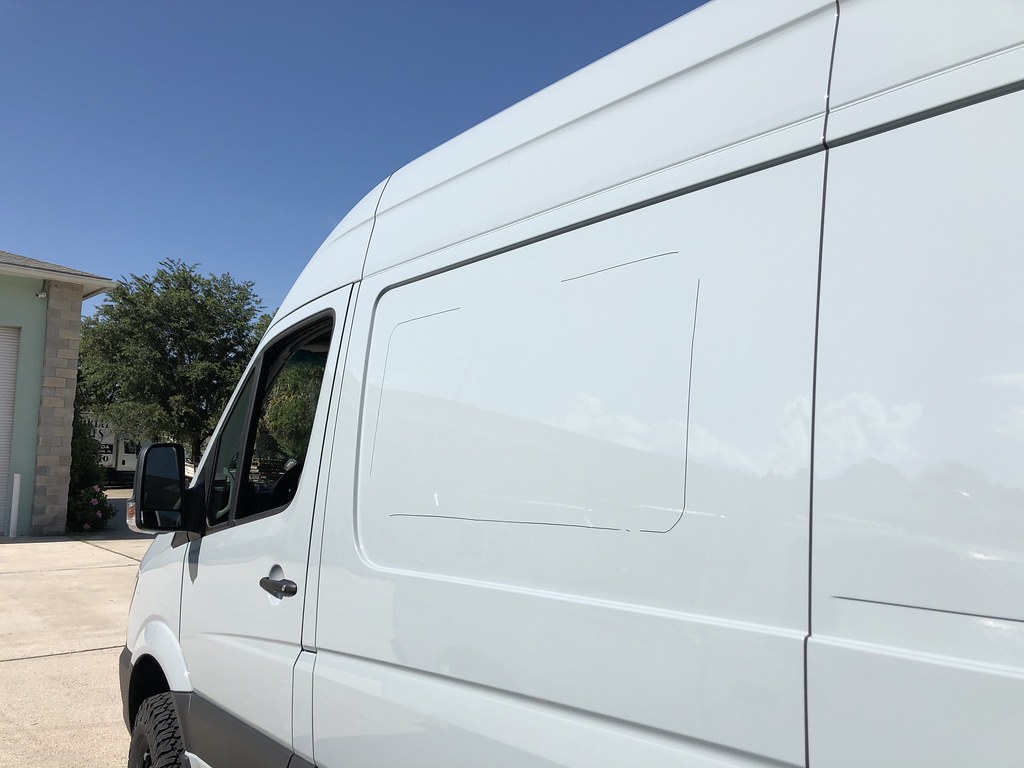 Untitled by Grant Wilson, on Flickr
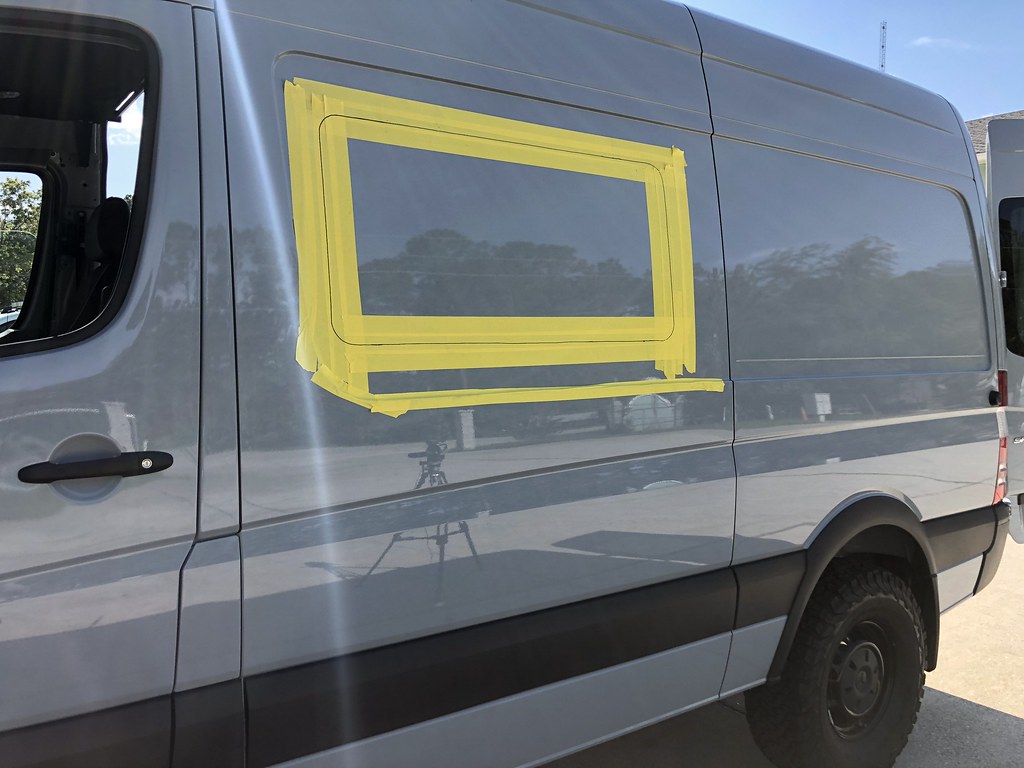 Untitled by Grant Wilson, on Flickr
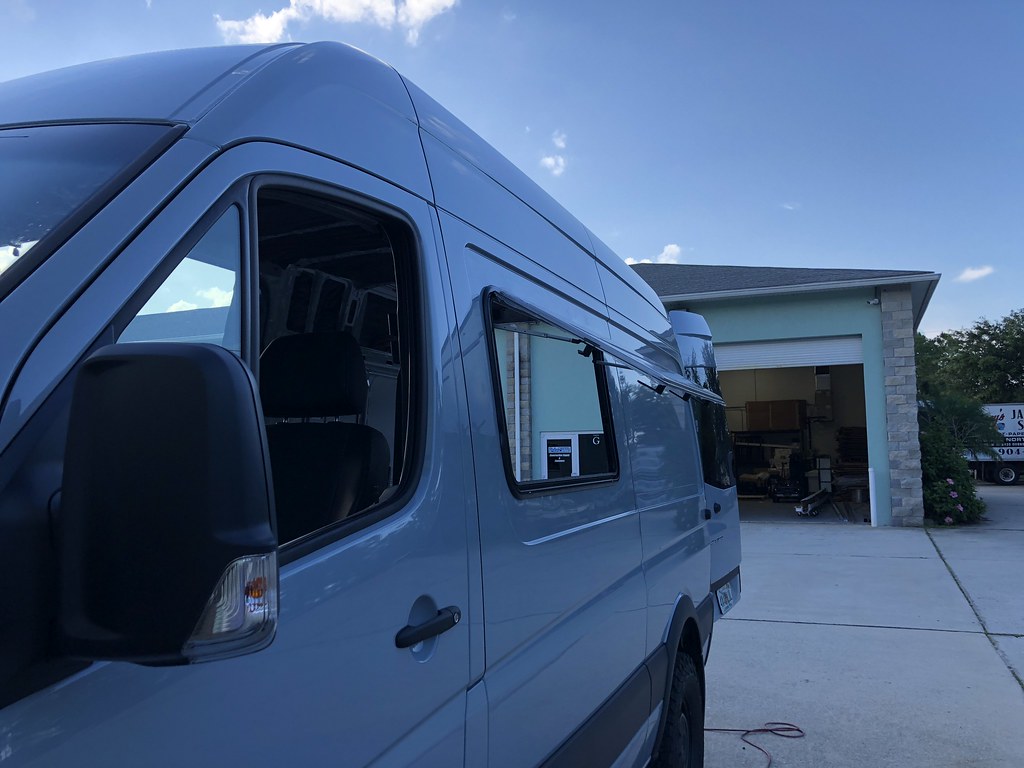 Untitled by Grant Wilson, on Flickr
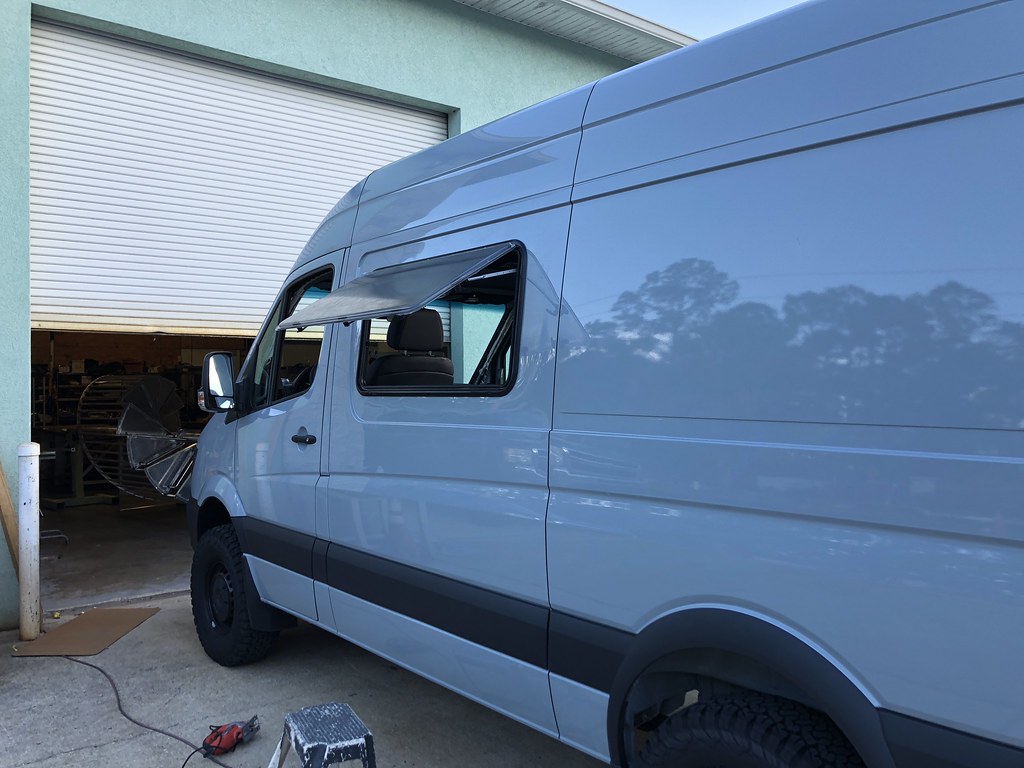 Untitled by Grant Wilson, on Flickr
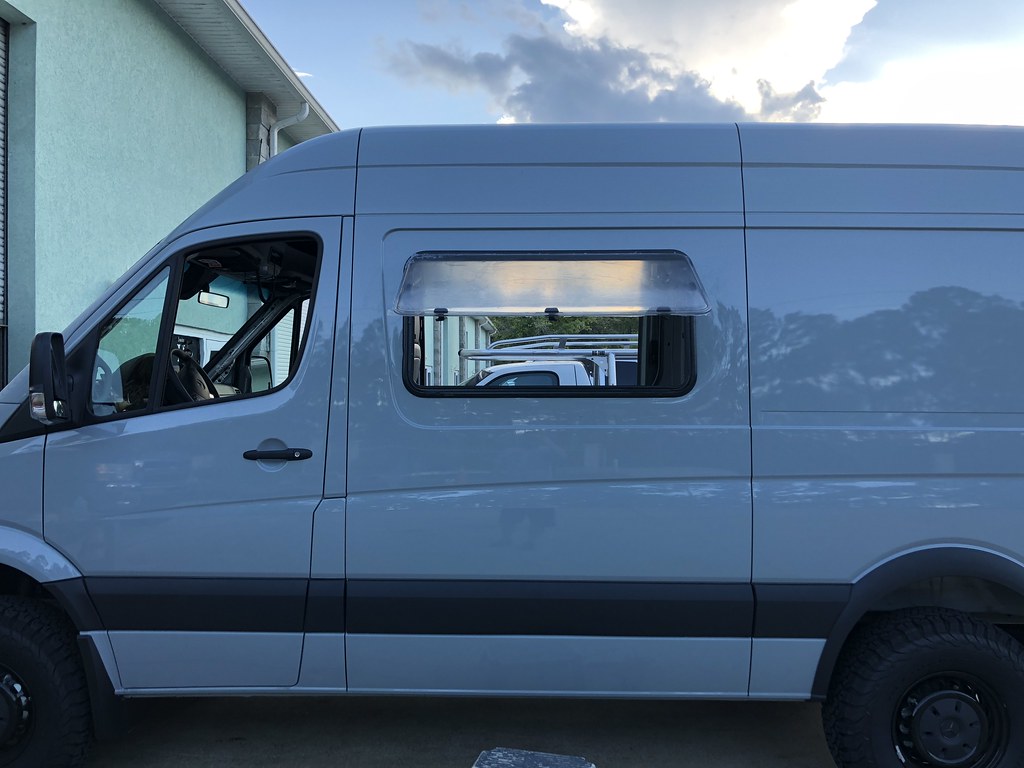 Untitled by Grant Wilson, on Flickr
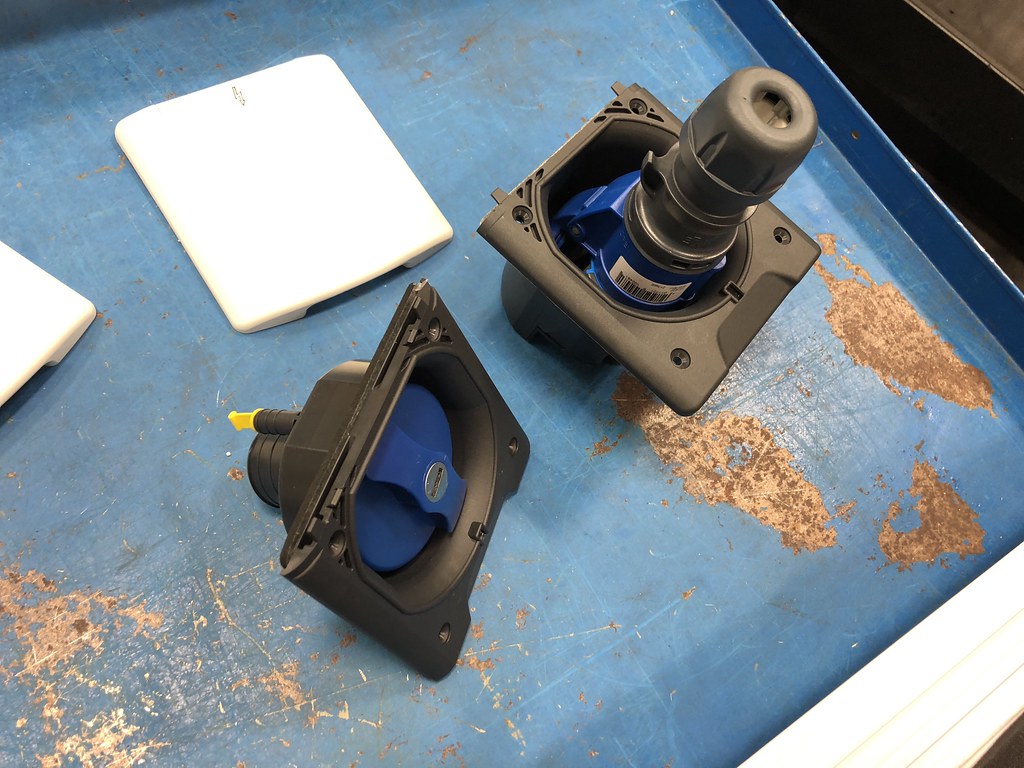 Untitled by Grant Wilson, on Flickr
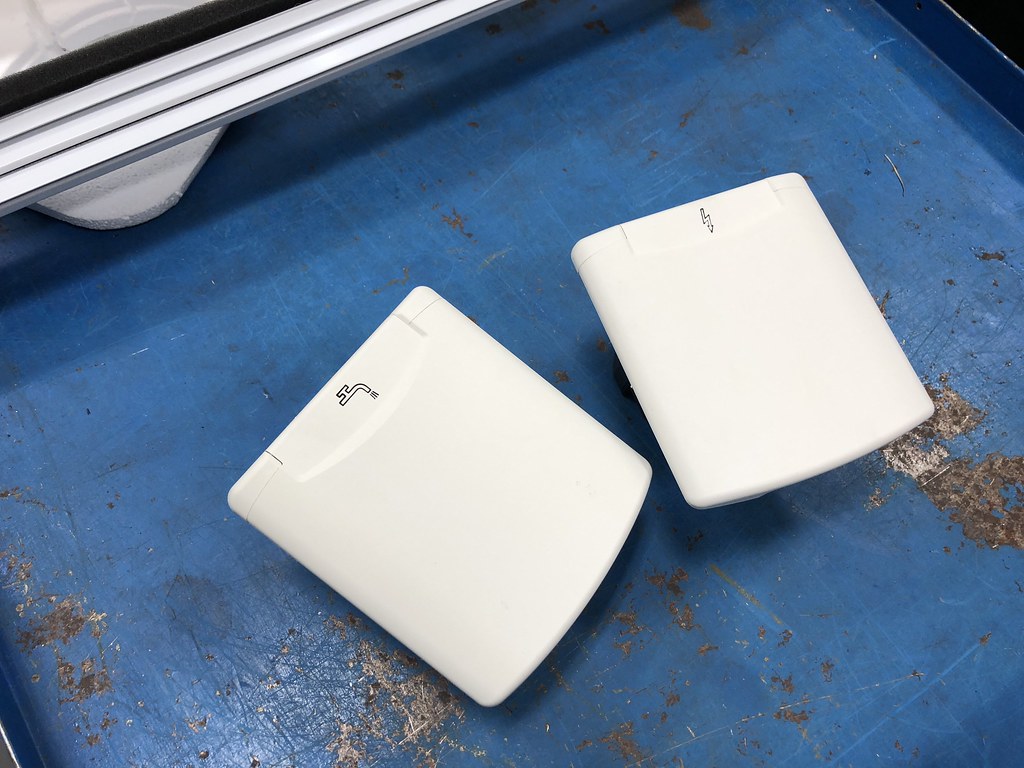 Untitled by Grant Wilson, on Flickr
Also got some awesome power and water ports for the van from Tern Overland as well. The covers are being painted to match currently with the flares
And the install video!
The Tern Overland windows are pretty much the bees knees IMO. Super solid construction and huge opening radius.
 Untitled by Grant Wilson, on Flickr
 Untitled by Grant Wilson, on Flickr
 Untitled by Grant Wilson, on Flickr
 Untitled by Grant Wilson, on Flickr
 Untitled by Grant Wilson, on Flickr
 Untitled by Grant Wilson, on Flickr
 Untitled by Grant Wilson, on Flickr
 Untitled by Grant Wilson, on Flickr
 Untitled by Grant Wilson, on Flickr
Also got some awesome power and water ports for the van from Tern Overland as well. The covers are being painted to match currently with the flares
And the install video!
Thanks you so much for all the details (including costs)! My wife has been wanting a Sprinter 4x4 for years, and I think I am finally ready to cave in...The only question mark right now is the DEF situation outside of North America, but it looks like they may be a couple solutions out there...
jacobconroy
Hillbilly of Leisure
I appreciate your time to post all this as well. Going to apply some of your methods to an '87 Ford Van. 
freshlikesushi
Free Candy
pull it all and malone tuneThanks you so much for all the details (including costs)! My wife has been wanting a Sprinter 4x4 for years, and I think I am finally ready to cave in...The only question mark right now is the DEF situation outside of North America, but it looks like they may be a couple solutions out there...
freshlikesushi
Free Candy
Did alot of fabrication these past few days. Working on editing video, but here is some . photo and talk about it.
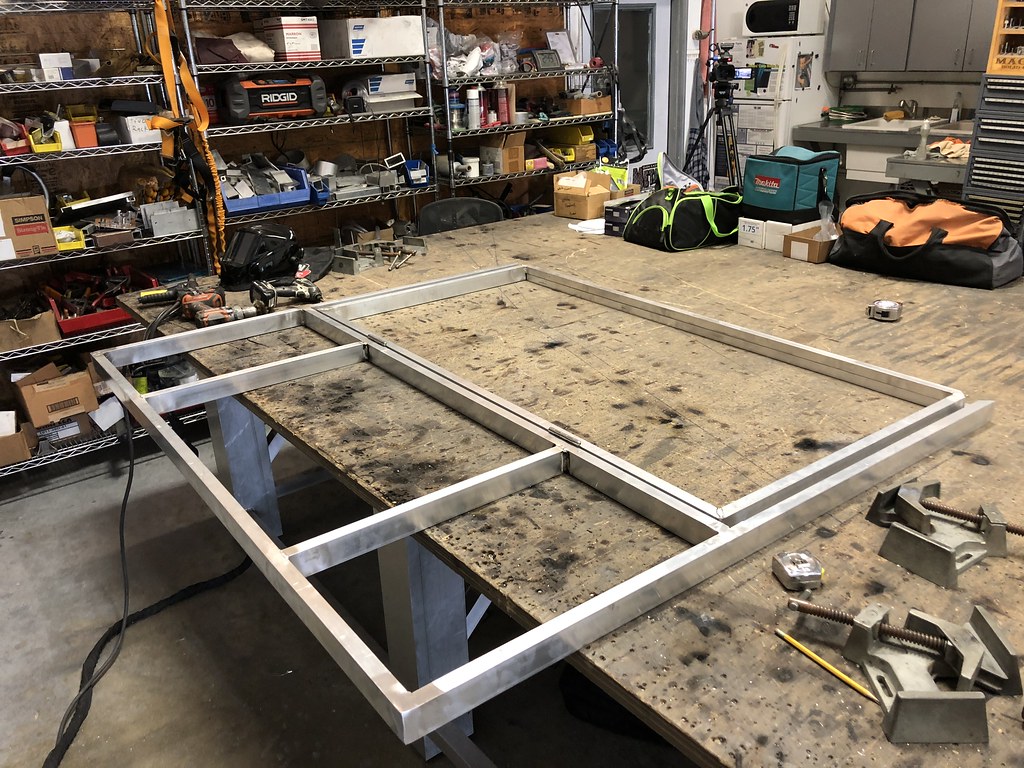
Built the bed.
Materials used include 1 x 2 x 1/4" rec tube for the frames, and 1 x 1 x 1/4 for the overlapping section for the recliner
Basic frame is welded up
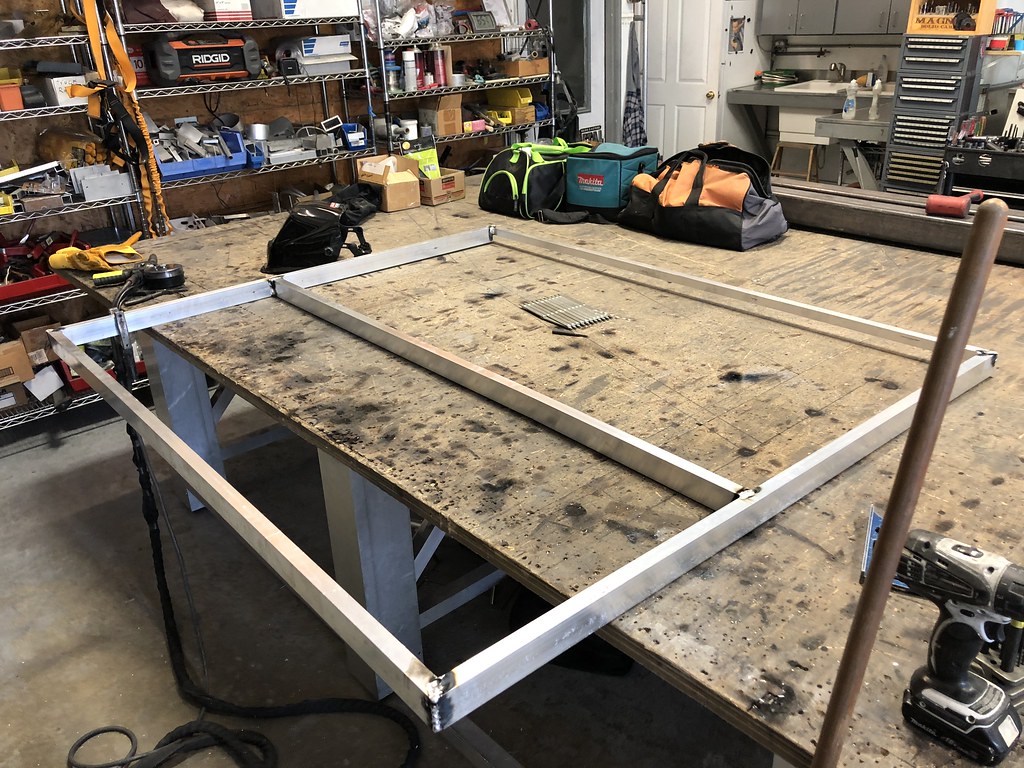 Untitled by Grant Wilson, on Flickr
Made the second portion that will be the recliner back when we want to sit and look out the back and read, or make out or whatever
 Untitled by Grant Wilson, on Flickr
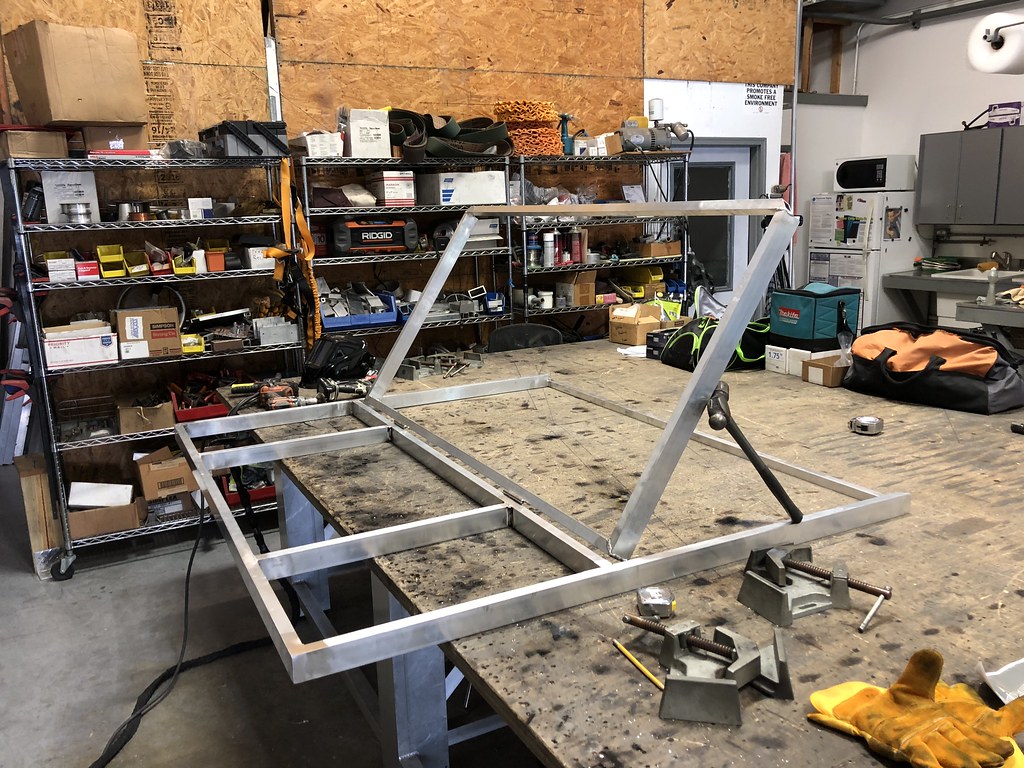 Untitled by Grant Wilson, on Flickr
Threw it into the van for a test fit
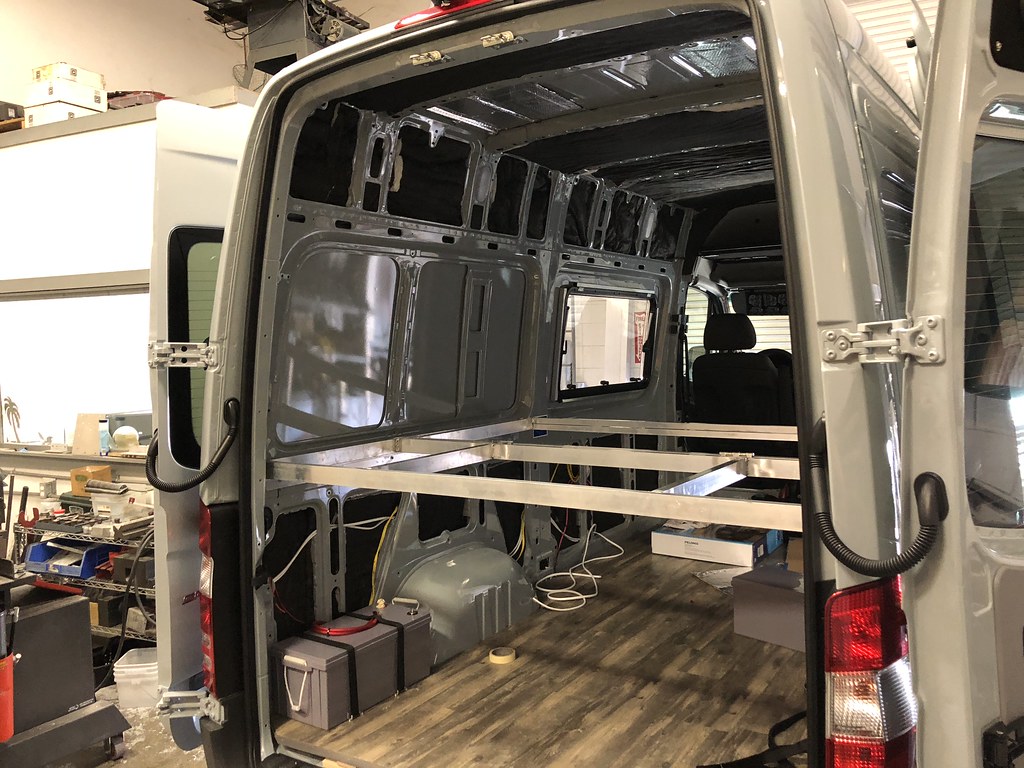 Untitled by Grant Wilson, on Flickr
Then it was time to build out the sides
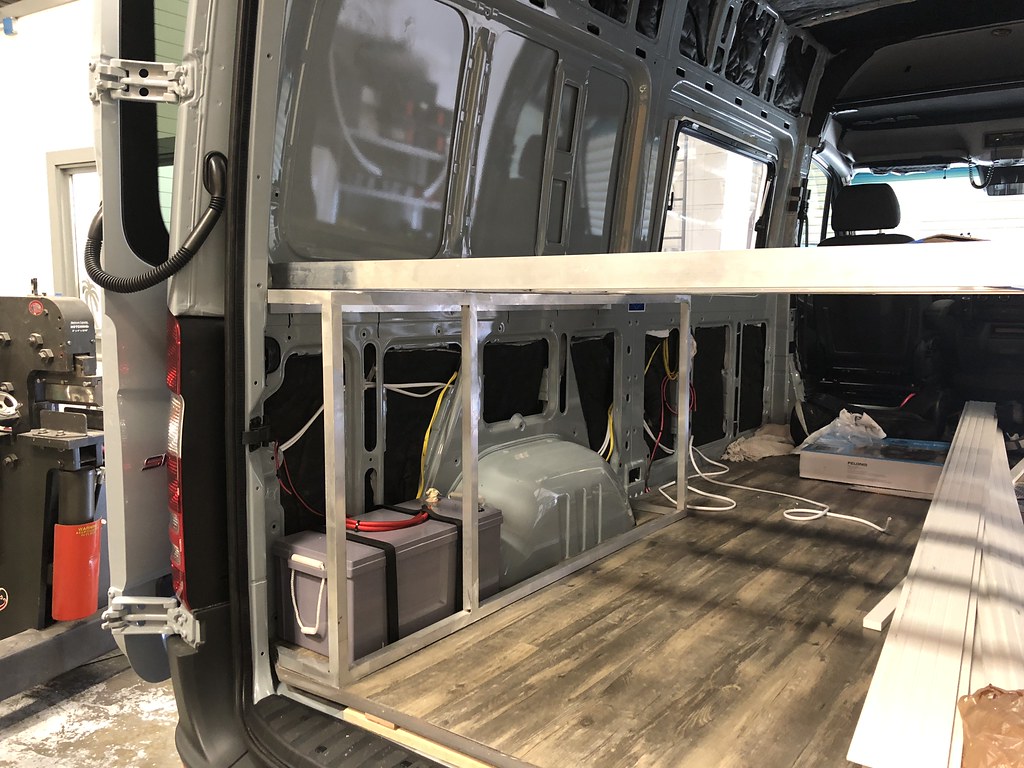 Untitled by Grant Wilson, on Flickr
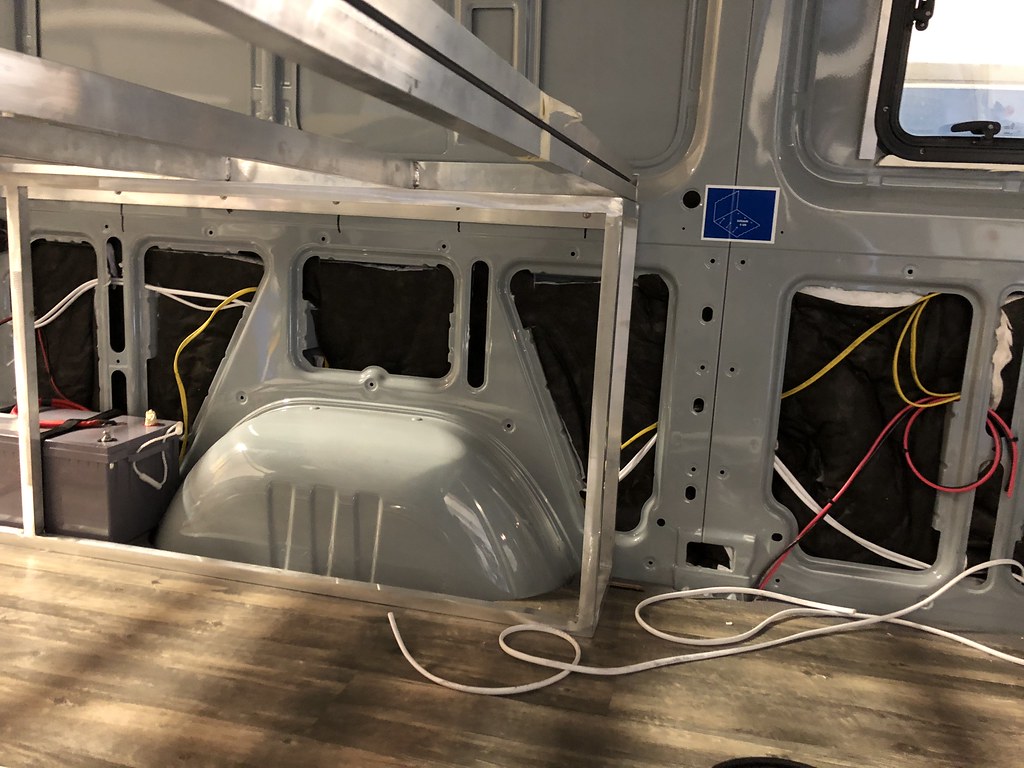 Untitled by Grant Wilson, on Flickr
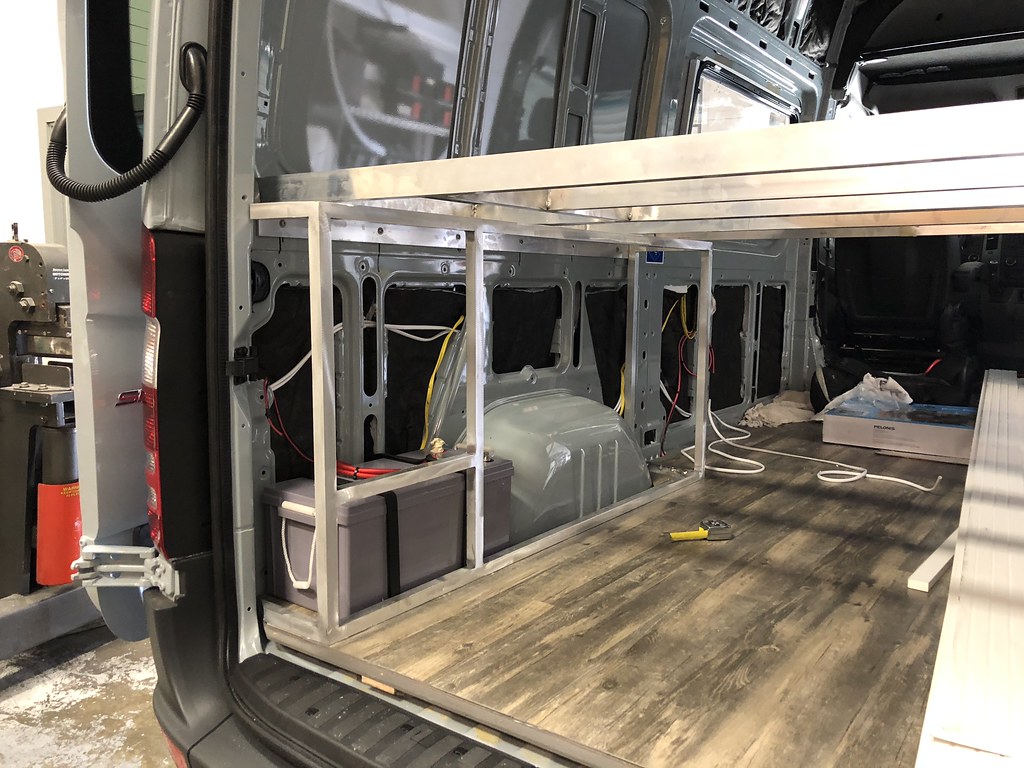 Untitled by Grant Wilson, on Flickr
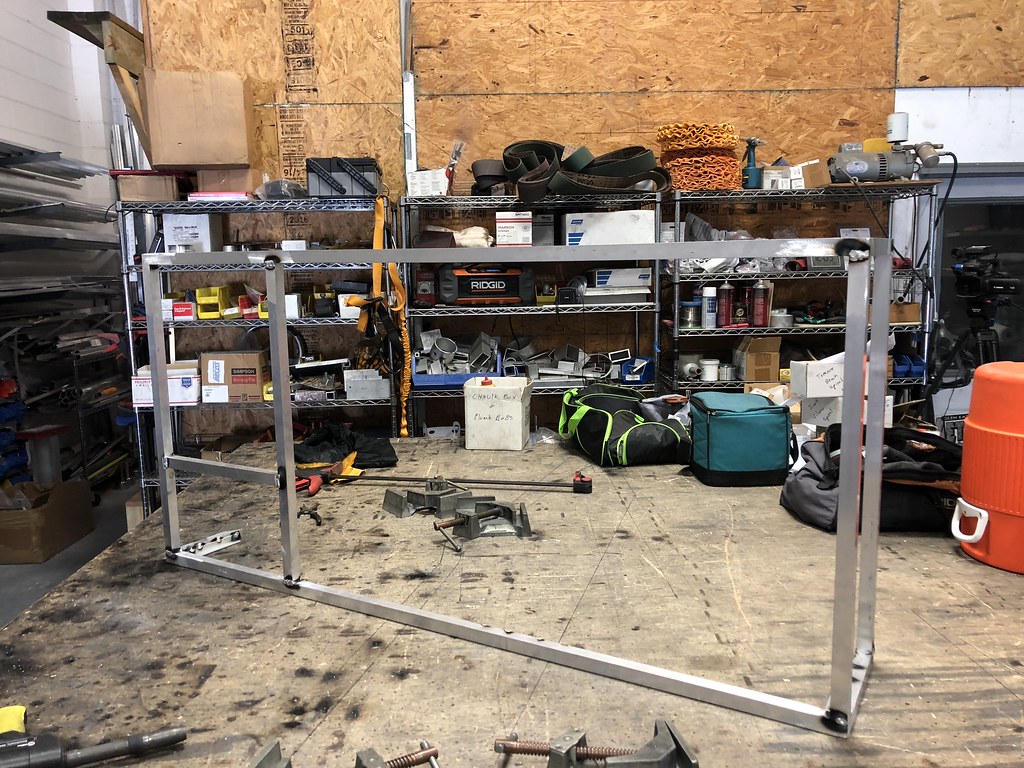 Untitled by Grant Wilson, on Flickr
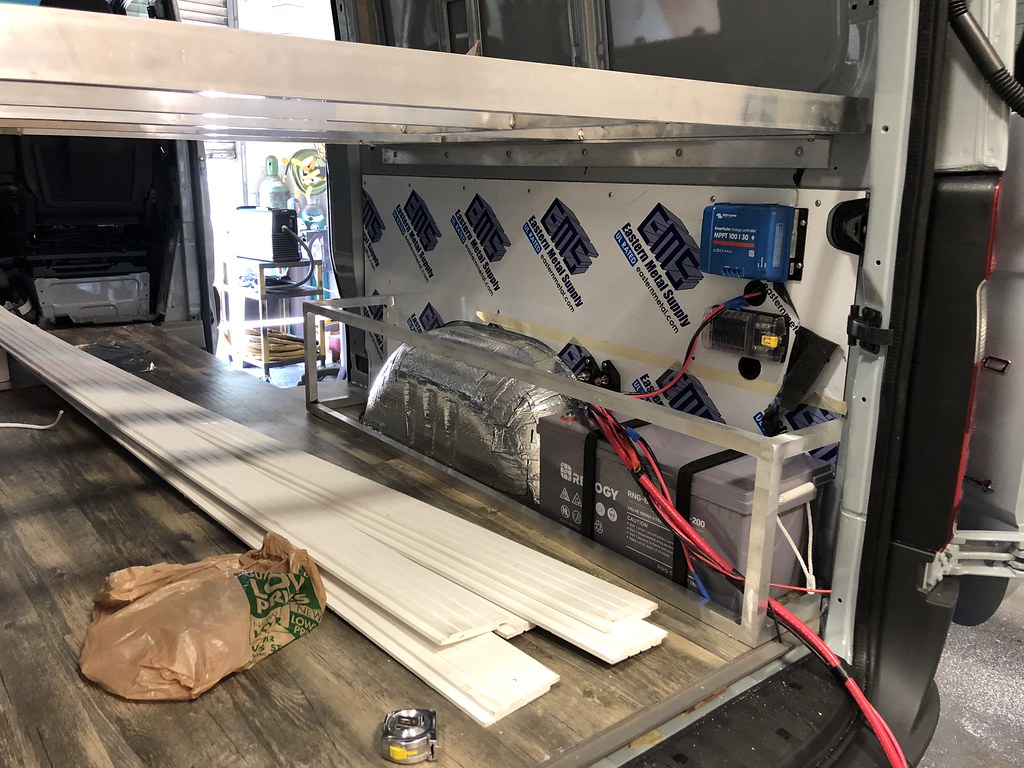 Untitled by Grant Wilson, on Flickr
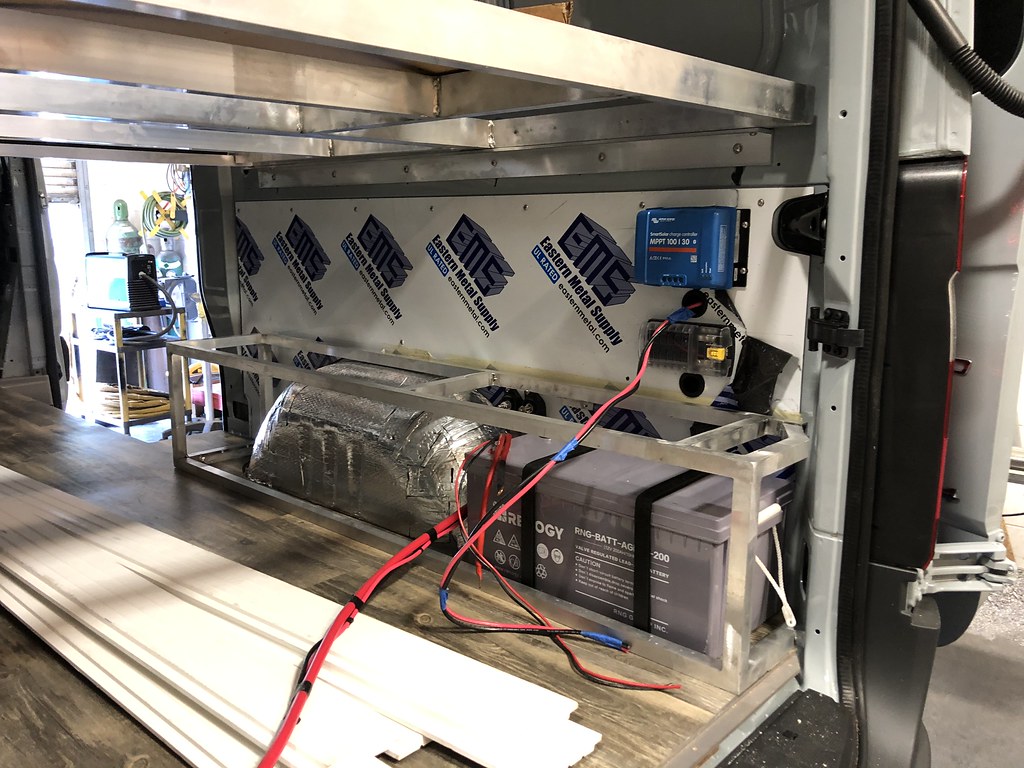 Untitled by Grant Wilson, on Flickr
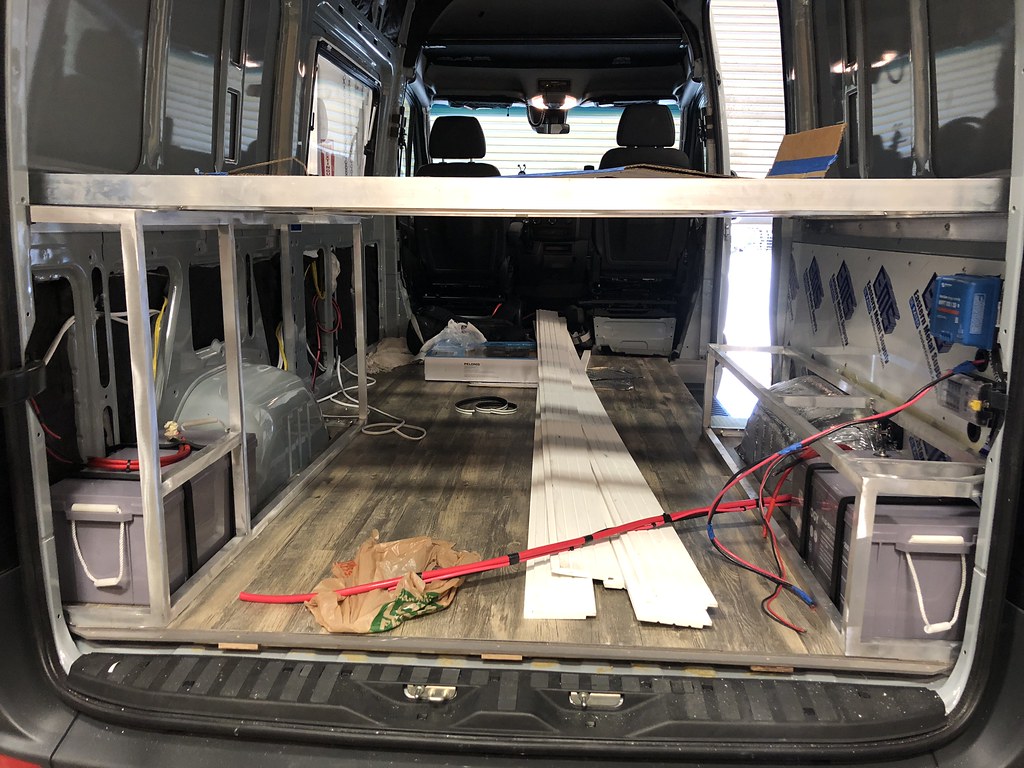 Untitled by Grant Wilson, on Flickr
next up is the water tank, ceiling ribs, and skinning the rear panels, and making doors for them.
Built the bed.
Materials used include 1 x 2 x 1/4" rec tube for the frames, and 1 x 1 x 1/4 for the overlapping section for the recliner
Basic frame is welded up
 Untitled by Grant Wilson, on Flickr
Made the second portion that will be the recliner back when we want to sit and look out the back and read, or make out or whatever
 Untitled by Grant Wilson, on Flickr
 Untitled by Grant Wilson, on Flickr
Threw it into the van for a test fit
 Untitled by Grant Wilson, on Flickr
Then it was time to build out the sides
 Untitled by Grant Wilson, on Flickr
 Untitled by Grant Wilson, on Flickr
 Untitled by Grant Wilson, on Flickr
 Untitled by Grant Wilson, on Flickr
 Untitled by Grant Wilson, on Flickr
 Untitled by Grant Wilson, on Flickr
 Untitled by Grant Wilson, on Flickr
next up is the water tank, ceiling ribs, and skinning the rear panels, and making doors for them.
freshlikesushi
Free Candy
Not a ton of pictures, just doing a bunch of small work that takes time.
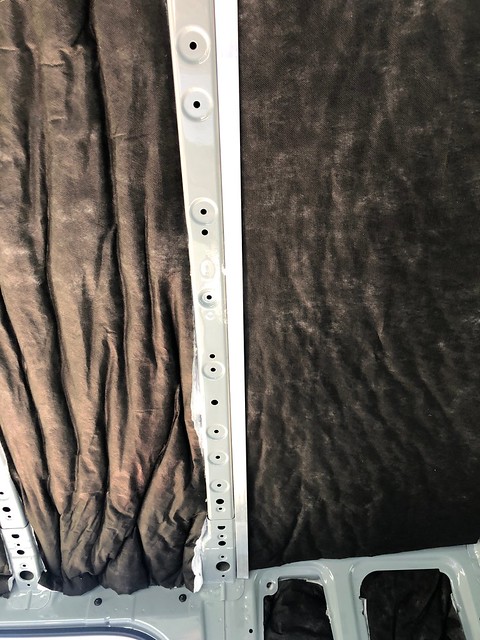
"Fabricated" some roof rails so I didn't have to negotiate the large number of holes in the roof beams.
used some 2" x 2" aluminum angle with some slits and bends and then rivnuts to the side of the roof cross beams.
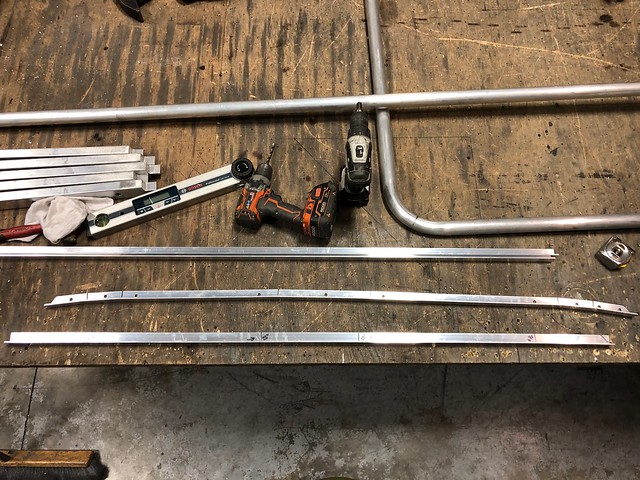 Untitled by Grant Wilson, on Flickr
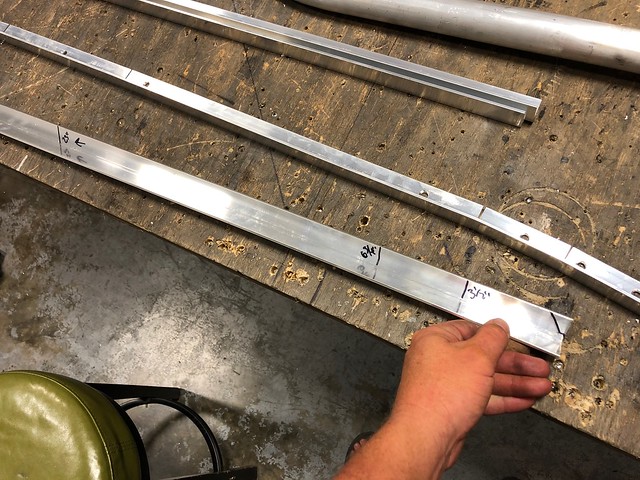 Untitled by Grant Wilson, on Flickr
 Untitled by Grant Wilson, on Flickr
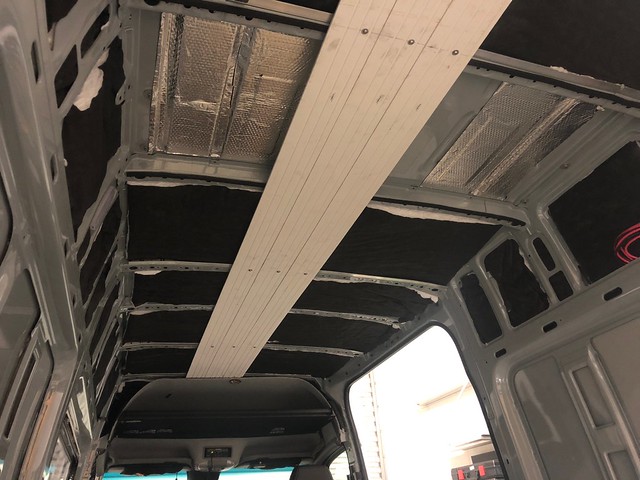
Then i mounted some of the boards for the ceiling at the end of the evening.
These take about 20-30 minutes a piece to do at a leisure pace.
Have to put them up, clamp them together so the lines are all lined up, then measure the hole position, predrill with 1/8", take it back off, open the wood to 5/32 and the angle for the rivnut, install the rivnuts, put the board back up and throw in the 1 1/2" Stainless Hex Button Screws
 Untitled by Grant Wilson, on Flickr
Did 10ft pieces this time so there are no splices. One continuous piece. Should finish the ceiling this afternoon, then label it, pull it all out, and paint it on saturday hopefully to put back in.
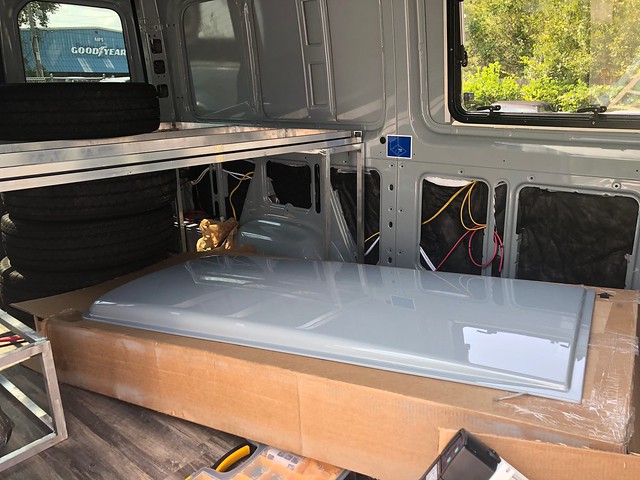
Also got some stuff back from paint
Flarespace Flares are all painted and pretty, may install on sunday hopefully.
 Untitled by Grant Wilson, on Flickr
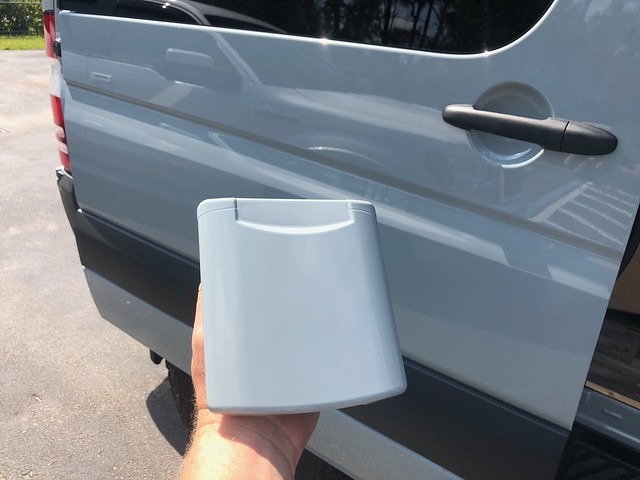
The Tern Overland water and electrical covers are all painted as well to match. Super impressed with the job the shop did on all the stuff.
 Untitled by Grant Wilson, on Flickr
And Lastly, the driver side wheel well water tank
26 gallons
Will mount to the wall, and the structure I made
Leaves enough room to have the bedslide in this one, where the last setup was about 4" difference into the cargo area. Inches literally matter here. Crazy.
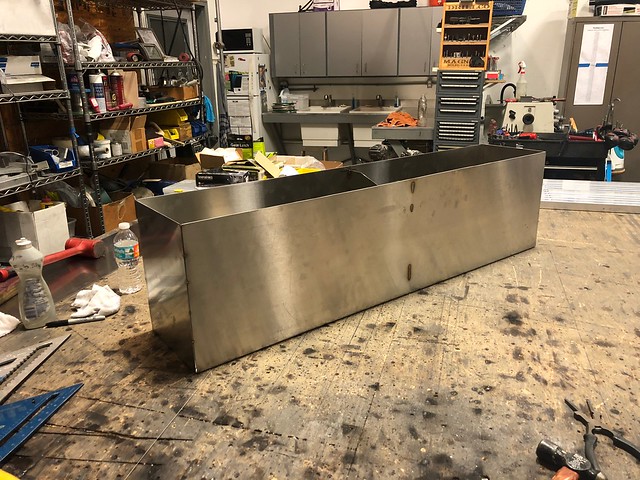 Untitled by Grant Wilson, on Flickr
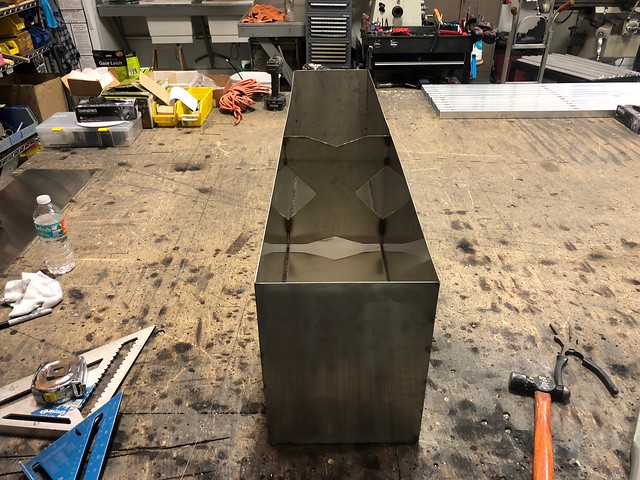 Untitled by Grant Wilson, on Flickr
"Fabricated" some roof rails so I didn't have to negotiate the large number of holes in the roof beams.
used some 2" x 2" aluminum angle with some slits and bends and then rivnuts to the side of the roof cross beams.
 Untitled by Grant Wilson, on Flickr
 Untitled by Grant Wilson, on Flickr
 Untitled by Grant Wilson, on Flickr
Then i mounted some of the boards for the ceiling at the end of the evening.
These take about 20-30 minutes a piece to do at a leisure pace.
Have to put them up, clamp them together so the lines are all lined up, then measure the hole position, predrill with 1/8", take it back off, open the wood to 5/32 and the angle for the rivnut, install the rivnuts, put the board back up and throw in the 1 1/2" Stainless Hex Button Screws
 Untitled by Grant Wilson, on Flickr
Did 10ft pieces this time so there are no splices. One continuous piece. Should finish the ceiling this afternoon, then label it, pull it all out, and paint it on saturday hopefully to put back in.
Also got some stuff back from paint
Flarespace Flares are all painted and pretty, may install on sunday hopefully.
 Untitled by Grant Wilson, on Flickr
The Tern Overland water and electrical covers are all painted as well to match. Super impressed with the job the shop did on all the stuff.
 Untitled by Grant Wilson, on Flickr
And Lastly, the driver side wheel well water tank
26 gallons
Will mount to the wall, and the structure I made
Leaves enough room to have the bedslide in this one, where the last setup was about 4" difference into the cargo area. Inches literally matter here. Crazy.
 Untitled by Grant Wilson, on Flickr
 Untitled by Grant Wilson, on Flickr
Looking good. I like the clean look of the full length ceiling boards. Small details like that make a difference in the overall look. Also interested in how that custom water tank will turn out. It's nice to be able to make it to the exact dims you need.
Out of curiosity, what kind of rivnuts are you using with your stainless hardware? Stainless? Yellow zinc? Aluminum? Do you have any opinion/experience on if it matters for corrosion or galling with the stainless hardware?
Out of curiosity, what kind of rivnuts are you using with your stainless hardware? Stainless? Yellow zinc? Aluminum? Do you have any opinion/experience on if it matters for corrosion or galling with the stainless hardware?
freshlikesushi
Free Candy
I use standard zinc coated rivnuts. I dont like stainless on stainless rivnuts because of galling when driving in with the impact, especially if there is some resistance or pulling stuff together the odds of seizing and being really pissed off are high lol.Looking good. I like the clean look of the full length ceiling boards. Small details like that make a difference in the overall look. Also interested in how that custom water tank will turn out. It's nice to be able to make it to the exact dims you need.
Out of curiosity, what kind of rivnuts are you using with your stainless hardware? Stainless? Yellow zinc? Aluminum? Do you have any opinion/experience on if it matters for corrosion or galling with the stainless hardware?
Similar threads
- Replies
- 10
- Views
- 4K
- Replies
- 1
- Views
- 1K
- Replies
- 1
- Views
- 581
- Replies
- 9
- Views
- 882
