Not a ton of pictures, just doing a bunch of small work that takes time.
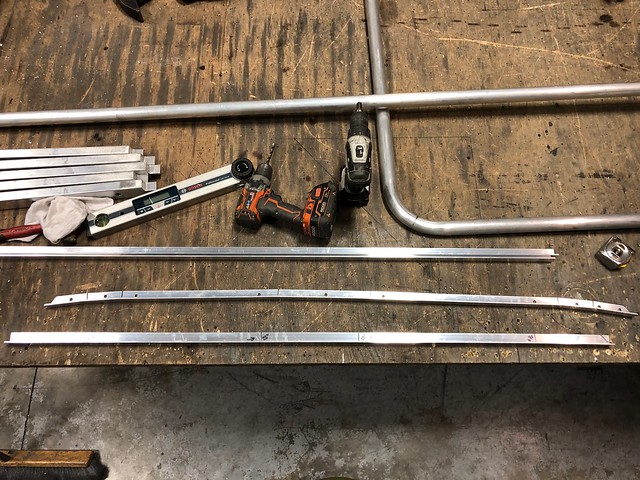
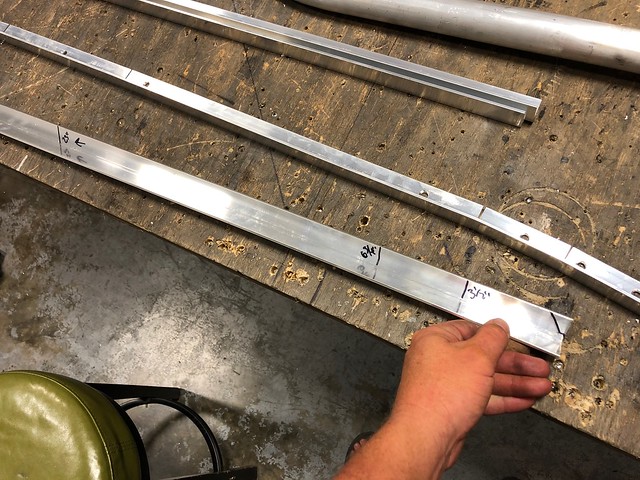
"Fabricated" some roof rails so I didn't have to negotiate the large number of holes in the roof beams.
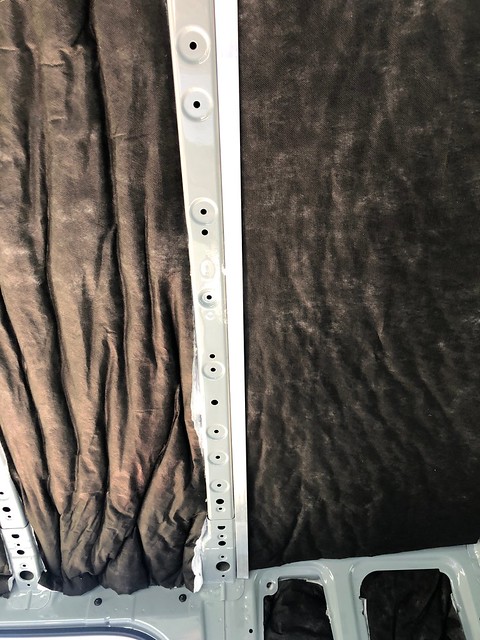
used some 2" x 2" aluminum angle with some slits and bends and then rivnuts to the side of the roof cross beams.
 Untitled
 by
Grant Wilson, on Flickr
 Untitled
 by
Grant Wilson, on Flickr
 Untitled
 by
Grant Wilson, on Flickr
Then i mounted some of the boards for the ceiling at the end of the evening.
These take about 20-30 minutes a piece to do at a leisure pace.
Have to put them up, clamp them together so the lines are all lined up, then measure the hole position, predrill with 1/8", take it back off, open the wood to 5/32 and the angle for the rivnut, install the rivnuts, put the board back up and throw in the 1 1/2" Stainless Hex Button Screws
 Untitled
 by
Grant Wilson, on Flickr
Did 10ft pieces this time so there are no splices. One continuous piece. Should finish the ceiling this afternoon, then label it, pull it all out, and paint it on saturday hopefully to put back in.
Also got some stuff back from paint
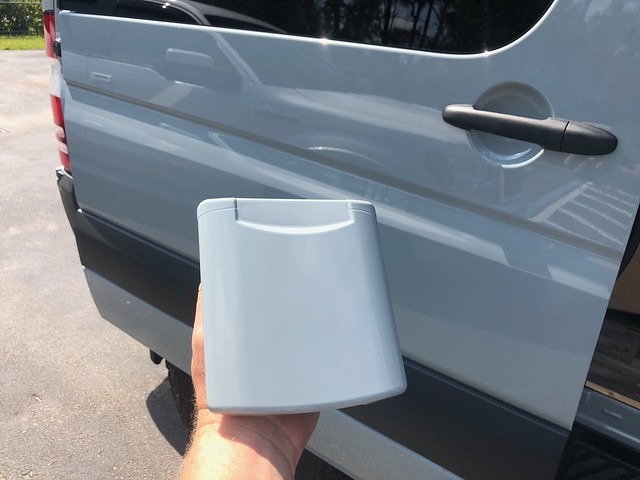
Flarespace Flares are all painted and pretty, may install on sunday hopefully.
 Untitled
 by
Grant Wilson, on Flickr
The Tern Overland water and electrical covers are all painted as well to match. Super impressed with the job the shop did on all the stuff.
 Untitled
 by
Grant Wilson, on Flickr
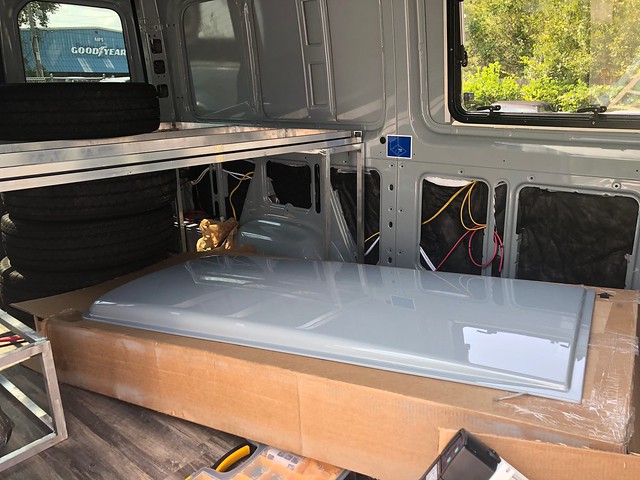
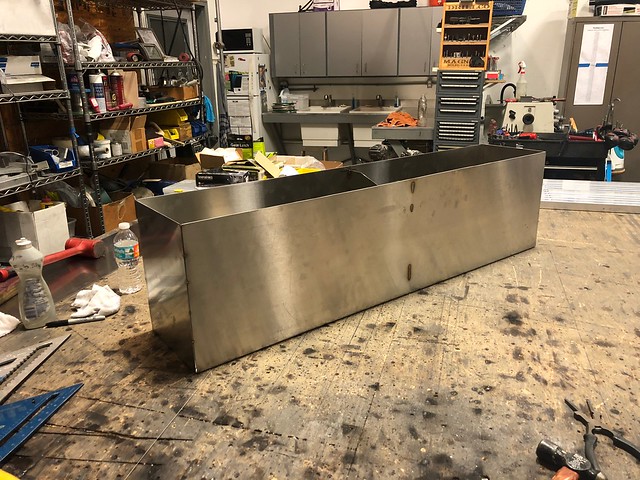
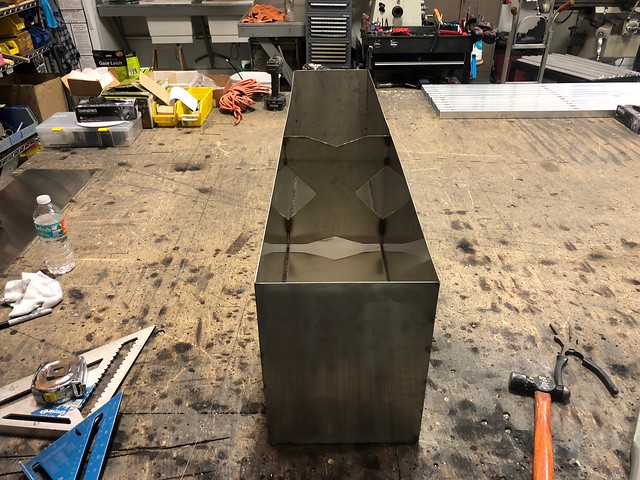
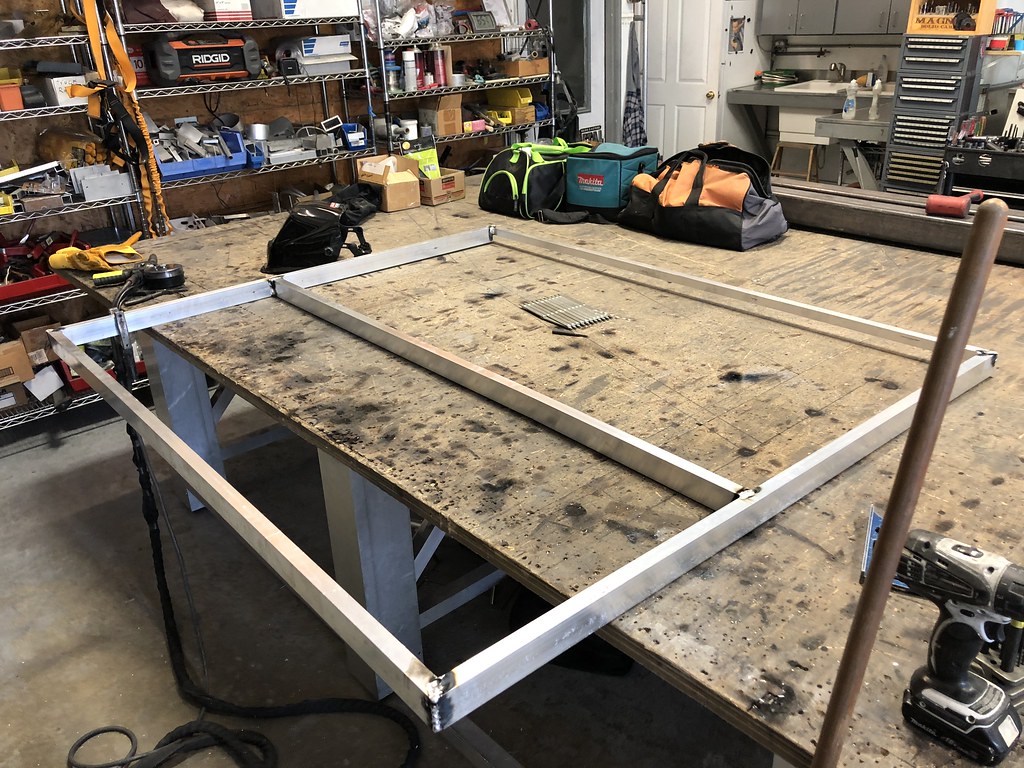
And Lastly, the driver side wheel well water tank
26 gallons
Will mount to the wall, and the structure I made
Leaves enough room to have the bedslide in this one, where the last setup was about 4" difference into the cargo area. Inches literally matter here. Crazy.
 Untitled
 by
Grant Wilson, on Flickr
 Untitled
 by
Grant Wilson, on Flickr
 Untitled
 Untitled
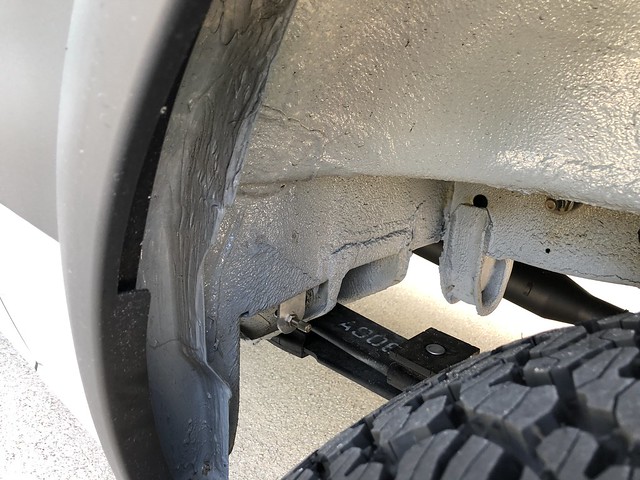 Untitled
 Untitled
 Untitled
 Untitled
 Untitled
 Untitled
 Untitled
 Untitled
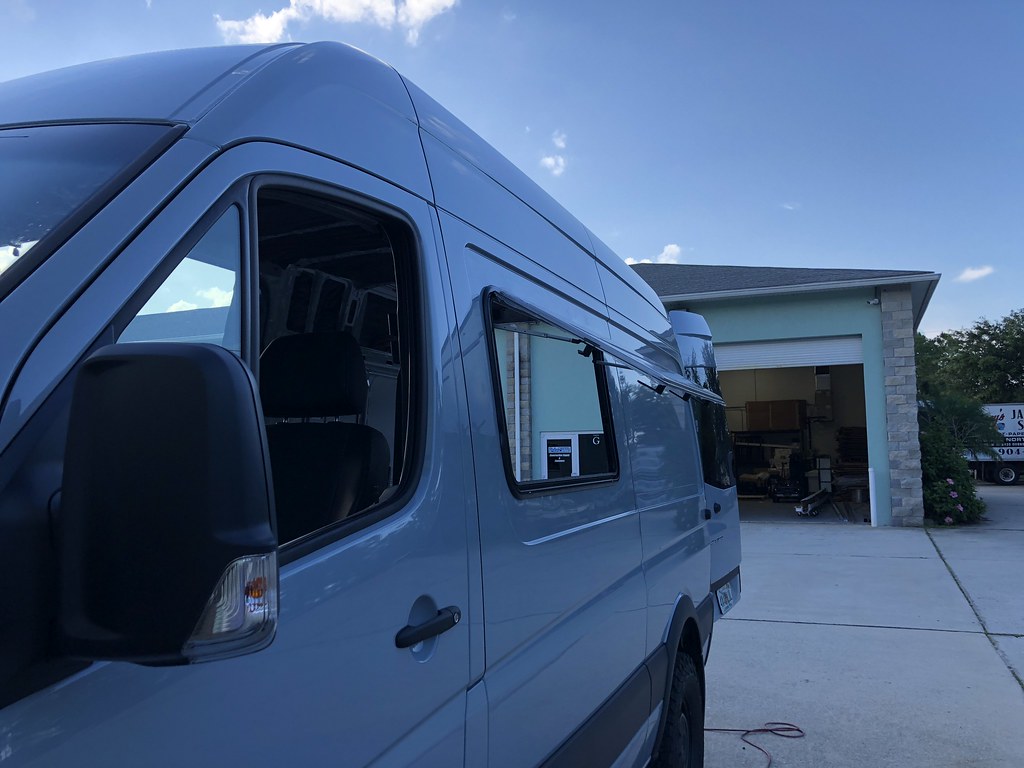 Untitled
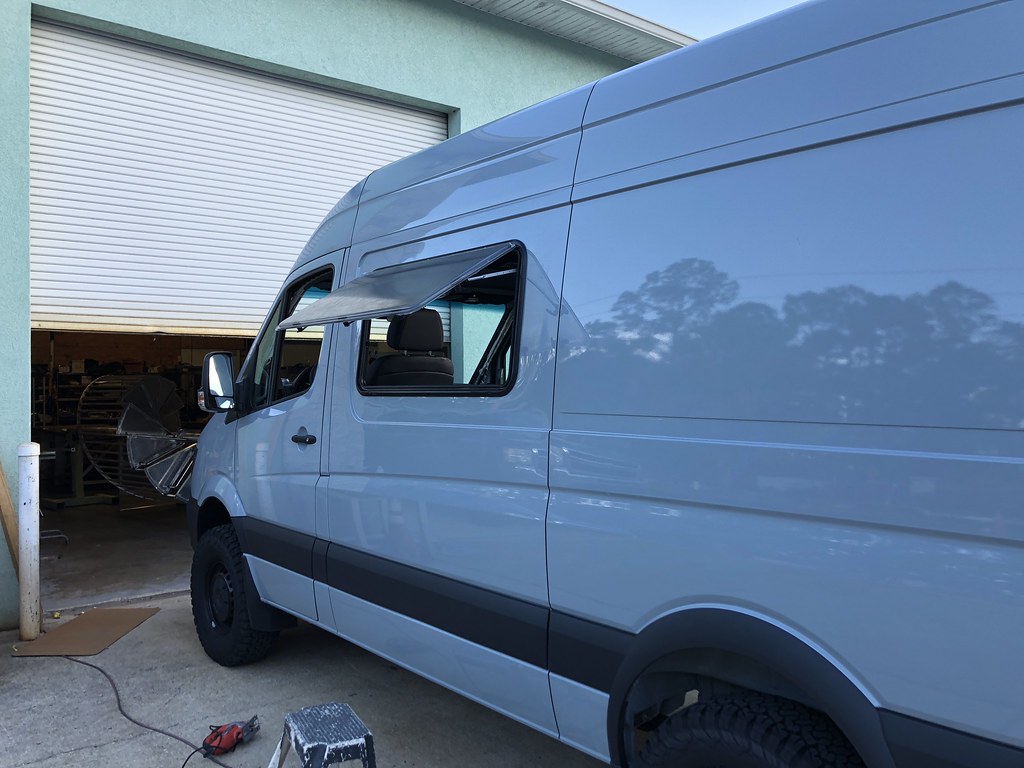 Untitled
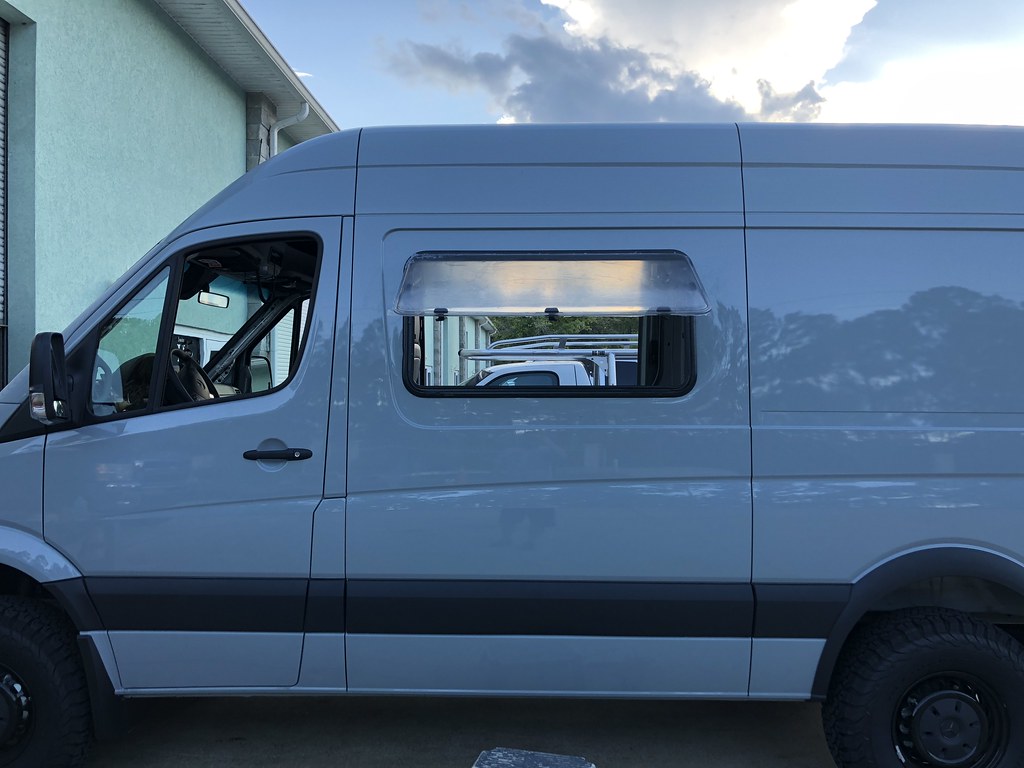 Untitled
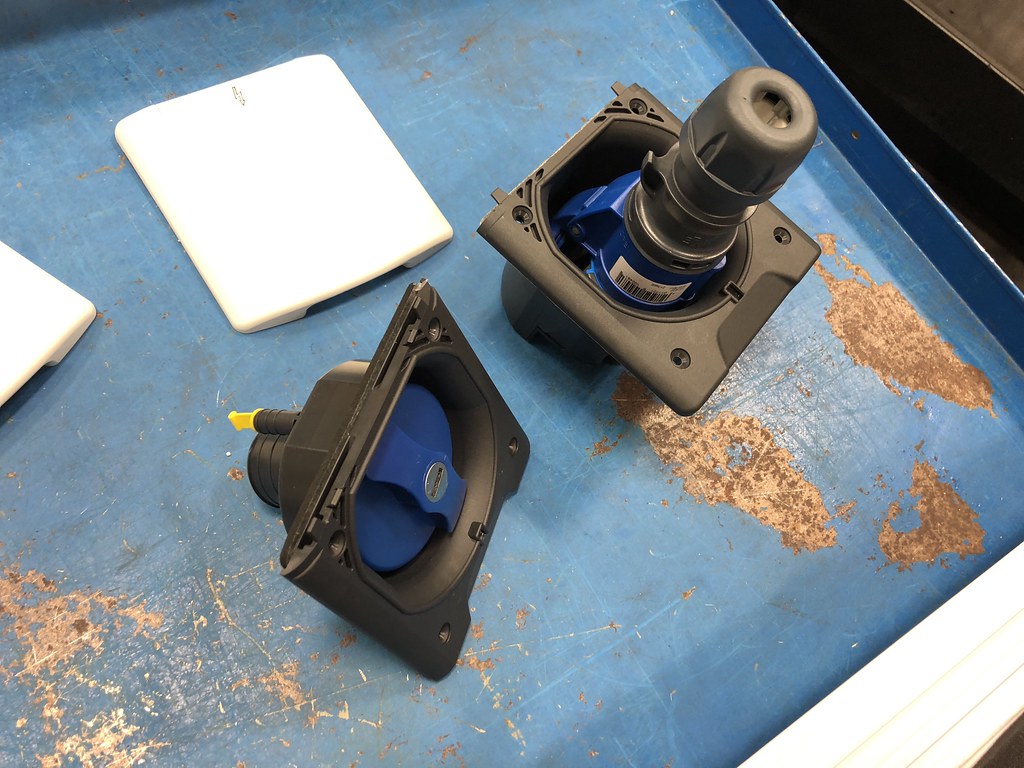 Untitled
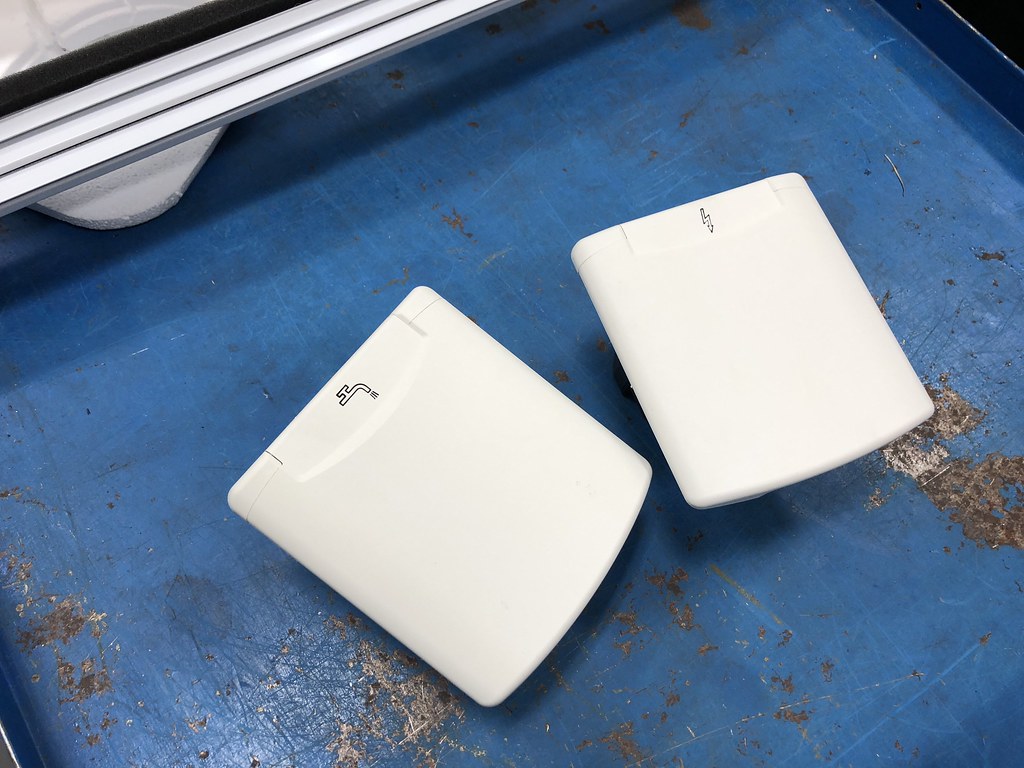 Untitled
")
 Untitled
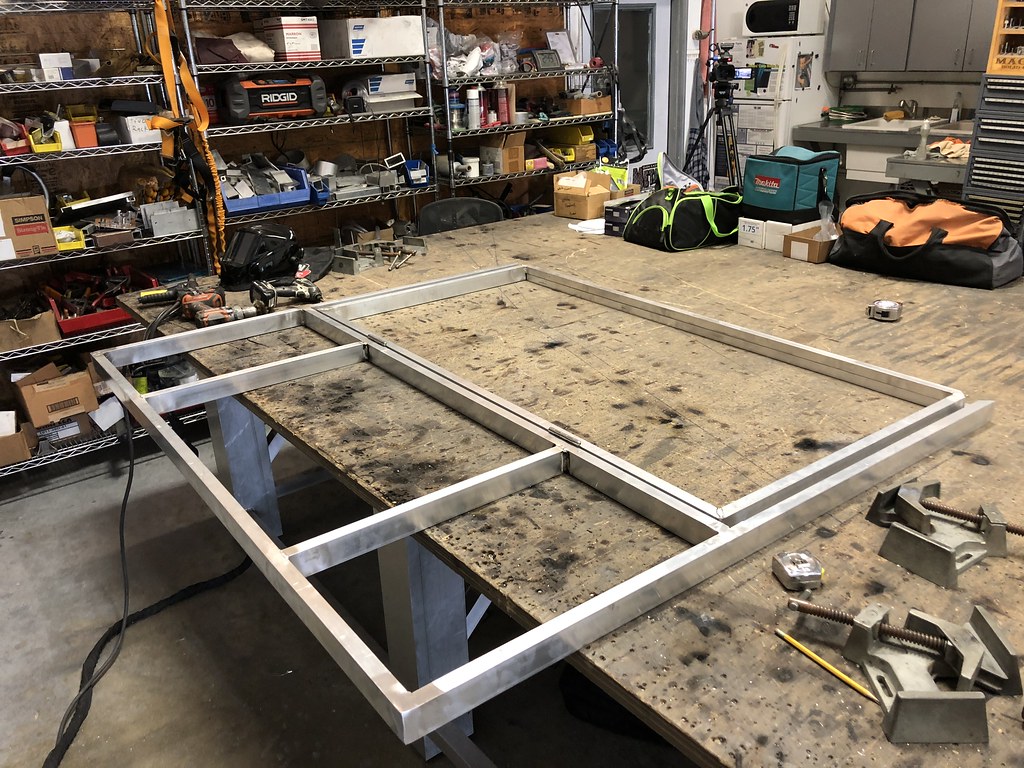 Untitled
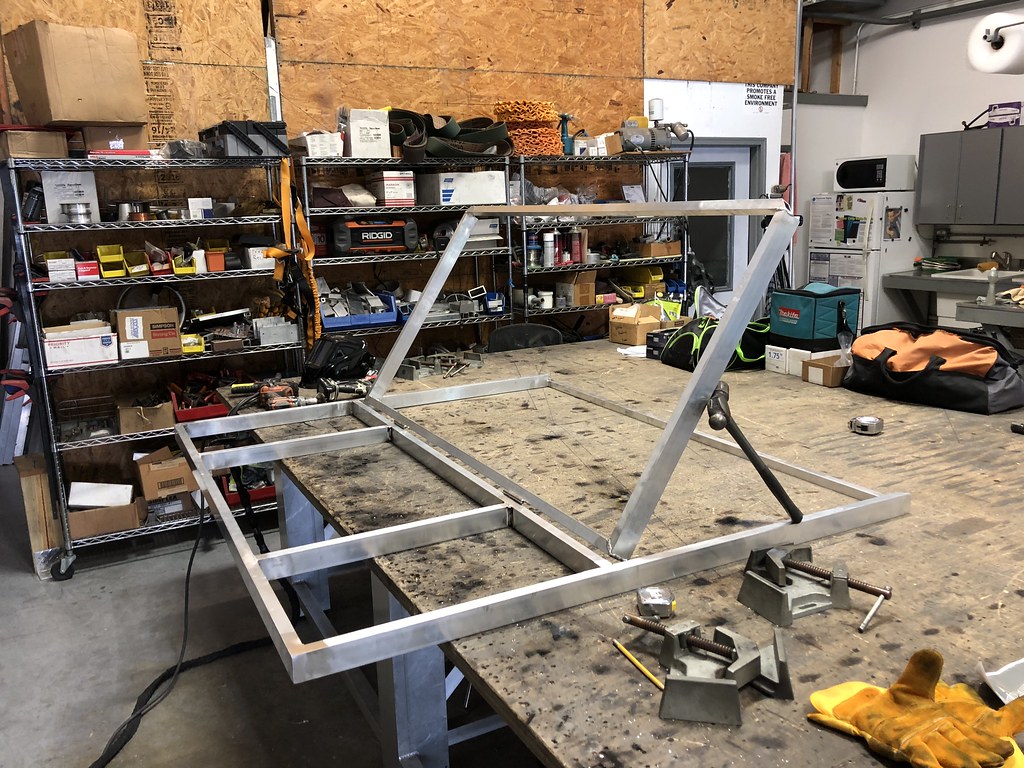 Untitled
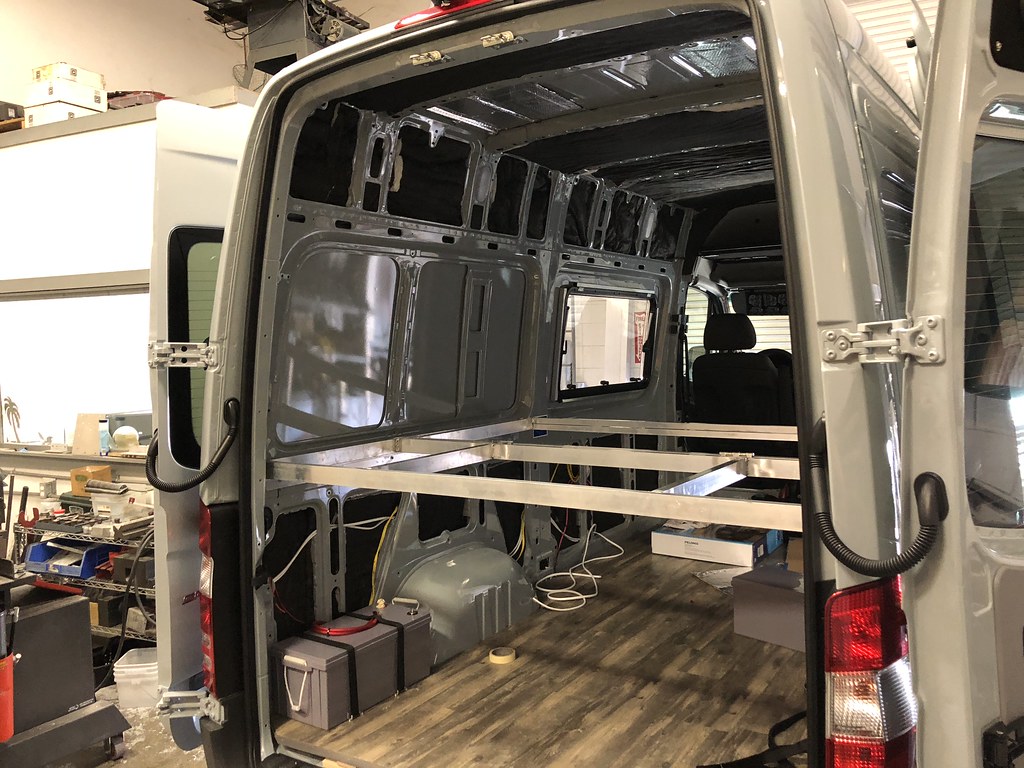 Untitled
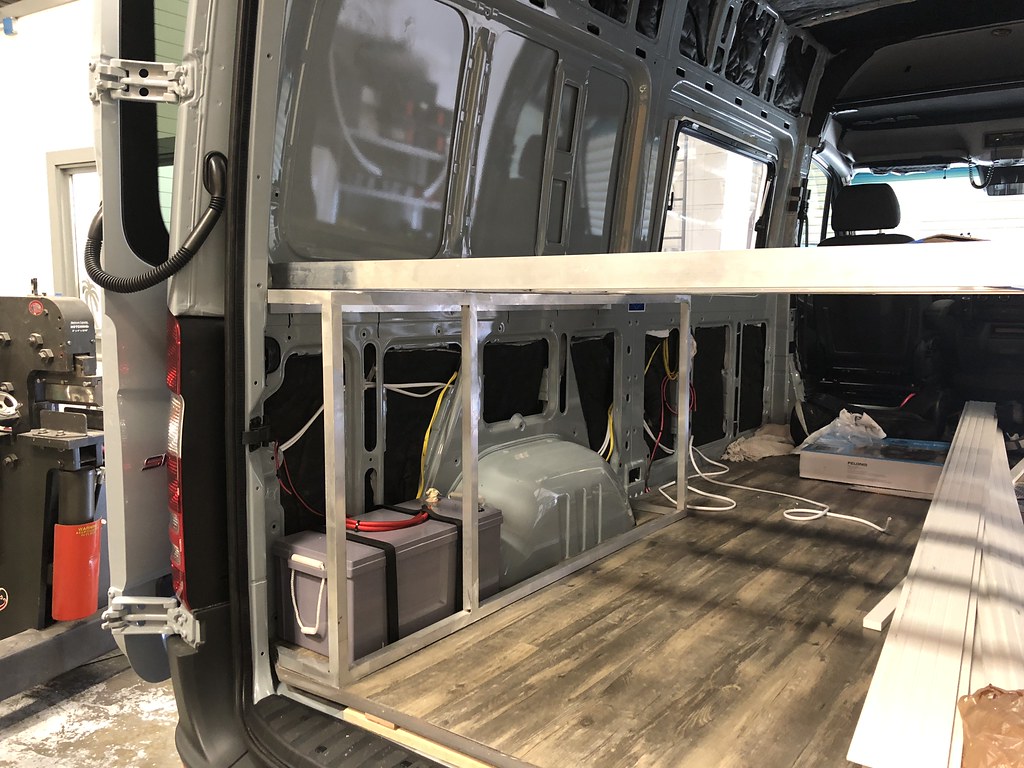 Untitled
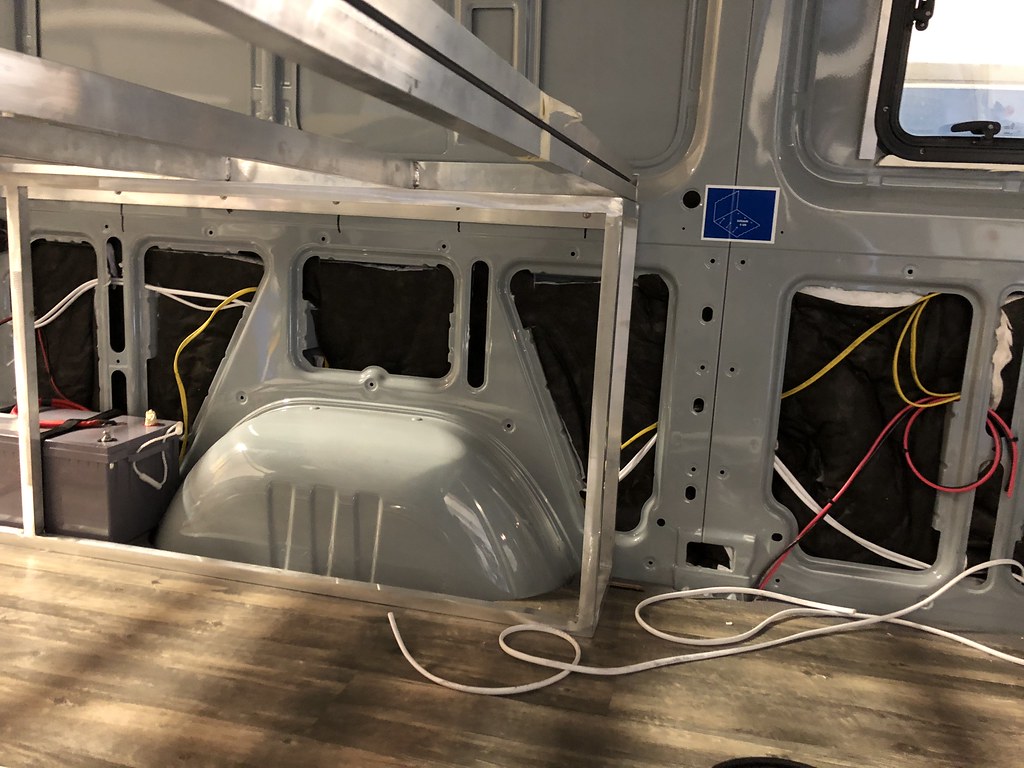 Untitled
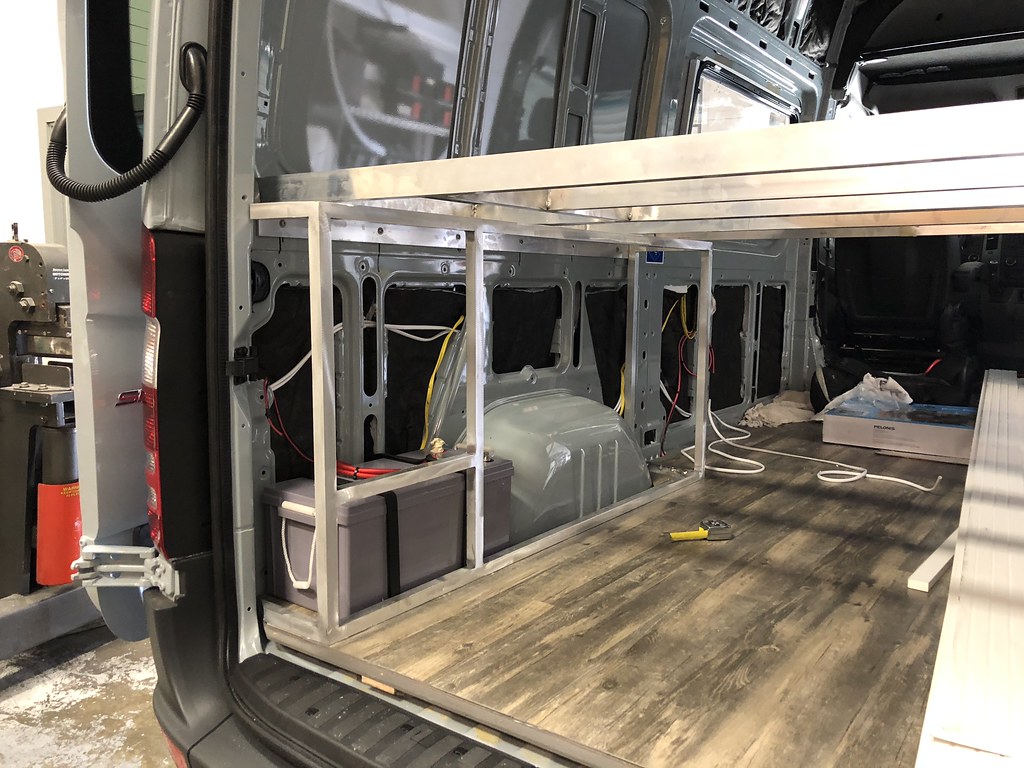 Untitled
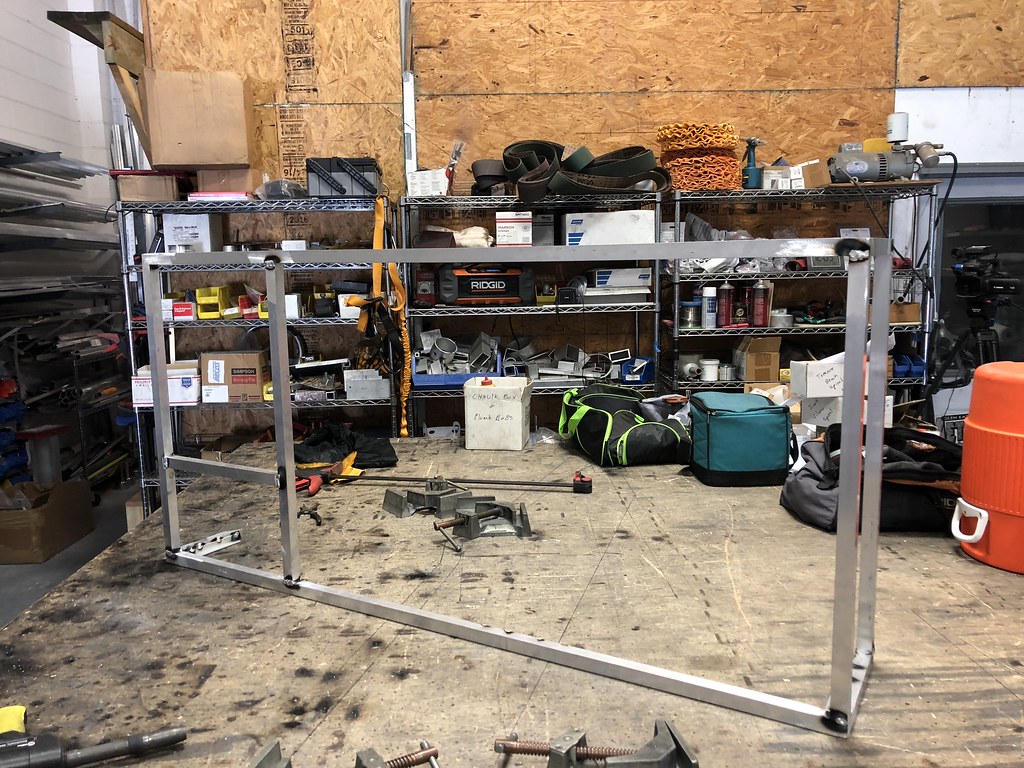 Untitled
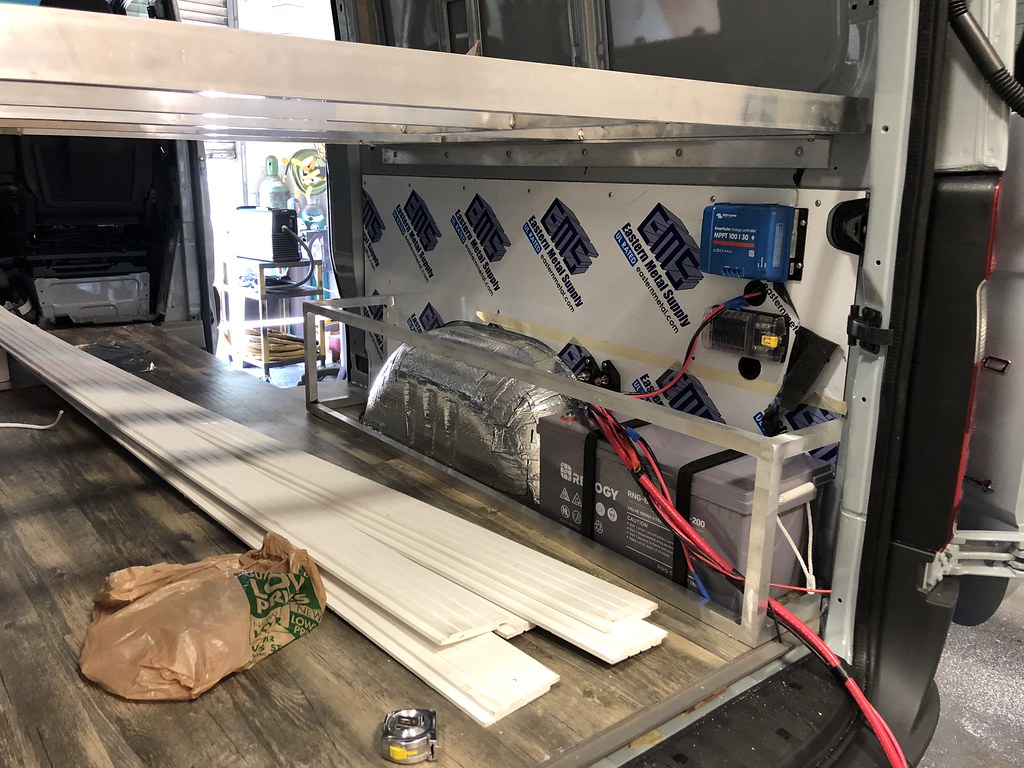 Untitled
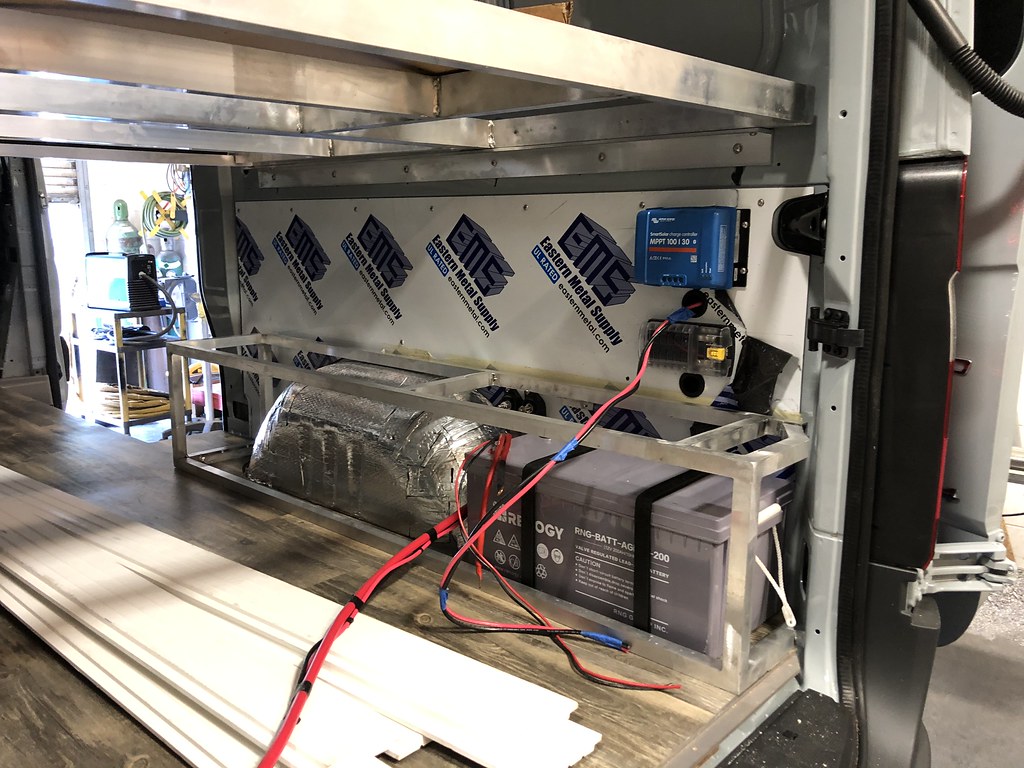 Untitled
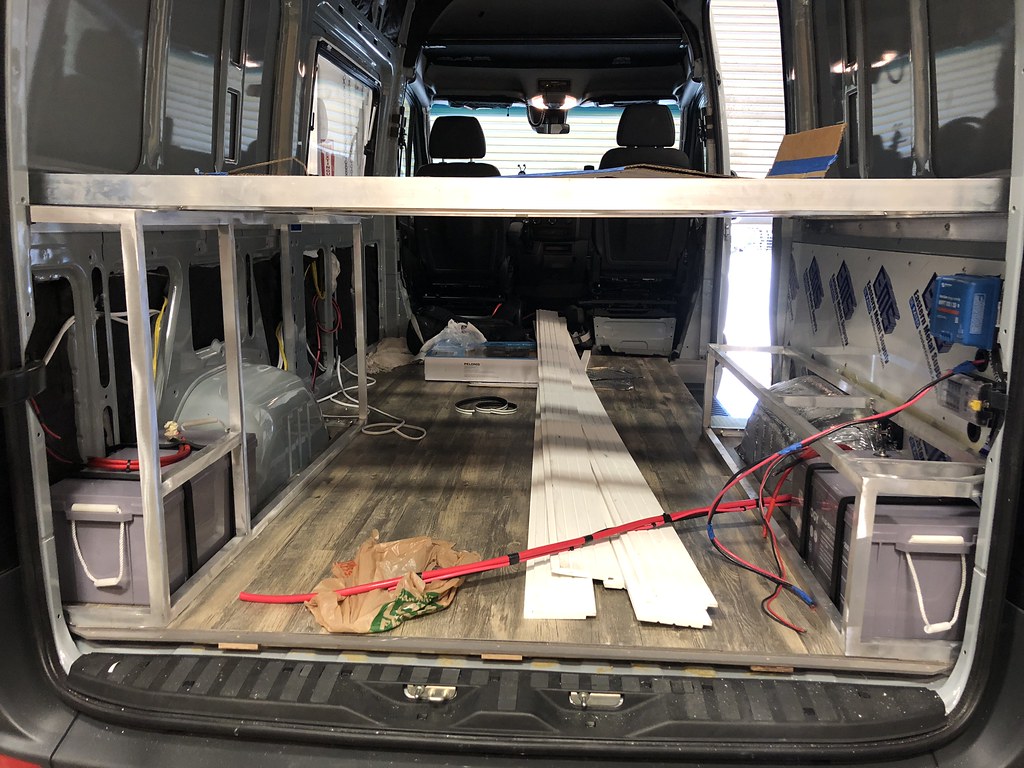 Untitled