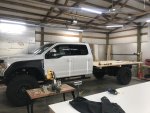
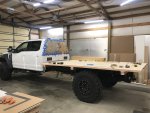
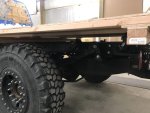
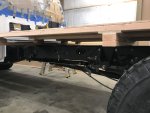
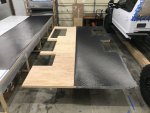
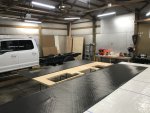
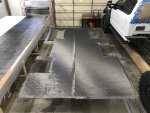
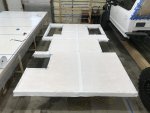
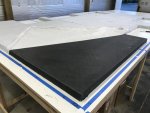
Floor - Carbon Fiber Layup #2
I had a new addition to the late-night mid-week layup crew. Thanks so much for coming out and showing the boys how it's done Debbie! Your strength and finesse were much needed and appreciated ?.
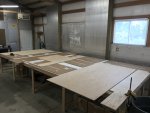
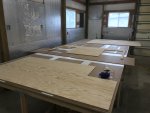
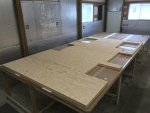
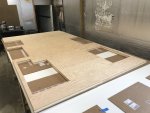
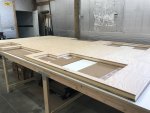
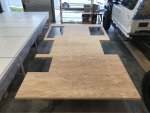
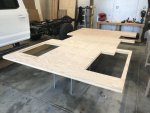
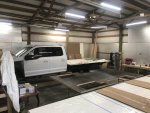
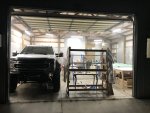
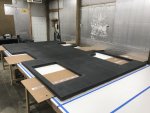
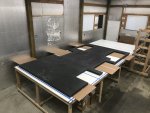
Shop all ready for the CF layup on the top side of the floor
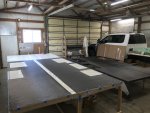
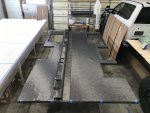
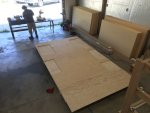
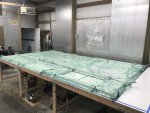
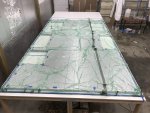
Vacuum bagged, cured and ready to fit onto the subframe
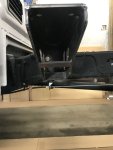
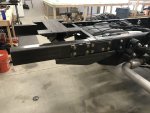
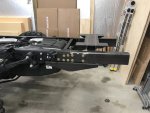
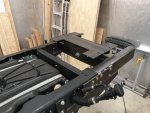
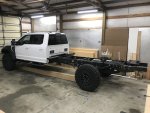
Next step, getting the floor onto the truck
So, I thought I would take a minute to share how the layups went on the floor. I think the floor will end up being the most time consuming single component on the entire build. If that is the case, I just completed the biggest single component on the project, whoo hoo, but we'll see ?.
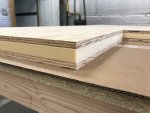
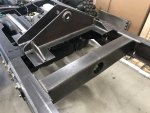
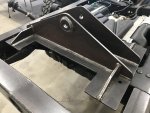
The floor comprised of three separate layups, the core, the bottom side of CF and the top side of CF. I chose this process so I could wrap all of the side edges of the floor with CF. This way, all of the side edges of the floor act as structural I beams and the core is wrapped with a continuous layer of CF that is the same thickness. Given the span I have on my subframe, between the two front outriggers and the rear pivot, I wanted to ensure that my floor was slightly overbuilt-structurally solid. This is also why I chose to go with a thicker schedule of CF and two separate layers of CF for the floor.
The prep of materials for the core layup took the longest amount of time, especially given the number of cut-ins I have. Measuring and cutting out three layers of materials (two layers of plywood and one of core foam), steel inserts, in addition to three layers of consumables (peel ply, bleeder breather and vacuum bag), while ensuring all of the cut-ins lined up perfectly, was a process. The layup also required a bit of hustle by everyone, considering the number of pieces that all had to fit together tightly and squarely, while also ensuring all minor voids and gaps were filled to avoid any air pockets and ensure a solid bond. We used a combo of epoxy and thickened epoxy to make sure we had a good bond, in particular thickened epoxy on the foam and around the steel inserts.
The second layup of CF, for the bottom side of the floor, comprised of two layers of materials (two layers of CF) and three layers of consumables (peel ply, bleeder breather and vacuum bag). The only tough part about this layup was working with two layers of CF that had to be wetted out in stages. We rolled/folded back half of each top layer of CF at a time to access the bottom layer of CF, in order to sufficiently wet out the plywood and bottom layer of CF. We then wetted out the bottom side of the top layer of CF and rolled it back into place over the bottom layer of CF. This took a bit of finesse and many hands to make sure everything lined up perfectly given the number of cut-ins and the fact that the top layer of CF was also wrapping all of the 2" side edges of the floor. We then wet out the top layer completely. On this layup we had some initial vacuum bagging woes given the size of the layup and the number of pleats on the vacuum bag. I was eventually able to find all of the leaks and get it pulled down. It's good that I chose a resin/hardener with a longer pot life/cure time. This was also crucial for the first layup on the core materials.
The third layup, top side of CF for the floor, had the same materials and consumables as the second layup, except the other layer of CF was wrapped on all the side edges. This layup went pretty smooth except for the vacuum bagging again. I had another bout of chasing leaks. This time I was scratching my head a bit and even started to question whether I had an issue with my pump, if a seal on one of my hoses was bad, etc................, you know, when you have tried everything and it's still not working. Heck, we even pulled up 3/4 of the vacuum bag and blocked up part of the floor to make sure a seam on the layup table didn't have an issue. After re-bagging it, replacing-loosening-and/or-retightening any fittings and re-pressing all of the sealant tape for the hundredth time, I finally got the vacuum to pull down. Sometimes it is frustrating when you have used quality materials, all surfaces are prepped and cleaned properly and your tools are solid and things are still not working. We'll chalk it up to the universe testing my patience and perseverance ??! Maybe the universe also wants to make sure that I feel like I have REALLY earned this build when it is all done ?. Regardless of the minor "messiness" as I like to say, the layups all came out great.
Most everything moving forward related to CF will be layed up using resin infusion.

