Vance Vanz
Well-known member
Body/Fairing Work - Interior - Continued....
Let's move to the cabinets next.
I know most people don't want to see this many pictures of body work, but I have to show something for months of work. Plus, this is all I have to contribute to the build thread, so here we go....
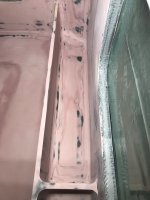
Drivers side overhead cabinet, with a little sanding dust still inside.
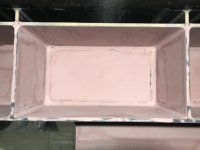
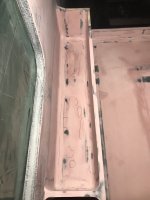
Passenger side overhead cabinet
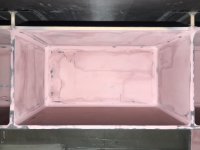
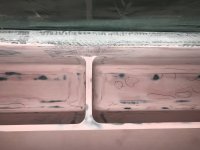
Previously I was going to install a 3/4"H (squared corner) bamboo piece on the front-bottom-inside edge of each overhead cabinet, (to prevent things from falling out of the cabinet when opened) but this would have left a vertical visible line in the body work on the inside of the cabinet because of the offset in the tabbing. These were all of the fillets I Dremeled back 3/4", way back when, on the inside of the cabinets so the corners could be squared looking and match the squared corners on the outside edge of the cabinets. As unforeseen things can happen on a prototype build, I had to refill (re-radius) all of these corners with fairing material to avoid a visible line on the inside of the cabinet (previously mentioned). It will be a little more work to radius the ends on all of the bamboo pieces that will be epoxied to the cabinet, but it will definitely add some uniqueness to the cabinetry/aesthetic. I think I like the radiused look better anyway .
.
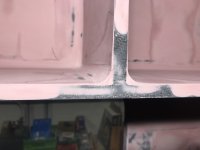
Outside edges/corners of the passenger side overhead cabinet. Just showing some more detail work and transitions
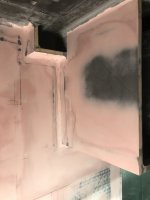
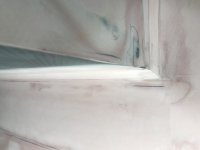
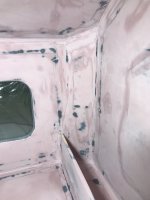
Half hanging closet. This was the hardest of all the cabinets to sand. It is narrow and deep, so I had to literally twist my upper body in a vertical orientation and fully extend my arms in this position to reach the back of the cabinet. I had no leverage at all to get any force in my sanding/the sanding block. Soooo many deep breaths and brakes to avoid dropping the F-Bomb .
.
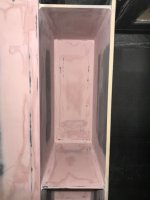
Gear storage, just below the half hanging closet
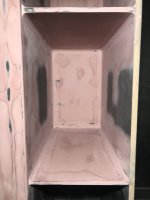
Getting all the contours and corners dialed in, oh, so, smooth
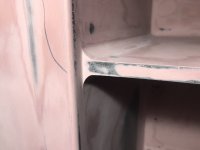
Very top cubby cabinet in the frig. stack. This was the second hardest cabinet to sand as it is only 7-3/4"H. More opportunities for deep breathing exercises and the practice of humility .
.
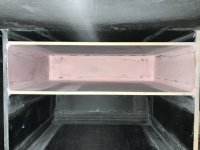
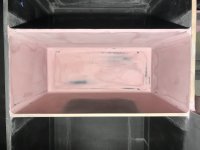
And finally the pantry cabinet in the frig. stack. This was actually the easiest of all the cabinets because I did not have to contort my body into a circus act, or stand on a metal folding chair for 12 hours while sanding (all overhead cabinets) to get it done.
Let's move to the cabinets next.
I know most people don't want to see this many pictures of body work, but I have to show something for months of work. Plus, this is all I have to contribute to the build thread, so here we go....
Drivers side overhead cabinet, with a little sanding dust still inside.

Passenger side overhead cabinet

Previously I was going to install a 3/4"H (squared corner) bamboo piece on the front-bottom-inside edge of each overhead cabinet, (to prevent things from falling out of the cabinet when opened) but this would have left a vertical visible line in the body work on the inside of the cabinet because of the offset in the tabbing. These were all of the fillets I Dremeled back 3/4", way back when, on the inside of the cabinets so the corners could be squared looking and match the squared corners on the outside edge of the cabinets. As unforeseen things can happen on a prototype build, I had to refill (re-radius) all of these corners with fairing material to avoid a visible line on the inside of the cabinet (previously mentioned). It will be a little more work to radius the ends on all of the bamboo pieces that will be epoxied to the cabinet, but it will definitely add some uniqueness to the cabinetry/aesthetic. I think I like the radiused look better anyway

Outside edges/corners of the passenger side overhead cabinet. Just showing some more detail work and transitions


Half hanging closet. This was the hardest of all the cabinets to sand. It is narrow and deep, so I had to literally twist my upper body in a vertical orientation and fully extend my arms in this position to reach the back of the cabinet. I had no leverage at all to get any force in my sanding/the sanding block. Soooo many deep breaths and brakes to avoid dropping the F-Bomb

Gear storage, just below the half hanging closet

Getting all the contours and corners dialed in, oh, so, smooth

Very top cubby cabinet in the frig. stack. This was the second hardest cabinet to sand as it is only 7-3/4"H. More opportunities for deep breathing exercises and the practice of humility

And finally the pantry cabinet in the frig. stack. This was actually the easiest of all the cabinets because I did not have to contort my body into a circus act, or stand on a metal folding chair for 12 hours while sanding (all overhead cabinets) to get it done.

Last edited:

