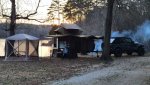
Got the Voyager out for a quick 2 day 1 night trip. Some of lessons learned....
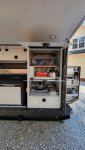
- Repurposed the included pull out drawer wooden cutting board as an upper shelf (cut to fit)
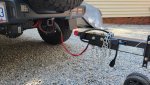
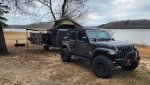
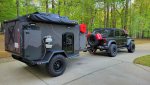
- The Jeep tows the fully loaded (including water) Voyager pretty well - but if you want any resemblance of fuel mileage, keep it under 65
- RTTs and wind are challenging (20+ mph wind when we broke down camp)
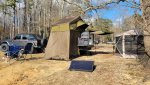
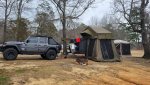
- Need to find a better way to secure the annex room floor, currently I only see a stake point at each corner, and not much else.
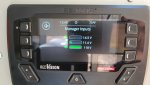
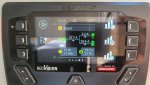
- You use stored power faster than you think
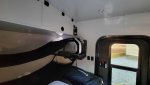
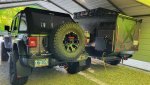
- RTTs are freaking comfortable, and this Walkabout 62 model is very roomy, well ventilated and looks great too
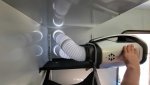
- I don't care for the spring rods that need to be inserted for the RTT window awnings - tight fit in awkward locations
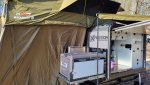
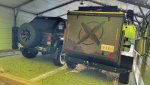
- Voyager kitchen lay out is amazing - there's an abundance of room to do everything
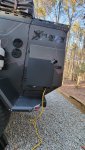
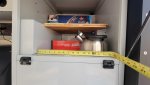
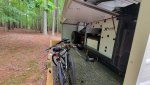
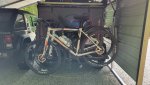
- Voyager trailer storage is HUGE - I thought we had a lot of stuff - it disappeared into the Voyager cabinets
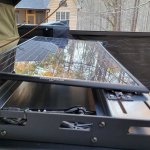
- Need a better solution for the 270 awning pole that interferes with the fridge drop down shelf
- Consider opening the 270 awning no further than the trailer right rear corner which will un-shade the roof top solar panel (may work, may not)
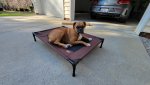
- Dogs like cots - we add a included wool topper to the cot we bought - the dog slept in the annex on the new cot for the first time without a single issue.
- bathroom breaks at night, in the cold, from the RTT aren't fun.
 IMG_20220211_175801_180 (1).jpg162.8 KB · Views: 52
 IMG_20220211_175801_104 (1).jpg322.8 KB · Views: 53
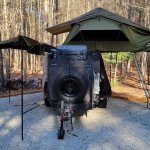 IMG_20220211_175801_141 (1).jpg340.8 KB · Views: 51
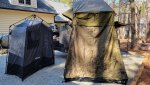 20220212_121529.jpg1.1 MB · Views: 52
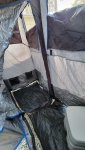 20220212_121604.jpg676.2 KB · Views: 47
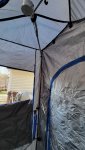 20220212_121557.jpg634.1 KB · Views: 43
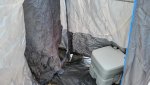 20220212_121546.jpg476.4 KB · Views: 36