2nd Gen Tacoma Garmin 60CSX GPS Mount

colodak

Adventurer
I guess in my original comment, I should have said I liked your idea, it's different. Here is what the Proclip vent mount looks like on my Dakota with my Garmin, the wiring for the power source and ext. antenna is then tucked into the dash


TEJASYOTA

Adventurer
I really don't care to clip stuff to my vents. Especially something as heavy as a gps. I don't want to block the airflow and those vents just aren't that strong. I know a lot of folks use and like them but they're not for me.


Sent from my iPhone using Tapatalk

I wish you had done this years ago, back when I was looking for a mount for my phone.
I went the route of the Proclip, it does not mount on the actual vents.
But it does block air flow.
The PC basically clips between two seams.
IMG_0013.jpg

IMG_0022.jpg

I like your install and how it is more in your field of view and the road - a real good thing.
I may change to the RAM in the future.
 

1 Bored Clerk

Explorer
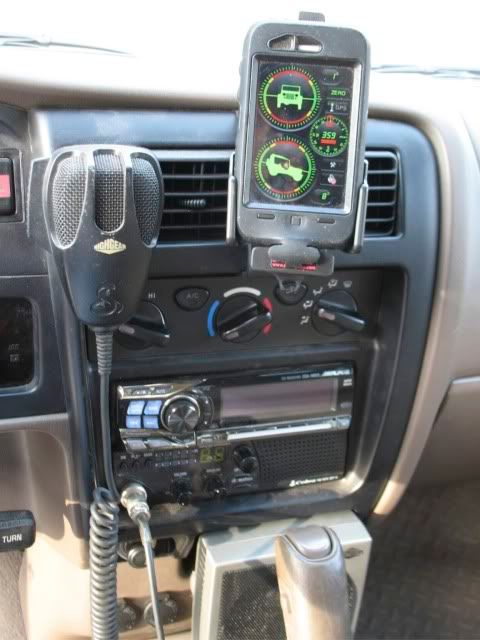
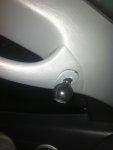
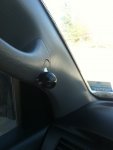
I knew I would get tired of seeing the gaping hole left behind after removing the screw cover on the handle when I installed my RAM ball. So, I fixed it. :)

Okay, this is a little jumpy. I did this over three days and three of the photos (sort of critical ones that fill in the gaps) decided to not make the transfer from my phone...and delete themselves. So, bear with me.

I decided that I would modify the factory screw cover to go on with the RAM ball so it all looked as clean as possible. It was a great plan that took a LOT more time to execute properly than I could have imagined. You just drill a hole in some plastic and your good to go, right? Yeah...not so much. It's a fiddly process but I'm really happy with how it turned out.

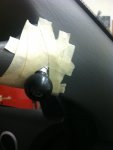
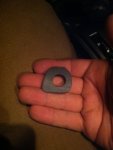
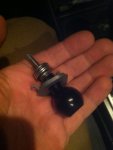
I used tape to create a template to locate, roughly, the hole for the RAM mount in the screw cover. Then I transferred that to the screw cover and drilled out the center. Then it was a lot of file, sand, fit, repeat. I tried painting the shaft of the RAM mount but I didn't like it so I sanded it off. In the process, I used an x acto blade to cut the rubber flashing off of the shaft where the ball meets it. It was easy and made a big difference in how it looked. Then I used a 3m abrasive pad to give the aluminum a nice satin finish. Boom. Done. :wings:

I'm happy to answer any questions. I had a much more comprehensive post but it was canned when Expo timed out on me. :mad:
 

Attachments

  • IMG_0600.jpg
    IMG_0600.jpg
    525.3 KB · Views: 21
  • IMG_0601.jpg
    IMG_0601.jpg
    521.2 KB · Views: 20
  • IMG_0611.jpg
    IMG_0611.jpg
    511.1 KB · Views: 22
  • IMG_0612.jpg
    IMG_0612.jpg
    508.8 KB · Views: 22
  • IMG_0614.jpg
    IMG_0614.jpg
    500 KB · Views: 20
  • IMG_0618.jpg
    IMG_0618.jpg
    520.2 KB · Views: 20
  • IMG_0619.jpg
    IMG_0619.jpg
    520.7 KB · Views: 19
Last edited:

flatout

New member
Garmin mount

I used you information to mount my Garmin Nuvi 1490.
Worked out just fine. Was able to get the Garmin, of the dash and in to a secure mounting spot.
Thanks for all of your information.
flatout
 

1 Bored Clerk

Explorer
My pleasure! Glad it helped. I'm glad I had some threads to read when I did mine. It's a small/simple mod but it's nice to know exactly what to get.


Sent from my iPhone using Tapatalk
 

Forum statistics

Threads
188,531
Messages
2,906,317
Members
230,547
Latest member
FiscAnd
Top