BoundForNowhere
Member
Update #5
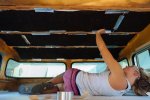
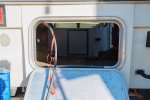
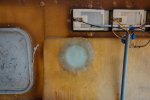
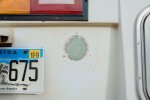
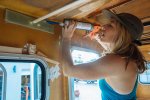
Up next, Maxxair roof fans. These are going to be a great upgrade from the standard roof vents. The fans have 10 speeds and it also has an automatic mode where you can set a temperature and it will adjust accordingly. They're also bi-directional so they can pull air in or push out. With two of them in the Sunrader it should create great circulation. The installation was fairly straight forward on these. After removing the old vents there was a fair bit of cleaning to do with the old butyl tape but nothing too terrible (we're becoming palette knife ninjas). The holes on the Maxxairs didn't match up with the original vents so we did have to drill some more holes but it was all easy stuff. Then when we screwed them all in, went around the edges with Sikaflex, and covered each screw as well. On the interior we had to wait to do the trim piece until after we installed the ceiling (more on that later).


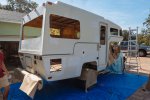
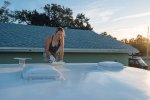
Removing the original vents and cleaning up the left over gunk.

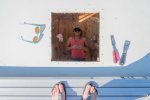
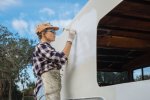
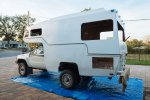
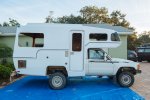
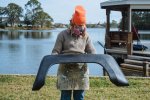
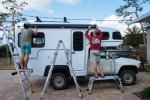
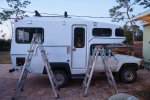
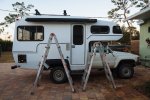
Prime photo opportunity.
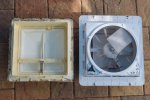
Old vs new.
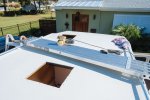
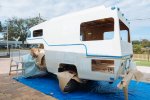
All cleaned up.
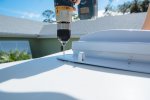
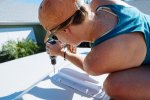
Drilling new holes.
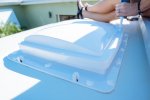
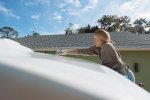
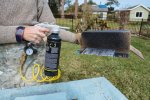
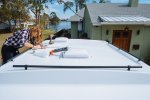
Sikaflex to cover up screw holes. We also went around the border with it.
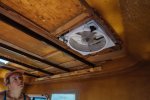
Inside view.
Maxed out the photos so that's it for now! More information and photos can be found on this process over here: http://www.boundfornowhere.com/blog/2017/build-out-week-6
Up next, Maxxair roof fans. These are going to be a great upgrade from the standard roof vents. The fans have 10 speeds and it also has an automatic mode where you can set a temperature and it will adjust accordingly. They're also bi-directional so they can pull air in or push out. With two of them in the Sunrader it should create great circulation. The installation was fairly straight forward on these. After removing the old vents there was a fair bit of cleaning to do with the old butyl tape but nothing too terrible (we're becoming palette knife ninjas). The holes on the Maxxairs didn't match up with the original vents so we did have to drill some more holes but it was all easy stuff. Then when we screwed them all in, went around the edges with Sikaflex, and covered each screw as well. On the interior we had to wait to do the trim piece until after we installed the ceiling (more on that later).


Removing the original vents and cleaning up the left over gunk.


Prime photo opportunity.

Old vs new.

All cleaned up.


Drilling new holes.

Sikaflex to cover up screw holes. We also went around the border with it.

Inside view.
Maxed out the photos so that's it for now! More information and photos can be found on this process over here: http://www.boundfornowhere.com/blog/2017/build-out-week-6


