94 E-350 UJOR conversion

94idi

New member
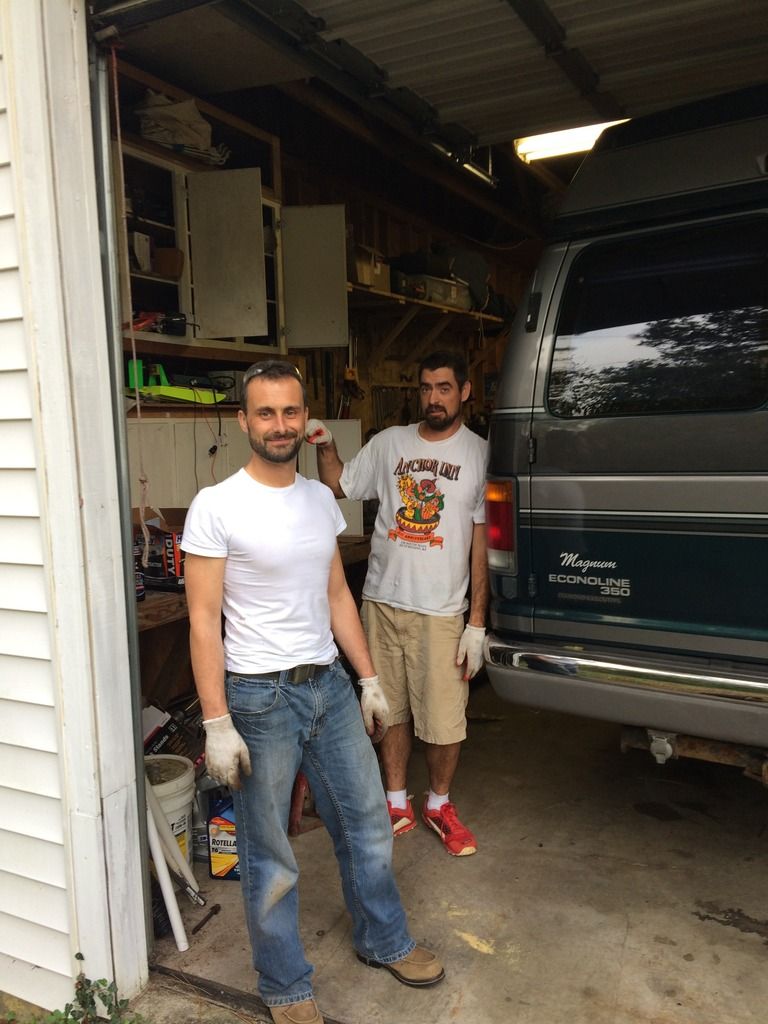
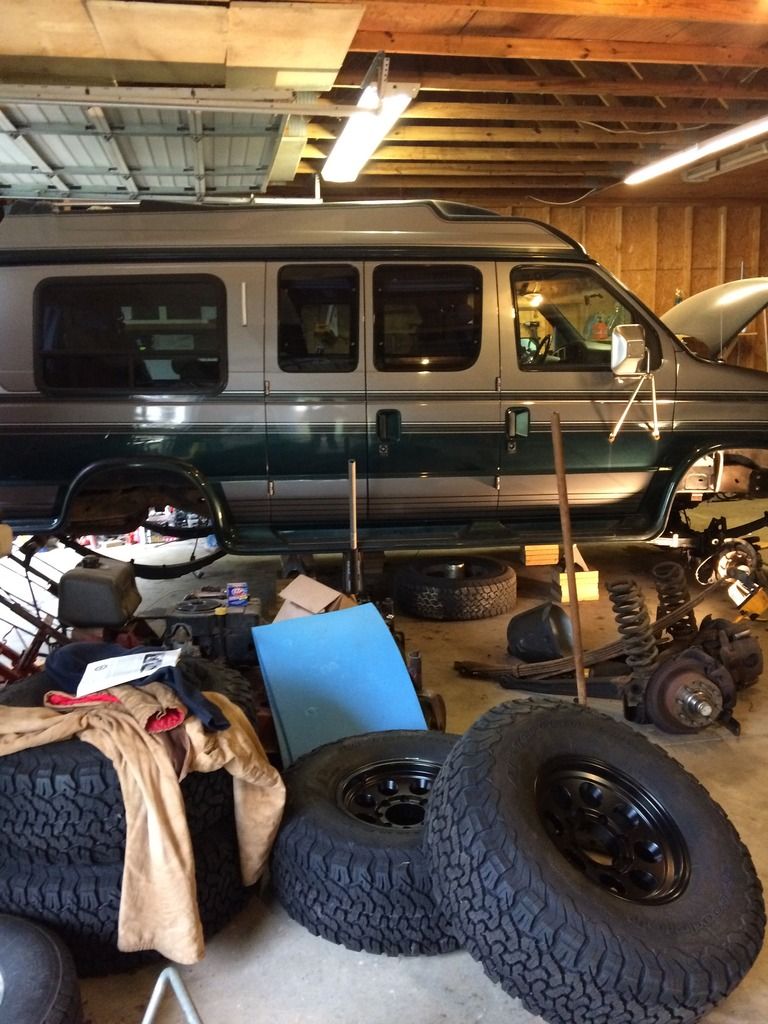
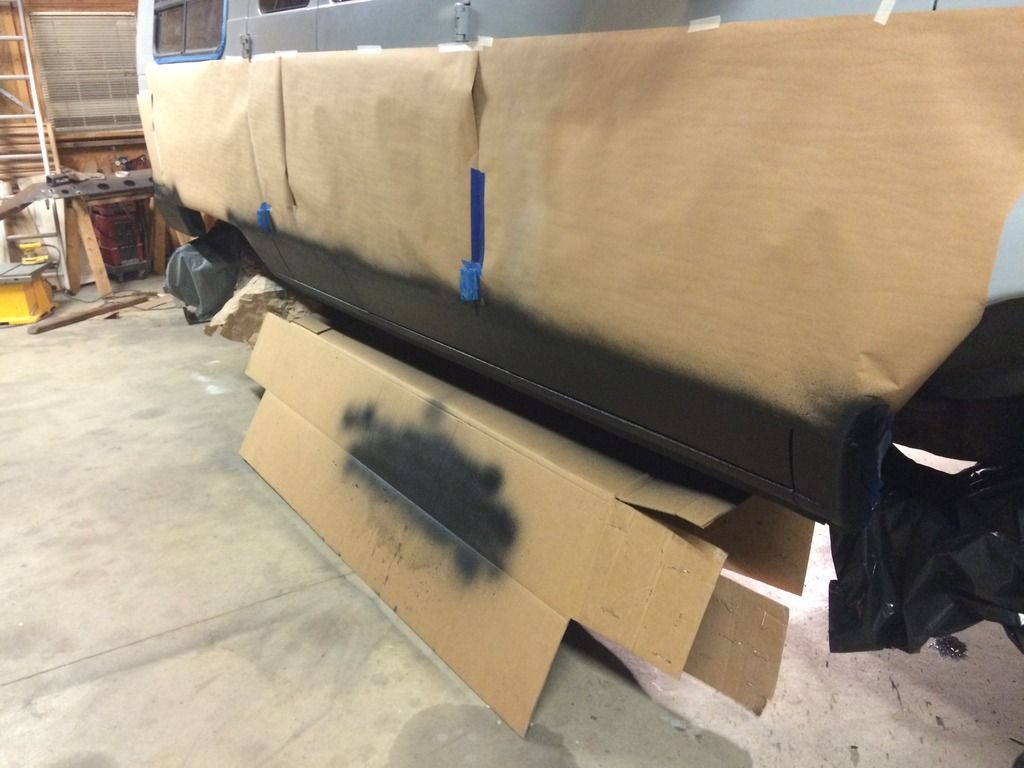
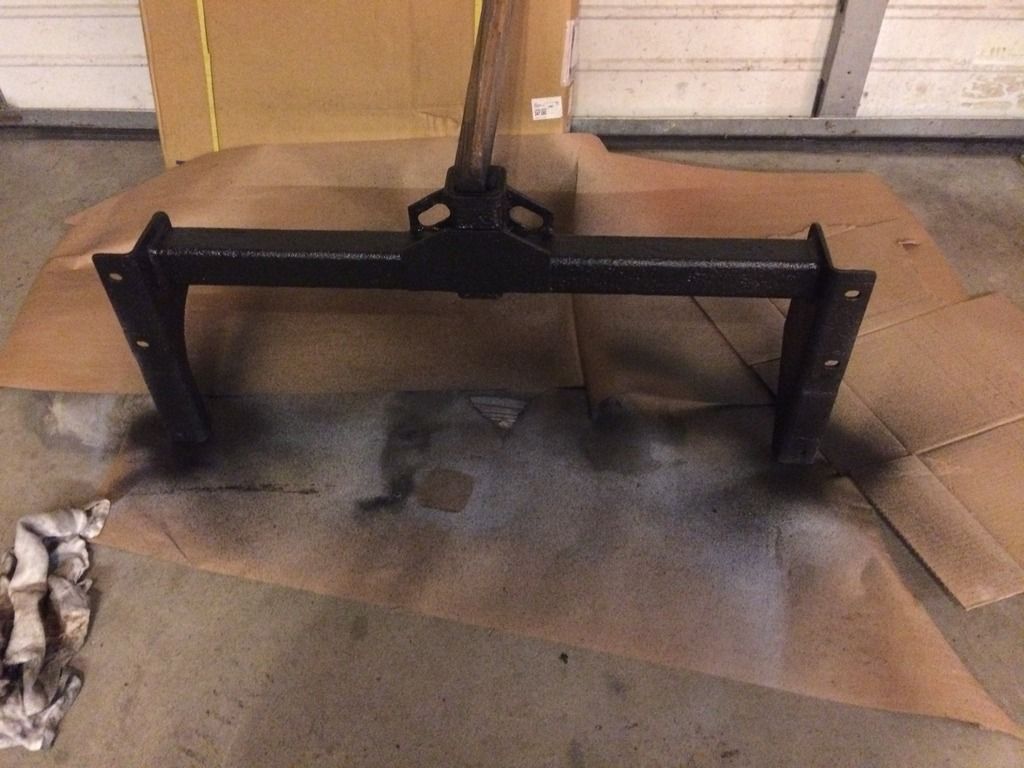
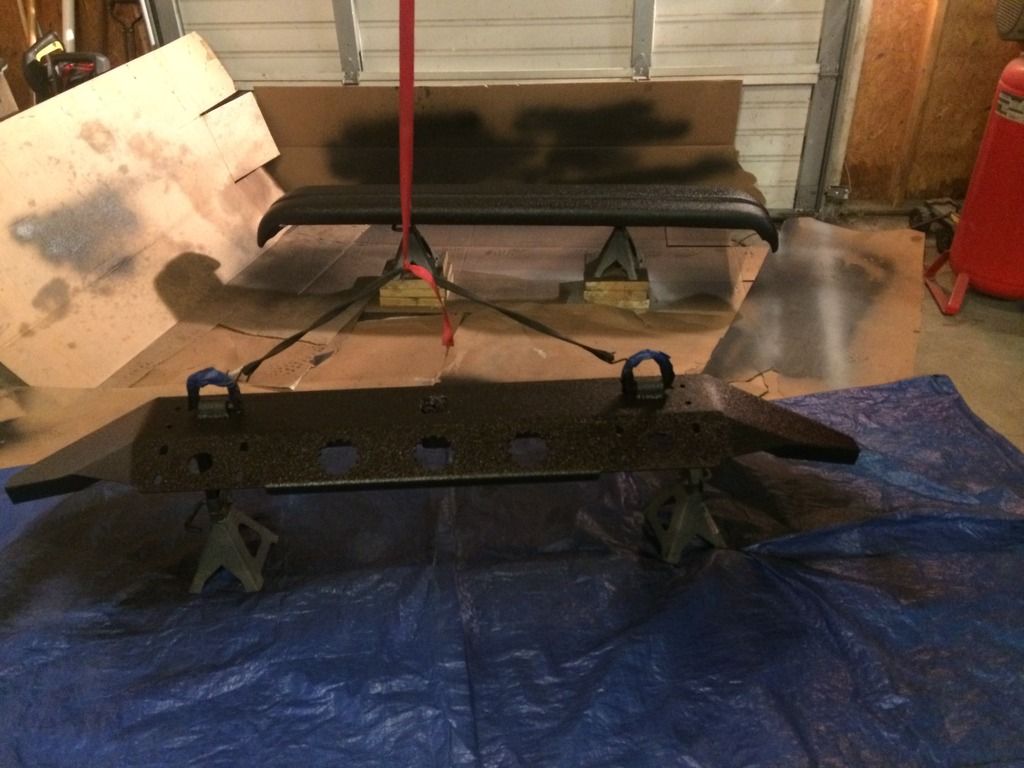
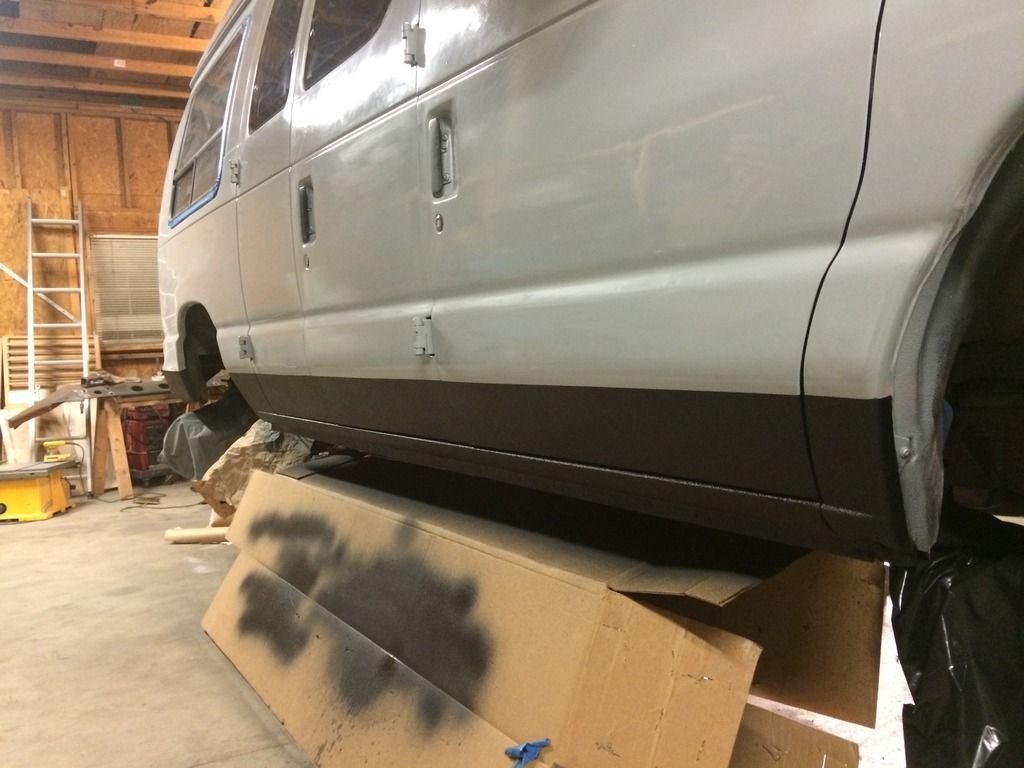
So - accelerating through some of these since I have a lot of ground to cover..

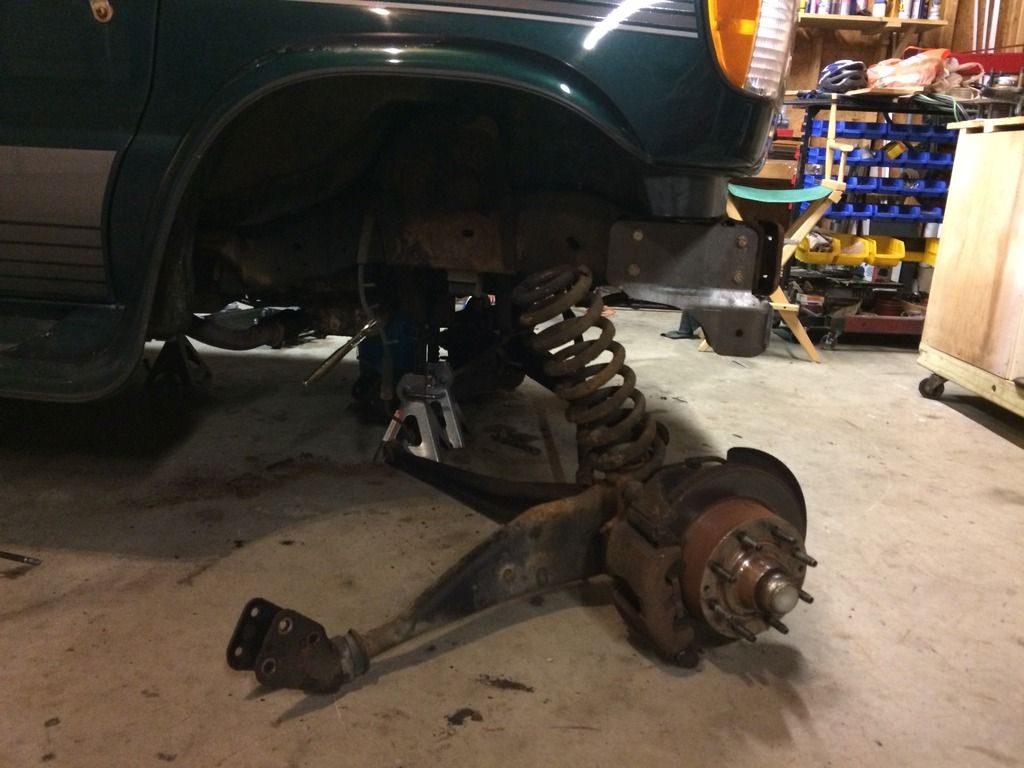
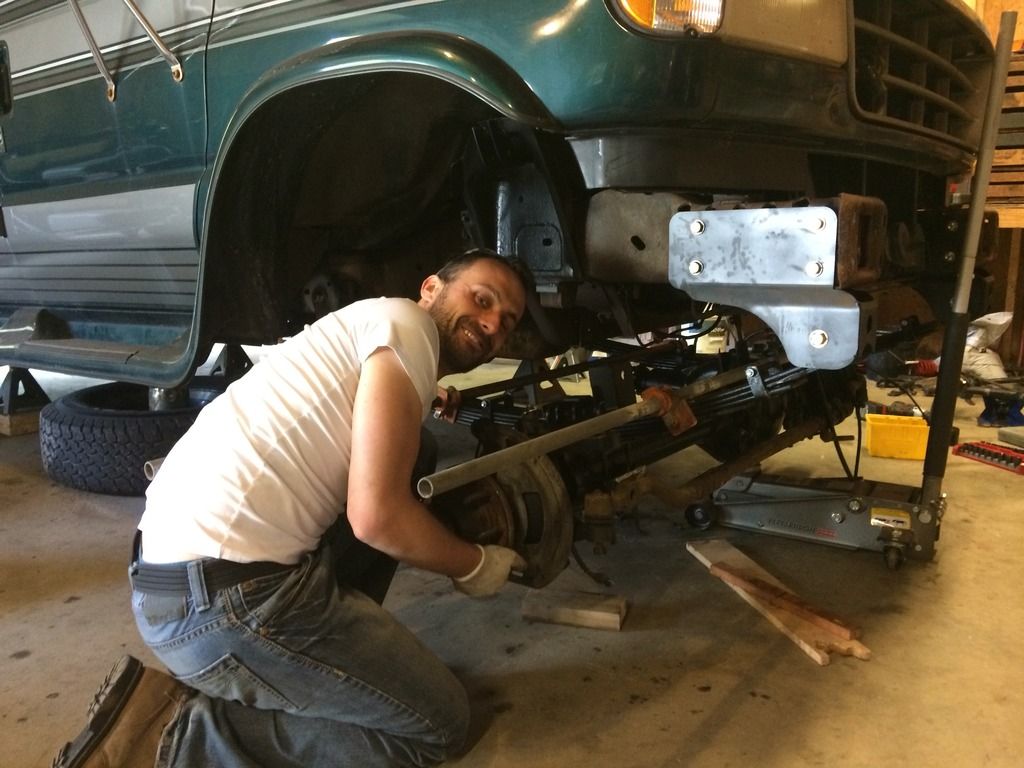
Got the springs hangers drilled (as many of said - it's a workout - use a big drill!).

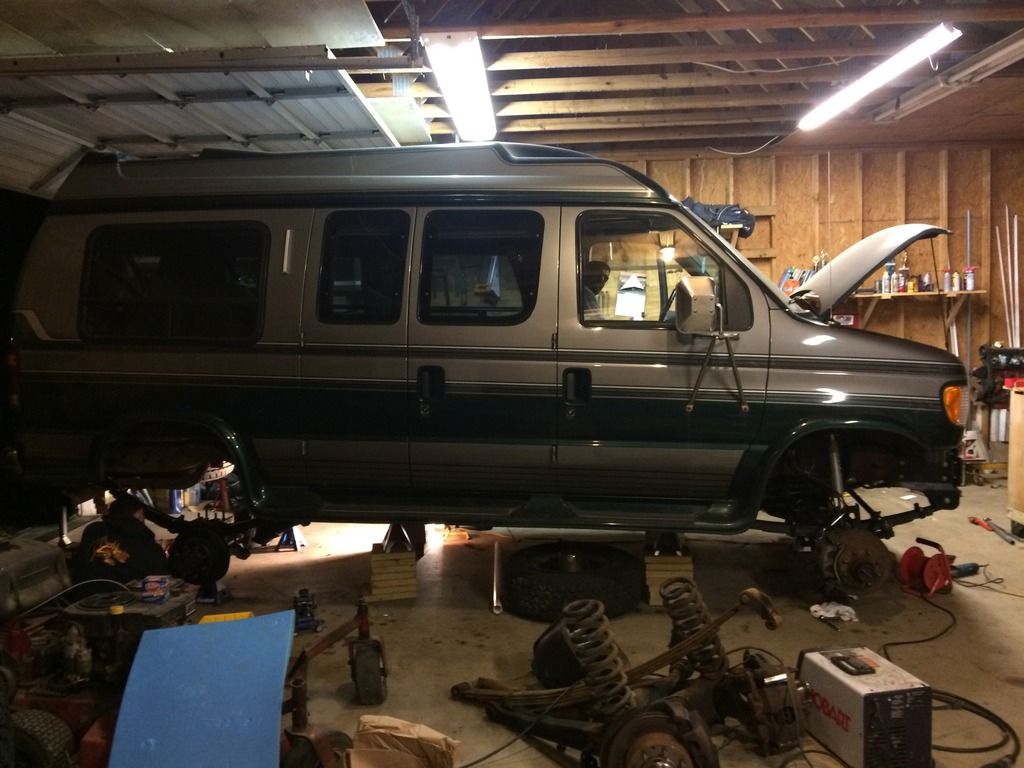
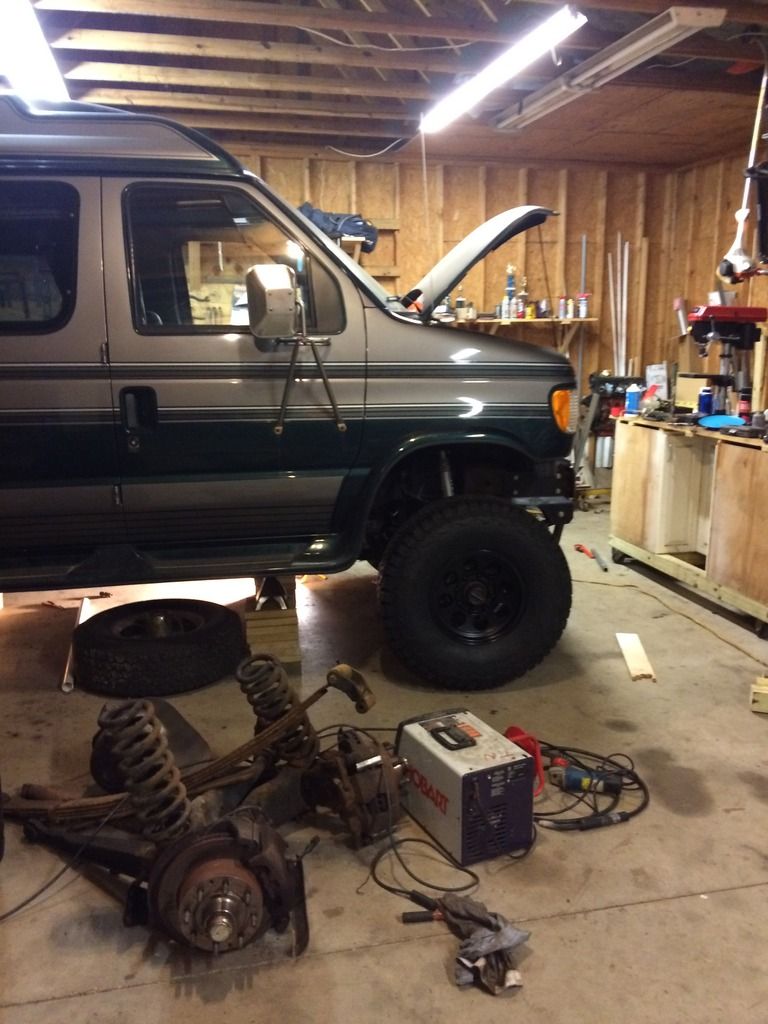
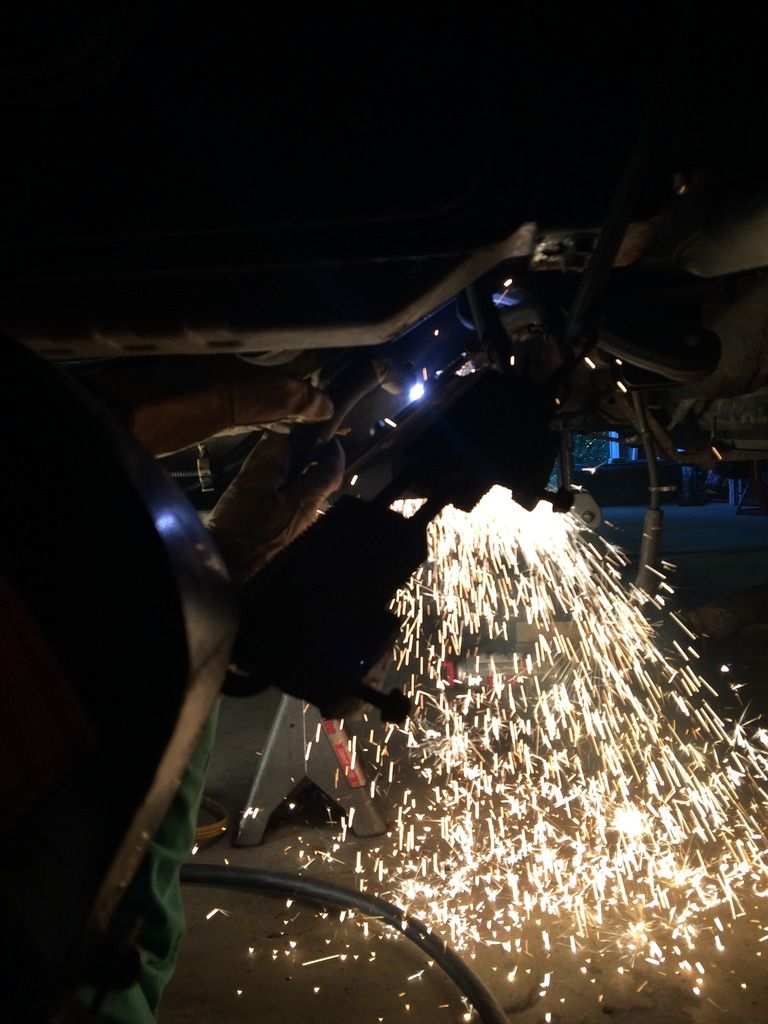
Next up was cutting the holes for installing the shackle sleeve - had a buddy bring his plasma over, I still don't have one :(
IMG_2045_zpsmcvqh0qo.jpg


Next was pulling the tank and cutting it. I used the template from Chris - which made it very easy - but I guess that's not a bad task in general. I cut the tank with a fine blade on my sawzall, and had a buddy pour water on it while I cut. This worked well, and I had absolutely no sparks or heat whatsoever
IMG_2061_zpscddrbluj.jpg


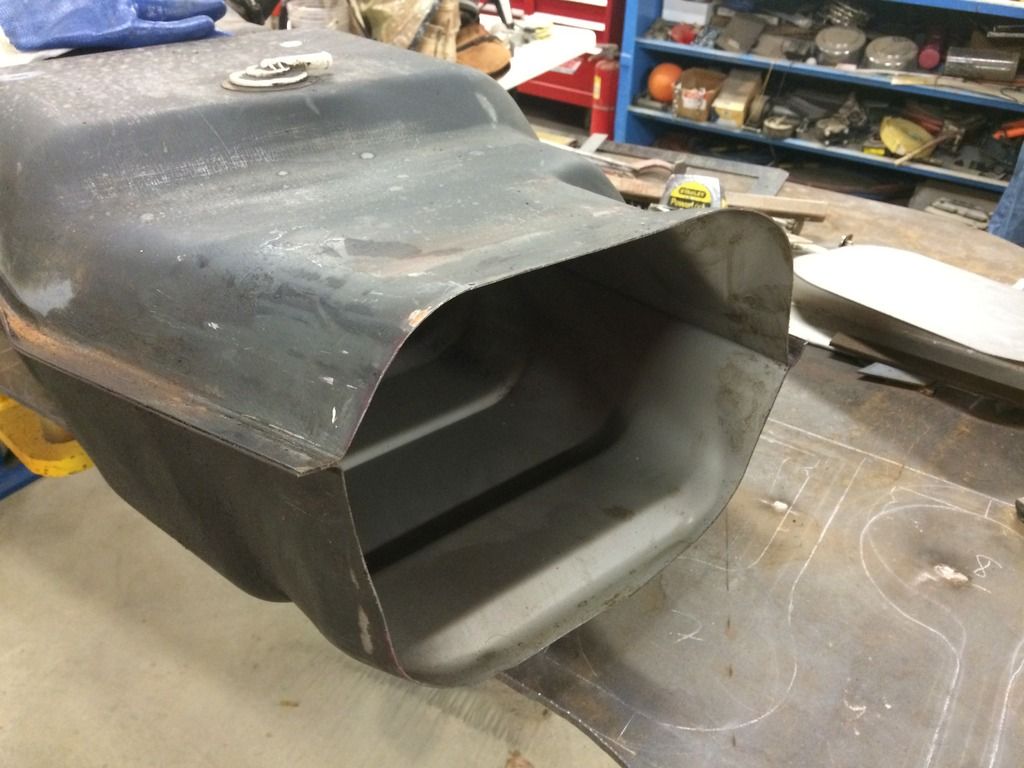
Then had it tigged up - and painted the outside raw metal with some POR tank sealant
IMG_2064_zps8vqhlrg7.jpg


Making progress!
 

94idi

New member
Then - I got my springs!!! I ran up to Chris' after work one day to get them, and prepped for the long weekend of work:)

Demo time!
IMG_1885_zpsporurvzo.jpg


Got some good friends to help - this was when they still had energy to act like goofballs..
IMG_2096_zpslk7ajchd.jpg


Even got the little guy to help out a little - he helped paint the spring u-bolts...as well as his tonka truck bed that we found in the yard cleaning up some brush:)
IMG_2078_zpspsvvxrvc.jpg
 

94idi

New member
Next was getting the springs hung, probably the best picture I have as well of the whole van in it's "as found" condition
IMG_2095_zpse8u1ztcv.jpg


Then bolting up the front axle:
IMG_2092_zpsvxt976mr.jpg


Here's a nice comparison of the original wheels vs new ones - since I spilled the beans in the above picture anyways :)
IMG_2060_zpsh1dc20qg.jpg


Few hours later got the front all buttoned up, now moving onto the rear axle..
IMG_2097_zpsop7mlha4.jpg


And we couldn't resist a sneak peak on what it would look like..so threw a front tire on, which motivated us for another few hours!
IMG_2098_zpsdyumnxx7.jpg


Finally - around 1 am - we backed it out of the garage and took it for a spin around the block!
IMG_2099_zpsksfz7cwr.jpg


And no...we aren't stopping there..status at this point:

Still not 4wd!

But - it was getting close to christmas, and I was still shopping around for a tranny rebuild and some other parts, so I figured I would drive it a bit as is. It was fun:)
 

94idi

New member
So that's what I did..drove to PA for christmas, where my dad decided to give me hand starting up a front bumper. At this point, I only had the frame stiffener from Chris - which looks cool, but was a little spartan for my taste..

Here is his project..just for fun.
IMG_2161_zpsur6vwbol.jpg


The bumper build was somewhat straightforward, used 2x6 rectangular section heavy gauge steel, some 10 gauge sheet, some strategic cutting and cardboard templates, and we had made good progress for only a couple of hours. Oh yeah - couldn't let those cool UJOINT logos go to waste Chris!
IMG_2197_zpsd5blz5c9.jpg


When I got back to SC - I finished up the bumper - tying into the front and adding some necessary angles, a front receiver, and some sheet metal caps, etc
IMG_2481_zpstrgh0aco.jpg


So at this point - here we were:
IMG_2265_zpsi3v2rwv9.jpg


Using it to pull out some small trees, where I discovered a small fuel leak in my supply system.

This lead to a small side project of installing an electric lift pump to the injection pump. I'll get some pictures later.
 

94idi

New member
And...it happened...my wife said next priority was getting a real car...

Just kidding - she actually said next priority was to "de creeper van it please"...

So paint job time!

Lesson learned: painting is TOO MUCH WORK!!!

Day 1: Removed the "ground effects" and starting to sand:
IMG_2365_zpsdfyubfyc.jpg


Day 30: still sanding and body work
IMG_2296_zpsf9hxcqan.jpg


Day who knows: - finally starting to tape!
IMG_2361_zps58vuyggm.jpg
 

94idi

New member
I originally wanted to paint the van Nardo Grey - the Audi color - I think someone else on here used it once as well, and it's a sweet color!

However- the more I looked into, and realized what a nightmare I was in - I decided to go with something simpler, faster, and cheaper - so if I completely botched it I wasn't out $500..

So settled for Eastwood's "Destroyer Grey" - a two part Urethane. I also went with a 2K high build primer. I bought a two piece cheapo HVLP set from Eastwood, which i was pretty happy with.

Here is the first coat of primer:
IMG_2372_zpsooodq1a5.jpg


It went on very slow - I started out too fast and wasn't getting sufficient "wetting" and coverage - but practice makes perfect!...or at least practice makes it change color:)
IMG_2367_zps6uxszlj1.jpg


Quickly sanded and cleaned the primer after a gallon - and started with the paint!
IMG_2371_zpszyilptsa.jpg


Painting was difficult. Totally different from the primer, which I expected, but I certainly respect the guys that really know how to do this. The good part was I had so much van to cover, I got a lot of practice. The bad part was - the quality of my paint job changed significantly from one side the other..oh well:)
IMG_2373_zpsgqmdskqw.jpg
 

Jsweezy

Explorer
This thread is already awesome. I know its cool to have super well done work by people that you pay, but I think its cooler that your doing this all on your own and that your wife actually asked you to do it!

Congrats on the Ujoint kit and having a sweet van, I really like that color. I bet its gonna look killer.
 

94idi

New member
I know what you mean JSWEEZY - most of the work that shows up here is pretty impressive! It's been challenging, I have a job, two small kids, and too many projects..so I am definitely encountering (frequently) the dilemma of "make it perfect" or "make it work"...especially with regards to paint..that was a serious trial..I'm actually still not even done with it, still more polishing..

Nonetheless, more pictures

The hood turned out decent..not super smooth, but shiny at least..
IMG_2374_zpscqaorl0j.jpg


PS fender was definitely the best - one small run, but fairly glossy, and very minimal wetsanding and polishing necessary. It's the only panel I'm actually proud of ;)
IMG_2390_zpsc2zch4lw.jpg


DS looks alright here, but it was/is actually somewhat of a paint disaster:
IMG_2378_zpsmabps7ta.jpg


So after I primed, I sanded the whole truck in like 3 hours - it's super easy to rip through it with the high build primer, but it makes such an enormous amount of dust - you need to blow it off like 5 times, and then go over it with (in my case) some solvent - I can't remember if it was acetone or what..I wet a rag, and QUICKLY wiped each panel down..what I learned was, you need to be cautious that the rag is not soaked in the solvent, bc it actually was absorbed into the primer. Then - the first panel I sprayed (after the high top) was the DS door - and it was horrible. The paint basically grouped up and became like giant orange peel. I saw it as I was spraying, and kept going around the truck,hoping it wasn't as bad as it appeared. The rest of the truck went better, but the next coat made it even worse on the DS door, so I just stopped adding coats on that door there. I'll see if I can get a close up of that disaster..I was bummed!

However - finished spraying, and needed to let it cure for around 48 hours - so I put on the extendable tow mirrors - I think this was one (of many) aesthetic improvements that really modernized the outside of the van!
IMG_2422_zpsodhothuq.jpg
 

94idi

New member
Of course - in the meantime, I had pulled my transmission, and dropped it off at the friend of the friend of the guy at work's shop..so he would be able to build/convert it while I was painting.

The transmission is an E4OD, and he was adding the case for the output shaft, rebuilding it, and getting a new torque converter.

After the body paint, was the part I was looking forward to - spraying the rocker panels with raptor liner. I got the following kit off of amazon:
https://www.amazon.com/U-POL-0820V-...8&qid=1475880465&sr=8-1&keywords=raptor+liner

It was really straight forward - put a reg on the spray gun and set it to around 60psi if I recall correctly, then practice on some cardboard..

tape up the van..
IMG_2433_zpszn5kq78k.jpg


and start spraying!
IMG_2436_zpsqru0spsv.jpg


also sprayed my rear bumper, front bumper, and hitch - they all turned out really great..
IMG_2441_zpsljfsb7q3.jpg


IMG_2485_zpsucinpu24.jpg


And the final product really was fantastic - better than I even expected - and with 6 months on it so far, I am very happy with the durability, though more time will tell!
IMG_2442_zpsarrrqpt7.jpg

IMG_2443_zpsbodecpqs.jpg


Lesson learned here - I will raptor line the whole van next time, but just tint the clear material. It was so ridiculously easy to apply, and the finish is just awesome. I really like this stuff.

And it's (relatively) cheap!
 

dcguillory

Adventurer
Thank you for documenting and posting. This is great stuff. Even if you actually did a terrible job (which you obviously didn't) this would still be something to be proud of.
 

94idi

New member
Thanks - It's actually been over a year since I started the project - but I finally wrapped up a few other projects and figured better late than never - plus - I need some motivation and ideas for next steps, so maybe some of you can help:)

Here's a couple finished pictures from after paint, bumpers, raptor liner, transmission, and driveshafts!
IMG_2491_zpswjyi4jtz.jpg


http://i1244.photobucket.com/albums/gg570/Gustave_Pizzuto/The Rhinocerous/IMG_2493_zpscunzcvsm.jpg

Packed up for the first camping trip!! Off to Pisgah national forest to cool off! The kids like it alot because they can see out of the side windows, as opposed to most cars where they are below the sill.
172e81ac-09d0-4cfe-a585-f6e247f0eae9_zpsz5sbktai.jpg
 
Last edited:

Forum statistics

Threads
188,641
Messages
2,908,224
Members
230,800
Latest member
Mcoleman
Top