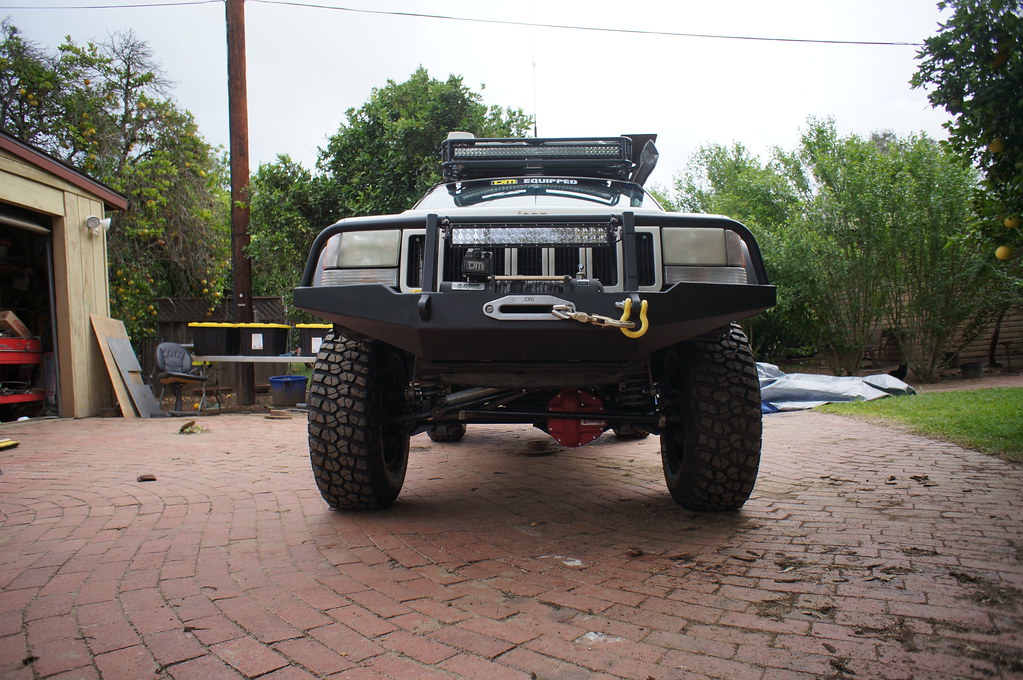
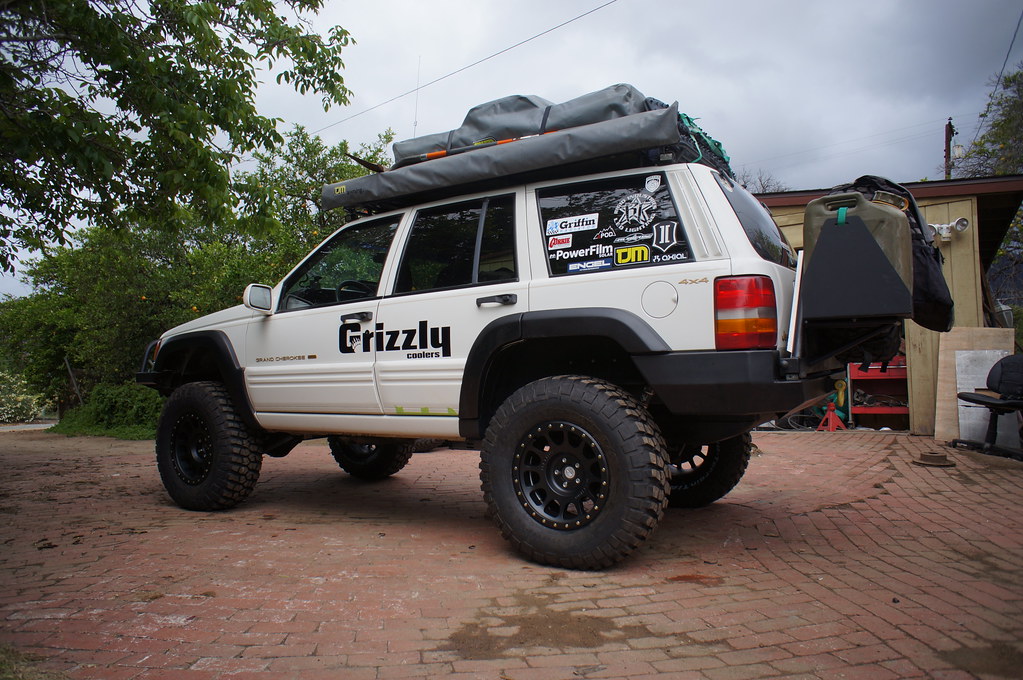
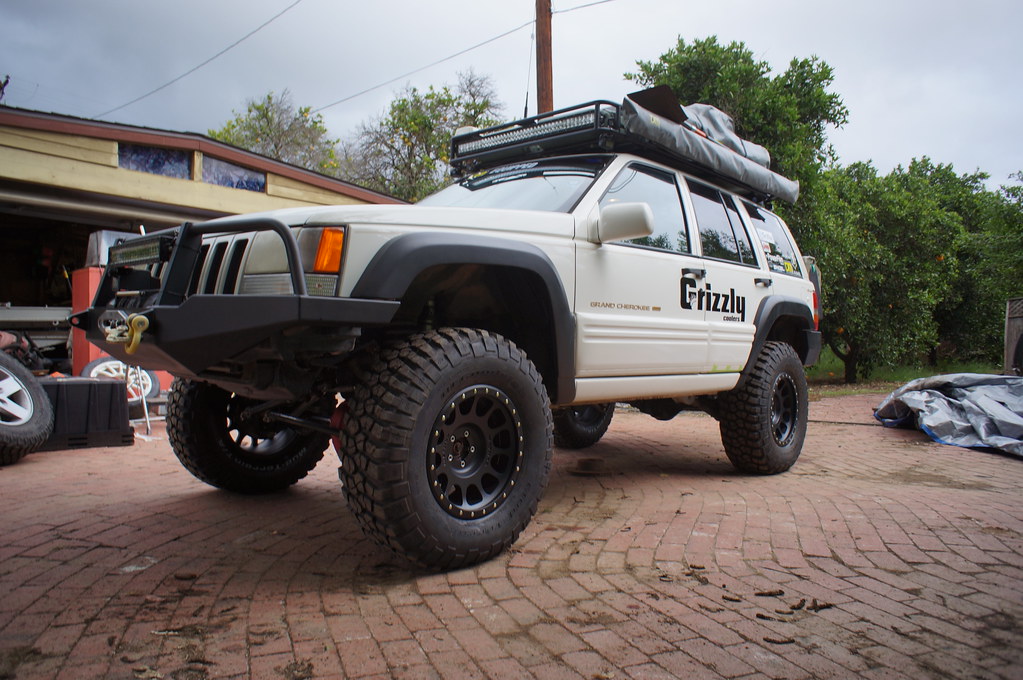
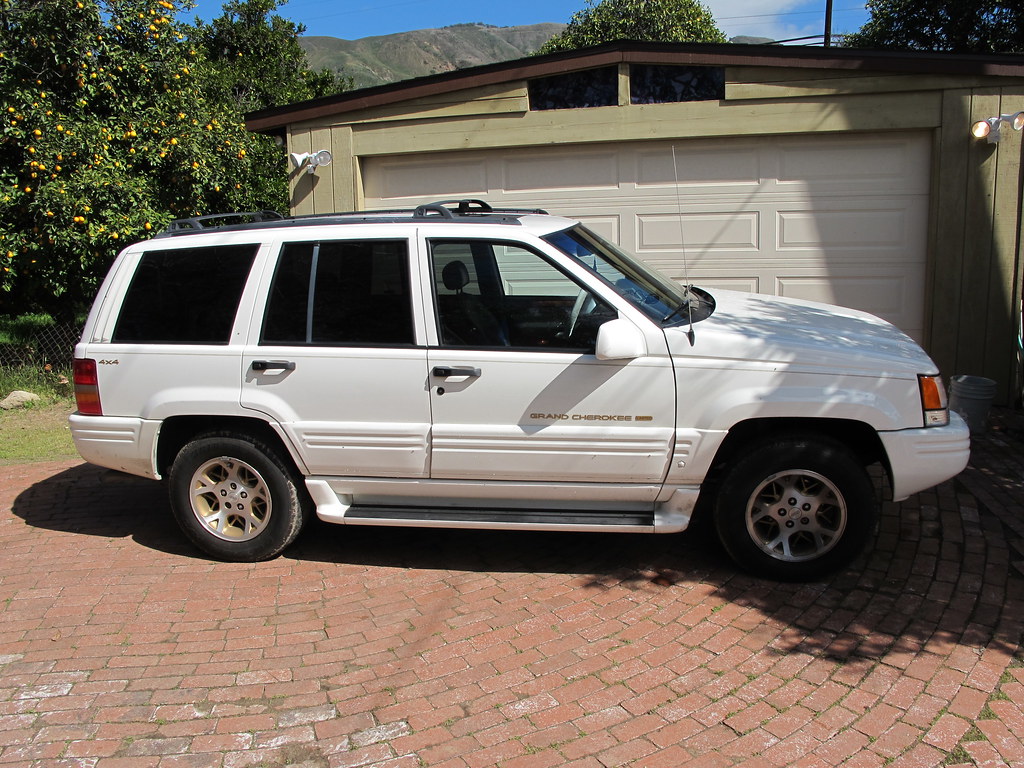
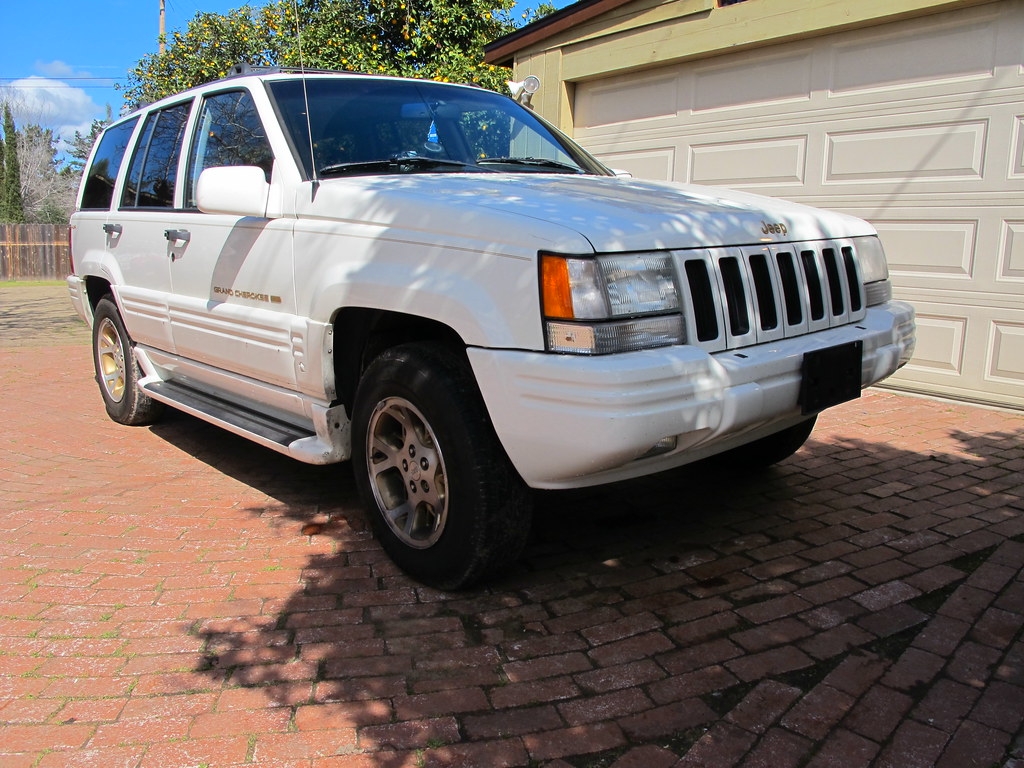
fender flares final fitment
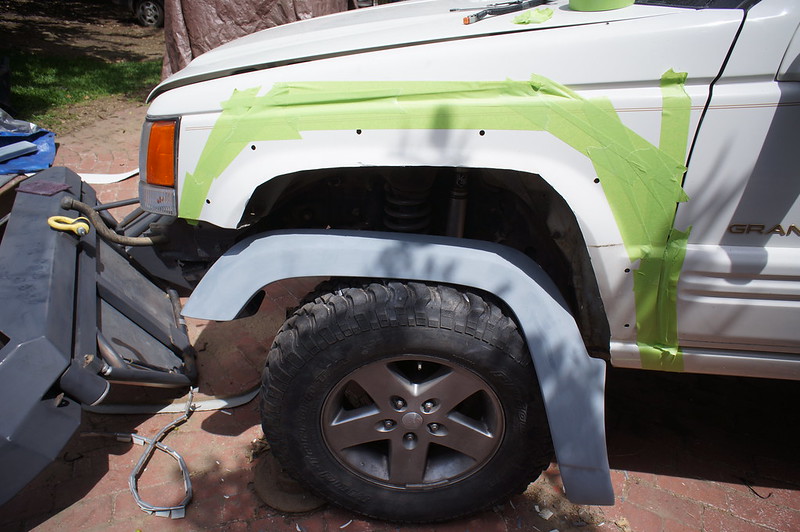
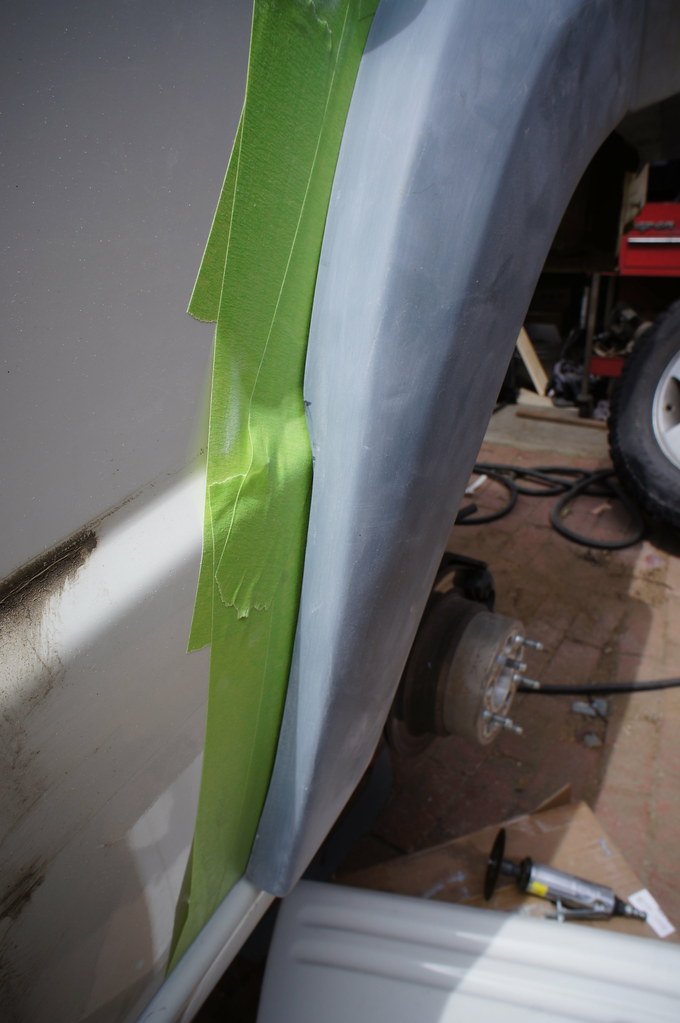
The flares are made of fiberglass. and they are pretty damn strong. The key to this step was to snug them up to the fenders without putting too much stress on the studs. Then you need to take body filler and fill the gaps between the body and the flare. I used masking tape on the body so there would no be any issues with the filler sticking to the body instead of the flare.
//
//
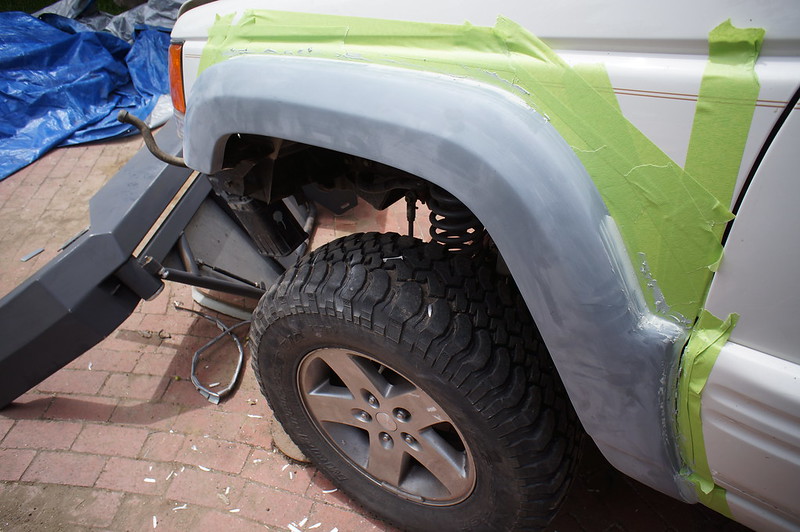
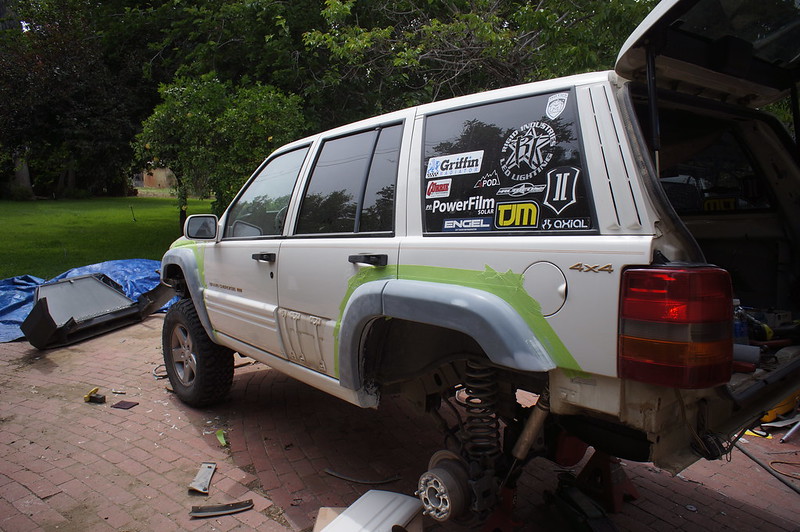
Once masked up and the fenders bolted on, I used filler to close up all the gaps. Then all I had to do was pull the flares off and sand off any excess filler. The end result is a perfect fit to your body, where you decided to install them...
//
//
//
//
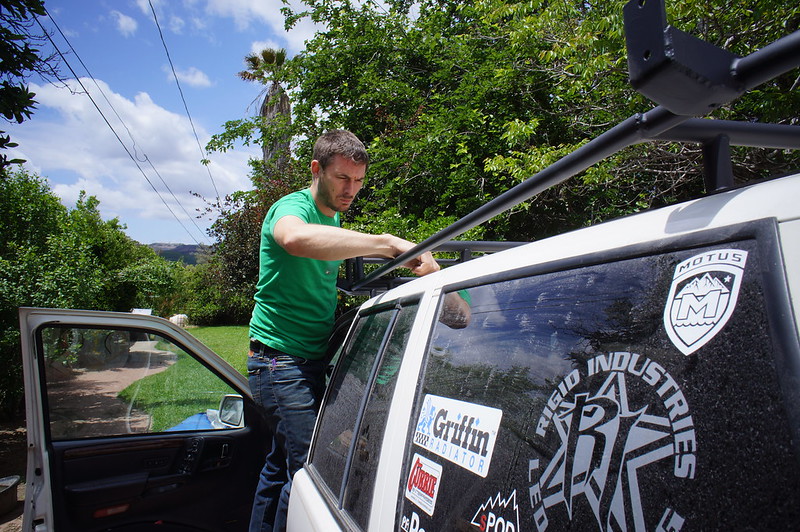
From this point, a tremendous amount of thrashing ensued to sand and paint the fender flares, cut, re-weld and repaint the bumpers for install. I decided to focus on the job, and didn't really take photos during this process. We were running out of time and still had lots to do. Of course when repainting bumpers, may as well repaint the roof rack as well. This would mean a completely fresh look upon completion! I totally suckered my neighbor into helping.
//
//
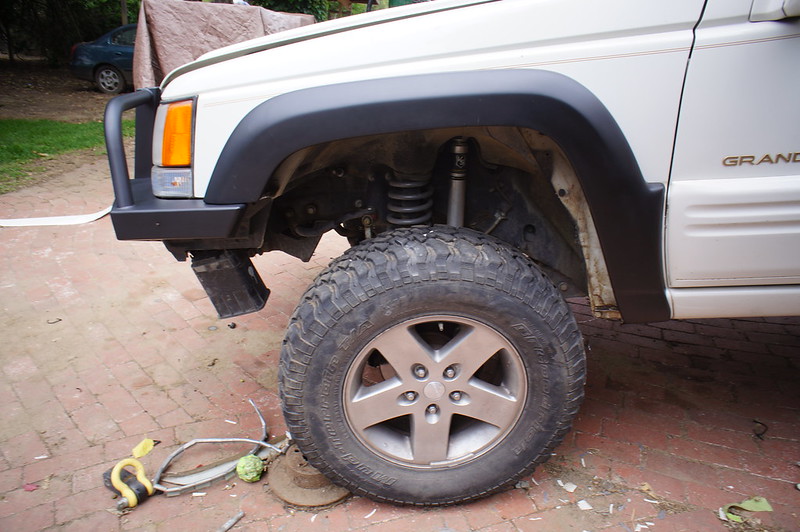
Front flares done and bolted on... (front bumper just slid on, not back far enough, it lines up perfectly after some trimming)
//
//
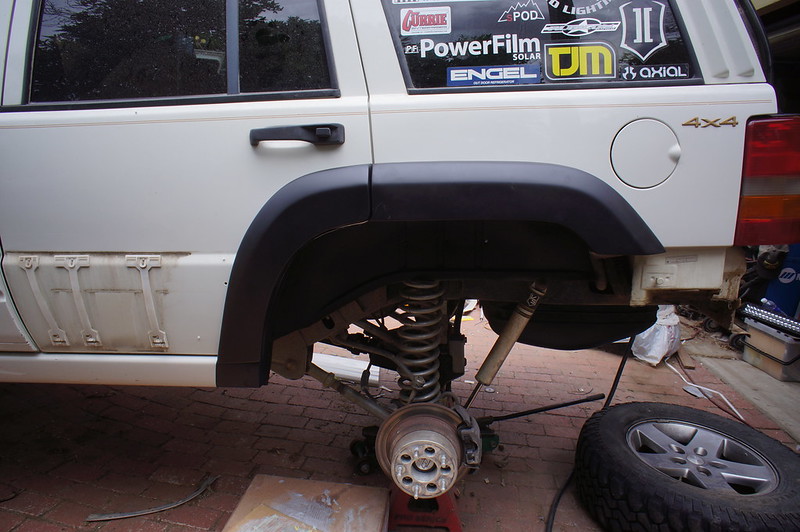
Rear flares done and installed...
//
//
Looking back on this, I must admit and also suggest that it was not the best idea for me to install these flares myself. If you happen to buy them, take them to a body shop to have them installed. If they say it will be $5000 to do the job, pay them $6000 and smile while handing it over!
The flares are made of fiberglass. and they are pretty damn strong. The key to this step was to snug them up to the fenders without putting too much stress on the studs. Then you need to take body filler and fill the gaps between the body and the flare. I used masking tape on the body so there would no be any issues with the filler sticking to the body instead of the flare.
//

//
Once masked up and the fenders bolted on, I used filler to close up all the gaps. Then all I had to do was pull the flares off and sand off any excess filler. The end result is a perfect fit to your body, where you decided to install them...
//

//

//

//
From this point, a tremendous amount of thrashing ensued to sand and paint the fender flares, cut, re-weld and repaint the bumpers for install. I decided to focus on the job, and didn't really take photos during this process. We were running out of time and still had lots to do. Of course when repainting bumpers, may as well repaint the roof rack as well. This would mean a completely fresh look upon completion! I totally suckered my neighbor into helping.
//

//
Front flares done and bolted on... (front bumper just slid on, not back far enough, it lines up perfectly after some trimming)
//

//
Rear flares done and installed...
//

//
Looking back on this, I must admit and also suggest that it was not the best idea for me to install these flares myself. If you happen to buy them, take them to a body shop to have them installed. If they say it will be $5000 to do the job, pay them $6000 and smile while handing it over!

