You are using an out of date browser. It may not display this or other websites correctly.
You should upgrade or use an alternative browser.
You should upgrade or use an alternative browser.
Adding an intercooler to a 1995 7.3 Diesel Van!
- Thread starter TomsBeast
- Start date
TomsBeast
Member
Attachments
Last edited:
Bikersmurf
Expedition Leader
If need be, buy mandrel bent J pipes, and pie cut them to create what you need. I built a 2” exhaust to weave between many obstacles to build my 40 exhaust.
TomsBeast
Member
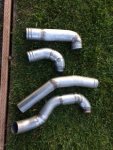

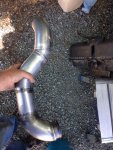


After taking a several weeks break, I'm back on it, on the weekends of course.
I finished up the charge pipes, making them from a combination of salvaged 7.3 Ford truck steel charge pipes ($40 craiglist find) , and new mandrel bent exhaust 90's ($40ea, from Jeg's).
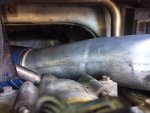
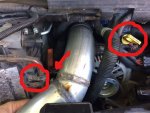
At first blush you'd think there's no room for a couple 3" charge pipes. Everything is a very tight fit:
I added a spacer under the oil dipstick tube support bracket to move it over an inch. Same with one of the AC lines, moved it 1/2" (see red arrows) and the transmission dipstick is moved for now, I'll have to re-form the bends and re-route it under the charge pipe near the spider, which will be a mini-project on it's own.
I don't TIG weld, but my long time buddy does. Problem is he's recovering from a back surgery. I tried to MIG weld a couple joints together, but they really didn't turn out the way I wanted. It turned out the break I took was well timed, as he healed up during my break from the project.
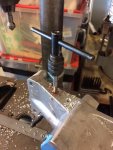
I did all the pipe mitering and mock up, machined a couple reducer ends from 4140 steel tube that were needed, at another friend's shop, then brought tubes to my welder buddies place, an hour away.
We found silicon bronze rod gave the best joints.
My tubes aren't going to impress Ron Covell or win at the Oakland Roadster Show, but the fit is good, shouldn't even pop off, I'm good with that.
TomsBeast
Member
These 3" testing plugs that I found on-line, showed up yesterday, and picked up some other supplies from Turbo Hoses. I'm going to test all 4 charge pipes and the intercooler for leaks, before proceeding.
Paint? Powdercoat? Ceramic coating? Wrap with header tape? What should I do with these mild steel tubes?

Paint? Powdercoat? Ceramic coating? Wrap with header tape? What should I do with these mild steel tubes?

Bikersmurf
Expedition Leader
Paint will hide the most & not take up space.
TomsBeast
Member
It's all the little things that take so much time.
Recent progress on the project:
I got the boost tubes leak checked and a few pinholes weld ed up. Then painted with this ceramic exhaust coating for the inside of pipes, from Eastwood. Exterior with header paint. I may wrap them in header tape as well, to keep the heat out of the cold side.
I finished up re-routing the 7.3's oil fill tube, now that one of the boost tubes was in the way, making a new segment from 1-1/4" copper pipe, sweated together. I even beaded the ends so the tubes wouldn't pull away from the rubber couplers.
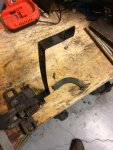
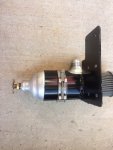
I made a new breather set up using factory valve cover breather (modified) then a swap meet find Moroso catch can, I made a custom bracket to mount it down on the frame rail. It turned out nice I think. I have some -12 AN connectors and line in the mail. When did AN hose and fittings get so cheap? 6ft of stainless braided hose and 2 connecotrs for $45 shipped from Amazon.
I finished up re-routing the air intake, making some new tube parts and retaining the stock airbox. I'm happy with the way it turned out, as well.
A few more puzzle pieces are in place now.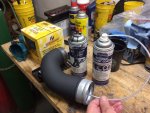
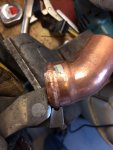
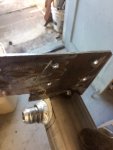


Last edited:
turbodiesel
Active member
Love this thread. Keep the details coming!
TomsBeast
Member
Top pic is the modified factory breather box (on the driver's side valve cover) flipped around so it faces the rear of the van, reinstalled, with -12 AN fittings and stainless steel braided hose.
Bottom pic shows the the Moroso breather tank mounted to the drivers side frame rail, mounted as high as I could get it.
Another thing crossed off the list


Bottom pic shows the the Moroso breather tank mounted to the drivers side frame rail, mounted as high as I could get it.
Another thing crossed off the list


Similar threads
- Replies
- 7
- Views
- 3K
- Replies
- 1
- Views
- 1K
- Replies
- 2
- Views
- 985


