Wheel Makeover - Extreme Labor for a Totally Non-Functional Mod
June 12, 2019. (and really, the preceding two weeks)
It's no secret that over the last few years, I've been through quite a few sets of wheels. I started with my stock 15" aluminum alloys, which "had to go" as part of the
most expensive brake upgrade ever and resulted in the Tacoma wearing a set of steel wheels for a couple of months. I knew these were temporary - and the long-term solution was yet to come.
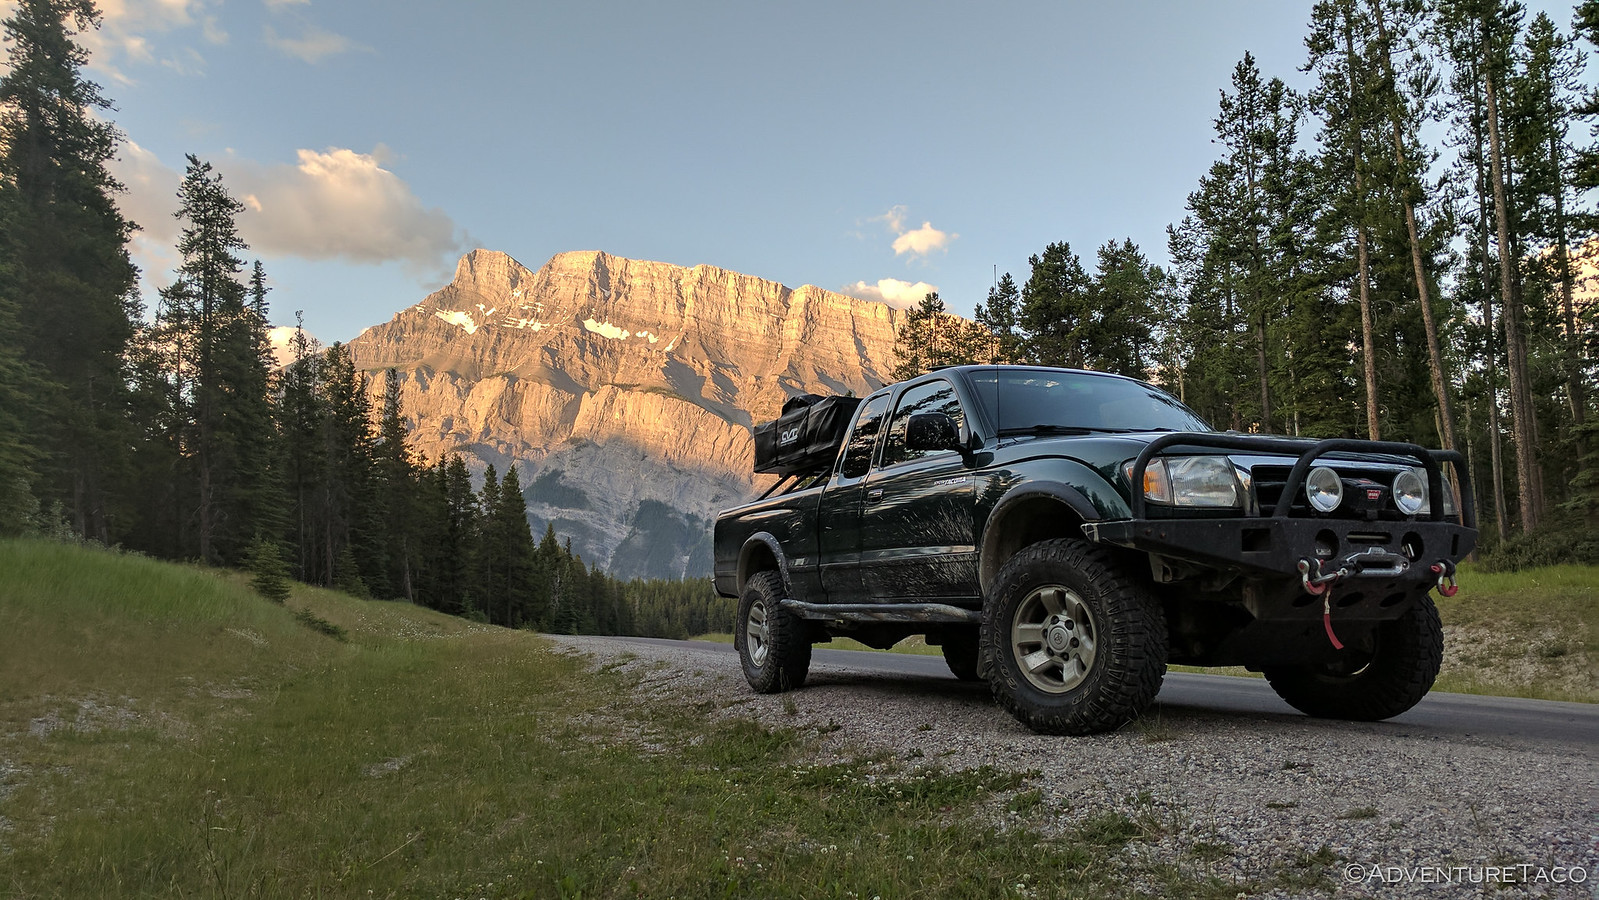

I knew when I bought them that
the SCS Steath6s were the last wheel I'd ever purchase for the Tacoma. I mean, what more could I ask for - they looked great on the truck, fit the bigger brakes, and even rolled along the ground from time to time!
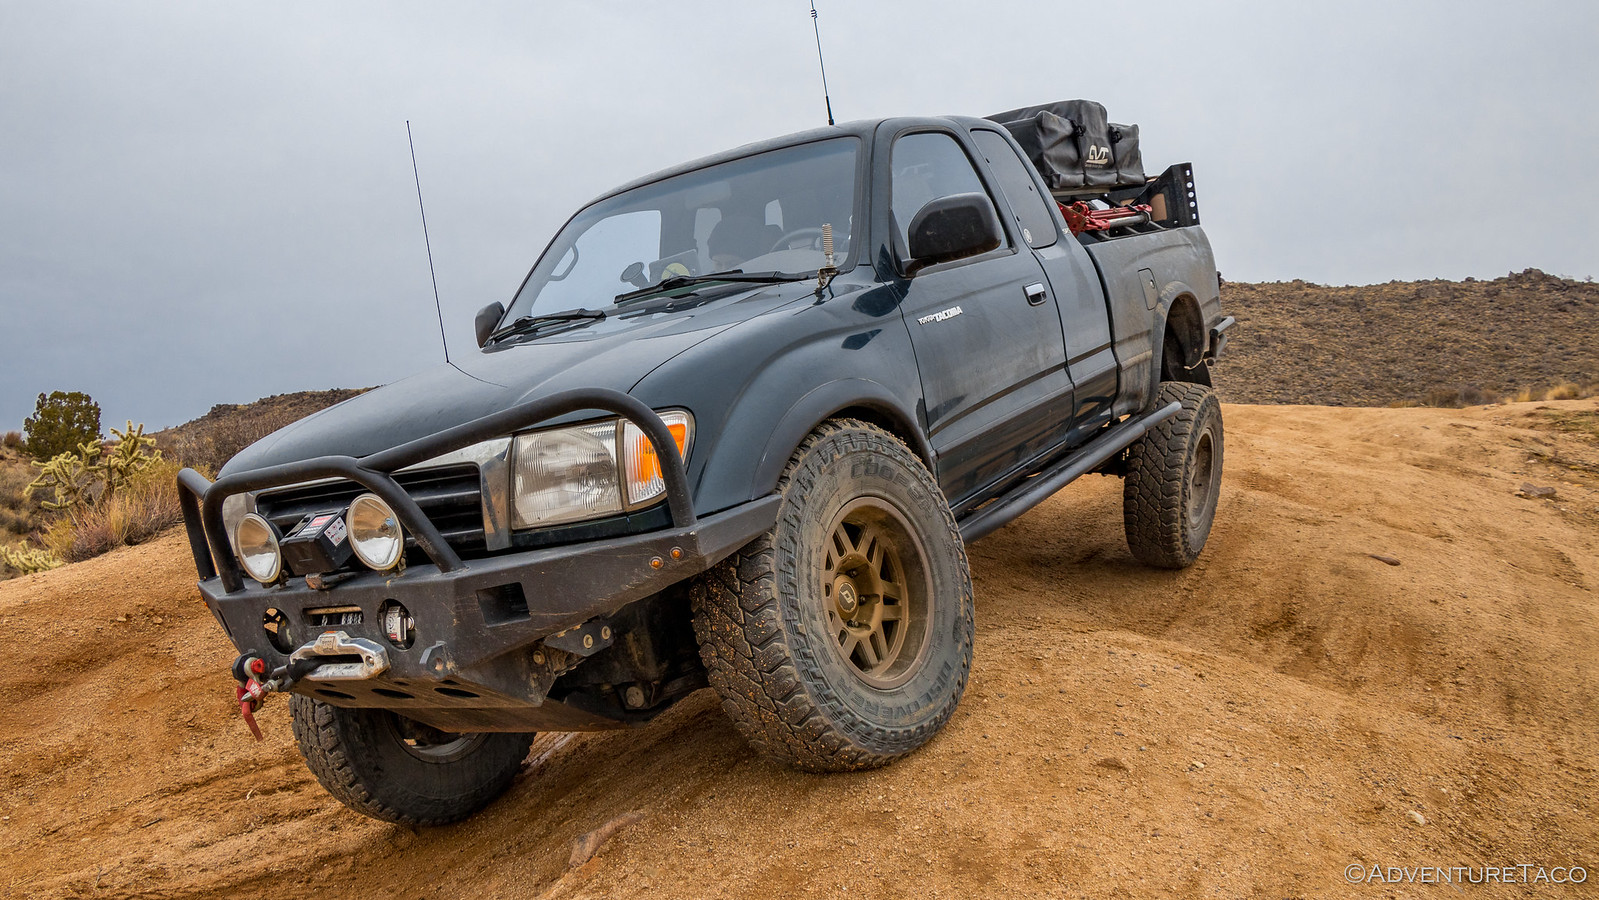
Alas, proving me wrong about being my last set of wheels, they were great in all ways but one - with only 3.5" backspace, they stuck out from under the fender flares and got mud all over everything. Always favoring form over function, I knew the Stealth6s had to go - no matter how much I liked the look, dealing with all that mud was a non-starter for me, not to mention @mrs.turbodb (who luckily never had to experience it).
And so, when I found and
installed the 4Runner wheels, I knew - some would say "again" - that they were the last wheels I'd ever purchase for the Tacoma.
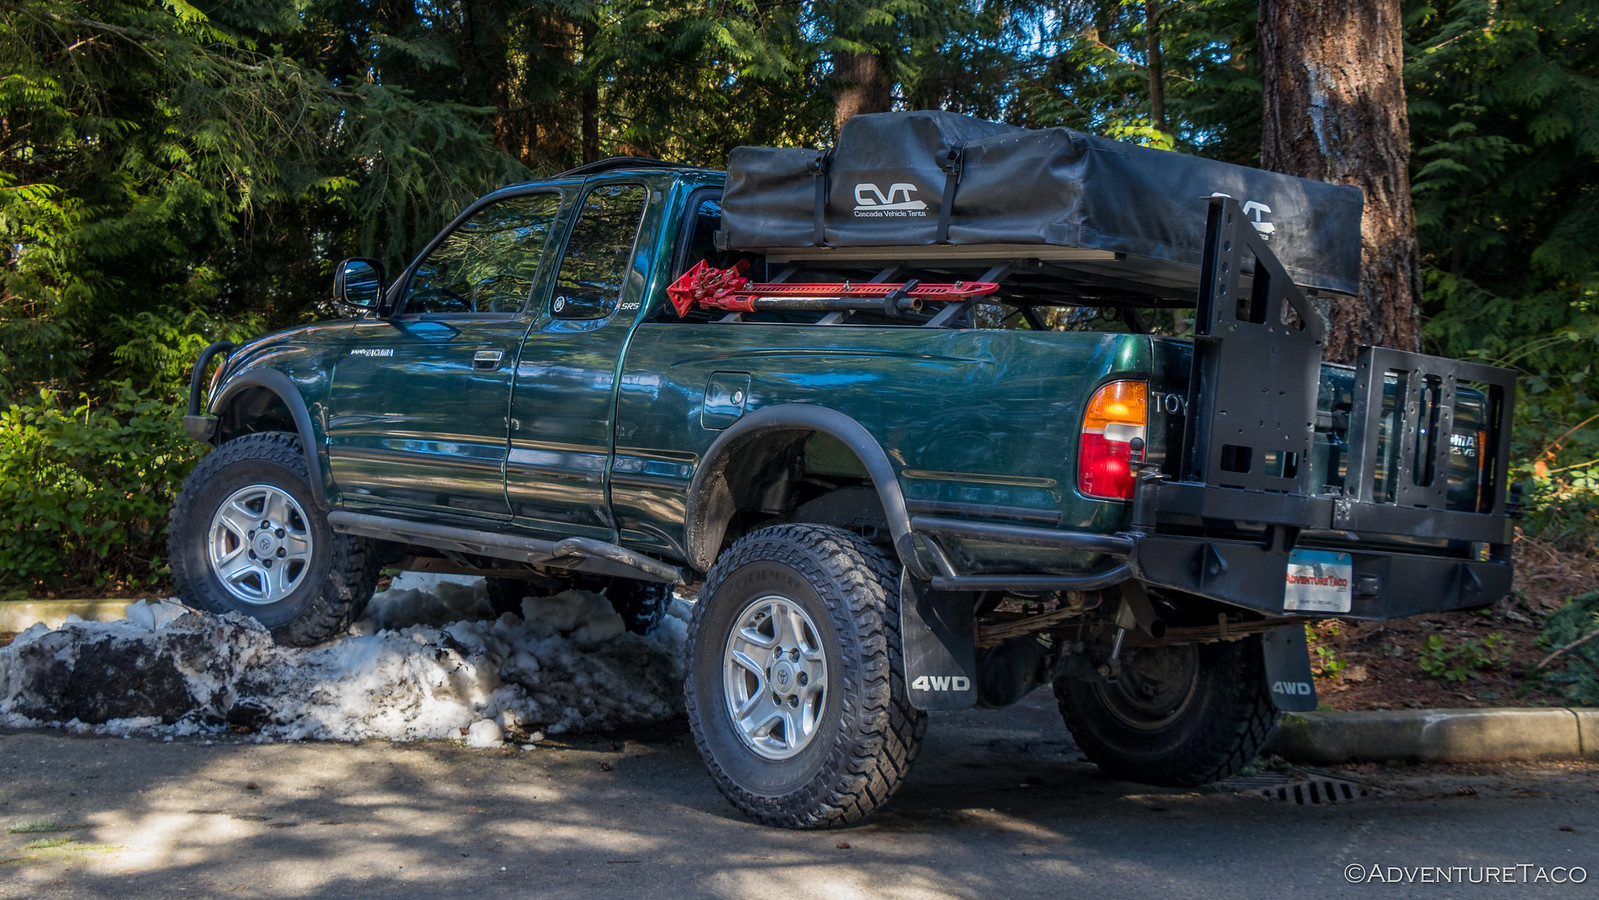
But one thing about them bugged me - the color. The 4Runner wheels are, of course, silver. Like all Toyota wheels of the late 1990's, these aluminum alloy's would look great on the truck in it's stock configuration. In fact, with the
same wheels on the 4Runner, I know that to be the case. But once you remove all the chrome - bumpers - from the truck, having silver wheels just looks...meh.
So, I knew something had to change. And that something was the color of the wheels - because I don't want to be wrong twice about these being my last set. ?
I got started - as one does - by procrastinating. I wasn't looking forward to figuring out how to change the wheel color because I knew that the wheels were
very dirty. It seems that these stock wheels have a tendency to corrode - especially on the inside - and I had no idea how to clean that up. I knew I could take the easy way out and send the wheels to get powder coated - but the cost of that operation would likely be as (or more) expensive than just buying some new SCS F5s.
So I procrastinated some more by removing the 4Runner wheels - which I dubbed "procrastination progress" - and temporarily reinstalling the Stealth6s.
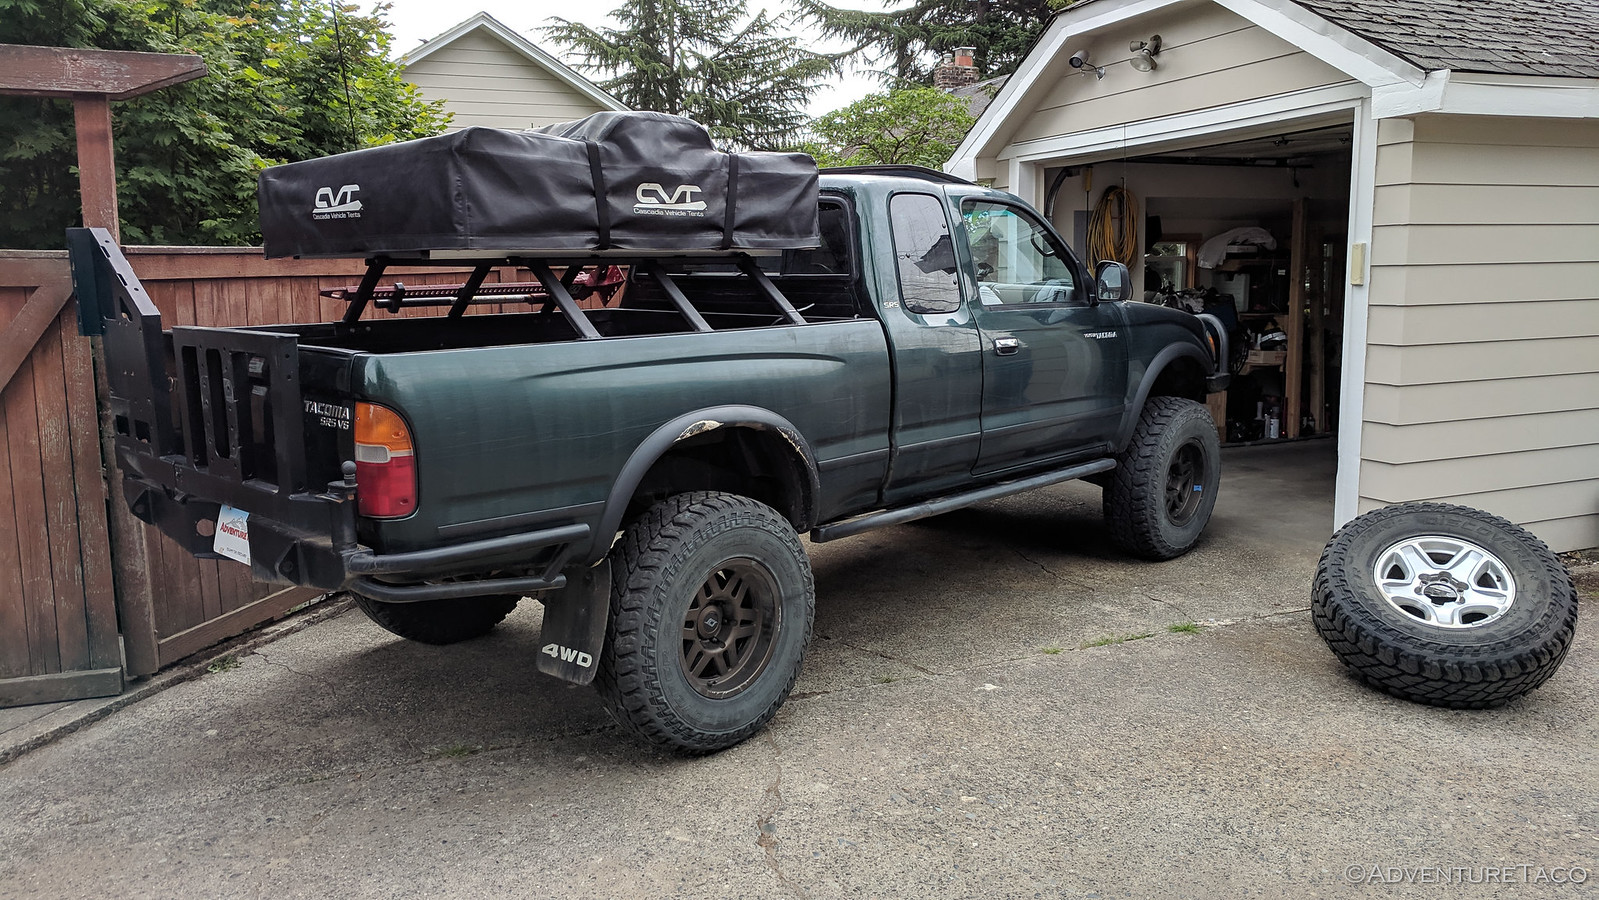
Boy, do those look snazy.
I then proceeded to watch a dozen or so YouTube videos on refinishing wheels, and one thing became abundantly clear: pretty much everyone who does this uses the same paint:
Dupli-Color Wheel Paint. I don't know if it's the best, or if they just have good name recognition and marketing, but the Internet had convinced me - this was the direction I was headed.
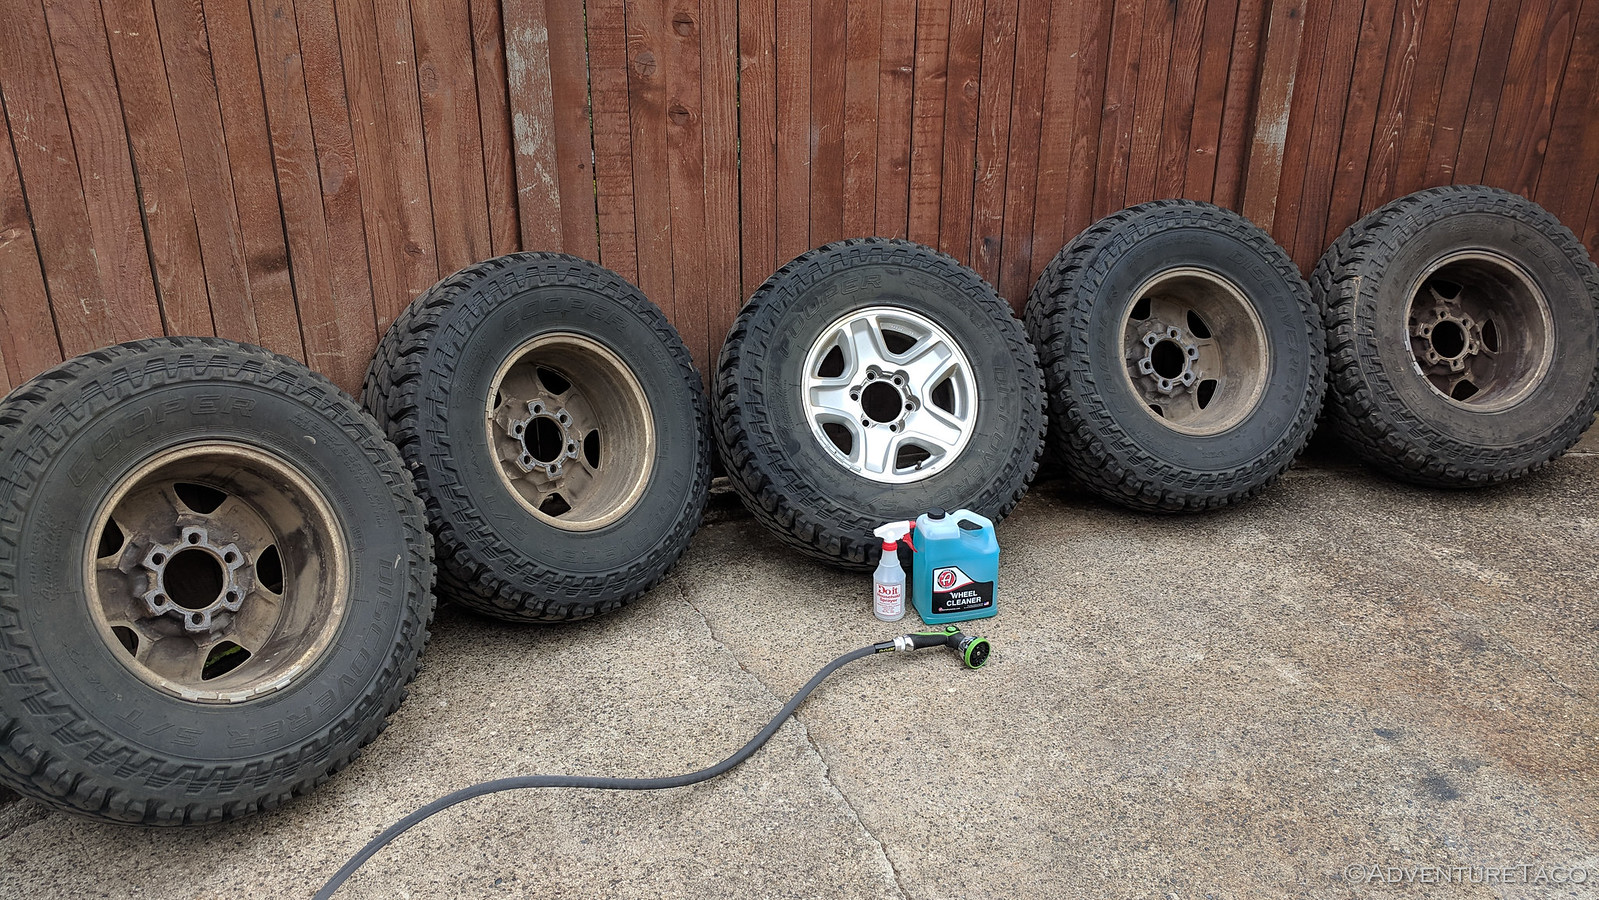
I gathered everything that the Internet had told me I would need:
- Adam's Wheel Cleaner and a Brush. This magical mix was supposed to remove even the toughest grit and grime from my wheels, getting them ready for paint.
- 1 can of Dupli-Color Grease & Wax Remover. Seemed similar to the Wheel Cleaner to me, but I figured this was cheap insurance given that I'd be using Dupli-Color paint products.
- 5 cans of Dupli-Color Professional Self-Etching Primer. I chose the Professional version of the primer after calling Dupli-Color and confirming that it actually has a stronger etching acid than the non-Pro version.
- 10 cans of Dupli-Color Bronze Wheel Coating. Because I really did like the color of the Stealth6s. So purdy.
- 5 cans of Dupli-Color Matte Clearcoat. I wasn't sure I was going to get this - the Internet was unclear on it's necessity. But a call to Dupli-Color suggested that the clear was recommended, and so I figured I'd go all out.
- A package of 600-grit wet-dry sandpaper. To scuff up the fronts of the wheels, where the original paint was still in pretty good shape.
You'll note that I didn't list skill or luck - the Internet had promised that I needed neither of these things; apparently painting wheels is
easy. I was ready to get going!
Oh, and I should mention - I chose a time to do this when I knew I wouldn't need the wheels for a 2-week period. I figured I'd give myself a week to prep and paint, and a week for the paint to fully cure (though, apparently you can re-install them after 5 hours).
The first step of course was cleaning the wheels. This was in fact - as I noted above - the part of the project I was least looking forward to, and least confident in my ability. But, being the good Interneter that I am, I got out the
Adam's Wheel Cleaner,
brush, and a hose and set to work.
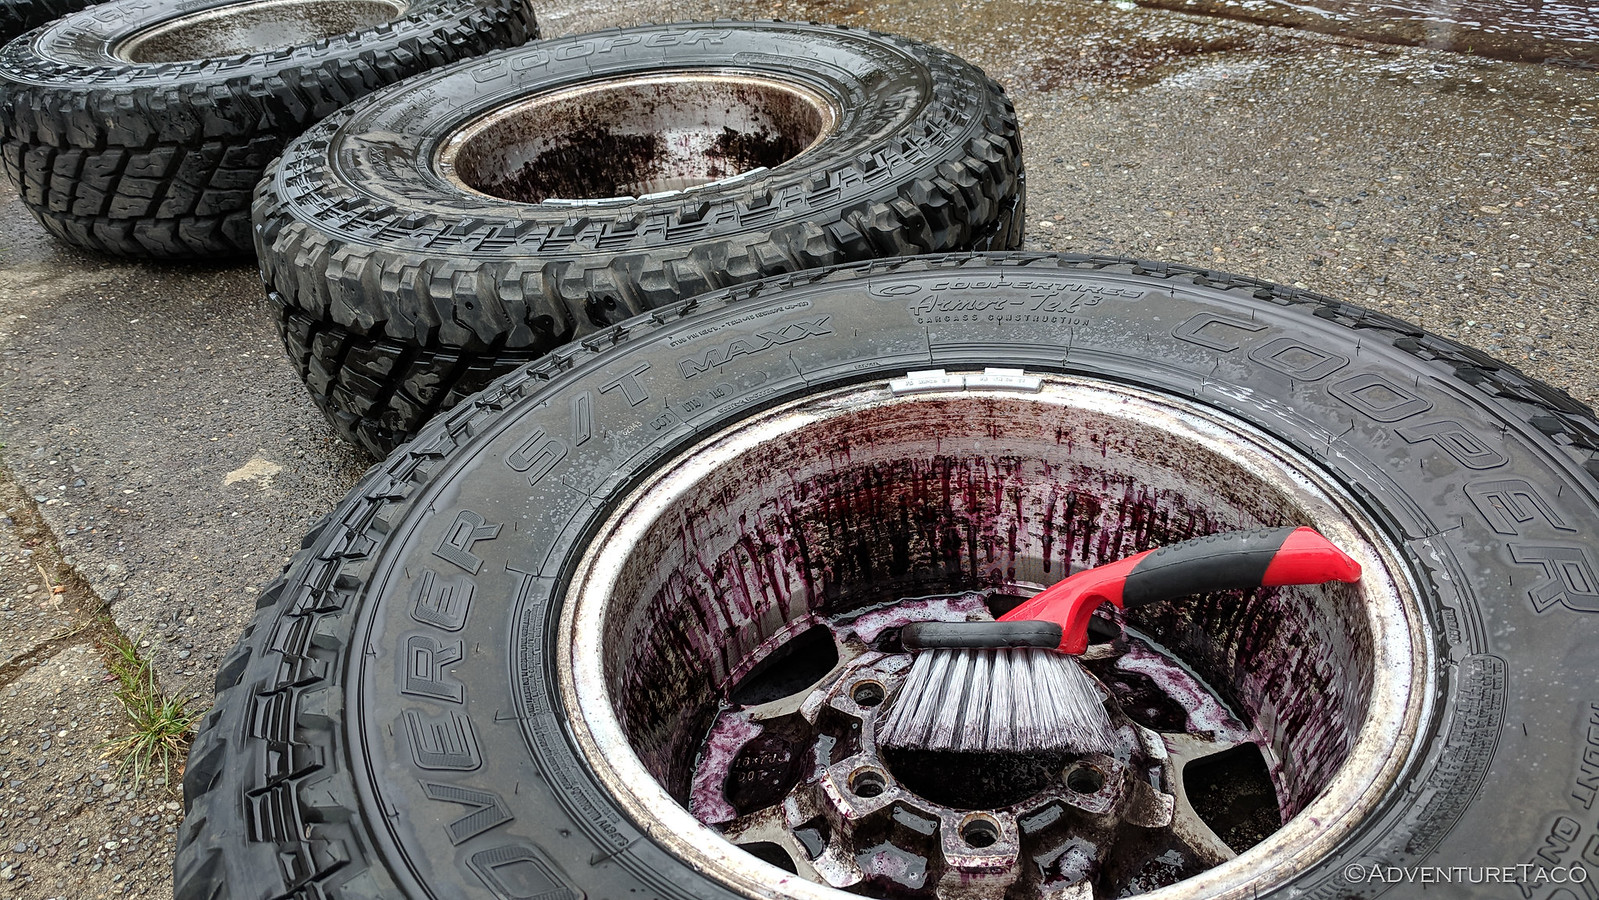
The cleaner definitely did
something, but just as I'd worried, it was no match for 20 years of grit and grime on these wheels. It would turn a dark red/purple - a sure sign it was eating up all the bad bits - but then when I rinsed it off, all the bad bits seemed just as bad as they'd been a few minutes earlier. Three applications and I knew this wasn't going to be my solution to cleaning.

Hoping - but knowing it wasn't going to work - I gave the pressure washer a try. And by try, I mean I used the "don't ever use this because you'll destroy whatever you point it at" tip to see if it could blast away the build up. Not a chance. I knew there was only one solution. It was the solution that would have come with powder coating - sand blasting.
Luckily, I had a sandblaster already, having used it when I
reinforced the rear frame last year. So out it came, along with my 6-gallon pancake compressor - and I got to work.
Hmm, it seemed to be working, but at the pace my compressor was going - blast for 20 seconds and then wait a minute to recover pressure - I was going to need the entire two weeks just to sand blast these five wheels. Something had to be done.
My initial thought was that I could rent a compressor for a day. With enough juice (~7 cfm @ 90 psi) I knew I could do each wheel in under an hour - but the thought of renting a tool always makes me cringe. I've found that it usually only takes 3-5 rentals to actually pay the cost of purchasing the tool, and so I set off to Craigslist to see what I could find.
And find something I did. A vintage 1994, 5-hp, 60-gallon, 10.4 cfm @ 90 psi bohemiath. And, it was
only a 5-hour round trip away.
The next morning I loaded it up, brought it home, and promptly spent all day cleaning it up - it's previous owner clearly neglecting it a bit, with a couple gallons of sludge stored in the bottom of the tank.
And that meant that by the day after that, I was ready to start sand blasting! The result was spectacular and I knew that everything - with the exception of my finger getting out of the way of the shutter - was going to be OK in the world.
- - - - -
Don't miss the rest of the story, and all the remaining photos that don't fit here (due to max post size). Hopefully that can change in the future, but until then...
.


