AmboVan Restarted

derjack

Adventurer
Well, a hut trip to the San Juans and a week+ of working on my neighbors house set me back a touch, but back to the van this week.

When I set the location of the tank, I knew the valves and protective shield would be into the door a bit
[/IMG]

So, needed to build a recess into the door interior panel. Salvaged some of the material from the roof removal, and built a recess box.


Replaced the key lock with another matching barrel lock (only a few more to go...), and lined the aluminum panel with butyl for soundproofing and

Built a new shelf above the tank, the rest of the compartment will be sealed from the open area

Welds to the existing box, all these got covered with a bead of sikaflex (Thank goodness)

Got the regulator and the pigtail all plumbed up, put new trim seal around the compartment, and a 'D' bulb seal across the front of the shelf to complete the waterproofing of the upper shelf area. I was feeling pretty good at this point, went to close the door and move on, and found out that the regulator hit the door also. A little work this morning with a 4" hole saw and some aluminum tubing, and I had a recess for that as well.

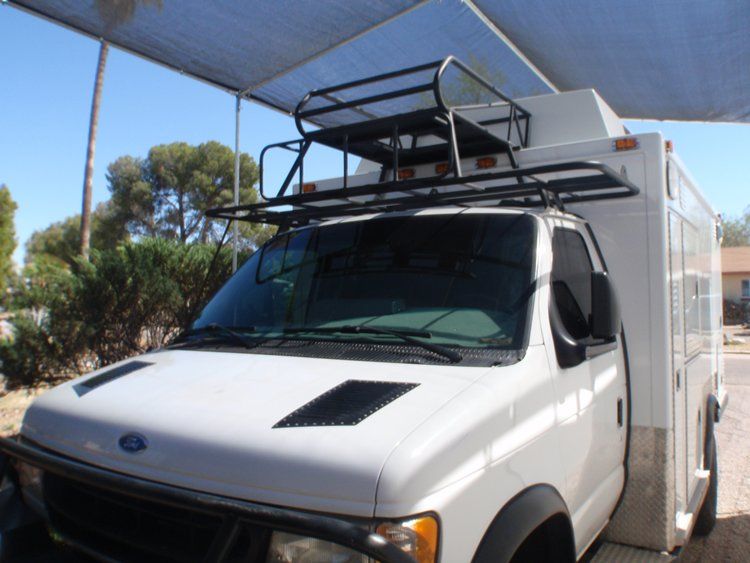
Rack goes on the roof next.

Man you got welding skills! Where I live propane compartments needs to have whole to the bottom due to the specific weight of propane vs oxygen.
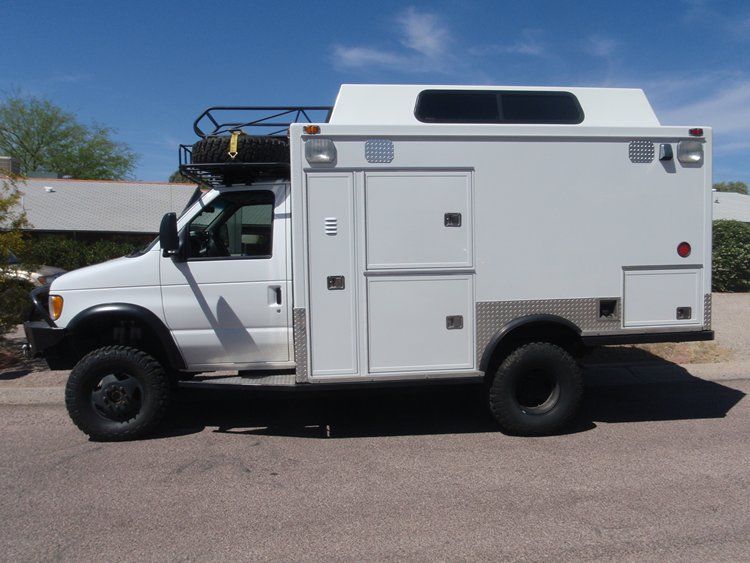
Great ambulance, you have probably not thought about lifting the roof of the cutaway, the driver cabin, right? Having a clean line from the windshield to the roof of the ambulance would give a nice look, good feeling in the interior and better aerodynamic, imho.
I think if anyone here would make that in a serious way than probably you. Any thought about that?
 

hobietony

Explorer
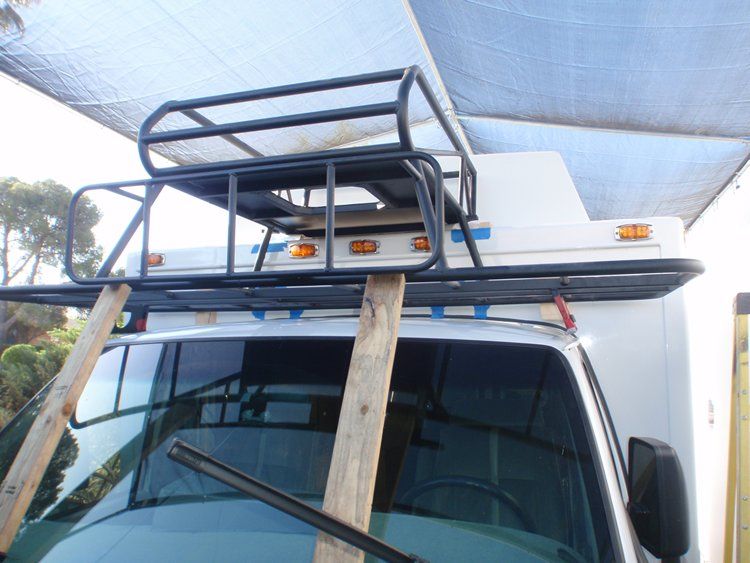
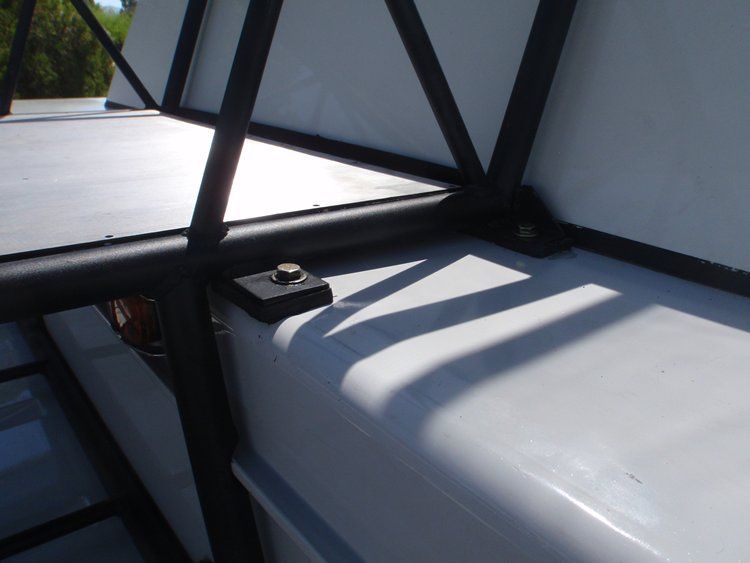
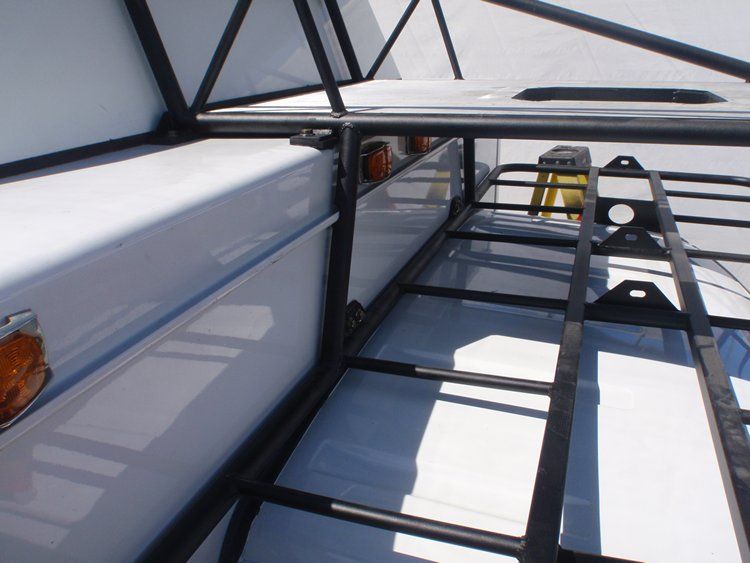
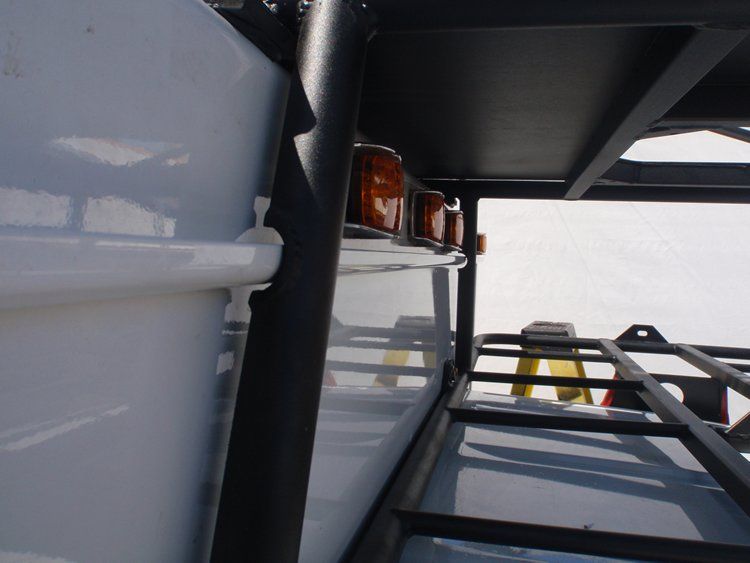
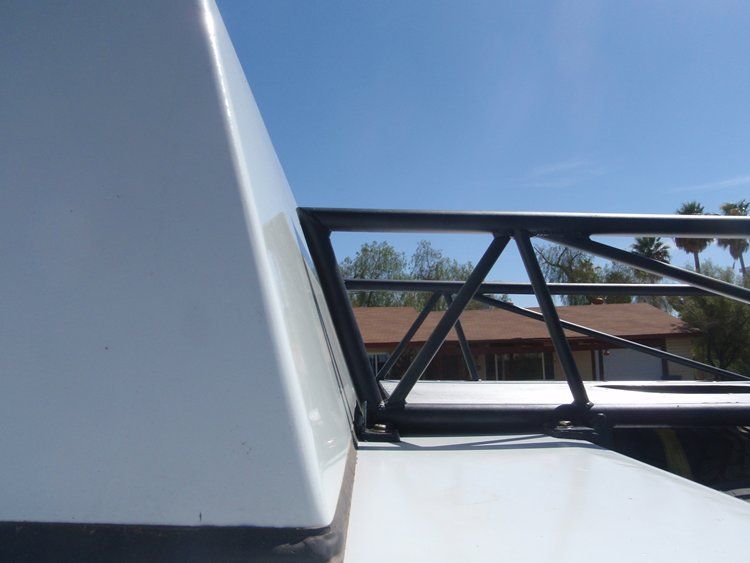
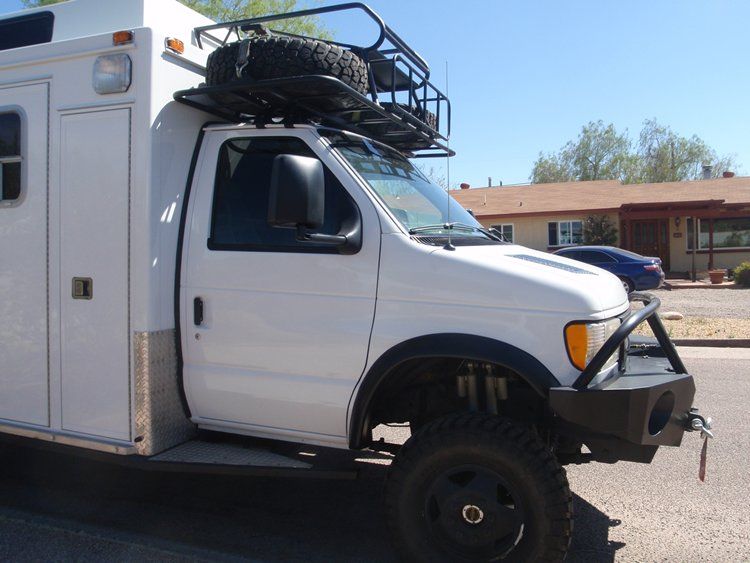
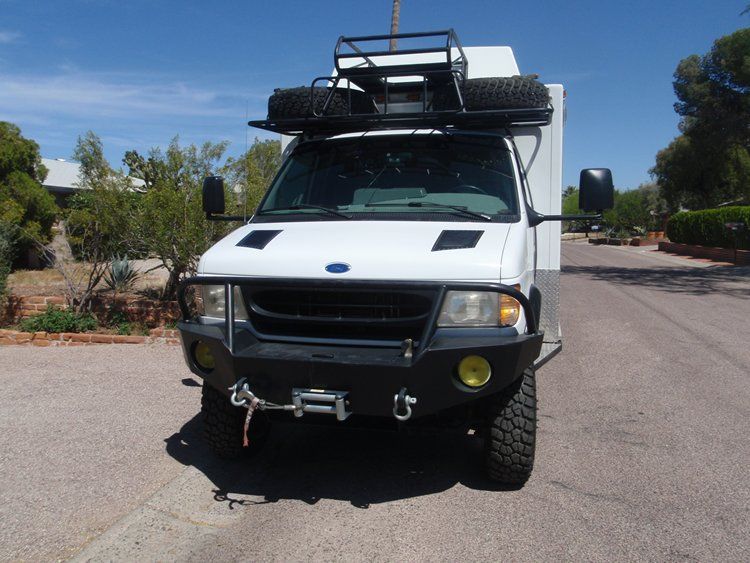
Rack on, dude.

And it is never coming off again
m_P4060103_zpsf6e25c7b.jpg


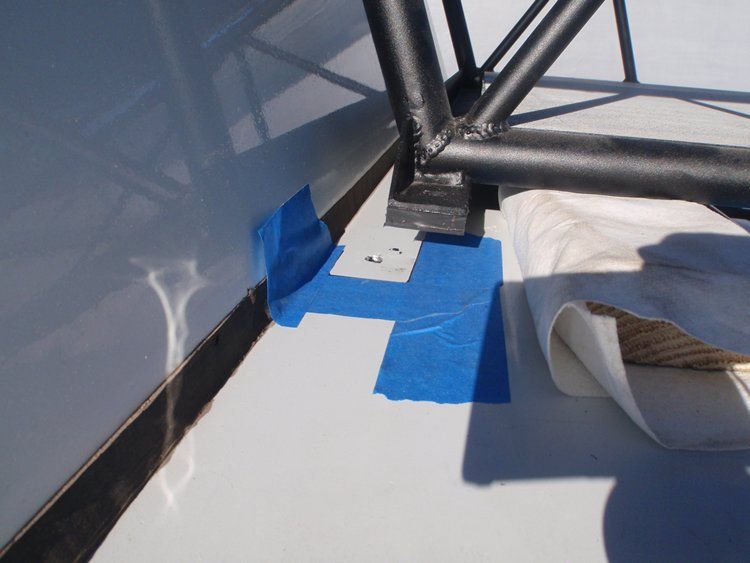
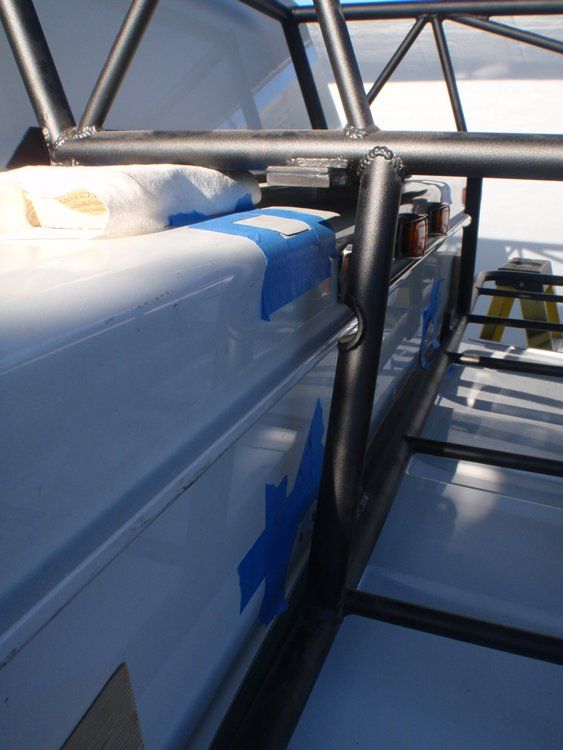
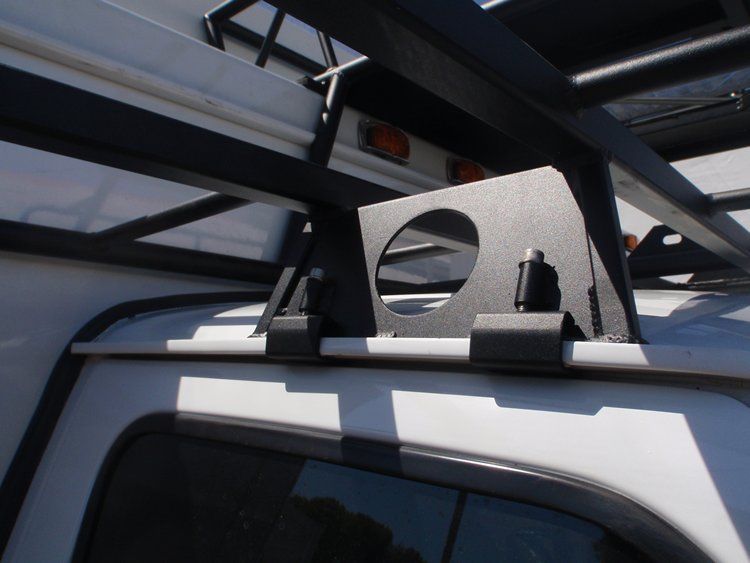
Prepped it by using Dow 795 silicone to adhere strips of 3/8 rubber mat to the contact points, while it was still sitting on the sawhorses, and gave it overnight to cure. I am hoping that silicone+compressible rubber mat+sealant at the fasteners themselves is enough of a belt-and-suspenders approach that the holes will never leak. Had a neighbor help me get it up on the van yesterday -
m_P4050087_zps1b63a958.jpg


And then I monkeyed it up into the air to give room the get sealant behind and under the contact points. Tape help keep the black goo off the paint
m_P4060088_zpse275336f.jpg

m_P4060090_zpsc94234ac.jpg

m_P4060091_zps20fbff8b.jpg


Dropped down and bolting
m_P4060093_zps96ee6175.jpg

m_P4060097_zps49cbea4b.jpg


Notch around the front rain gutter
m_P4060096_zps1241b4d4.jpg


Tight fit
m_P4060106_zps12a49d4f.jpg


Gutter mount, now with speed holes
m_P4060098_zpsc8d806cc.jpg


Tires on and strapped
m_P4060101_zps90612676.jpg

m_P4060102_zps98deb603.jpg

m_P4060104_zps4d5044f9.jpg


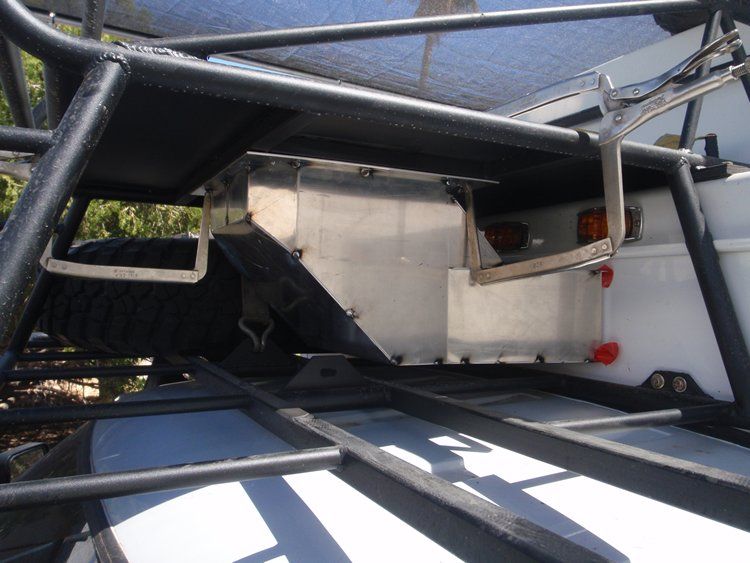
Need to get the AC on now, and work out the ducting from the bottom of the AC support rack to the front of the box. Lights too, last ones were the wrong pattern, sold them here, and have new ones winging their way from China as we speak. Going to get it on the road tomorrow to Flagstaff for the closing ski day, we'll see if it feels a bit more top heavy with that load shifted to the roof
 

hobietony

Explorer
Great ambulance, you have probably not thought about lifting the roof of the cutaway, the driver cabin, right? Having a clean line from the windshield to the roof of the ambulance would give a nice look, good feeling in the interior and better aerodynamic, imho.
I think if anyone here would make that in a serious way than probably you. Any thought about that?

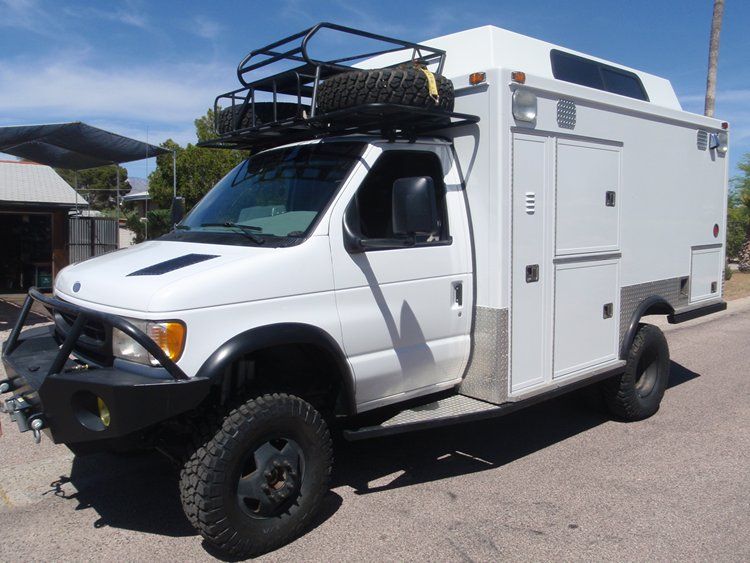
Kinda got that space filled now
 

hobietony

Explorer
When does the interior work start?

You been talking to my wife? This rack is one of the pre requirements for the interior, the AC will duct through the front of the box, need to get that in to start the cabinets in that area. So, right away!
 

hobietony

Explorer
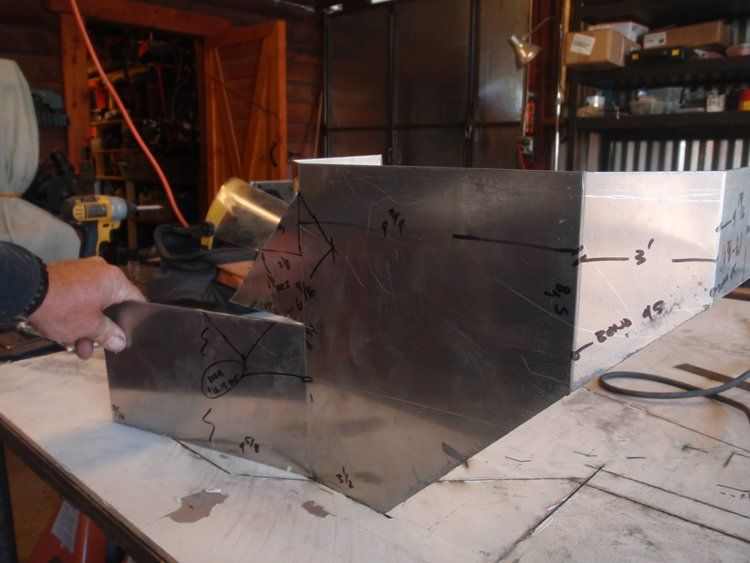
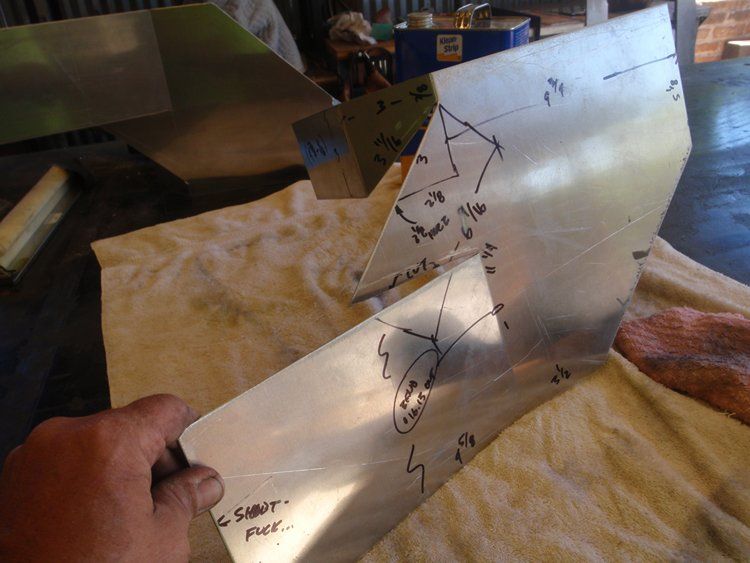
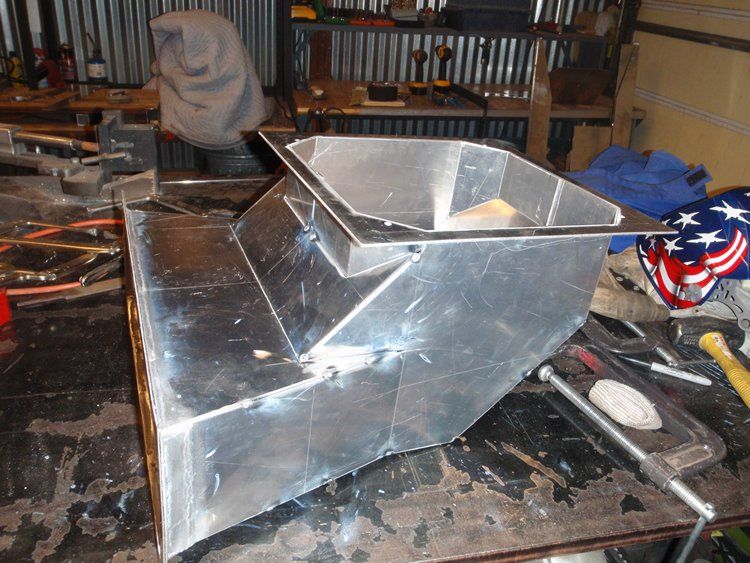
Aluminum Origami

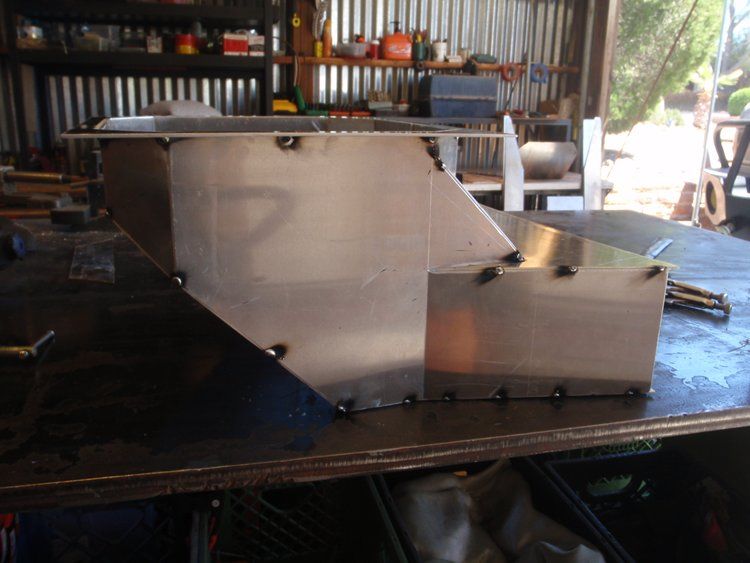
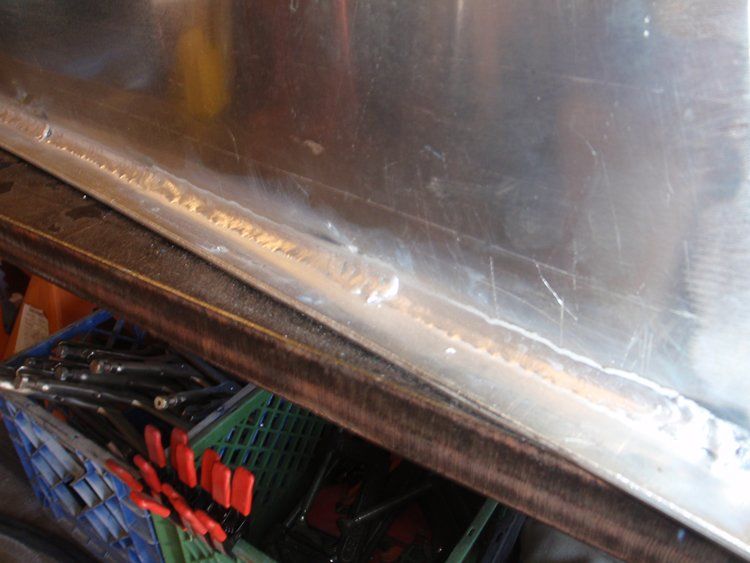
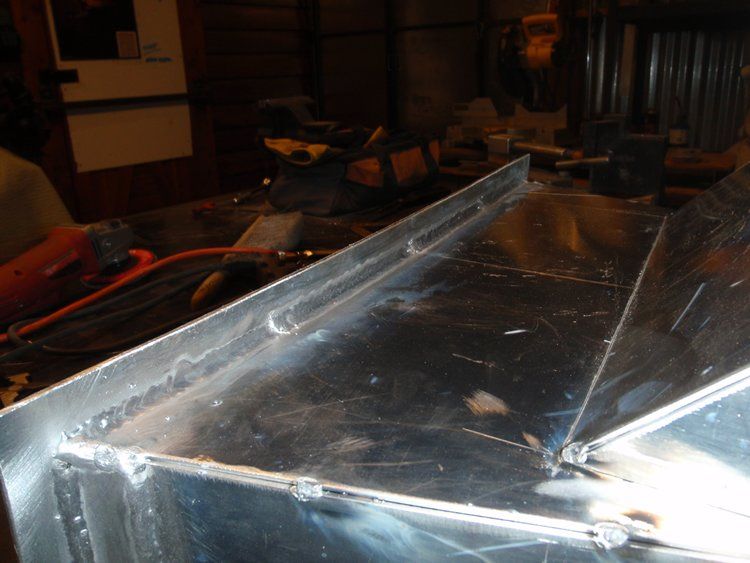
Building the ducting from the AC to the box
m_P4100007_zpsbb8af6f8.jpg

m_P4110009_zps4e595ccd.jpg


Tacked together
m_P4110010_zpsa75a22fb.jpg


Test fit
m_P4110011_zpsd09cdd2b.jpg


Starting welds
m_P4110012_zps0b54a8b2.jpg

m_P4110014_zps2b7c509c.jpg

m_P4110013_zps8be81c62.jpg


I thought I was going to tack it together and have someone TIG it to finish, but I seem to be getting something I can tolerate out of my spool gun. I can do a functional fillet now, and worst case, I can grind the outside corners if I need to. Having it way up there and behind a bunch of lights and tires may mean I can live without perfect stacked-dime beads
 

bknudtsen

Expedition Leader
Very impressive work there! I assume you will have this powdercoated when you are done?

Also, what are you using to cut the aluminum?
 
Last edited:

hobietony

Explorer
Very impressive work there! I assume you will have this powdercoated when you are done?

Also, what are you using to cut the aluminum?

Actually, my intent is to leave it raw - Lots of other exposed aluminum on the vehicle, I think it will blend fine

Cutting - Longer straight cuts, skilsaw with a 40 tooth blade. Shorter cuts, (most of them), grinder with a cutoff wheel. I mark the lines with a scratch scribe, and just float the wheel along the scribe. A little wax on the disc helps, and of course a good cleaning before assembly
 

Forum statistics

Threads
188,177
Messages
2,903,325
Members
229,665
Latest member
SANelson
Top