AmboVan Restarted

hobietony

Explorer
Hobietony- Can you please tell us what you do or did to have the time/experience to tackle a project like this. It looks good BTW!

I had no idea of the time involved when I started. They say good judgment comes from experience, and experience comes from bad judgment. I think that applies here.
 

McZippie

Walmart Adventure Camper
I had no idea of the time involved when I started.

I'm amazed with your speed, multiple shop skills, perseverance and design skills.

You are moving into the Realms of the Expo Rigs Elitism.... We are not worthy
.
attachment.php
 

hobietony

Explorer
Perhaps I missed it, do you have a way to drain the water tank? Aside from pumping it out?


Sent from my iToaster

Kinda. I have another bung in the bottom of the tank that I intend to put a drain valve on, but I haven't yet.

I'm amazed with your speed, multiple shop skills, perseverance and design skills.

You are moving into the Realms of the Expo Rigs Elitism.... We are not worthy
.
attachment.php

Now you are just being silly
 

Kole

Adventurer
Ya that is a silly suggestion... You would have to paint the AmboVan grey, then you would be in the ELITE :drool:
 

hobietony

Explorer
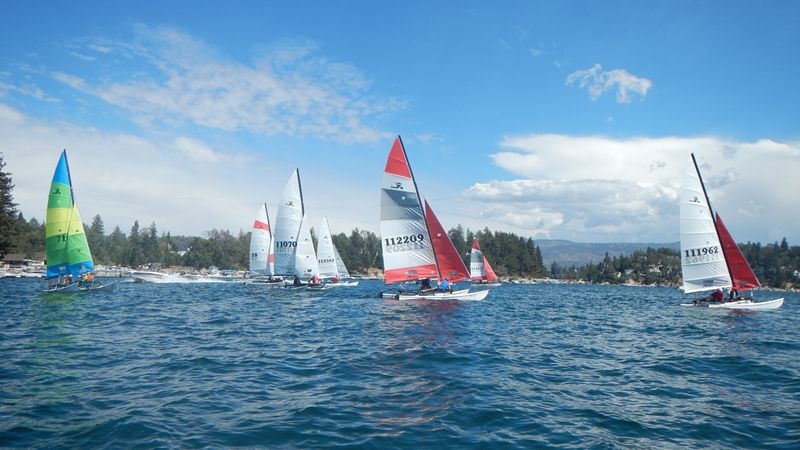
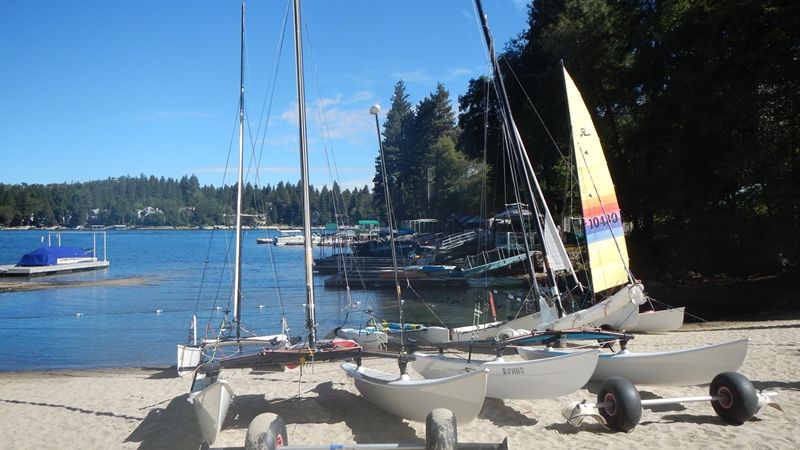
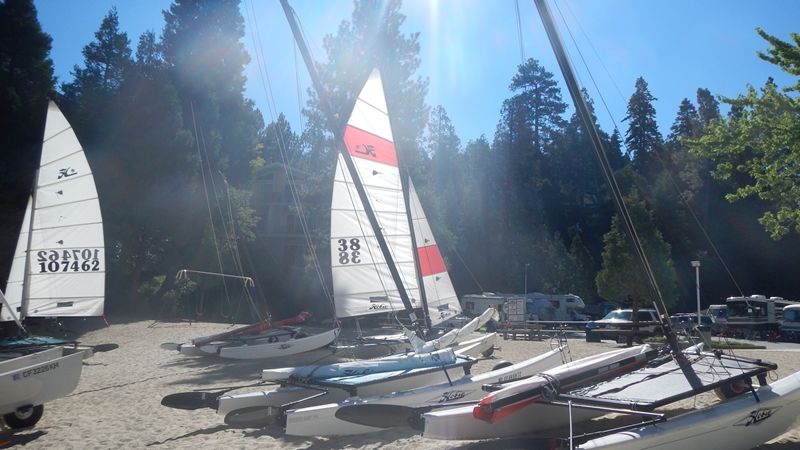
Almost two weeks since an update? I did spend a few days over an extended weekend to prep for a Hobie regatta at Lake Arrowhead, in the mountains east of LA, but got some work done too
-
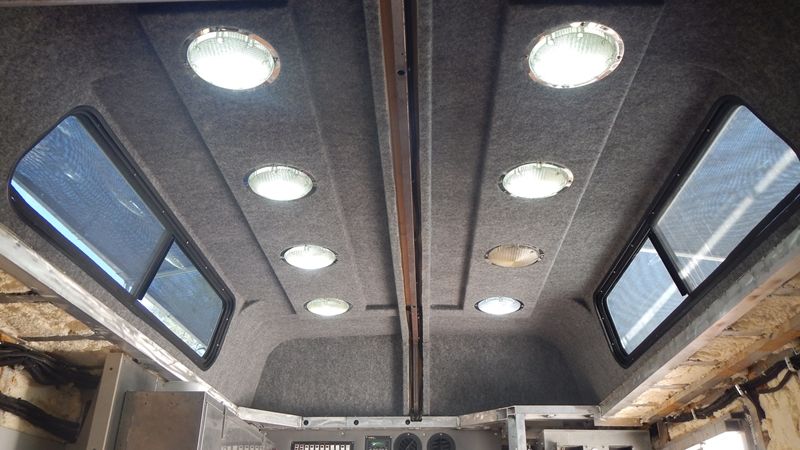
Headliner installed and the ceiling lights installed
m_DSCN0185_zps16bcab92.jpg

Had the liner done by a local upholsterer, and yes, I know I have a bulb out. Had to modify the sockets a bit to get the LEDs to work, just need fine tune that last light.
-
More lining storage cabinets and spaces...
-
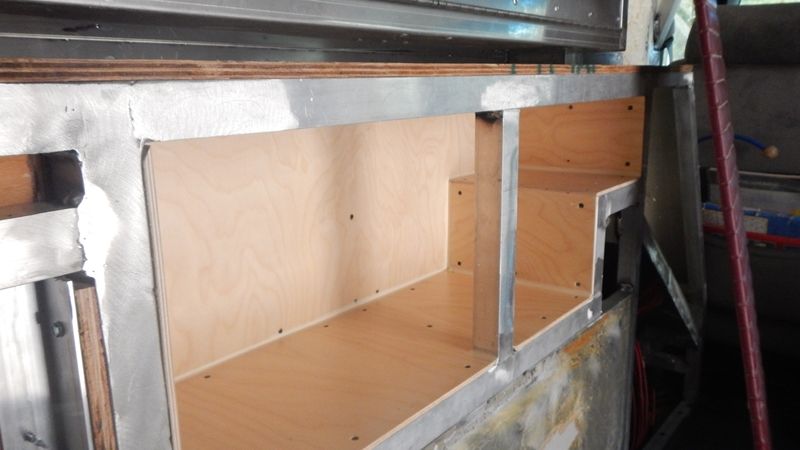
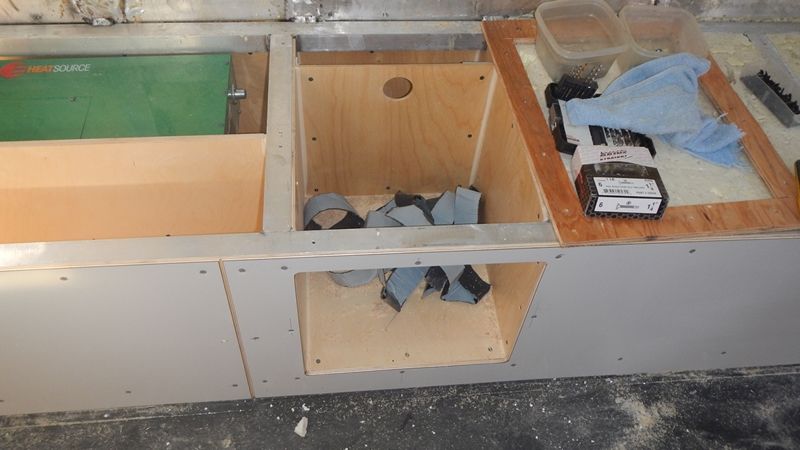
Area under the kitchen box
m_DSCN0179_zps78c9392b.jpg

Painted the floor with the same Deck Over I used for the ski storage space, got the interior of the fridge cubby lined with birch ply as well
m_DSCN0176_zps3ca00f32.jpg

m_DSCN0175_zpsfceee55f.jpg

-
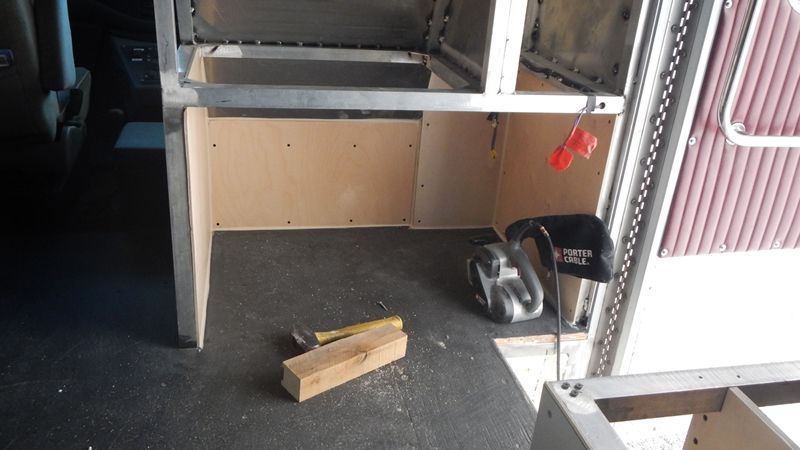
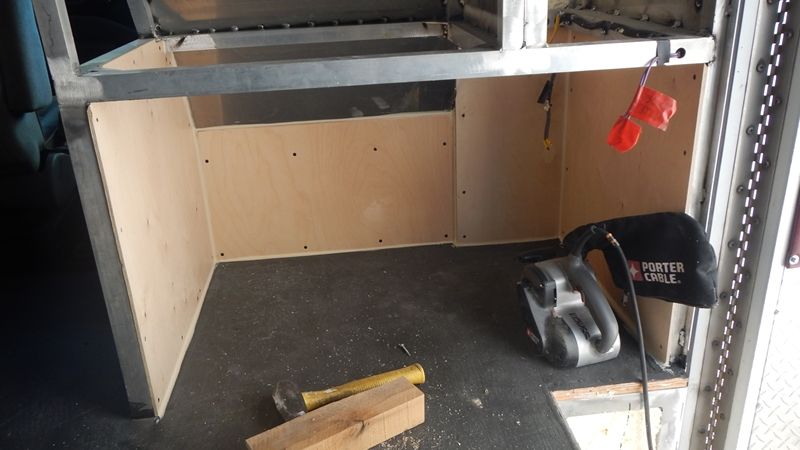
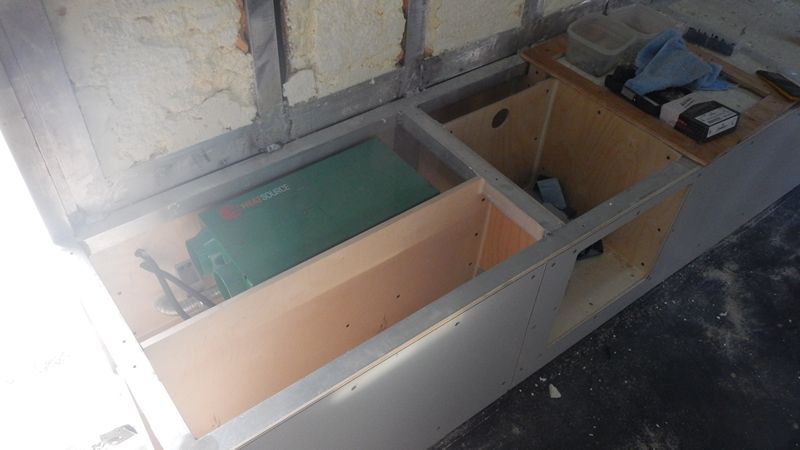
Installed ply to block off some storage in the heater space, installed the back of the toilet cubby
m_DSCN0177_zps86b3e14e.jpg

m_DSCN0174_zps1ed620e6.jpg

-
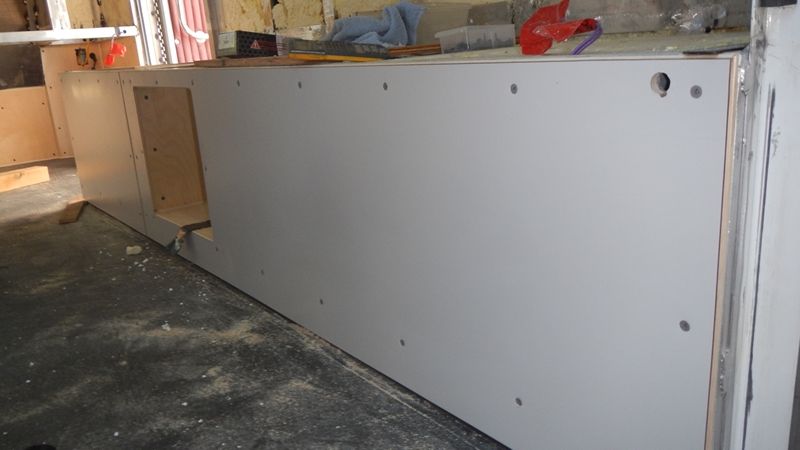
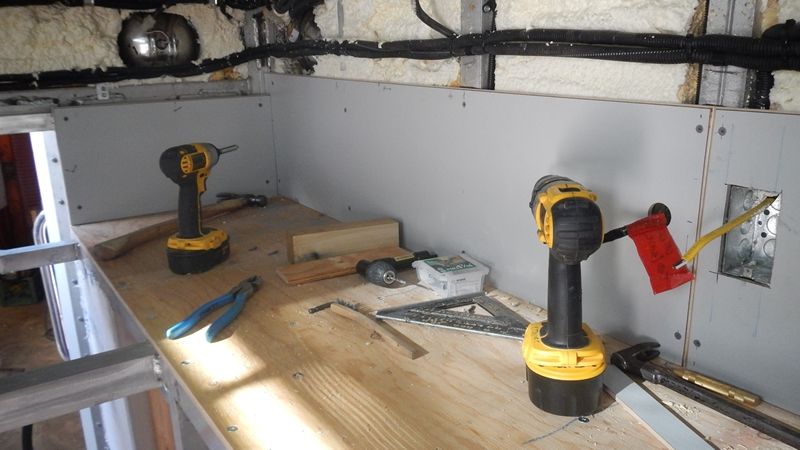
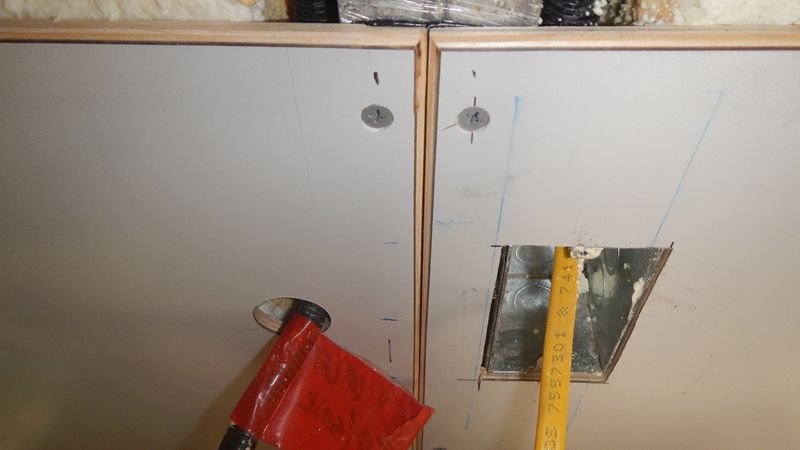
And started installing some of the final finish panels - Have a light grey formica laminate over 1/4" Baltic birch. Going for a fairly clean look that makes the fastener pattern a bit of a feature, and a routed corner detail at the exposed edges that gives a little interest, and makes a lot more forgiving where the panels meet
m_DSCN0165_zpsf0ce0b7c.jpg

m_DSCN0169_zpsc703a2be.jpg

m_DSCN0170_zps559a9958.jpg

-
Why there is not more progress than there is
m_DSCN0159_zps772c801b.jpg

m_DSCN0147_zps6bb745bd.jpg

m_DSCN0144_zpsdb2aa7ea.jpg
 

bknudtsen

Expedition Leader
You are gonna be so stoked when the last section of spray foam is covered up! Looks great! I like the materials you chose. What's the plan for the flooring?
 
Last edited:

VanIsle_Greg

I think I need a bigger truck!
Looking great, the headliner looks fantastic! Must feel good to finally be putting interior finishes on. Big step!!
 

hobietony

Explorer
You are gonna be so stoked when the last section of spray foam is covered up! Looks great! I like the materials you chose. What's the plan for the flooring?

Rubber weight room flooring. 3/8 thick, rubber, a bit heavy, but lots of sound damping and some cushion underneath.
 

steelheadbum

Adventurer
Hobietony,
What did campa charge you for the kitchen box??
du8e9azu.jpg

Thanks
Buck

The Redneck Mexican
2002 E350 7.3 PSD 4x4 8inch lift pop top conversion....
 

Forum statistics

Threads
188,223
Messages
2,904,056
Members
229,805
Latest member
Chonker LMTV
Top