You are using an out of date browser. It may not display this or other websites correctly.
You should upgrade or use an alternative browser.
You should upgrade or use an alternative browser.
AT IT AGAIN: Paul and Mike Convert a Mid/Tall T1N Sprinter Cargo
- Thread starter mhiscox
- Start date
mog
Kodiak Buckaroo
Yea ! ! another PaulJensen build...I now have a reason to get up every morning :wings:
I look forward to another thread chocked full of great ideas and beautiful work, a true inspiration (of course sometimes I think that inspiration is to just drive my truck north and have the master do the work).
Hopefully the troll(s) will not get fed in this tread.
I look forward to another thread chocked full of great ideas and beautiful work, a true inspiration (of course sometimes I think that inspiration is to just drive my truck north and have the master do the work).
Hopefully the troll(s) will not get fed in this tread.
Overland Hadley
on a journey
It is great to follow your work on another vehicle Paul.
PaulJensen
Custom Builder
#2.1
After surfing, back at the shop I re-installed the headliner...
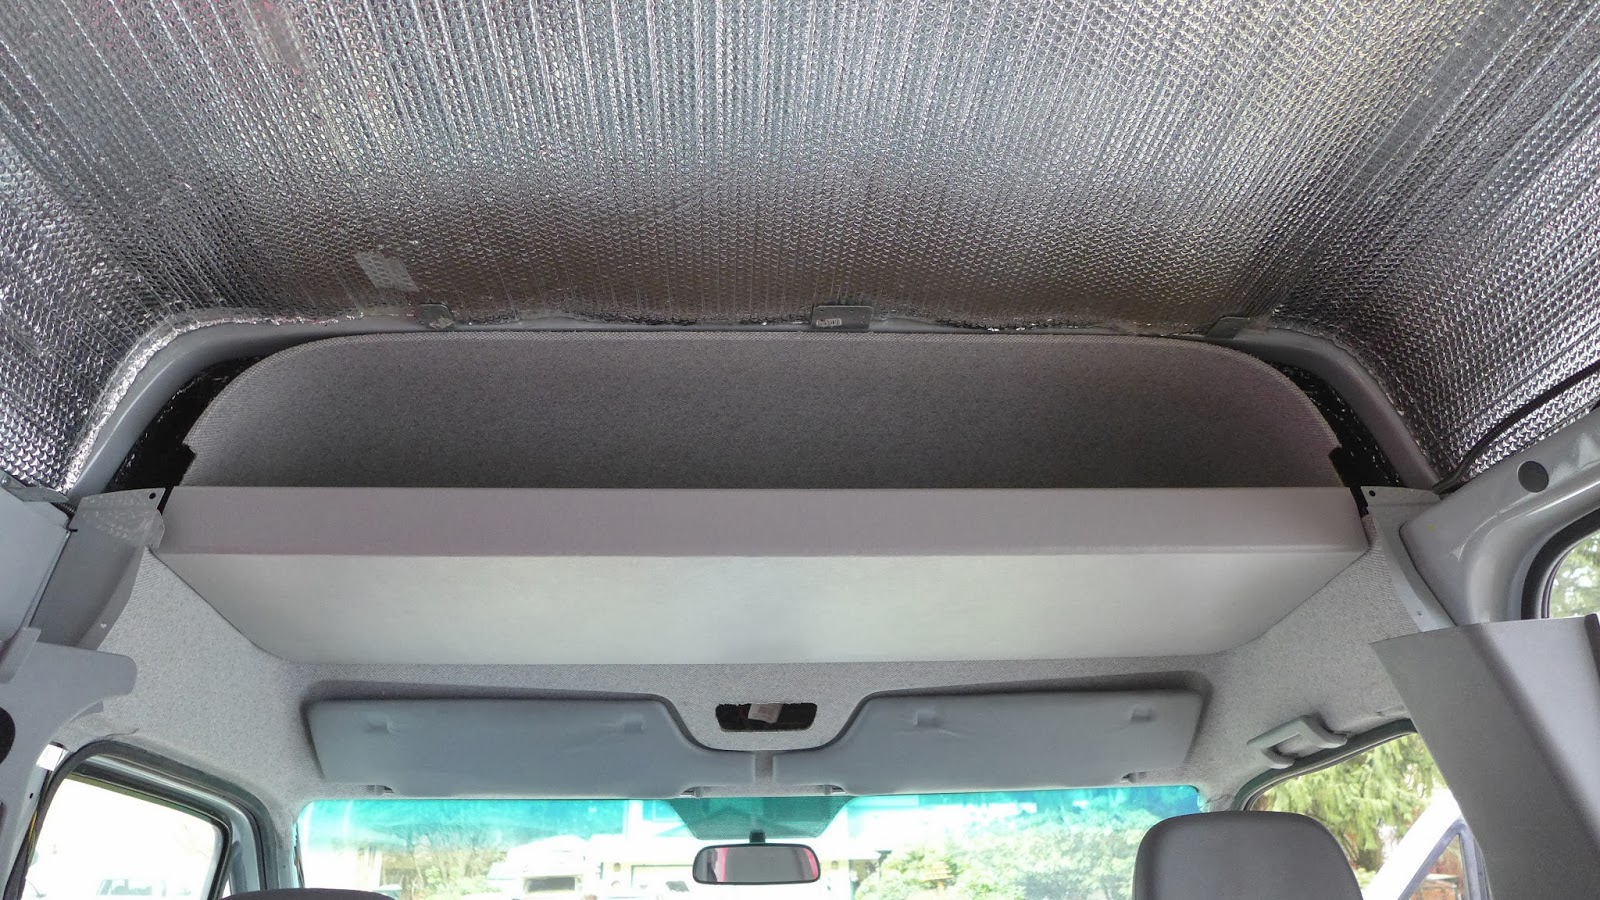
(above) It's solidly in there...I'd feel fine with 50 to 75# up there...
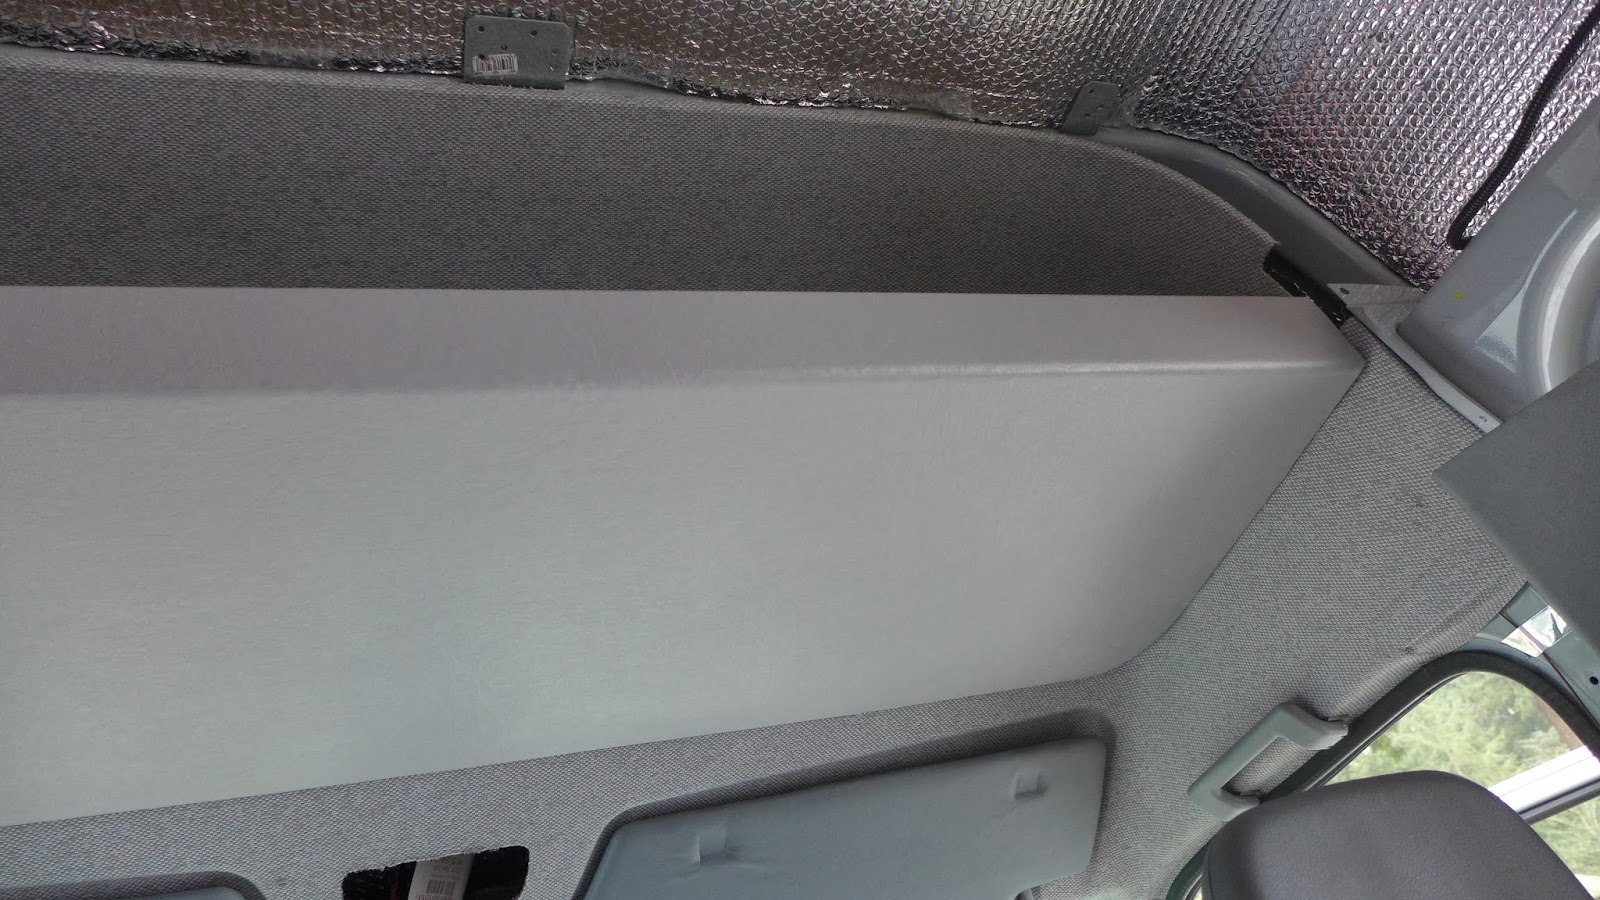
(above) I forgot to mention two things...
1) The fabric is a cloth backed vinyl...The color fits in there way better than I was expecting when I walked into Joanne Fabrics...The fabric was $17.50 yd., and I got two yards...Luckily the check-out clerk gave me a 50% off coupon...Always nice to get 50% off...
2) The other thing is that before I glued the fabric to the wood, a round-over bit on a trim router was used to soften the exposed edges...
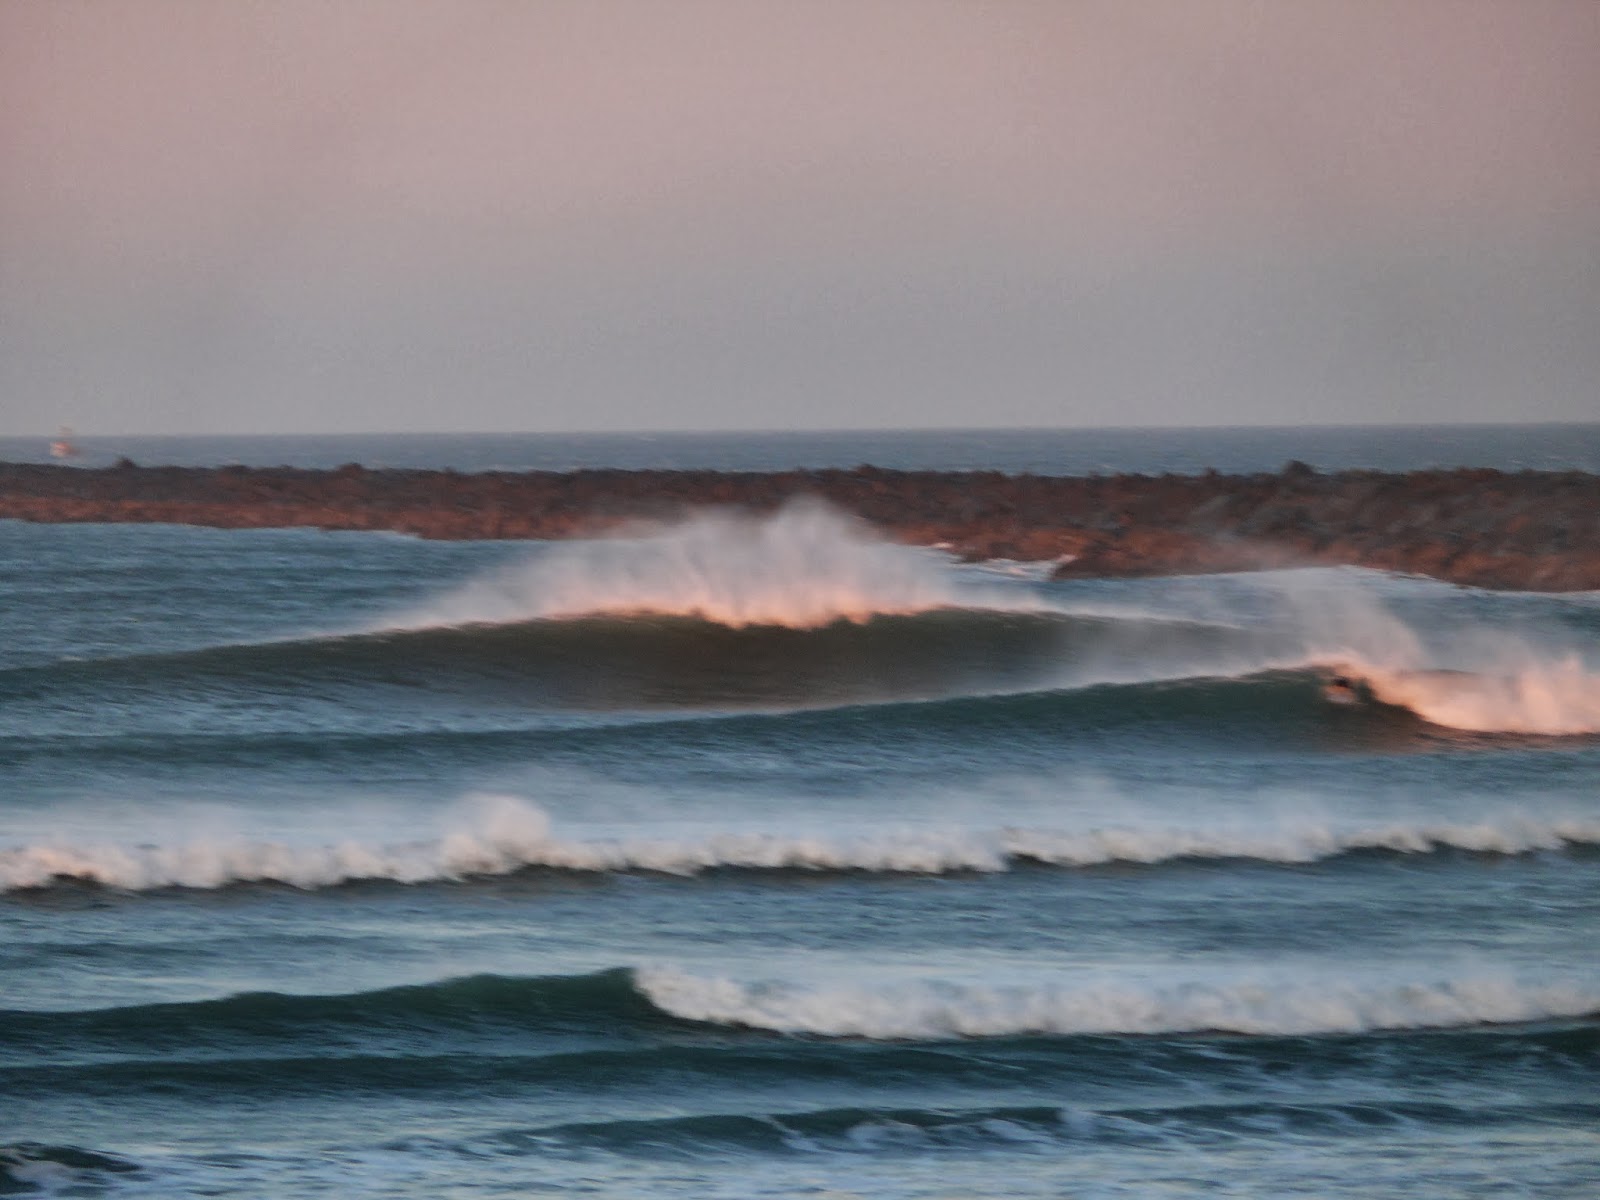
BTW: The surf was good, the wind and water cold...The wind became fierce so I went body surfing...
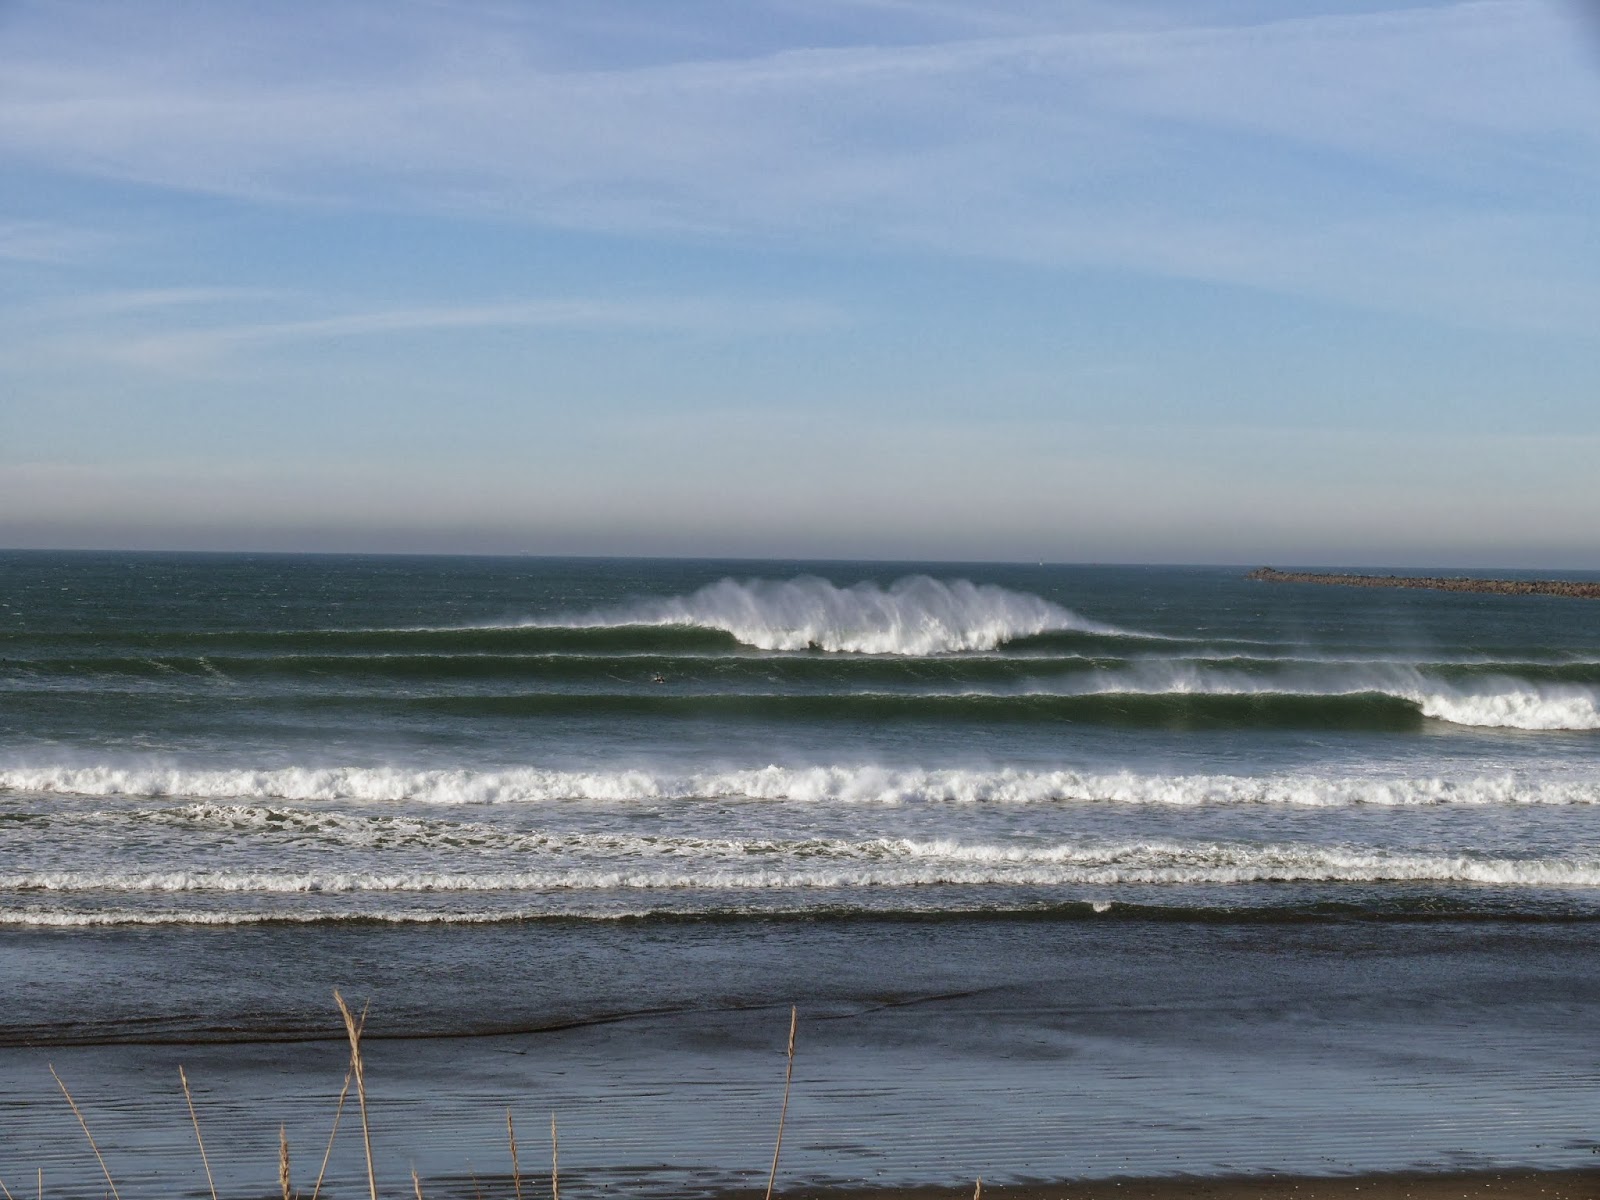
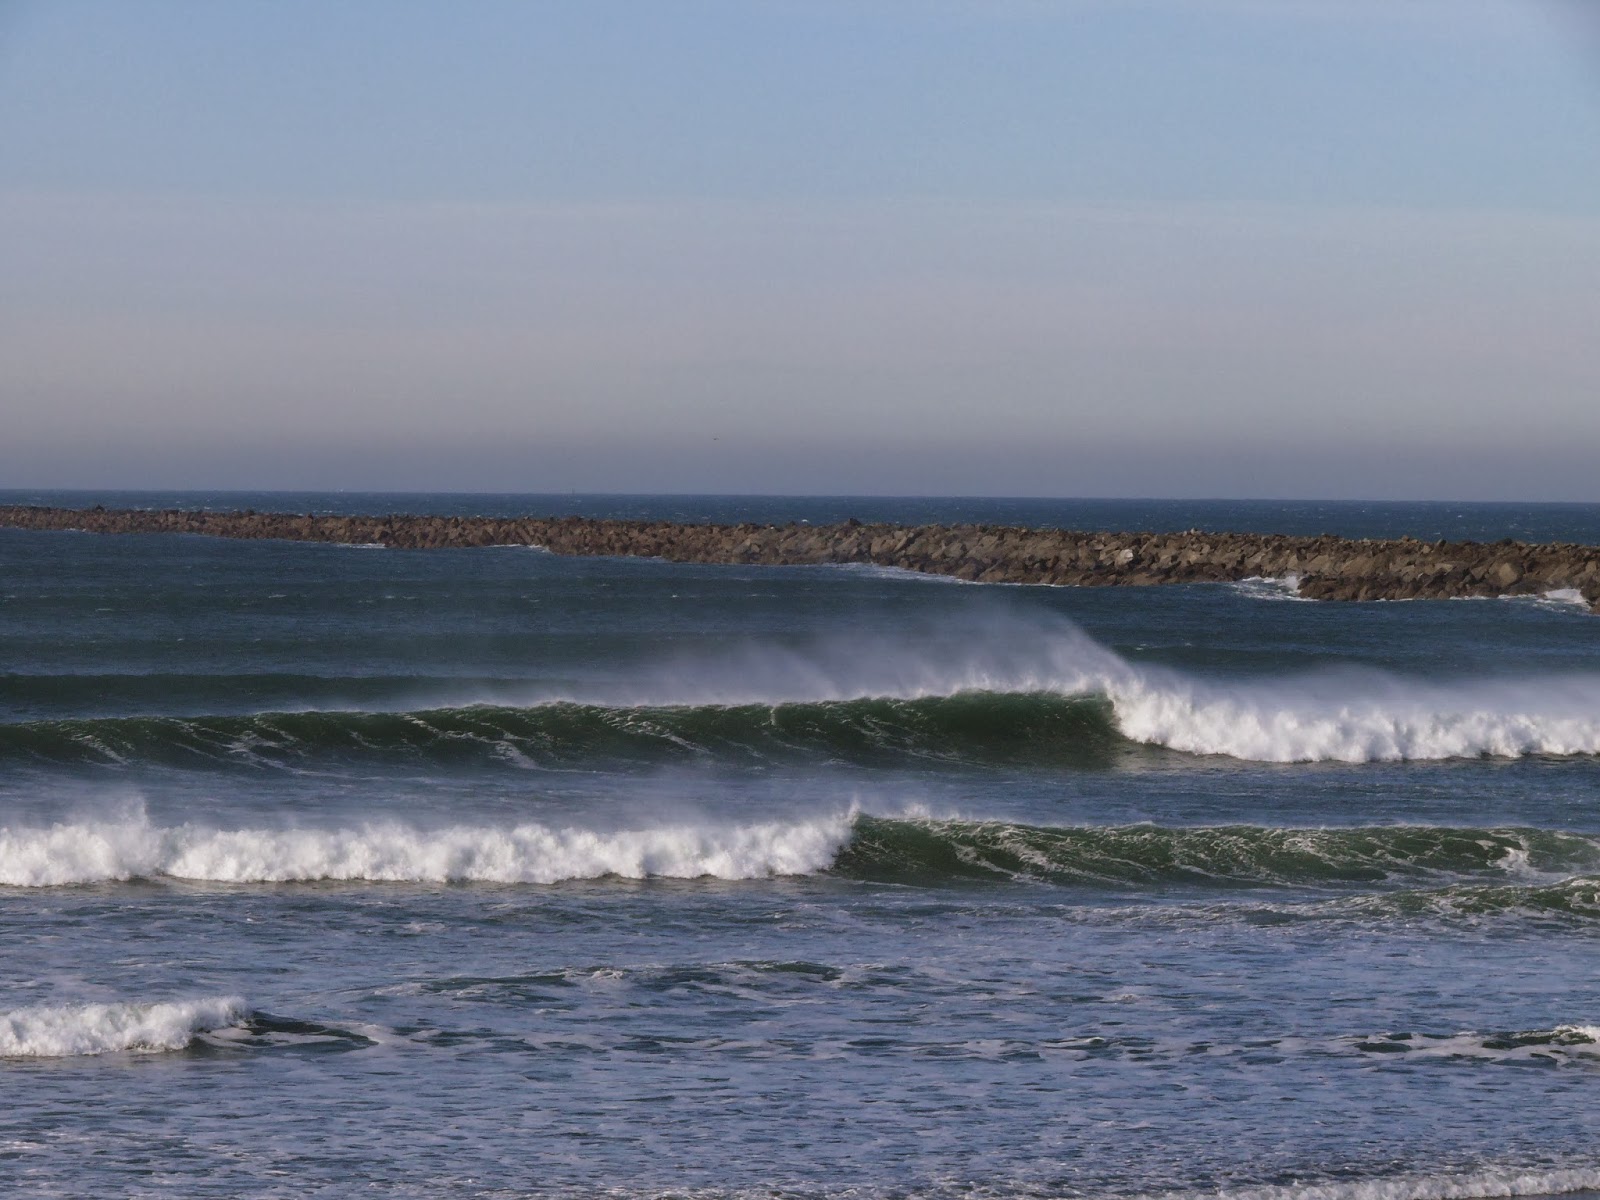
See you next week...
After surfing, back at the shop I re-installed the headliner...
(above) It's solidly in there...I'd feel fine with 50 to 75# up there...
(above) I forgot to mention two things...
1) The fabric is a cloth backed vinyl...The color fits in there way better than I was expecting when I walked into Joanne Fabrics...The fabric was $17.50 yd., and I got two yards...Luckily the check-out clerk gave me a 50% off coupon...Always nice to get 50% off...
2) The other thing is that before I glued the fabric to the wood, a round-over bit on a trim router was used to soften the exposed edges...
BTW: The surf was good, the wind and water cold...The wind became fierce so I went body surfing...
See you next week...
mhiscox
Exp. Leader Emeritus
Patience, Grasshopper.Today is day3 right? I need my fix.
PaulJensen
Custom Builder
#3
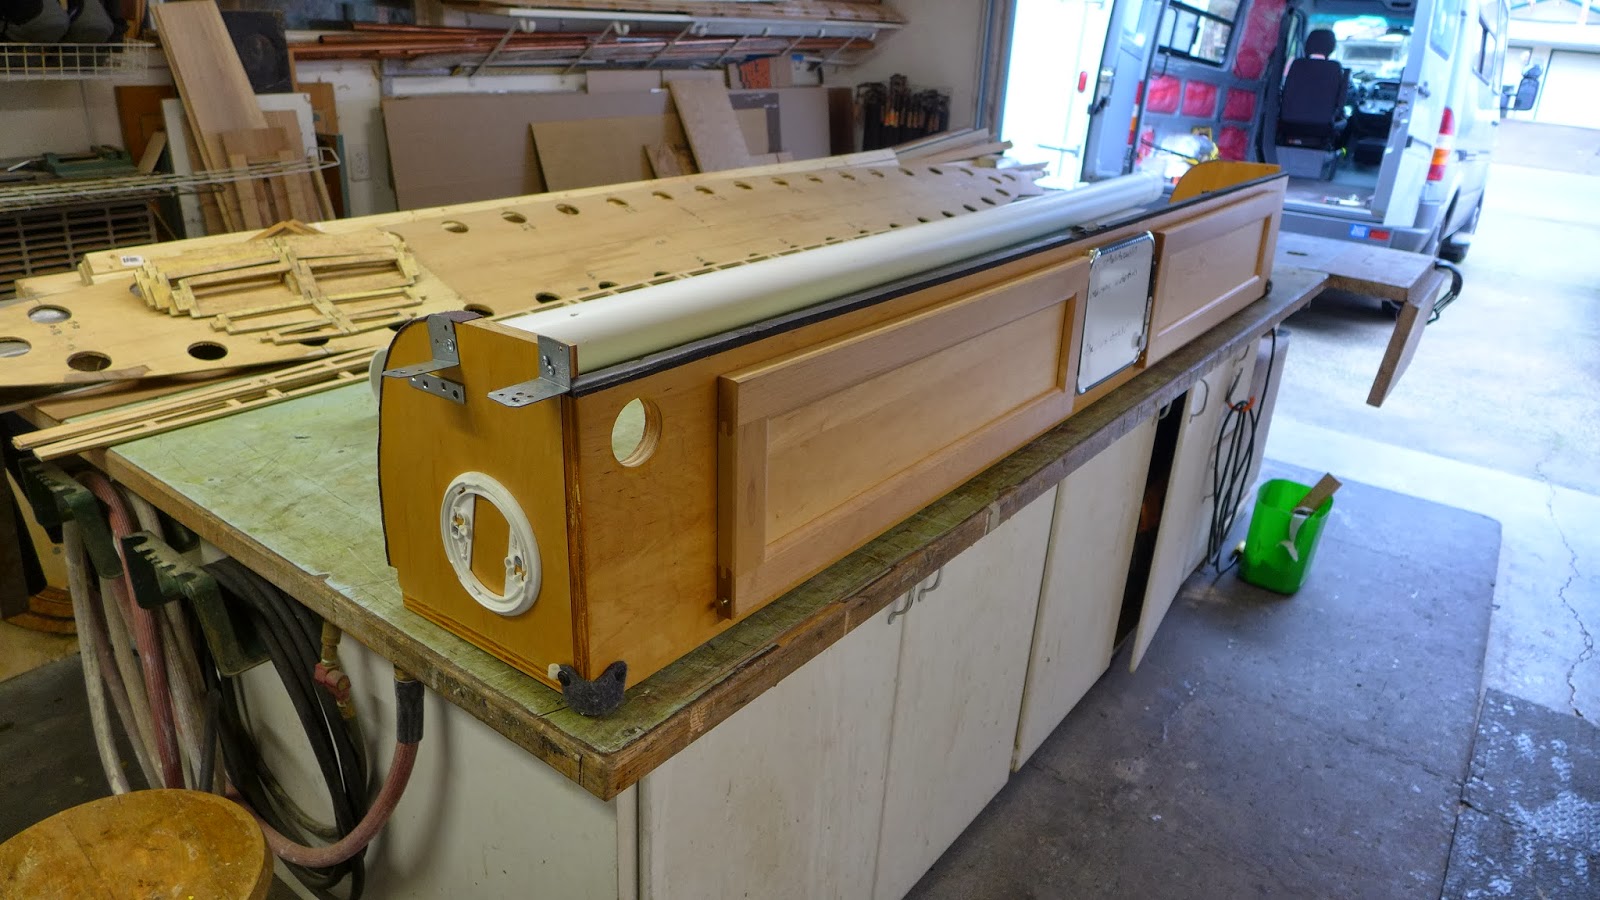
With the front cabin headliner sorted out, the process moves rearward...Today the focus is building the driver side, upper wall cabinet...
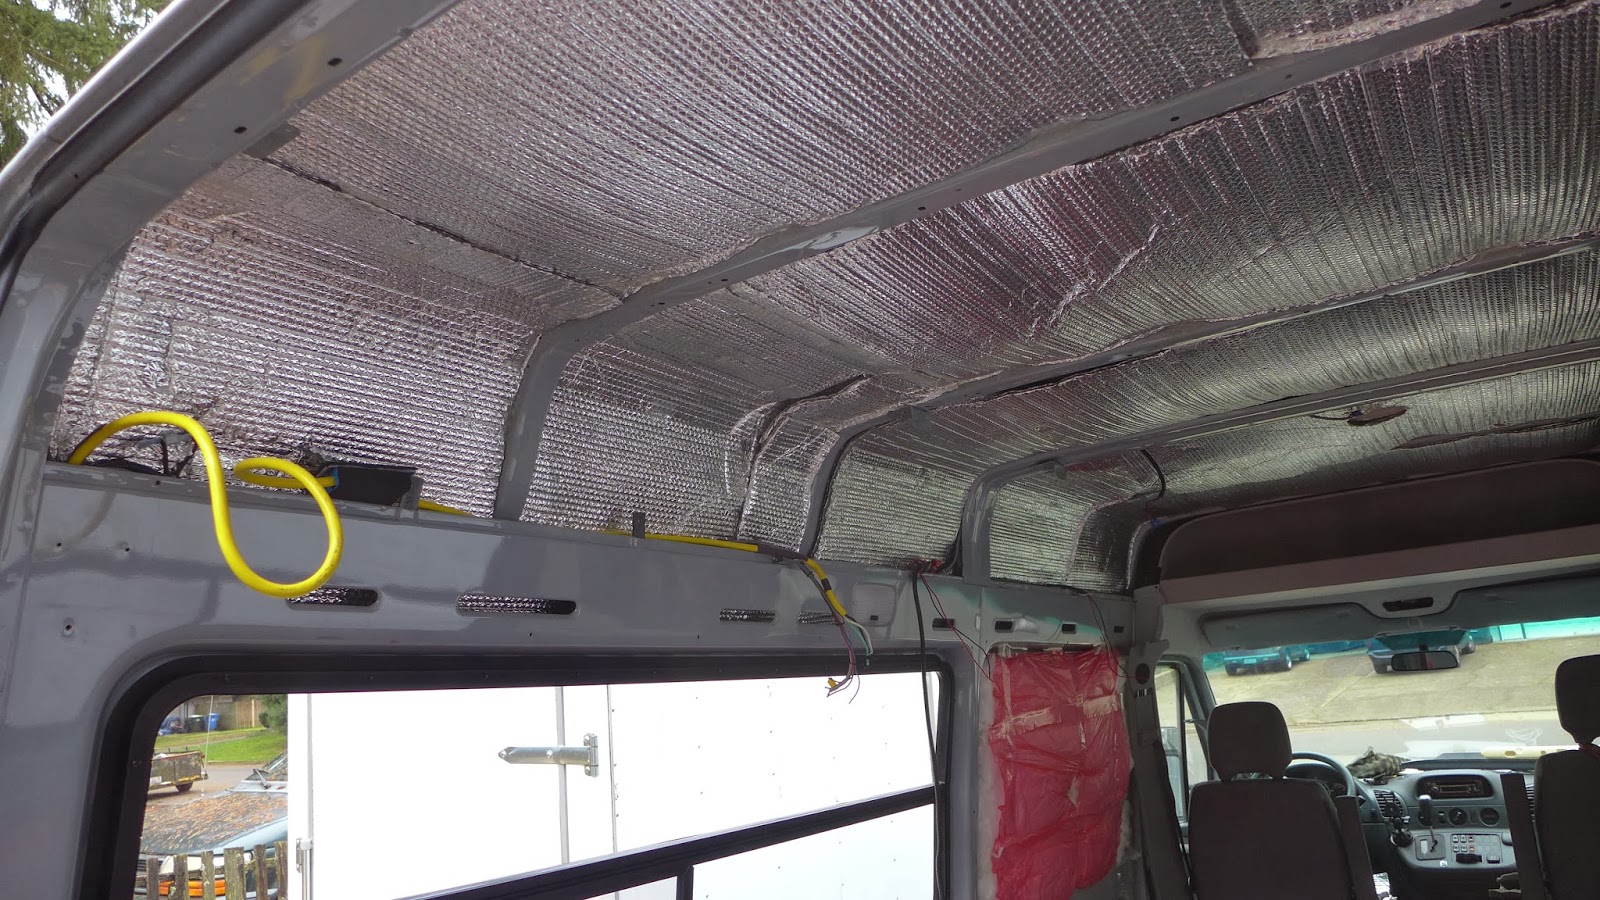
(above) The starting point...
(above) This is what was up there...
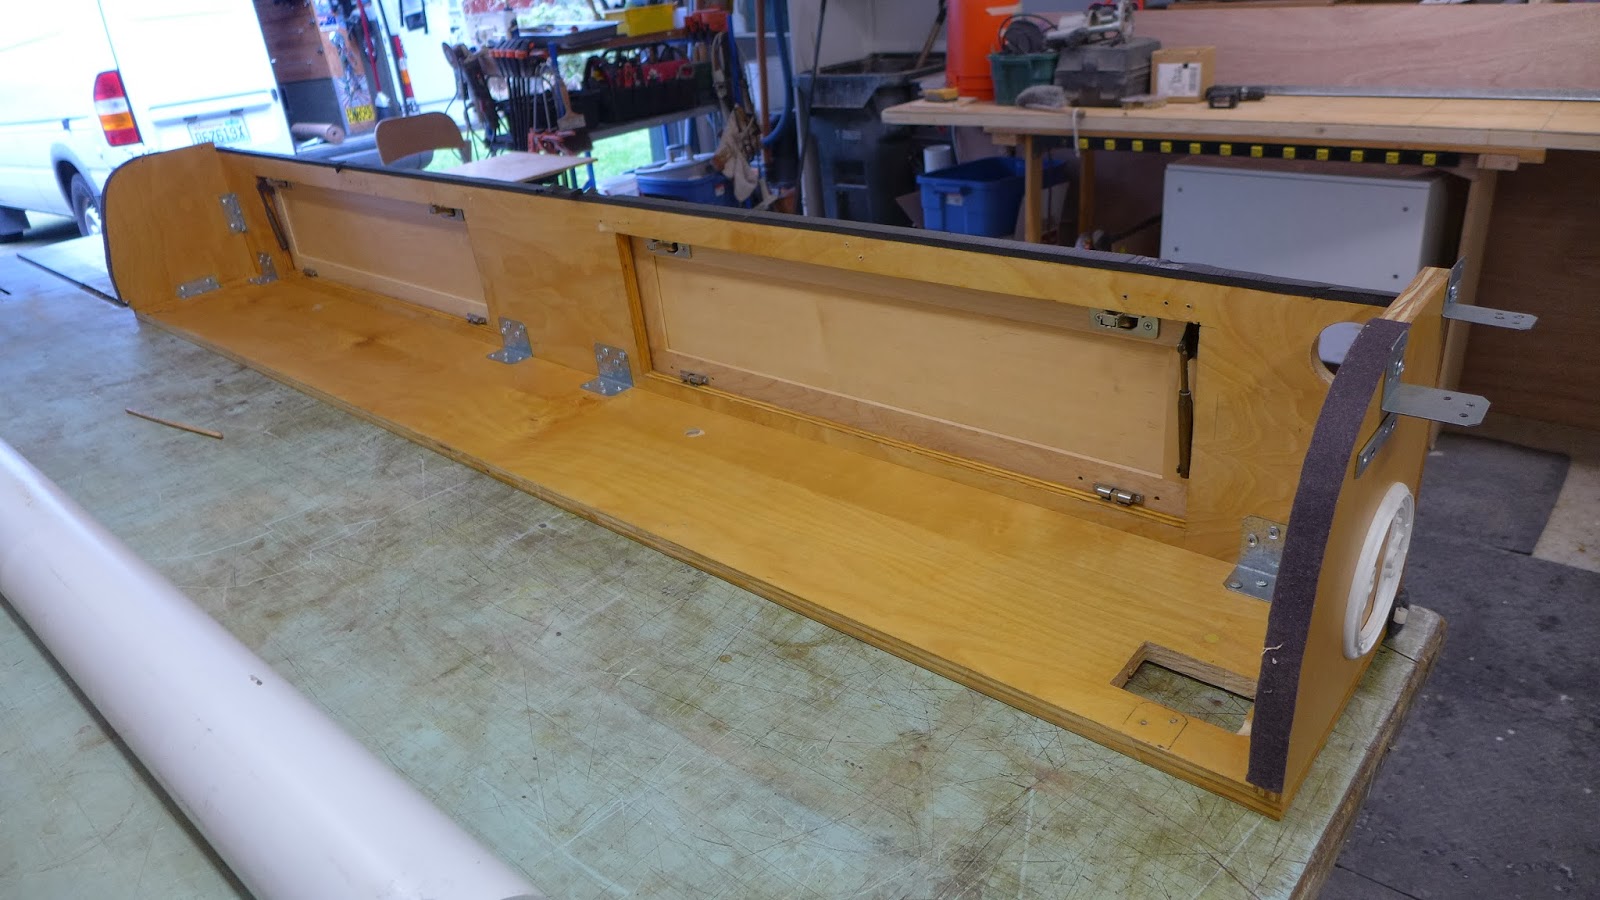
(above) 3/4" birch ply, brackets, a few nails, no glue...
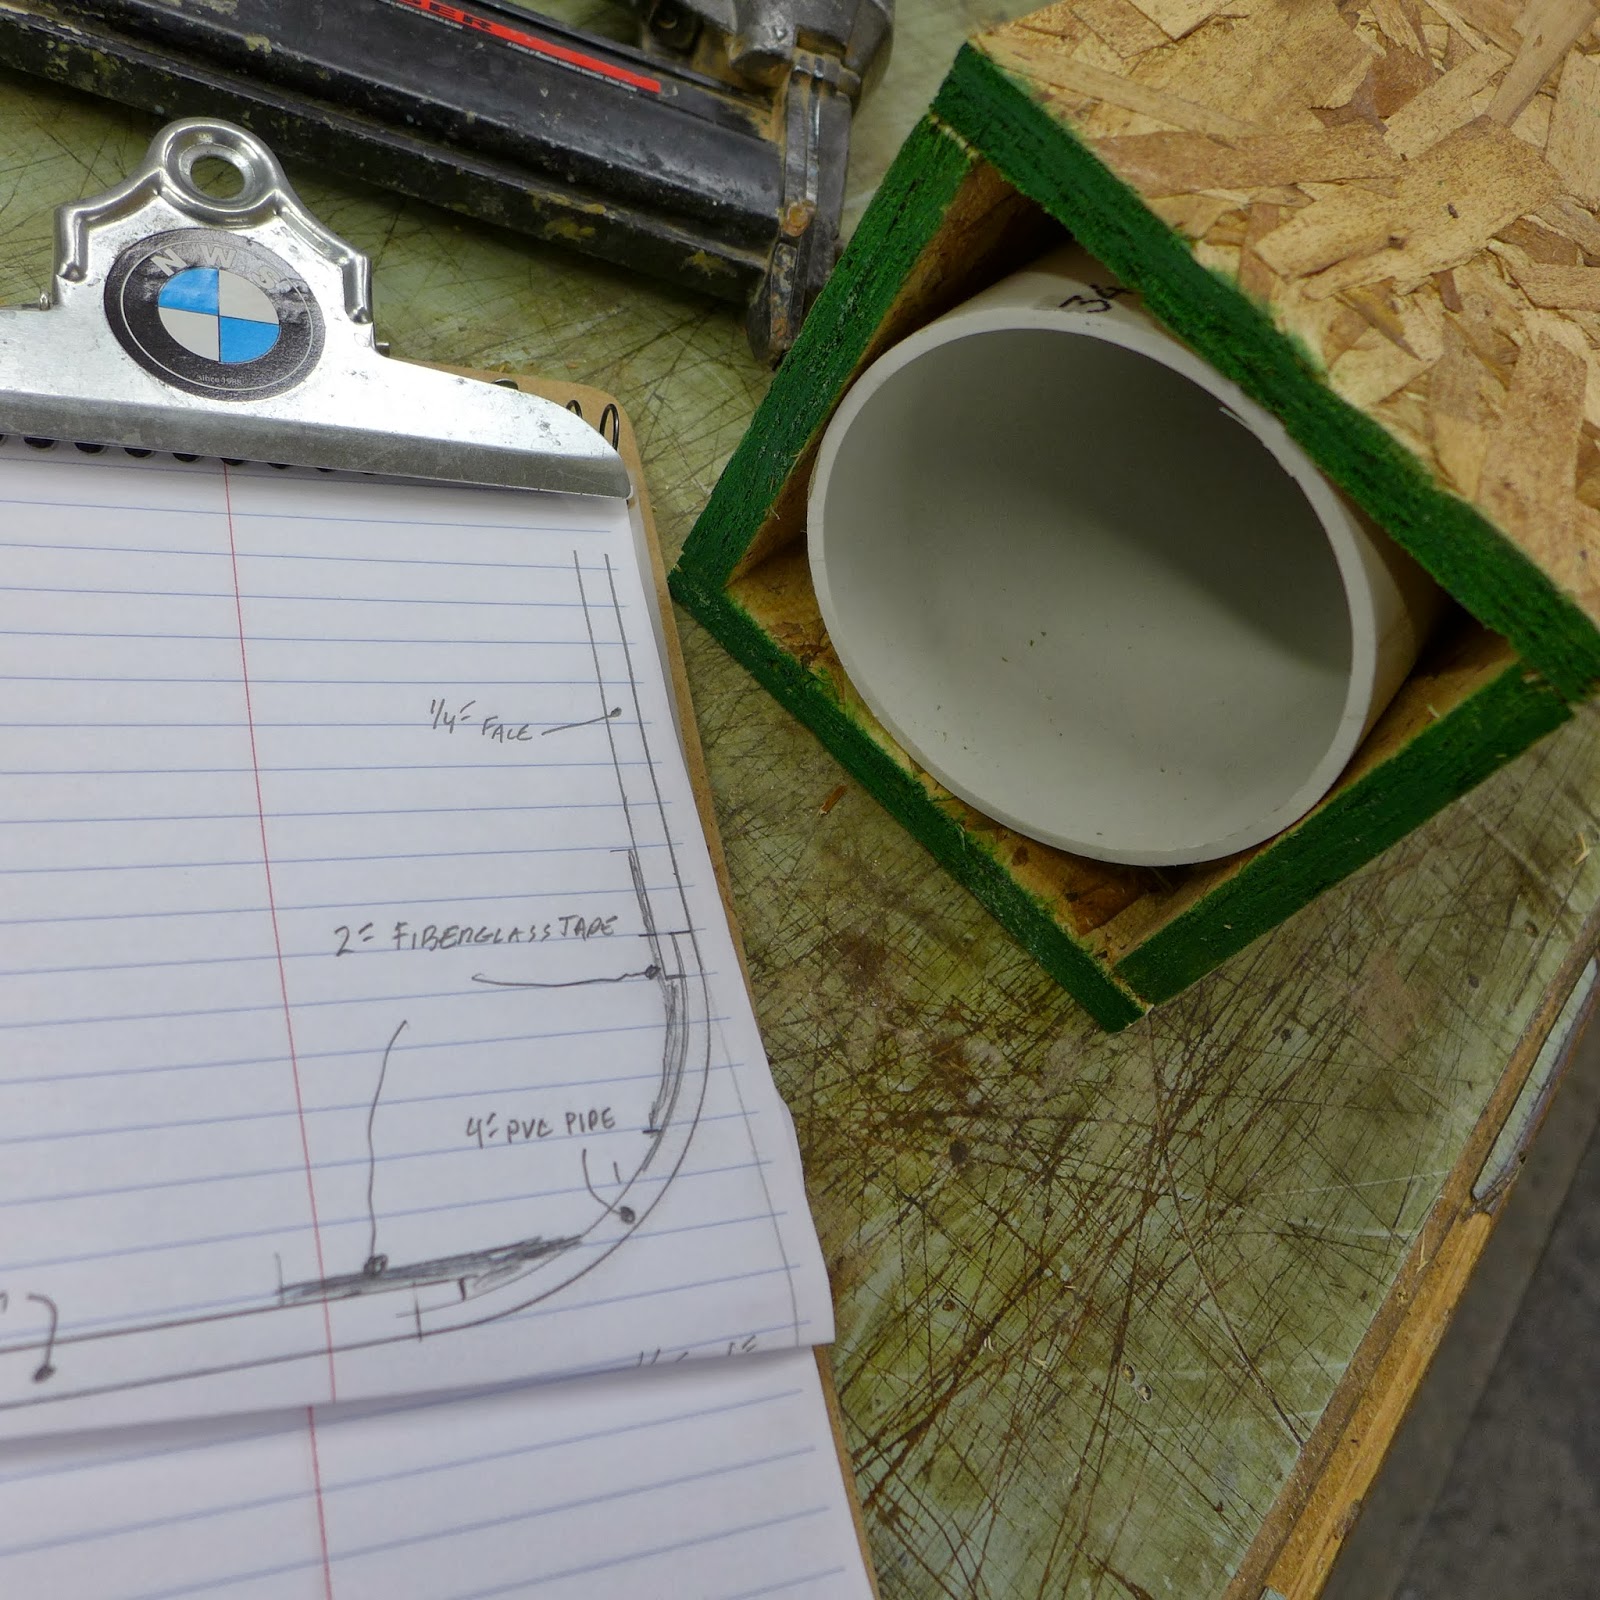
(above) My idea is something like this...The bottom edge will be rounded...To do that I'm quartering a piece of 4" PVC pipe and bonding it to 1/4" plywood...
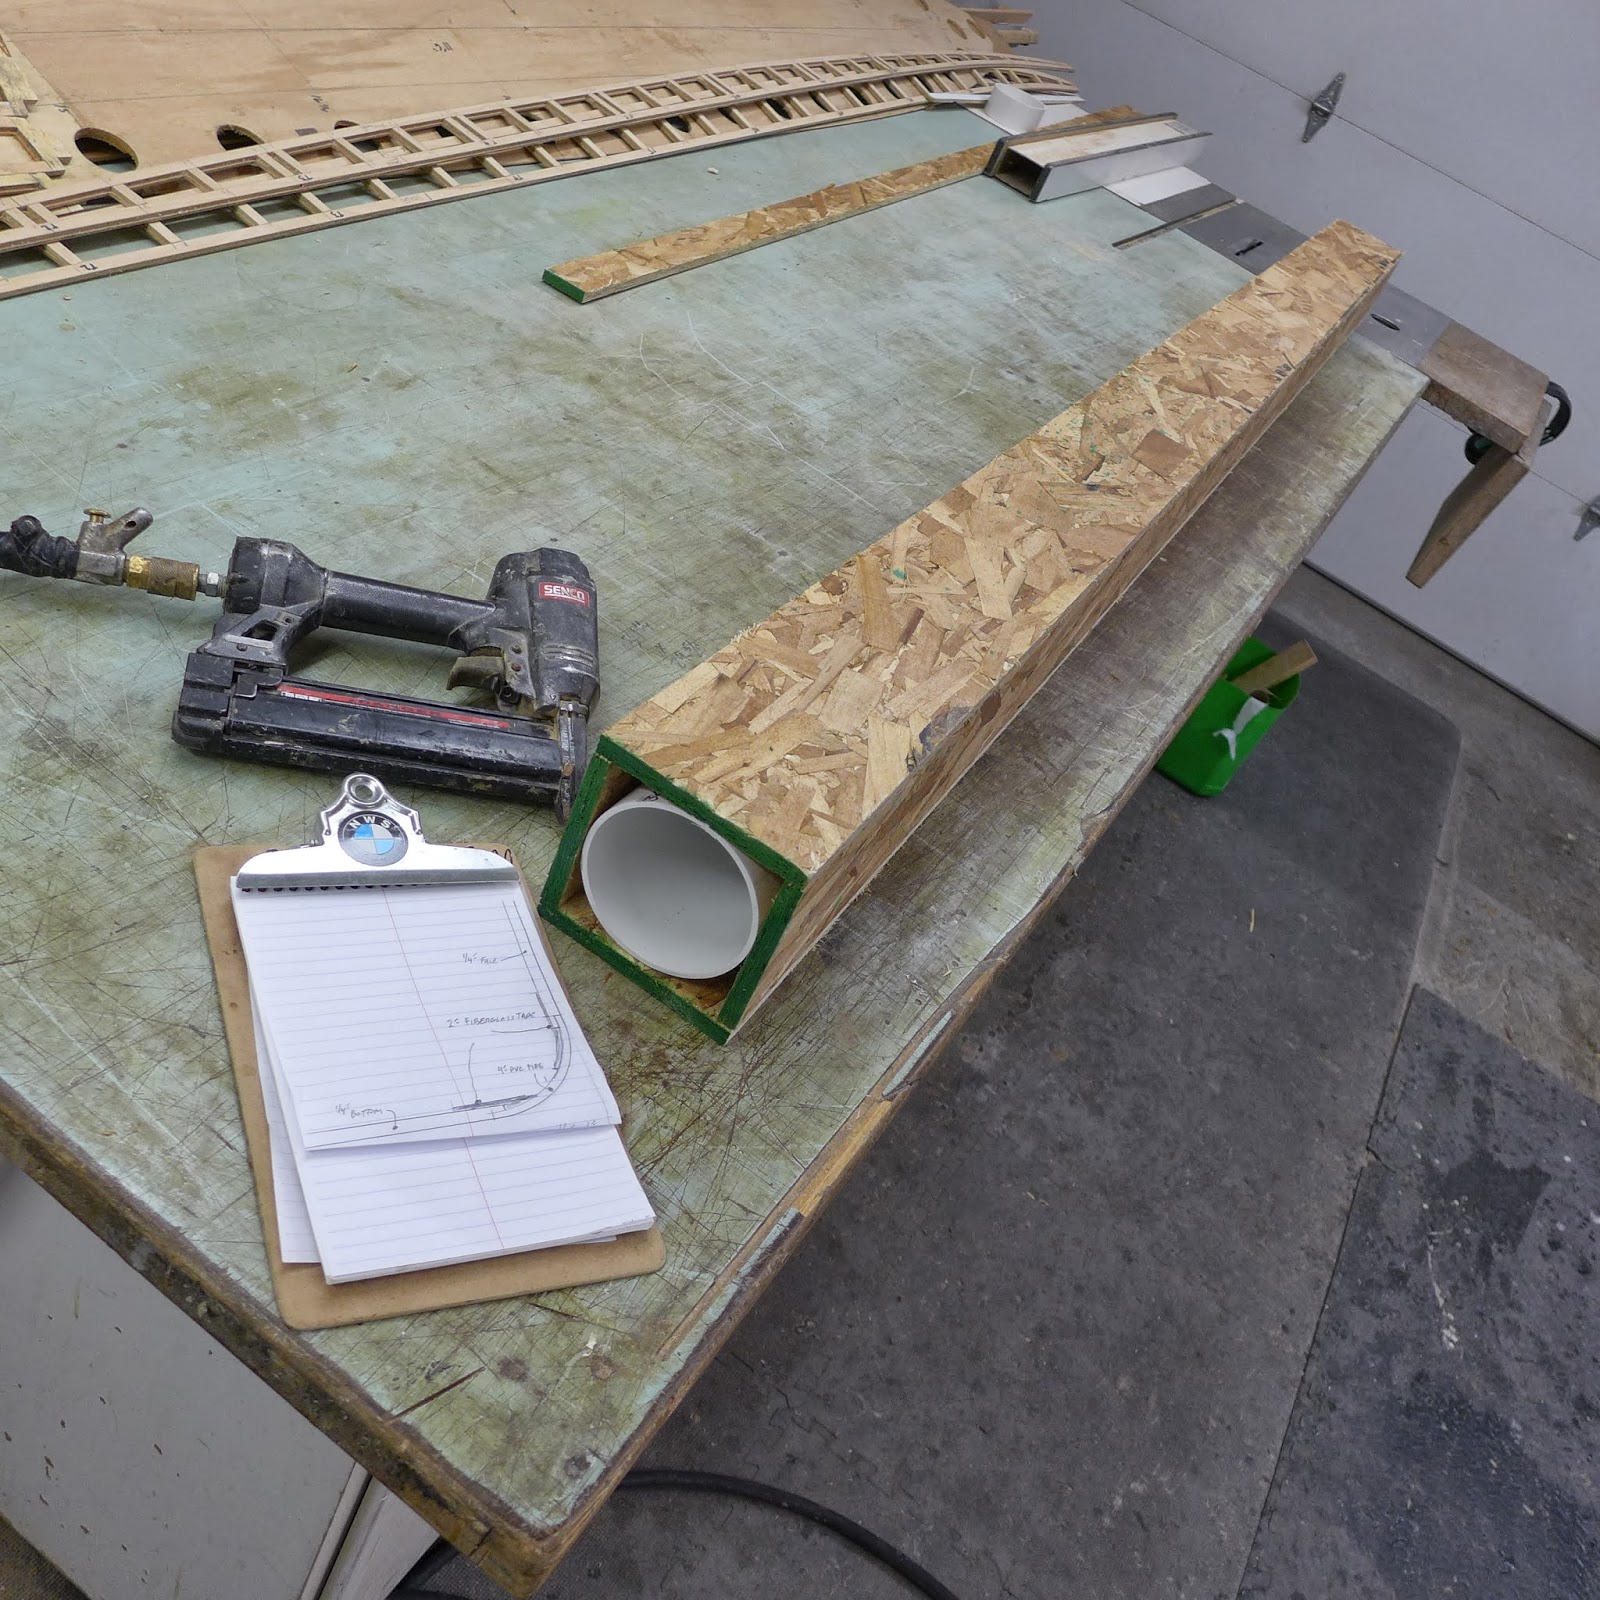
(above) To cut the pipe a captive box was built...
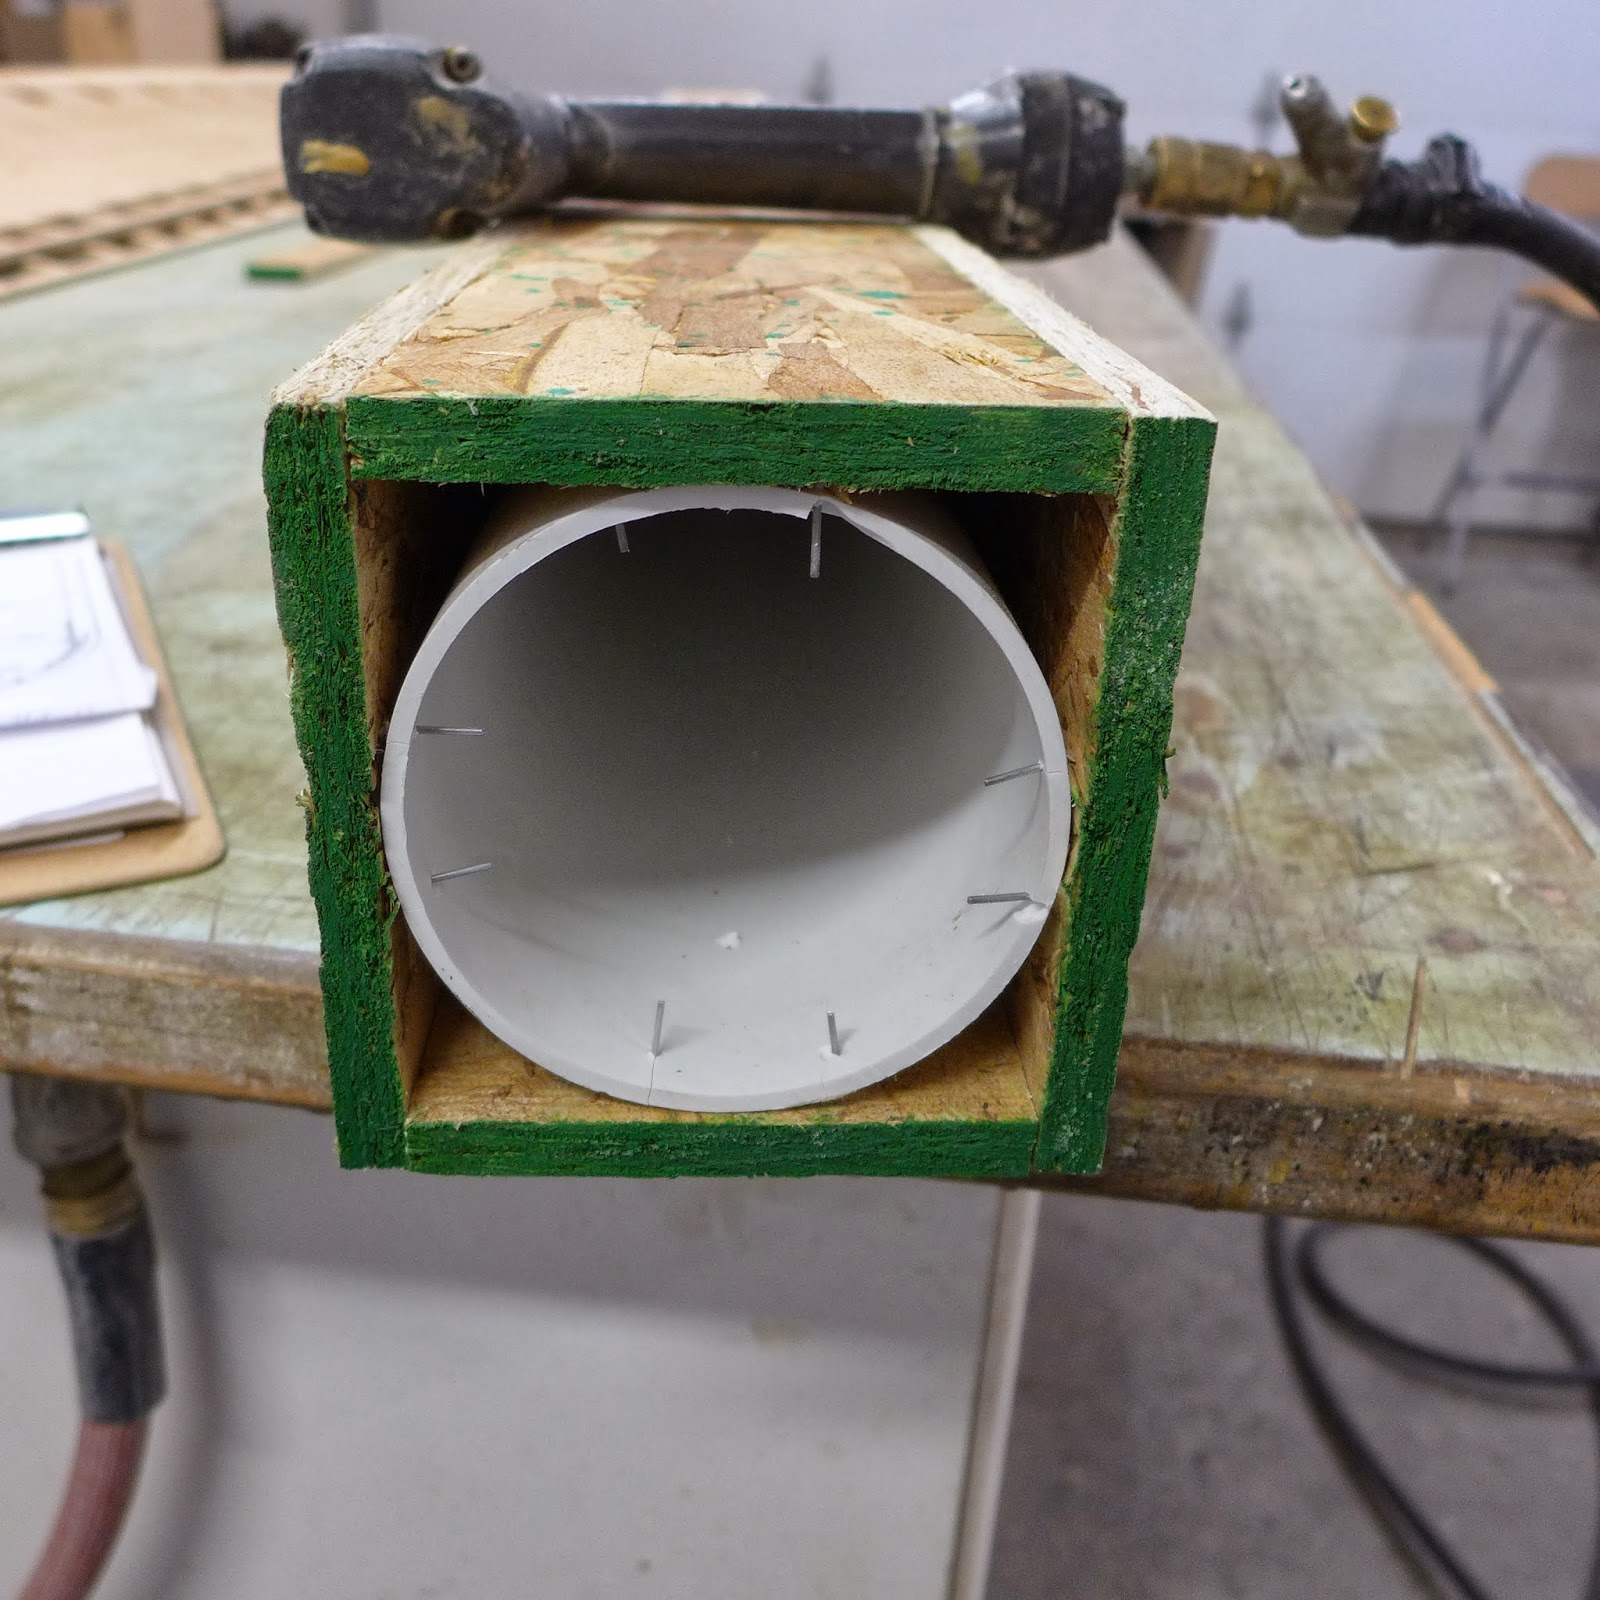
(above) The pin nails will keep the pipe from moving when being cut...
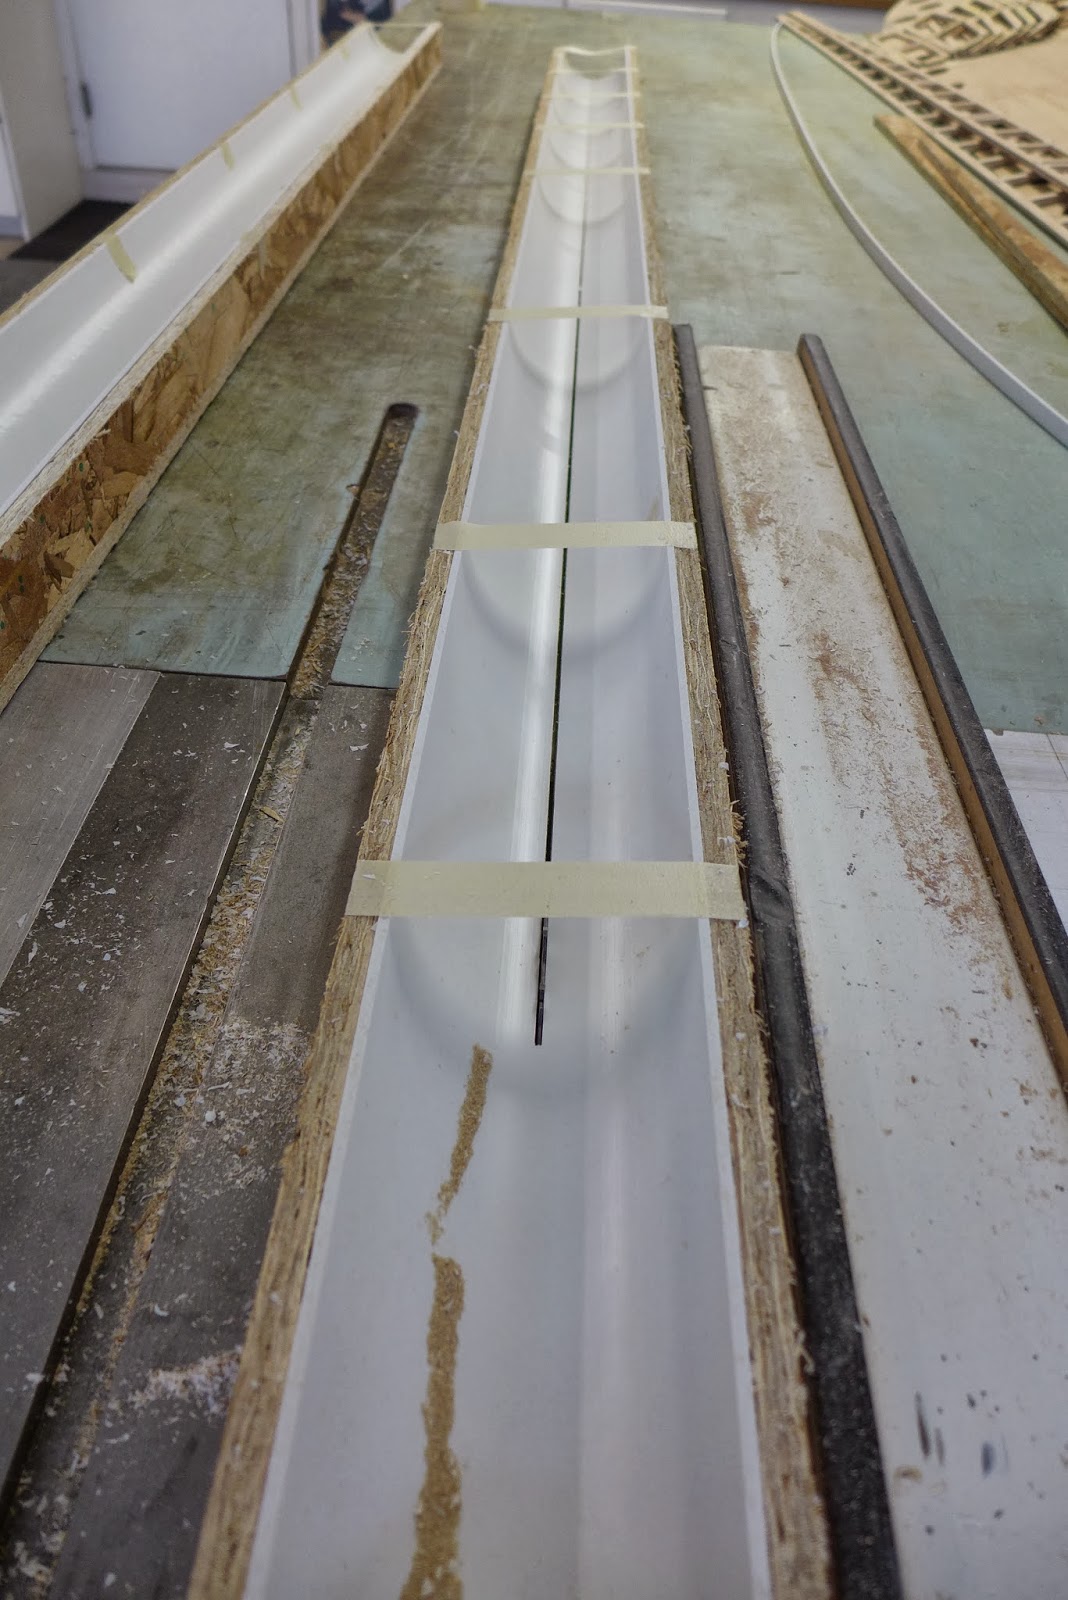
(above) On the tablesaw...
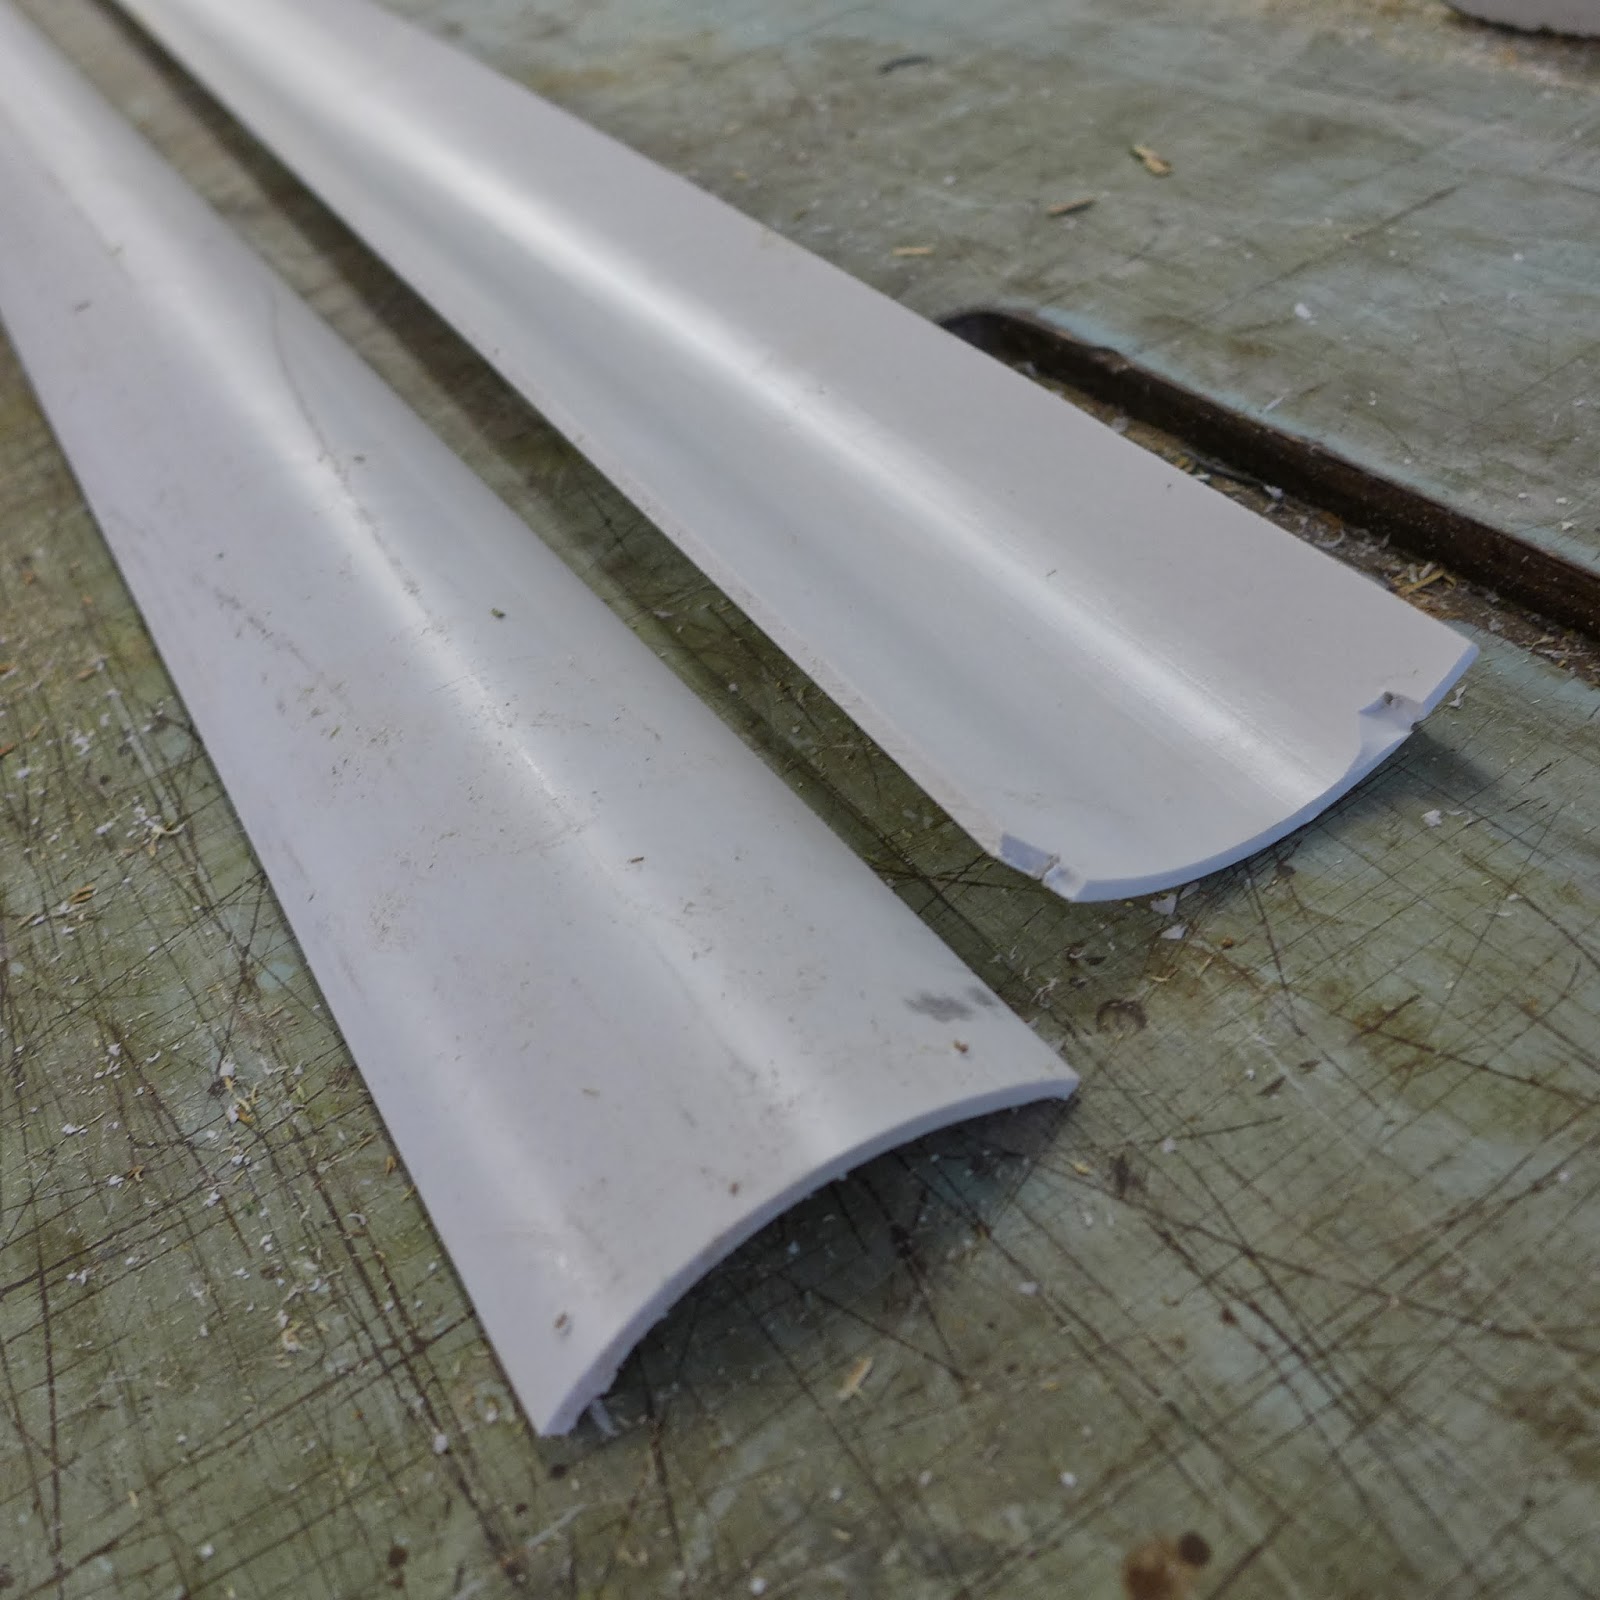
(above) 4" diameter quarter rounds...
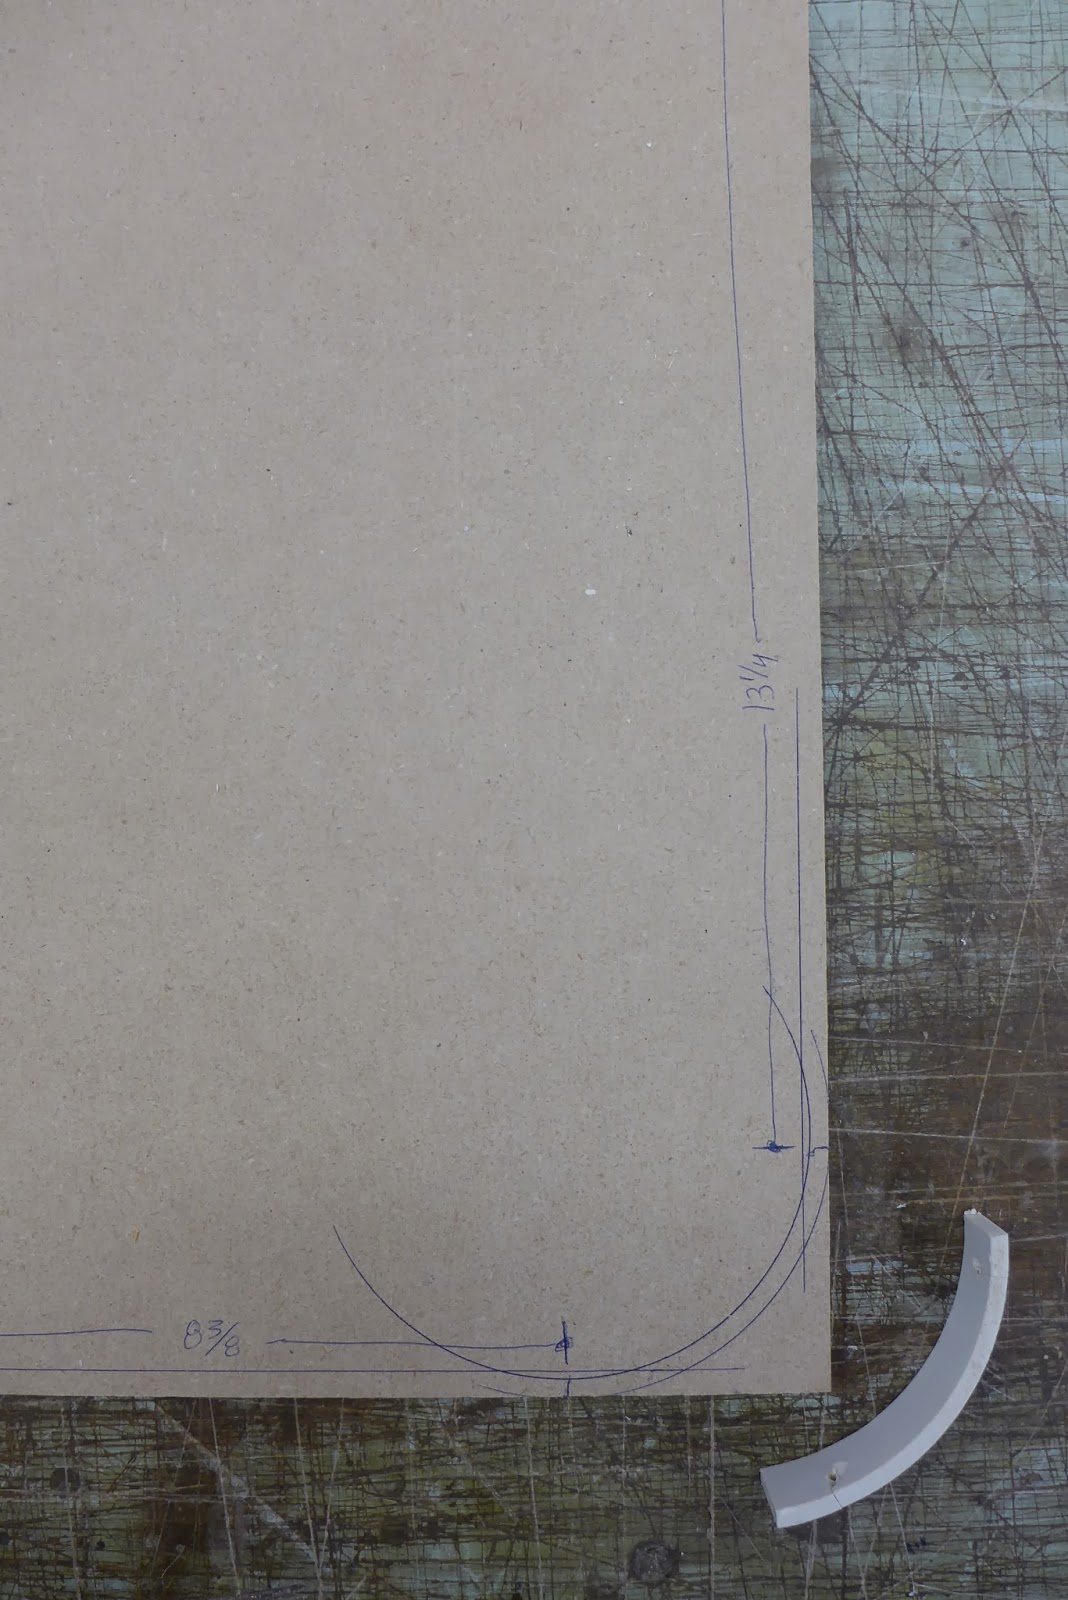
(above) Full size plan...
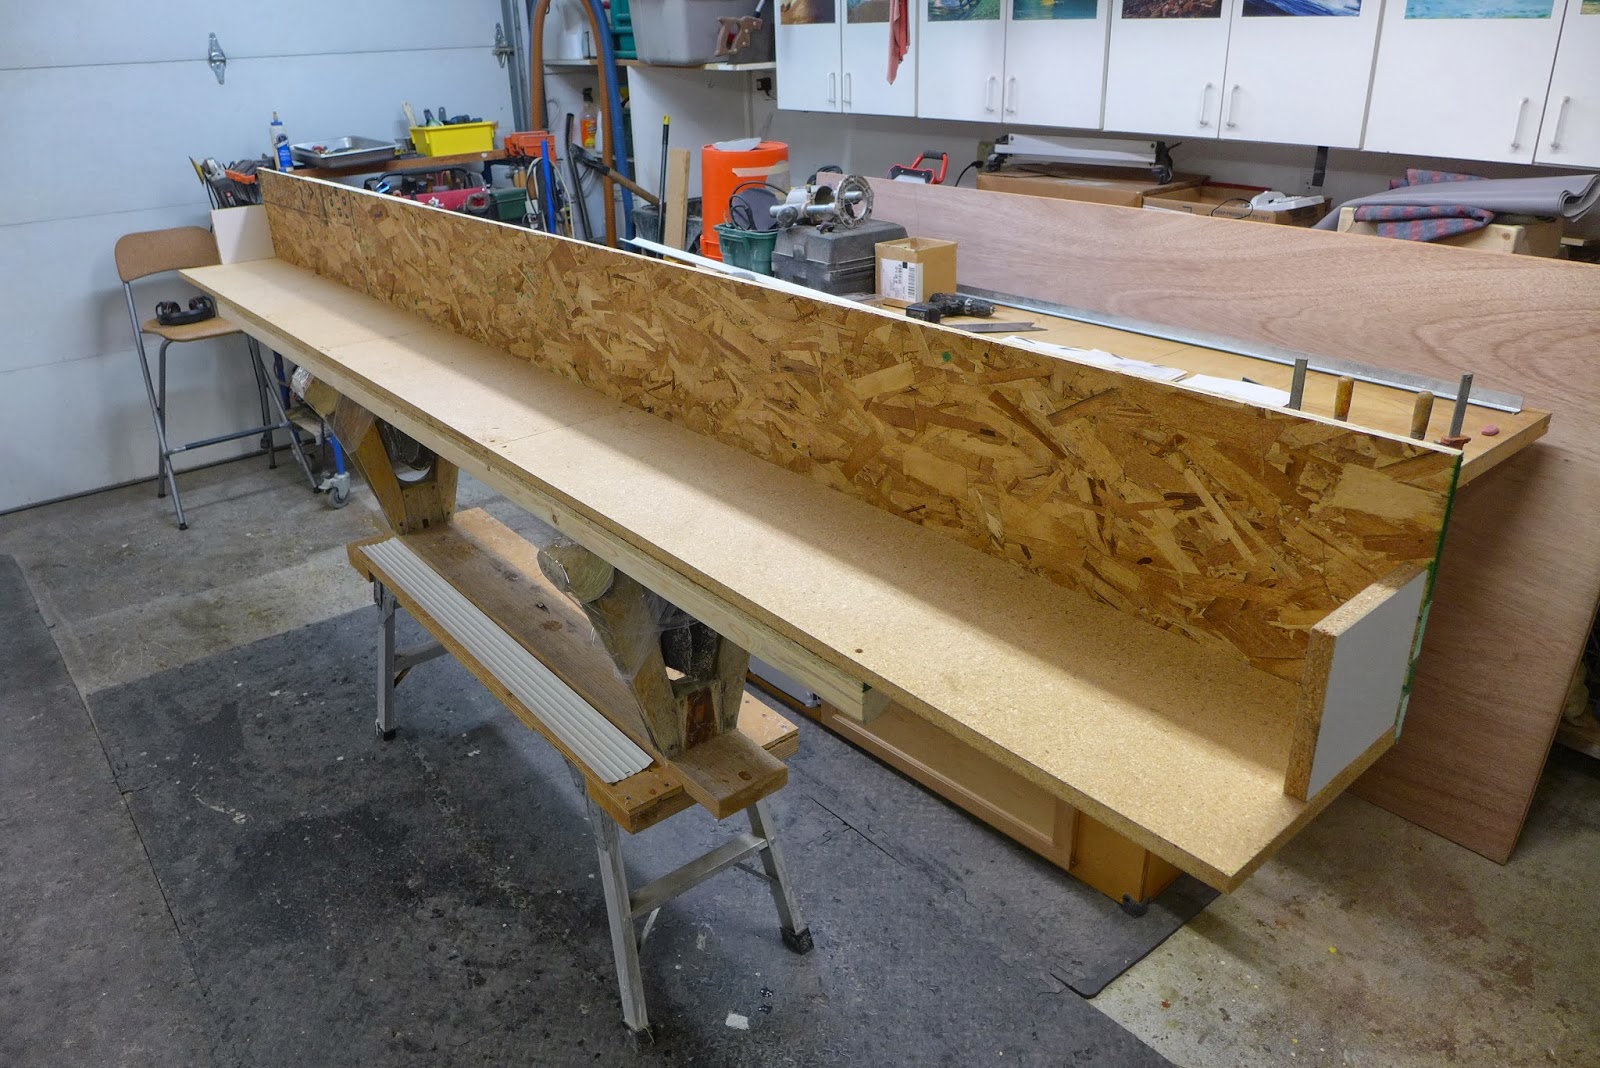
(above) To glue the components together, this jig was slapped together...
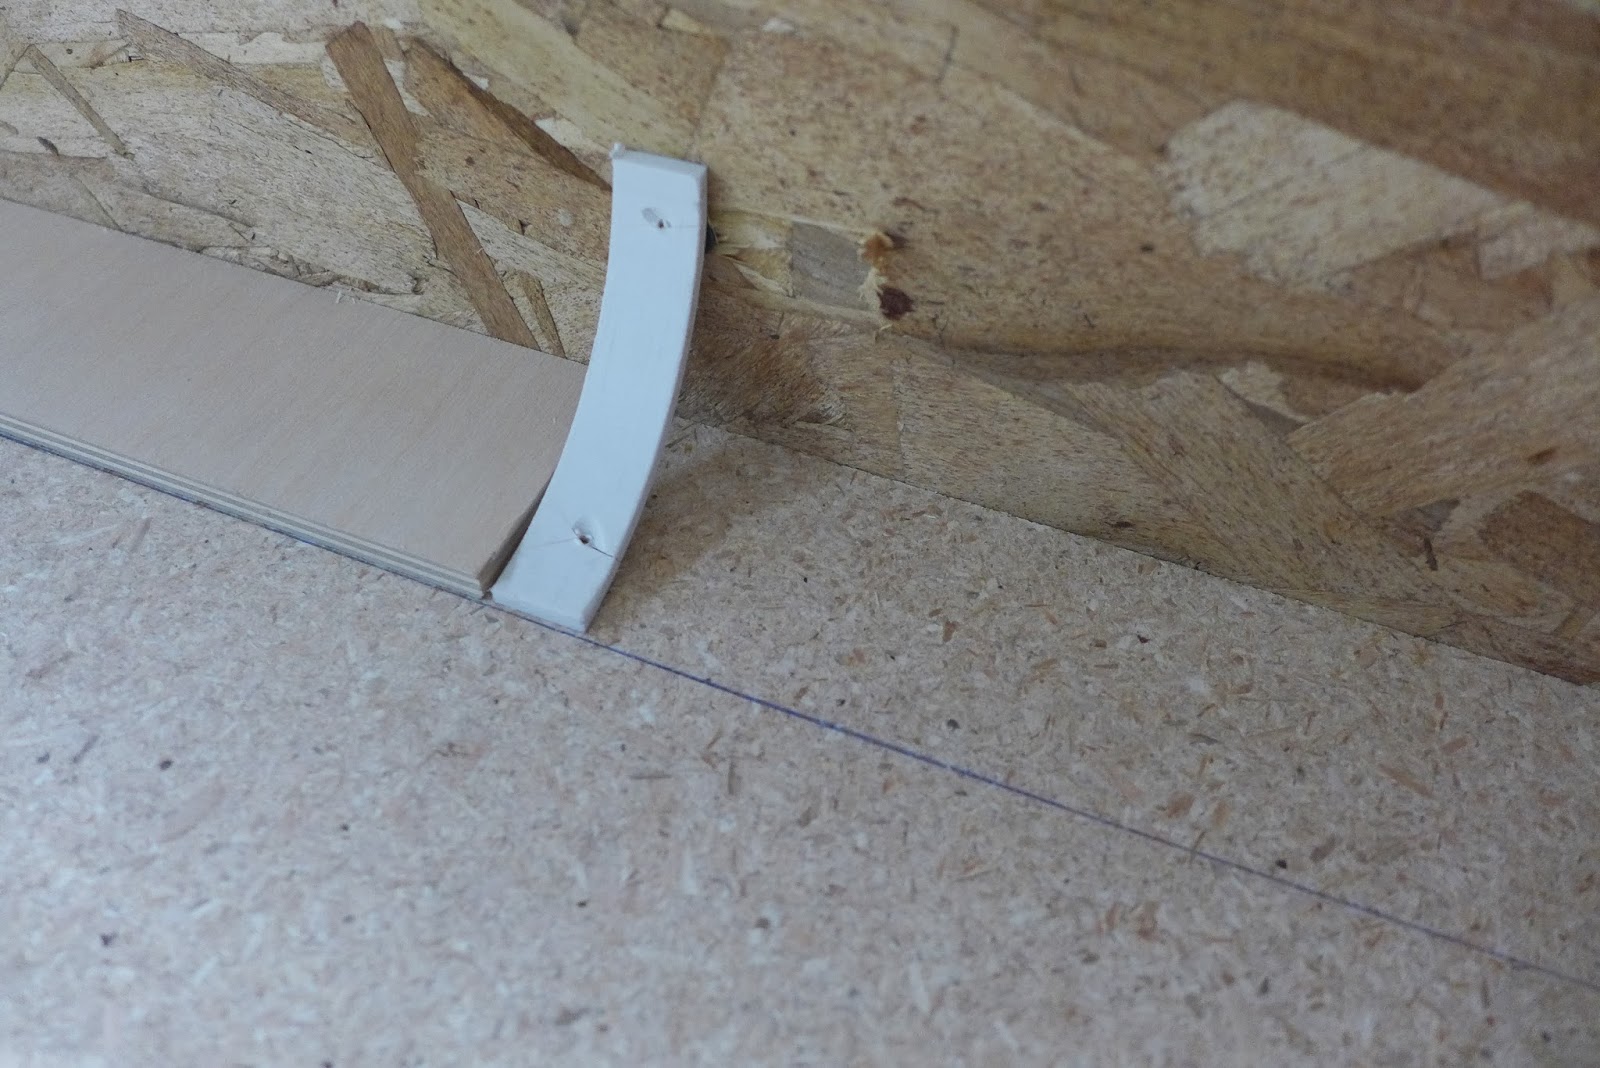
(above) To get the spacing right...
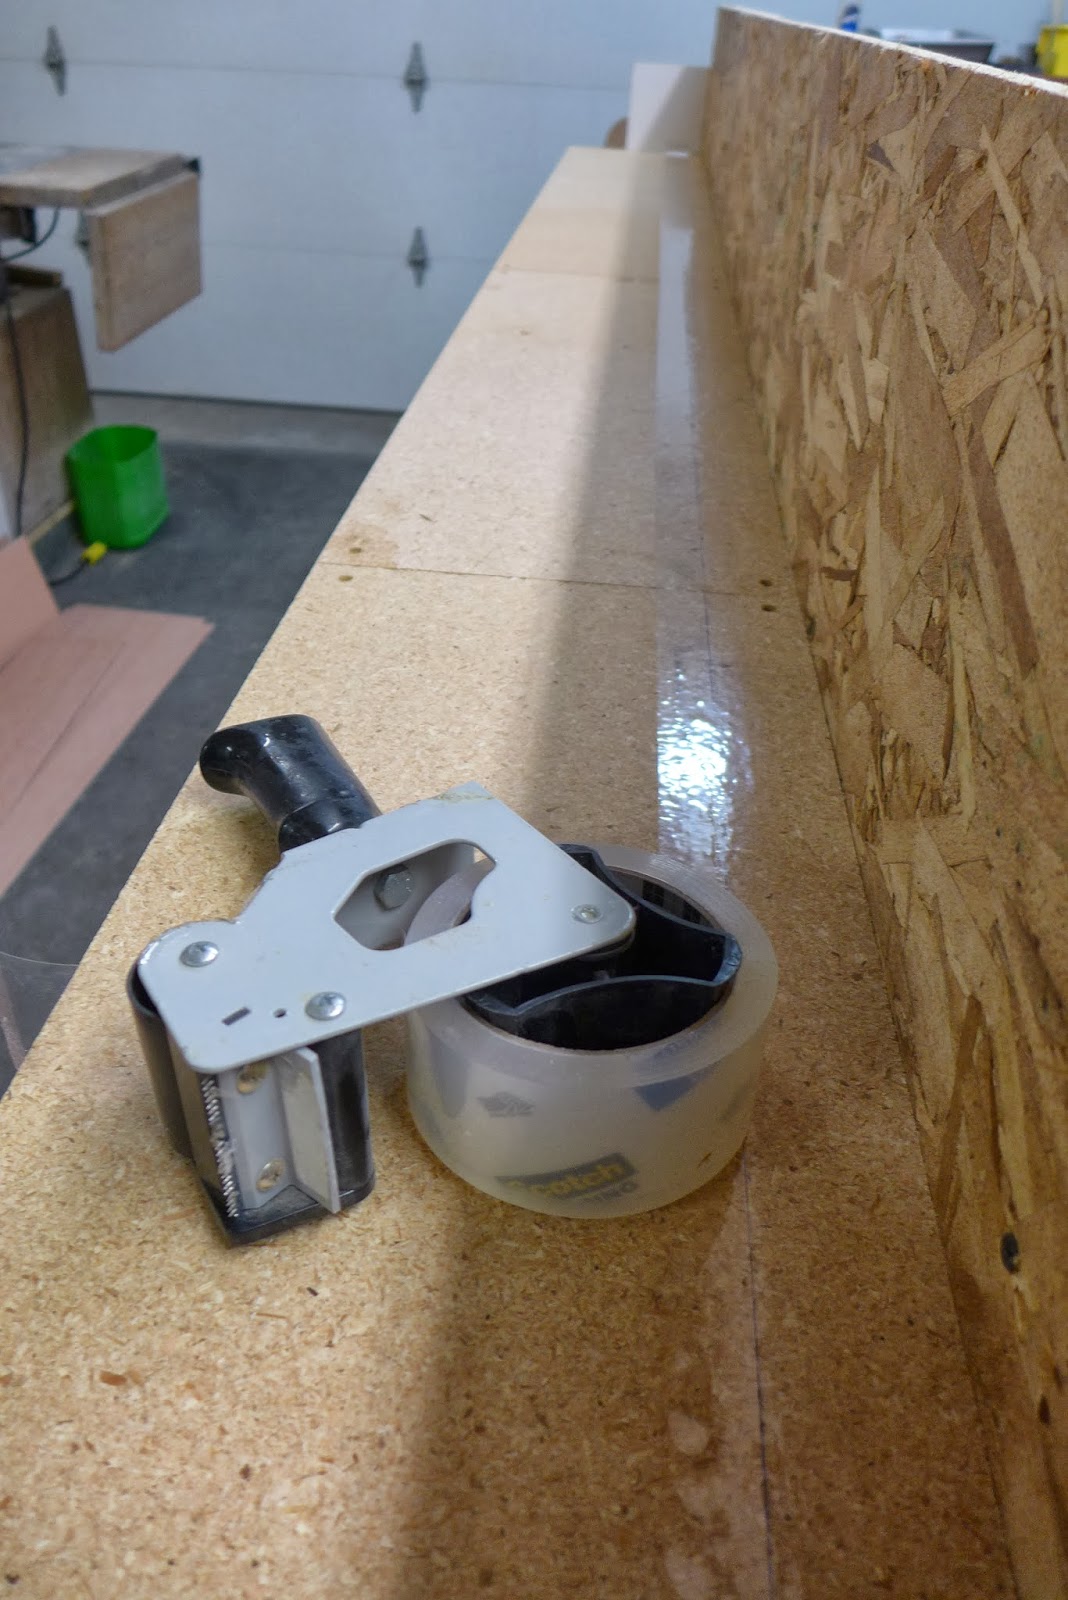
(above) Epoxy will be used to stick the stuff together...Epoxy does not stick to plastic packing tape, so a strip goes under all the joints...
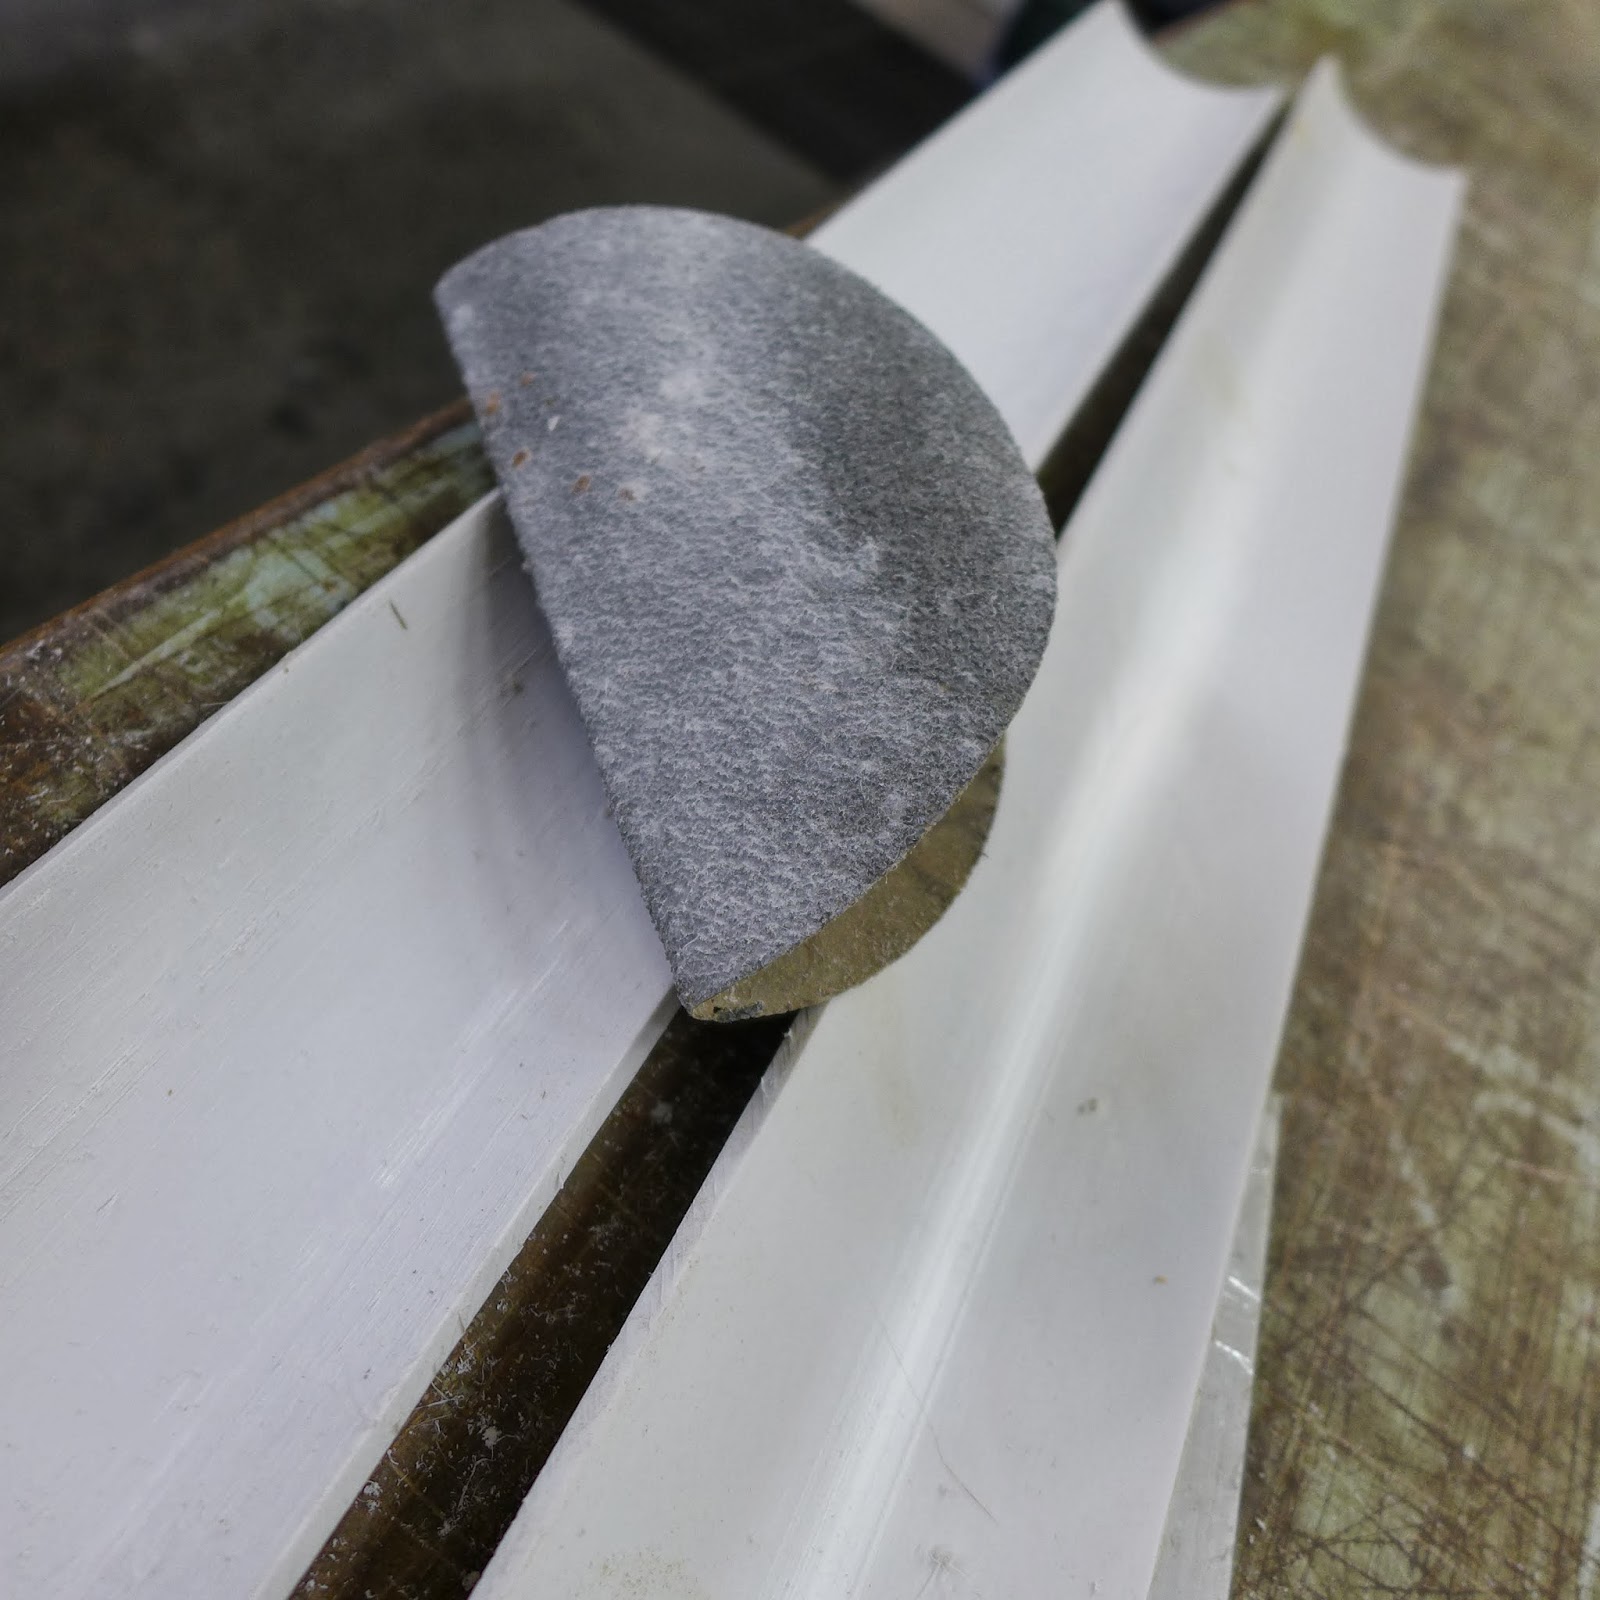
(above) The PVC pipe is scuff sanded with 40 grit...
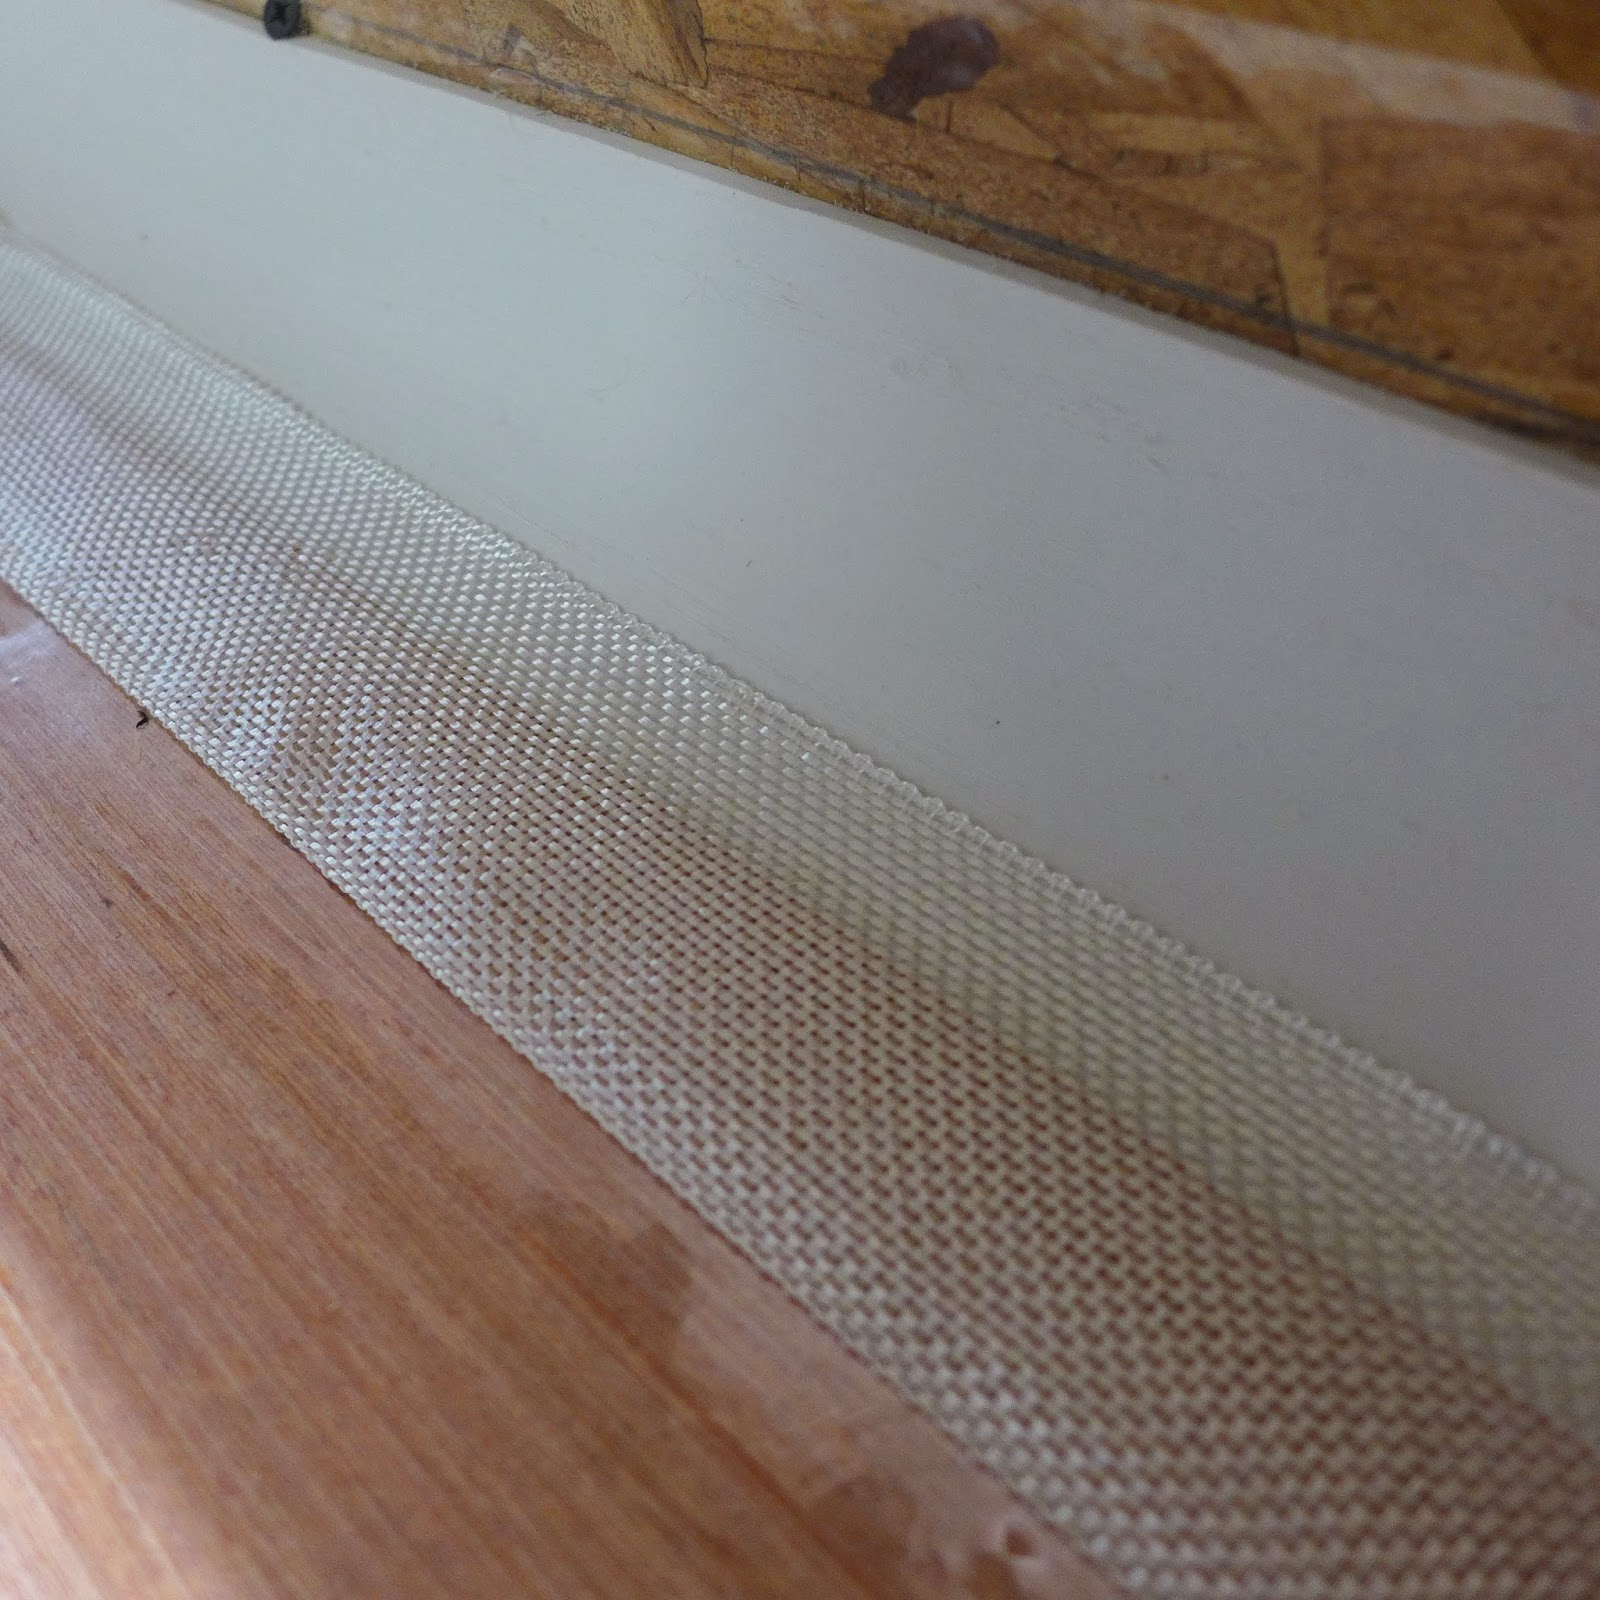
(above) 2" fiberglass tape, two layers per seam...
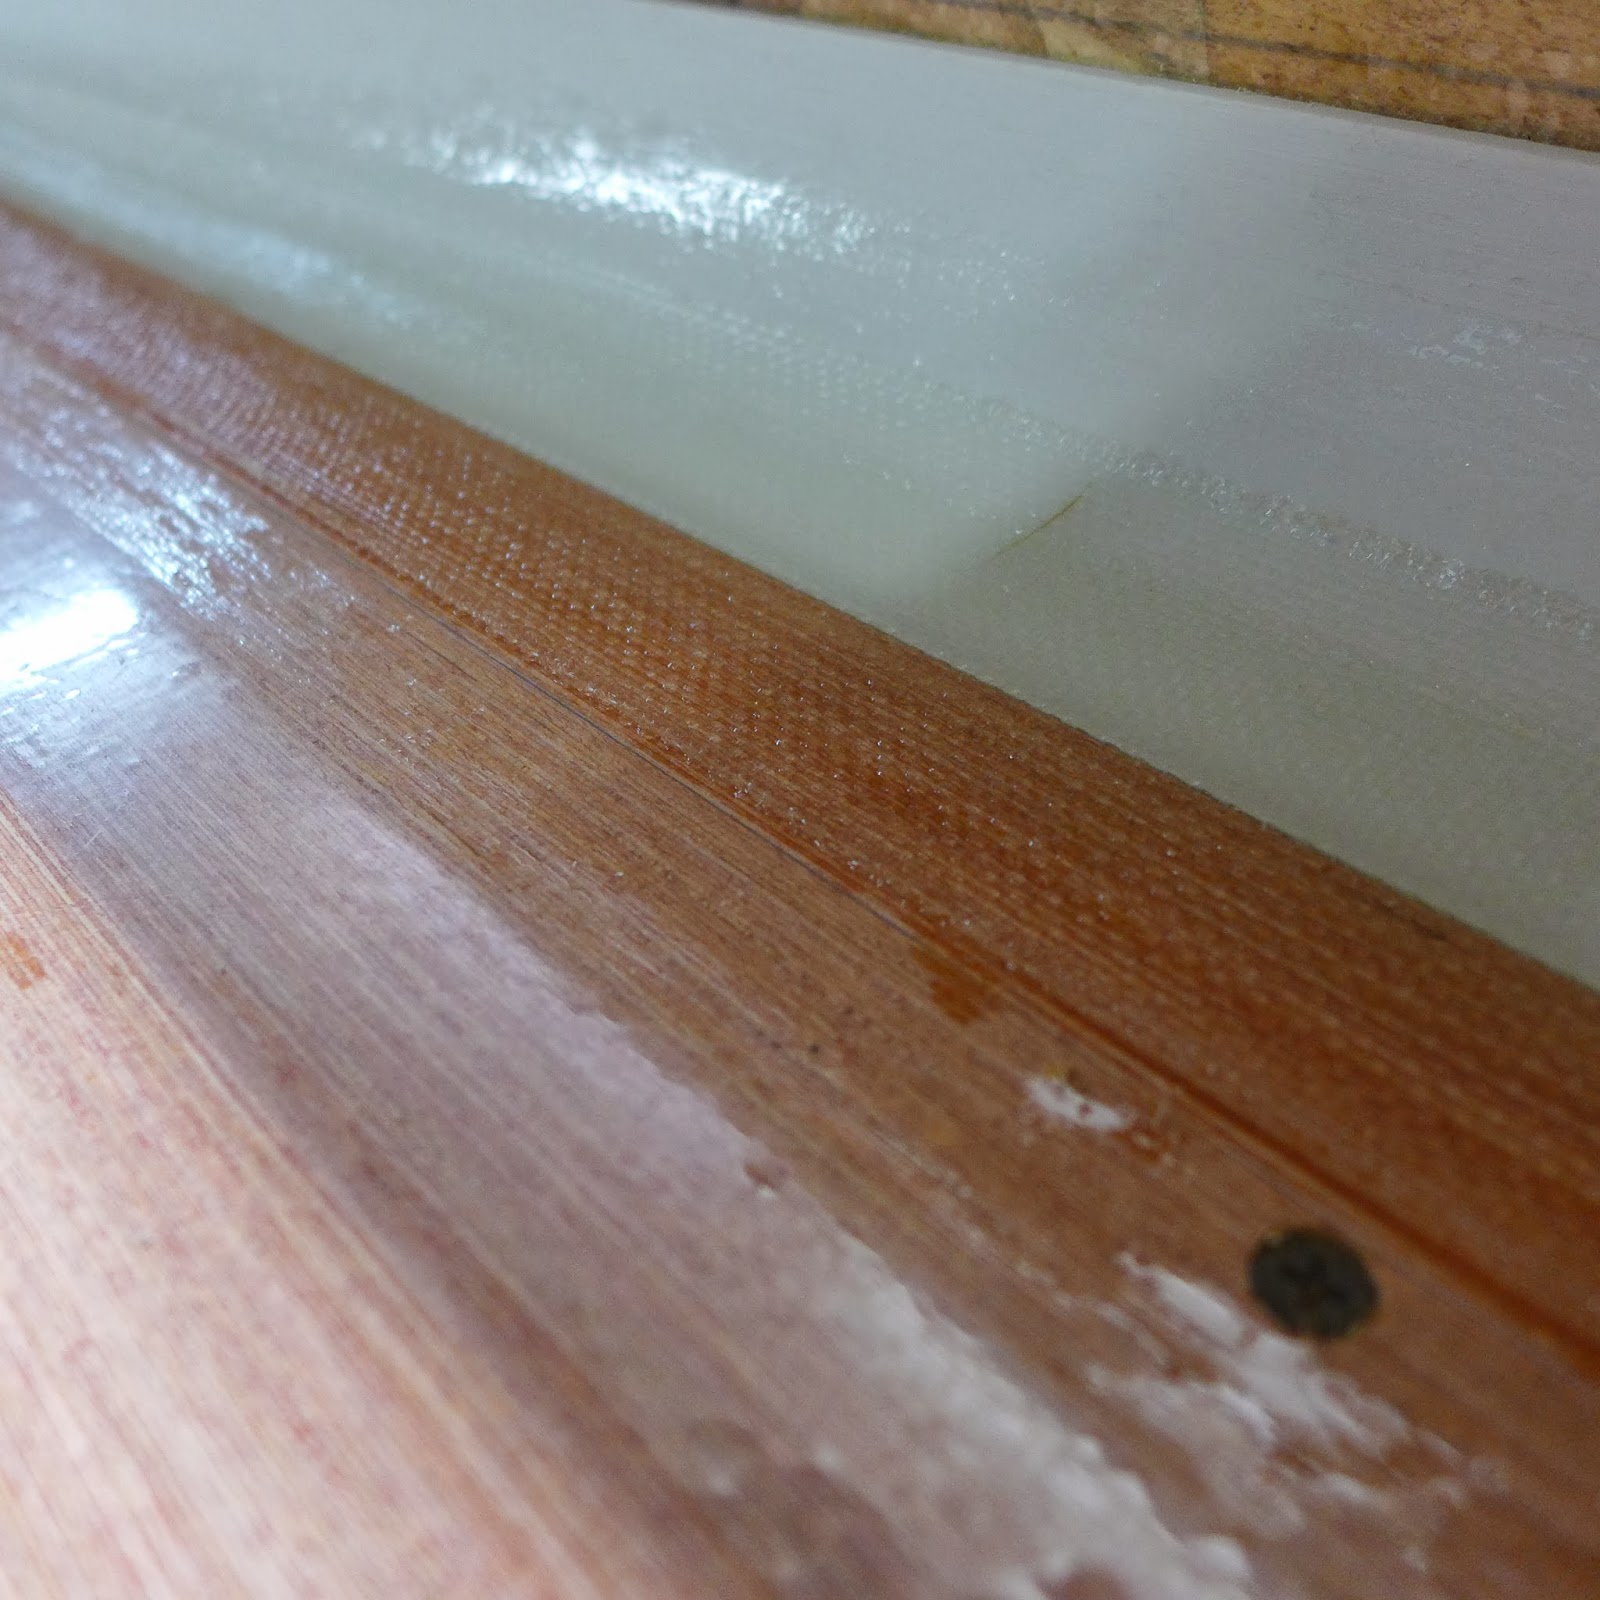
(above) Resin Research Epoxy is the only stuff I used...A generous amount is brushed on, then the glass is laid over...Another layer of glass is laid over, offset by 1/2"...
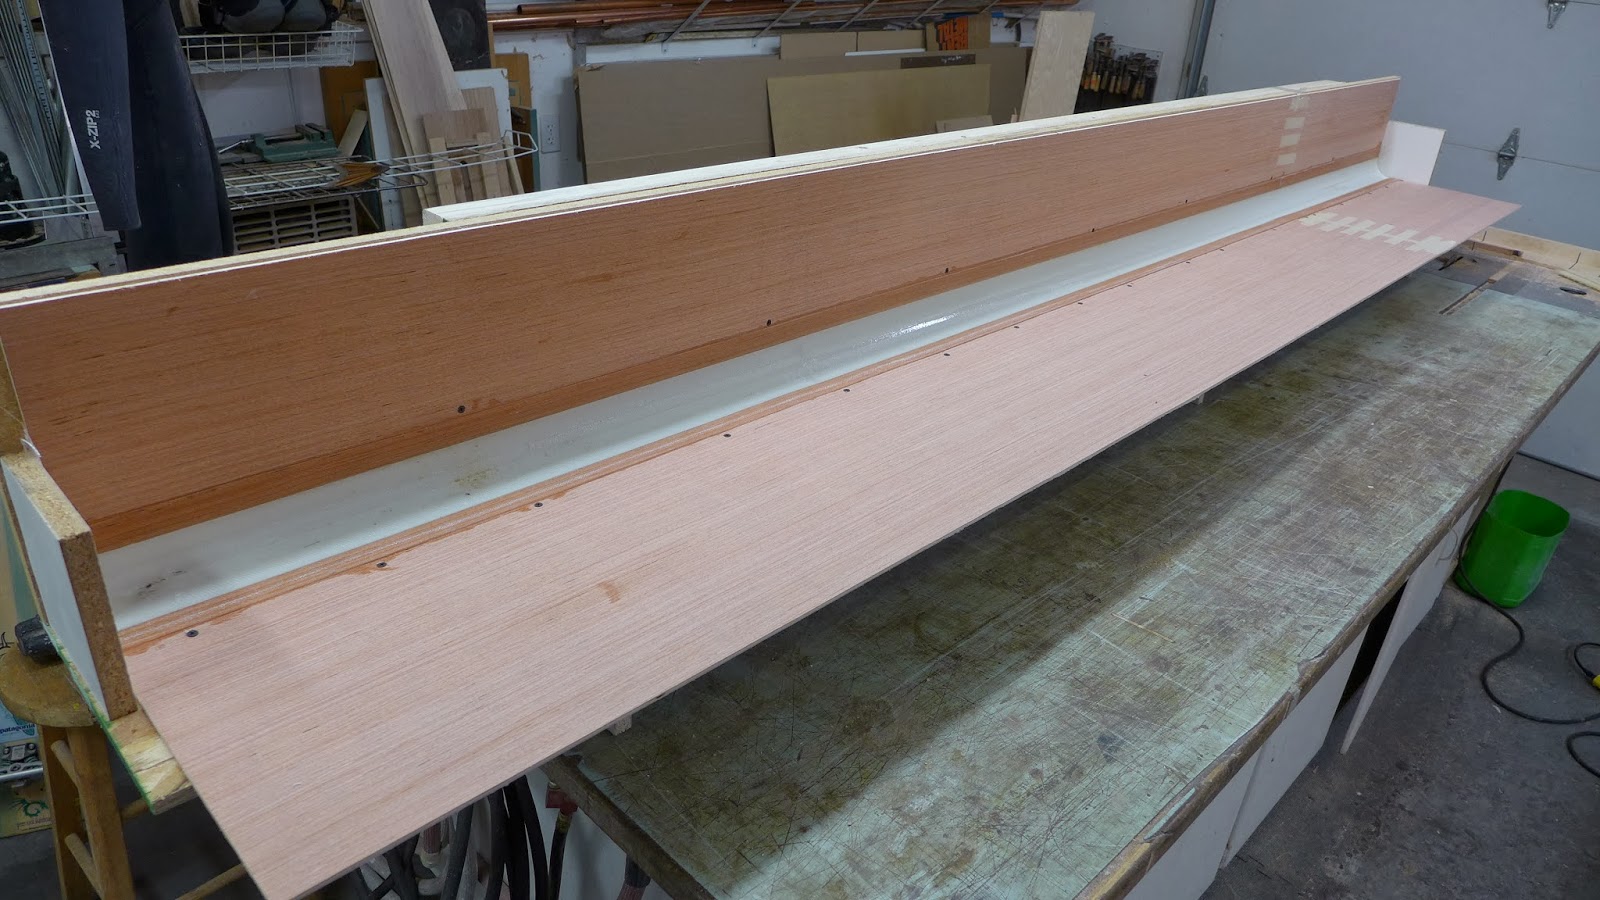
(above) The other face of the cabinet is in place and glassed...
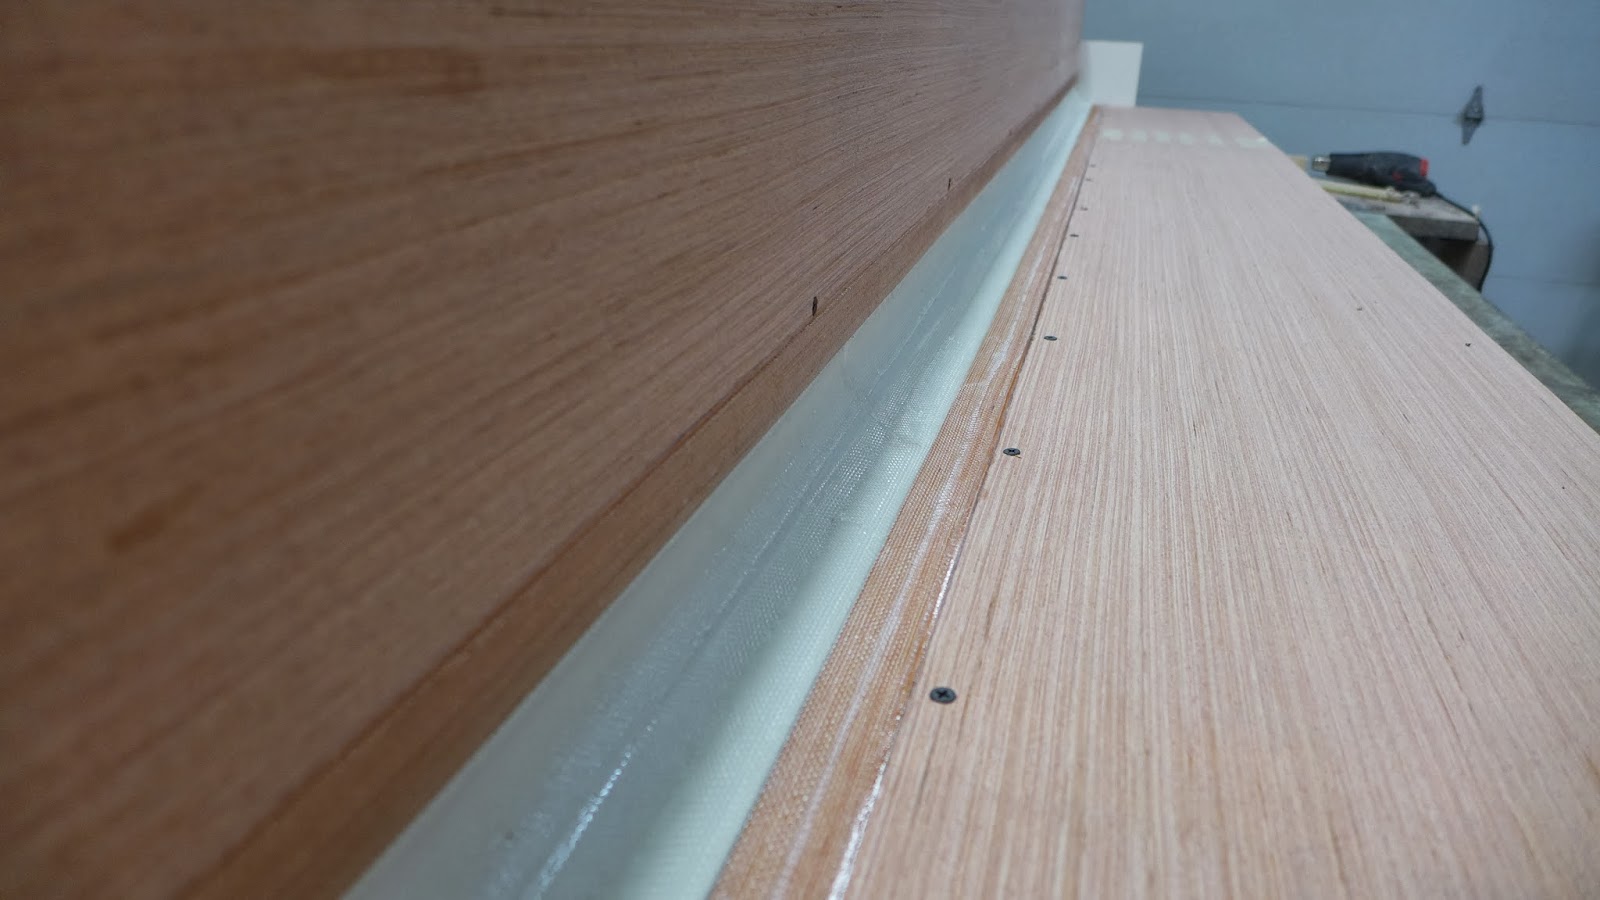
(above) The screws you see will get removed tomorrow when the epoxy has cured overnight...
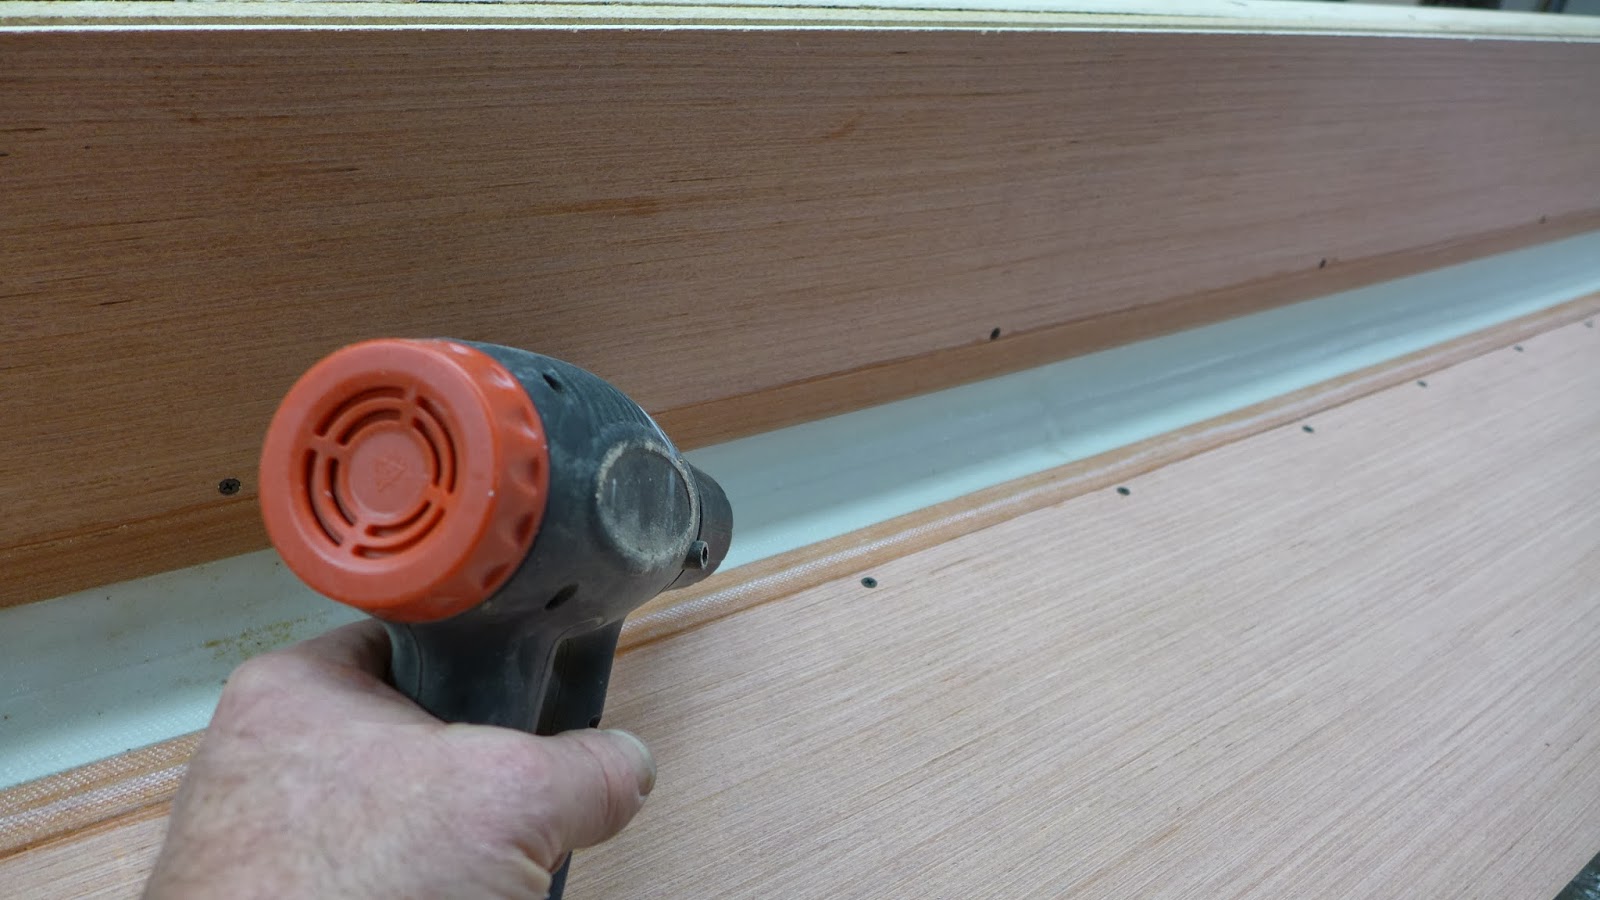
(above) To accelerate the cure a heat gun waving for about five minutes speeds up the process by an hour or more...
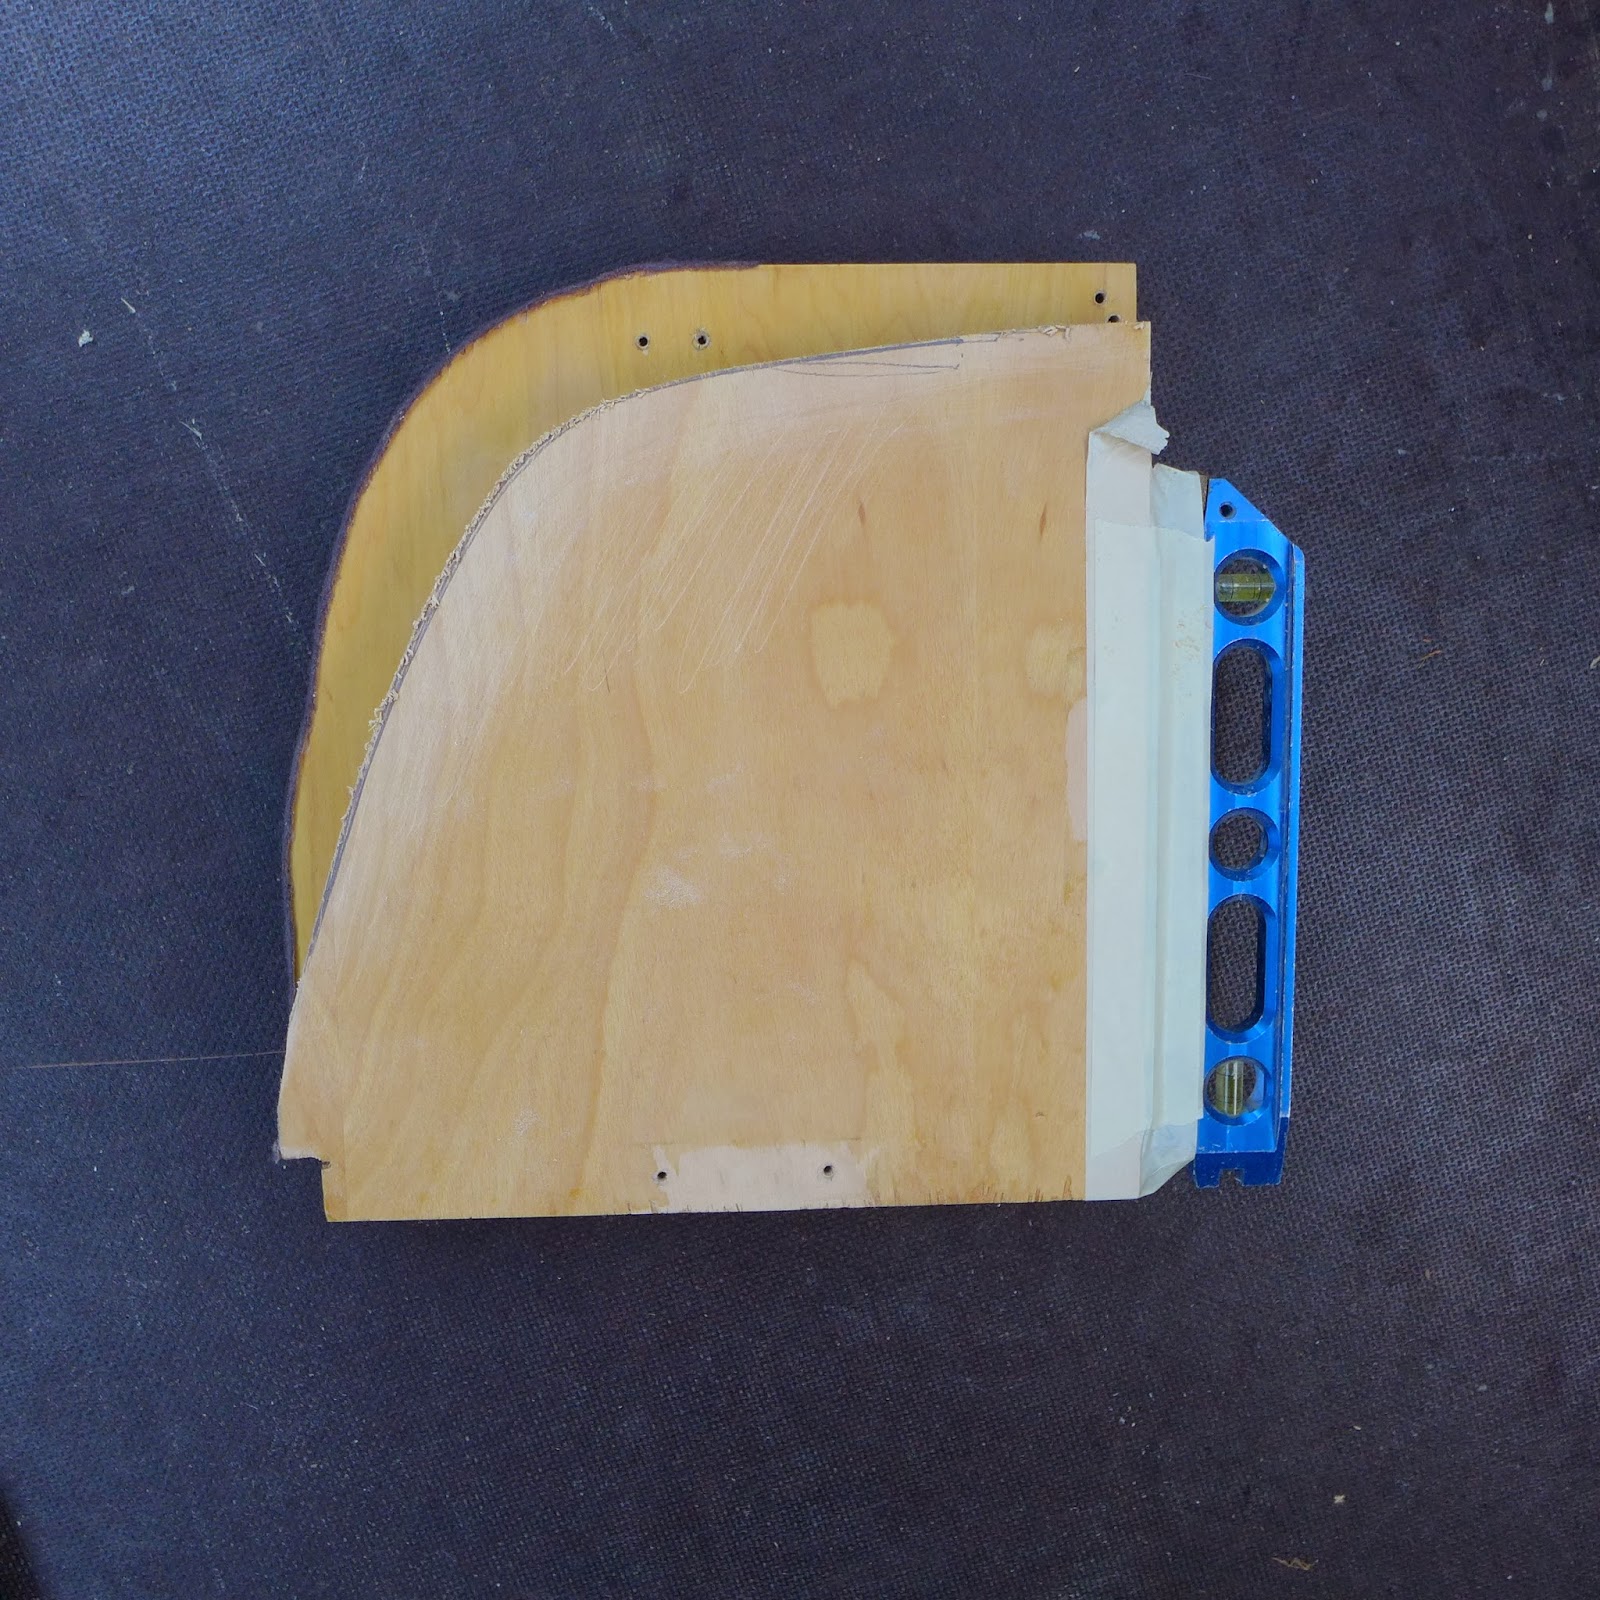
(above) The old case side was used as to make a new, more accurate pattern for all the new vertical ends and dividers...
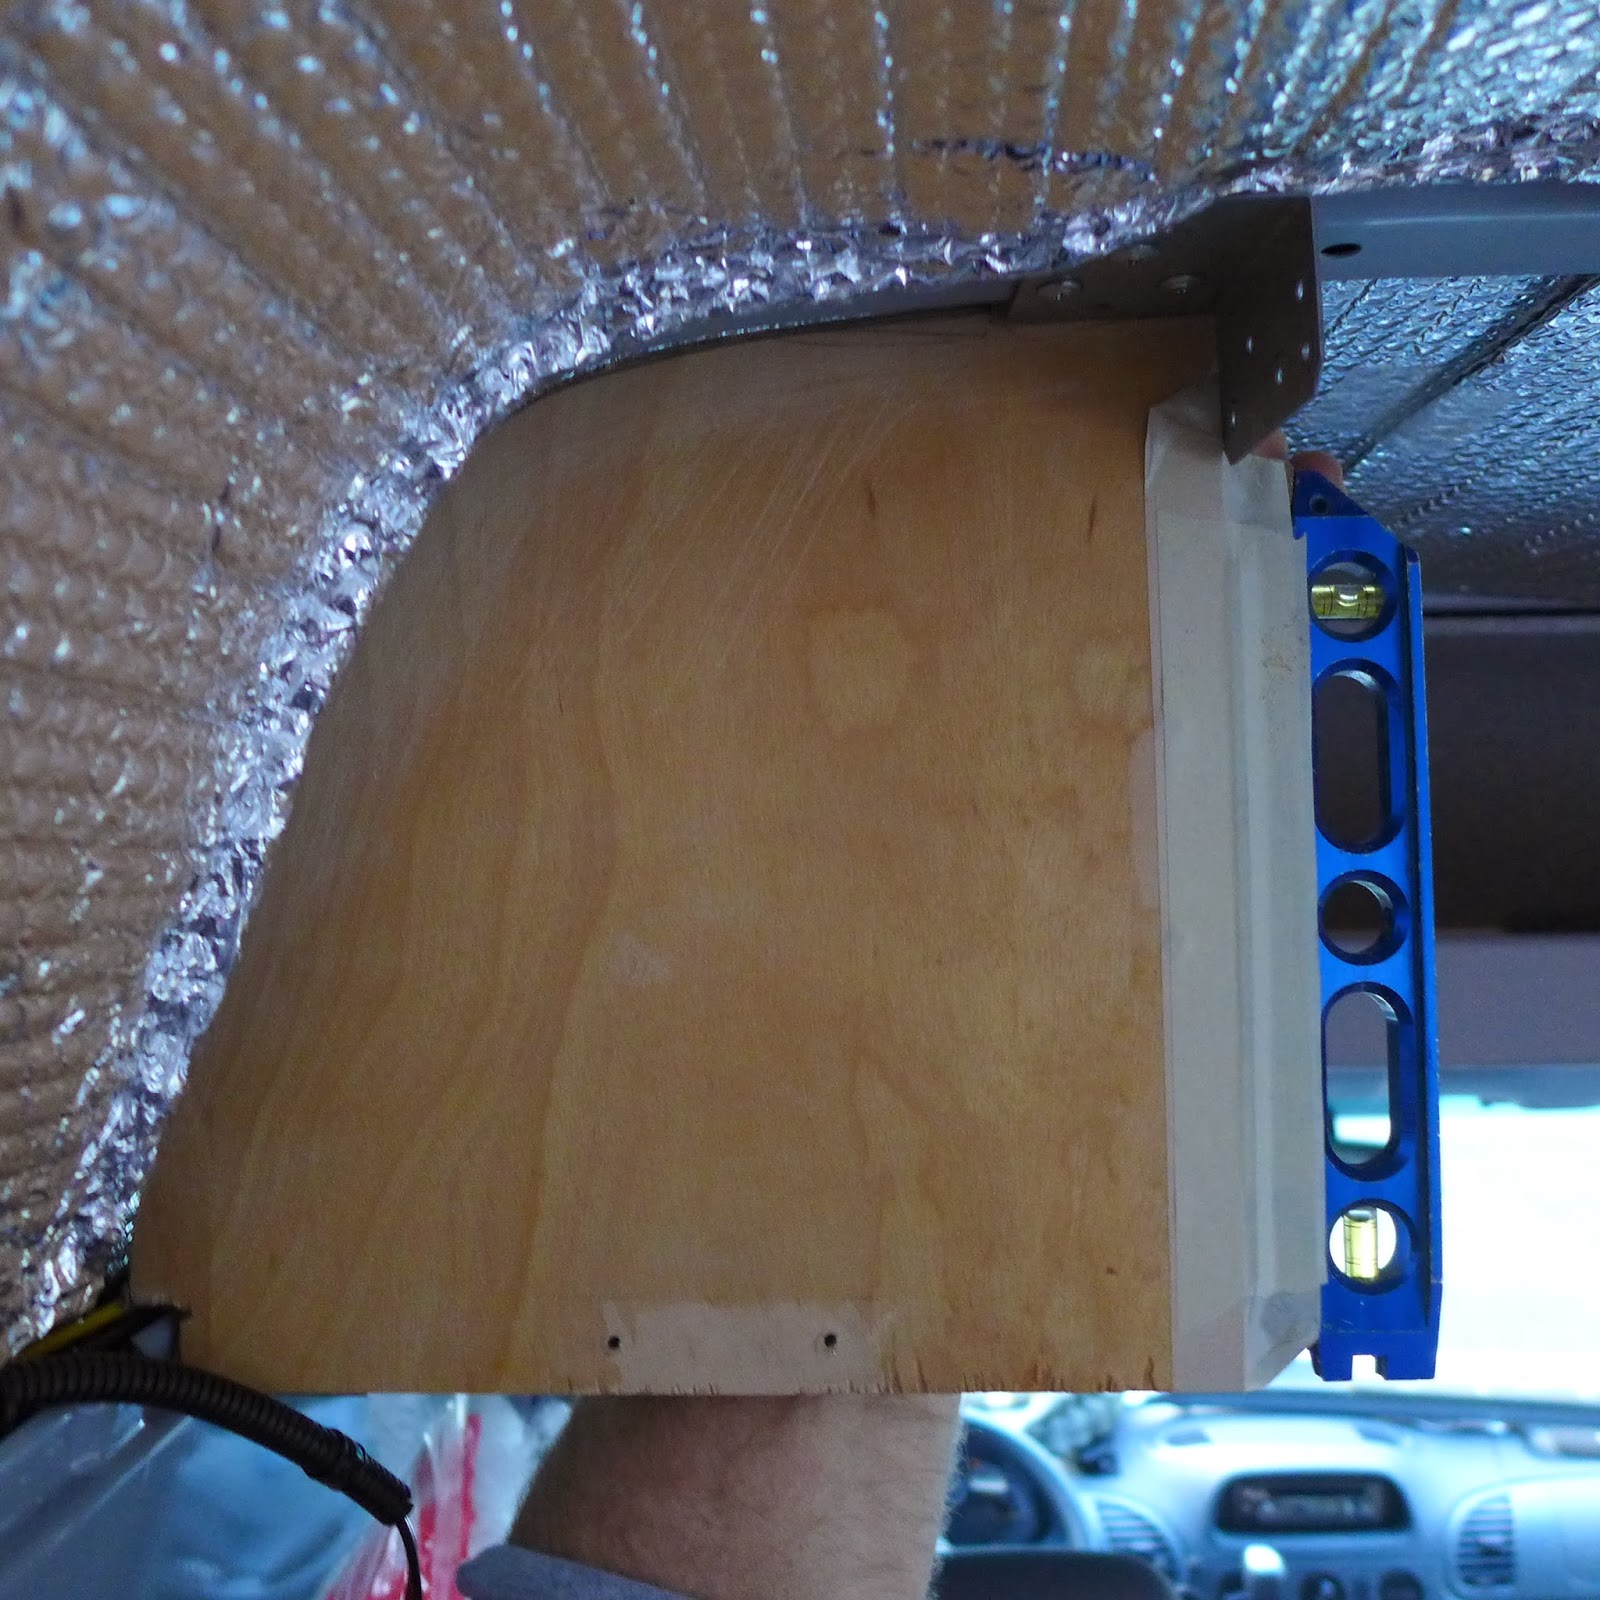
(above) The level, masking taped on, helps the scribing process...
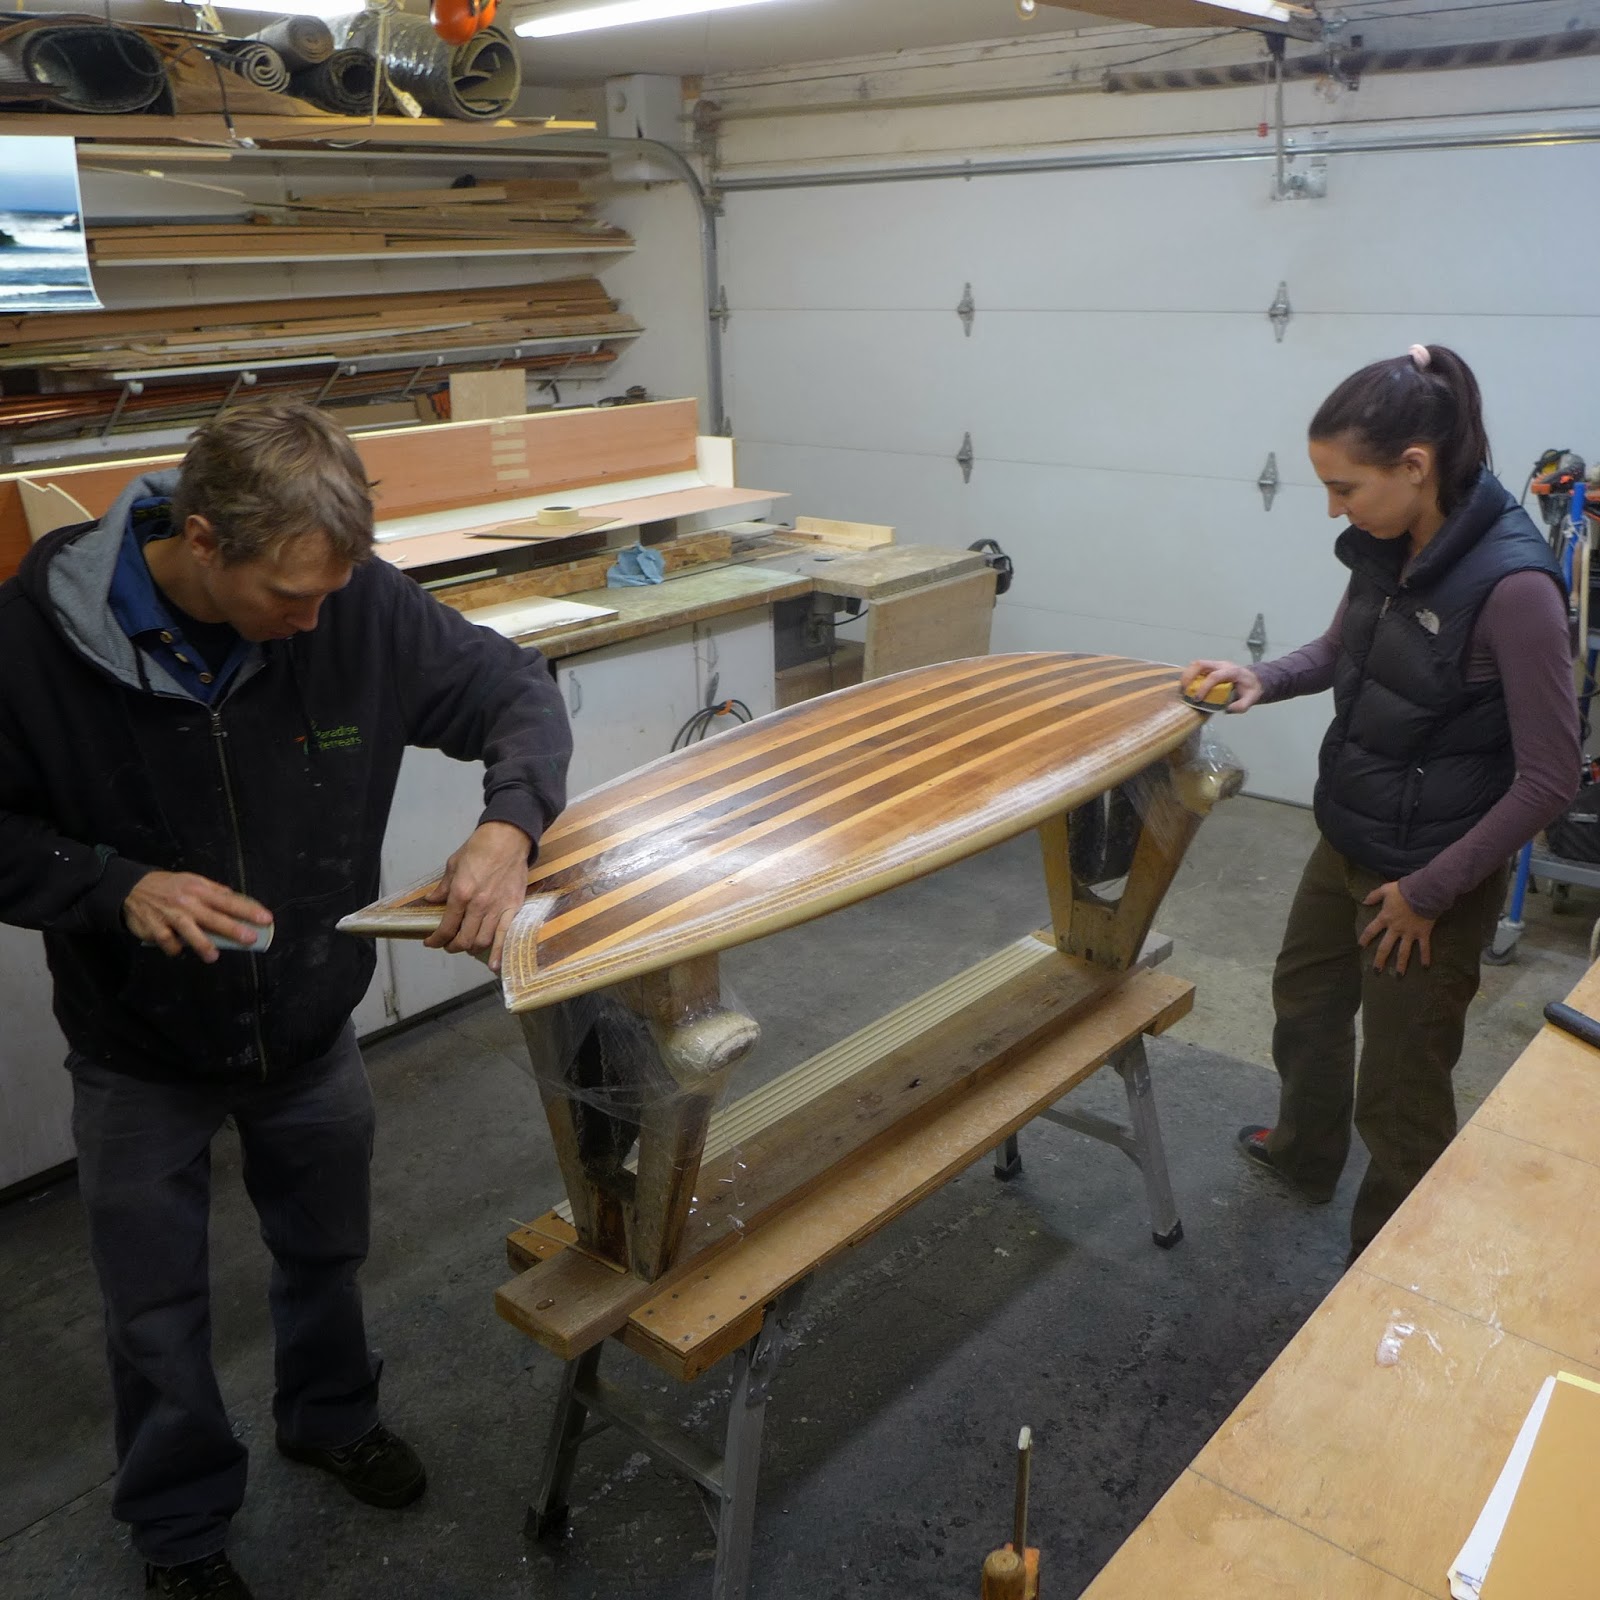
(above) I had about an hour long break when Zack and Laura came by to keep working on her board...
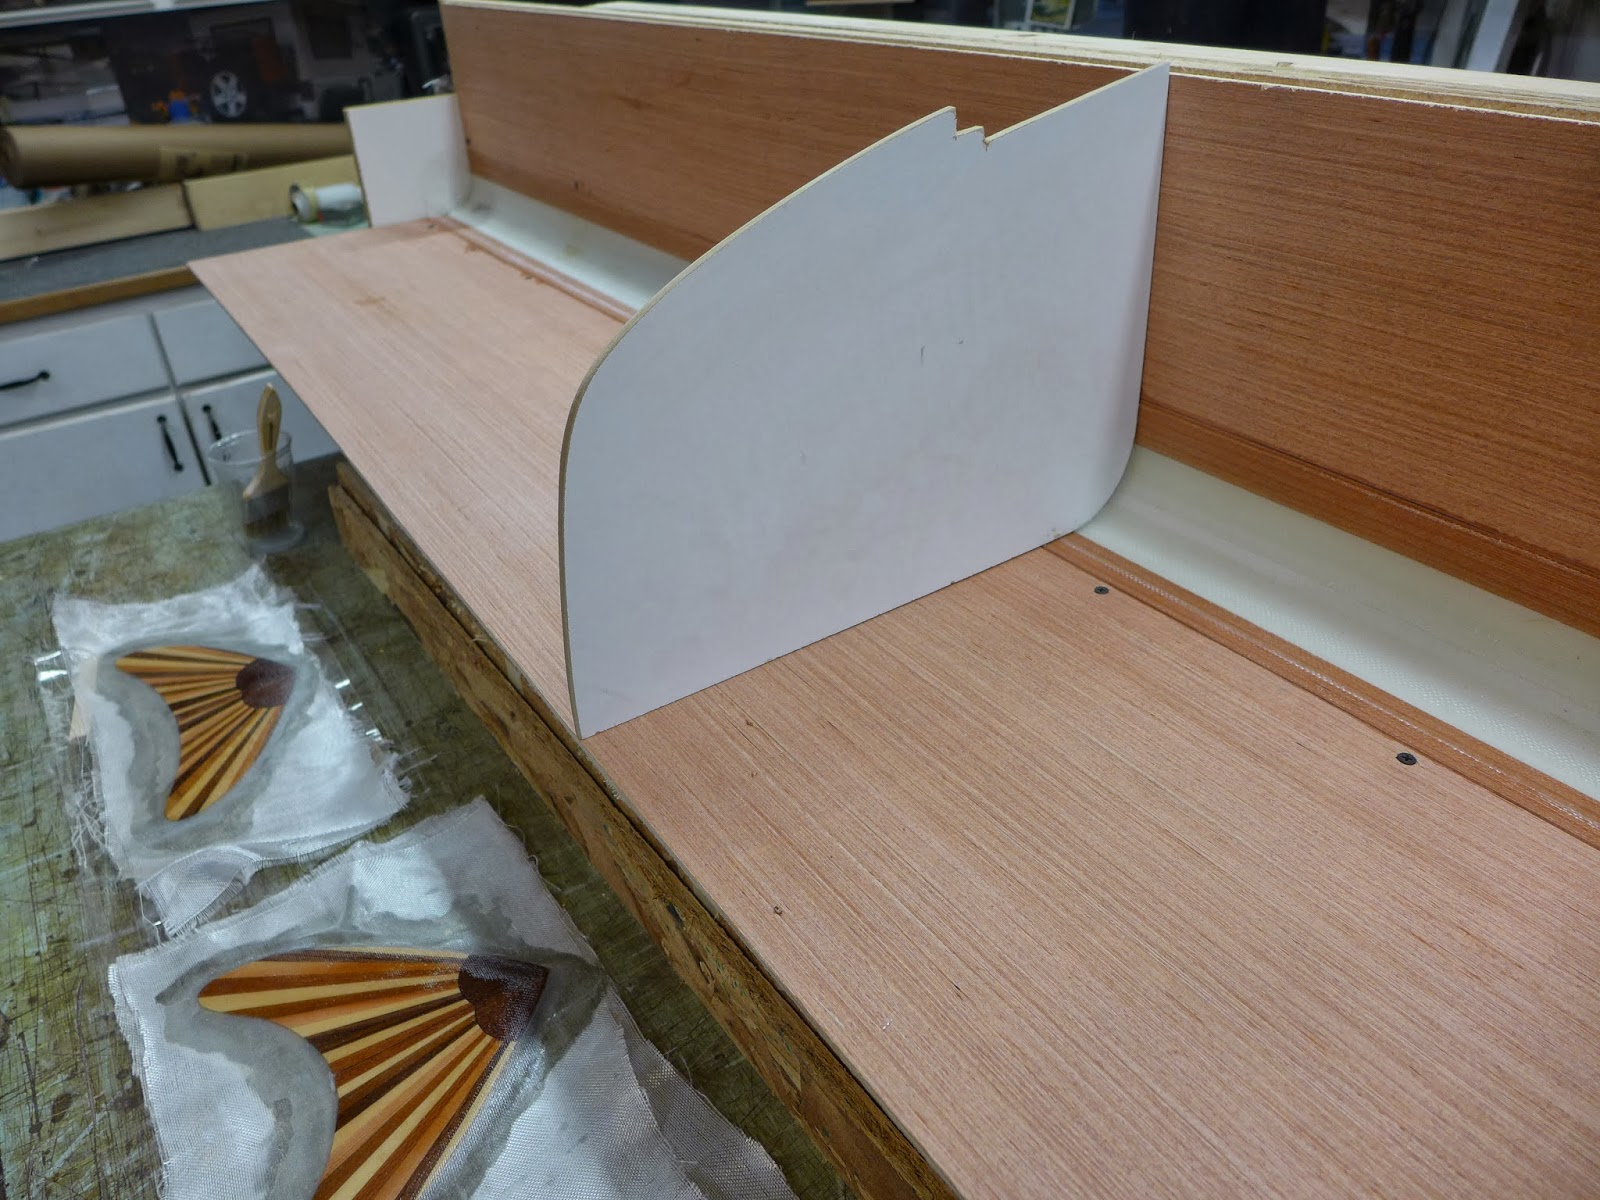
(above) Then it was back to pattern making...Close enough...Tomorrow I'll make the real ends and dividers as well as the curb side case...
With the front cabin headliner sorted out, the process moves rearward...Today the focus is building the driver side, upper wall cabinet...
(above) The starting point...
(above) This is what was up there...
(above) 3/4" birch ply, brackets, a few nails, no glue...
(above) My idea is something like this...The bottom edge will be rounded...To do that I'm quartering a piece of 4" PVC pipe and bonding it to 1/4" plywood...
(above) To cut the pipe a captive box was built...
(above) The pin nails will keep the pipe from moving when being cut...
(above) On the tablesaw...
(above) 4" diameter quarter rounds...
(above) Full size plan...
(above) To glue the components together, this jig was slapped together...
(above) To get the spacing right...
(above) Epoxy will be used to stick the stuff together...Epoxy does not stick to plastic packing tape, so a strip goes under all the joints...
(above) The PVC pipe is scuff sanded with 40 grit...
(above) 2" fiberglass tape, two layers per seam...
(above) Resin Research Epoxy is the only stuff I used...A generous amount is brushed on, then the glass is laid over...Another layer of glass is laid over, offset by 1/2"...
(above) The other face of the cabinet is in place and glassed...
(above) The screws you see will get removed tomorrow when the epoxy has cured overnight...
(above) To accelerate the cure a heat gun waving for about five minutes speeds up the process by an hour or more...
(above) The old case side was used as to make a new, more accurate pattern for all the new vertical ends and dividers...
(above) The level, masking taped on, helps the scribing process...
(above) I had about an hour long break when Zack and Laura came by to keep working on her board...
(above) Then it was back to pattern making...Close enough...Tomorrow I'll make the real ends and dividers as well as the curb side case...
mk216v
Der Chef der Fahrzeuge
Patience, Grasshopper.
Hehe, Paul just posted. I knew he was holding out on us.
njtacoma
Explorer
I occasionally scoff when I hear stories of people that have lost control of their lives due to the death grip of addiction, and yet here I am twitching and irritable waiting for the next hit, I mean installment, in a Jensen build.
I enjoy watching someone that knows what they are doing.
I enjoy watching someone that knows what they are doing.
PaulJensen
Custom Builder
I enjoy watching someone that knows what they are doing.
No way, I'm making this stuff up as I go along...I have no idea what I'm doing....
PaulJensen
Custom Builder
Nice waves. Has the work they were doing on the jetty been completed?
It's an ongoing project, but for now it's quiet...
Similar threads
- Replies
- 9
- Views
- 2K
- Replies
- 22
- Views
- 7K
- Replies
- 49
- Views
- 31K
- Replies
- 171
- Views
- 49K
