A bunch of random updates...
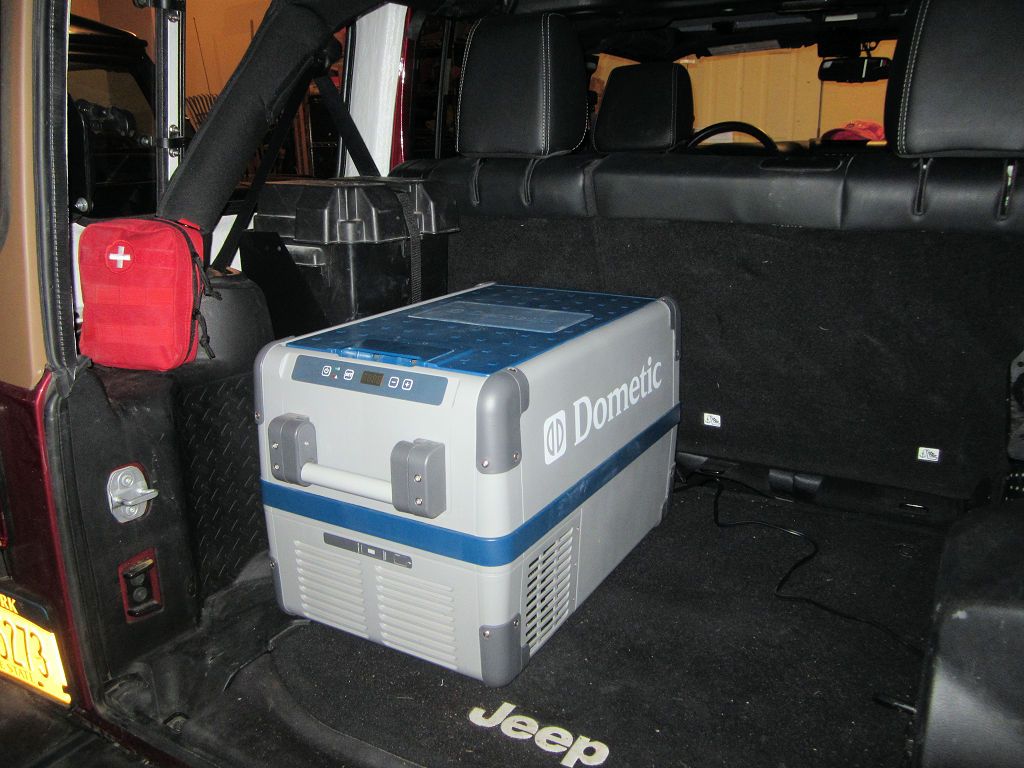
- The double-extension slide I'll test with the fridge is supposed to be shipping to me from MORryde next Tuesday so it should be in my hands by the end of the week.
I've got a few ideas for mounting the fridge on the slide that I haven't seen tried before - one thing I plan to try is a swivel mount - I've got a 225-lb. capacity TV swivel/extension, and I'm thinking if the fridge swiveled out at the end of the main slide travel it could allow for more room for a work surface. The swivel I have is very similar to this one:
http://www.rockler.com/heavy-duty-tv-pullout-slide
Not sure how the swivel will work out or if it will be practical, but seems like it could open up a bunch of workspace so it'll be an interesting experiment.
I've got a few other new ideas to try out with the fridge/slide, stay tuned.
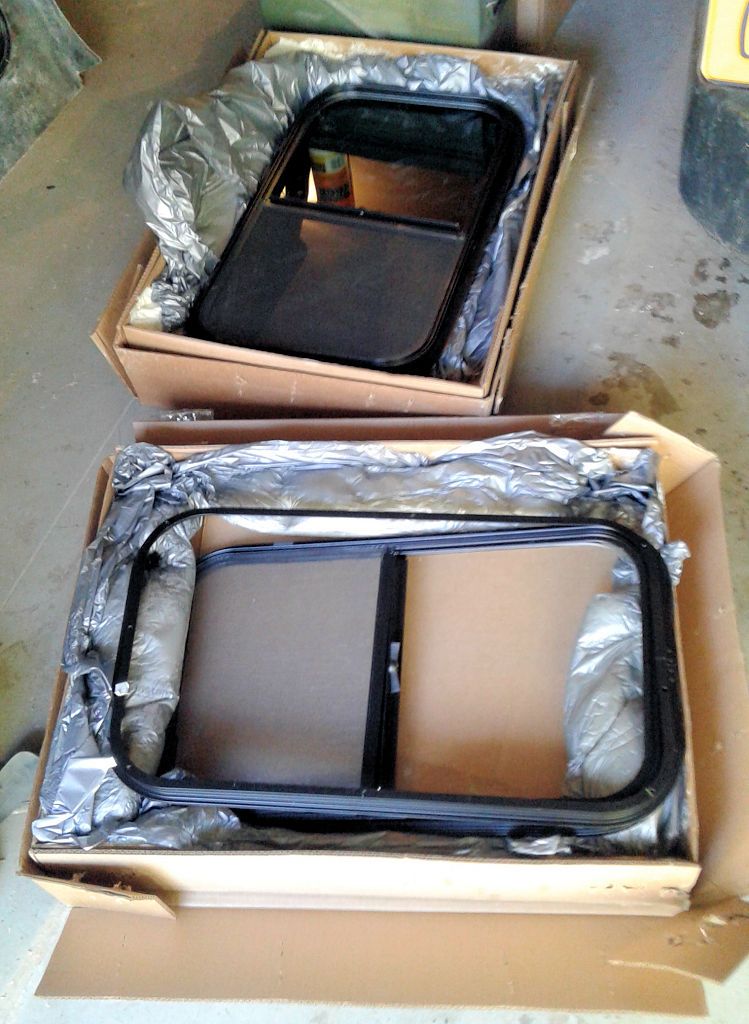
- I got an unexpected package from the window manufacturer yesterday. Opened it up and it was another set of hardtop sliders. It took me a few minutes to notice that this set (bottom of the photo below) has clear glass; the production sets have tinted glass (top set). This set is a mystery, don't know why they were built or why I got them - I never specified clear glass because I don't think anyone would want clear.
- On the same subject, I turned over a final version of the window installation instructions to the company Thursday:
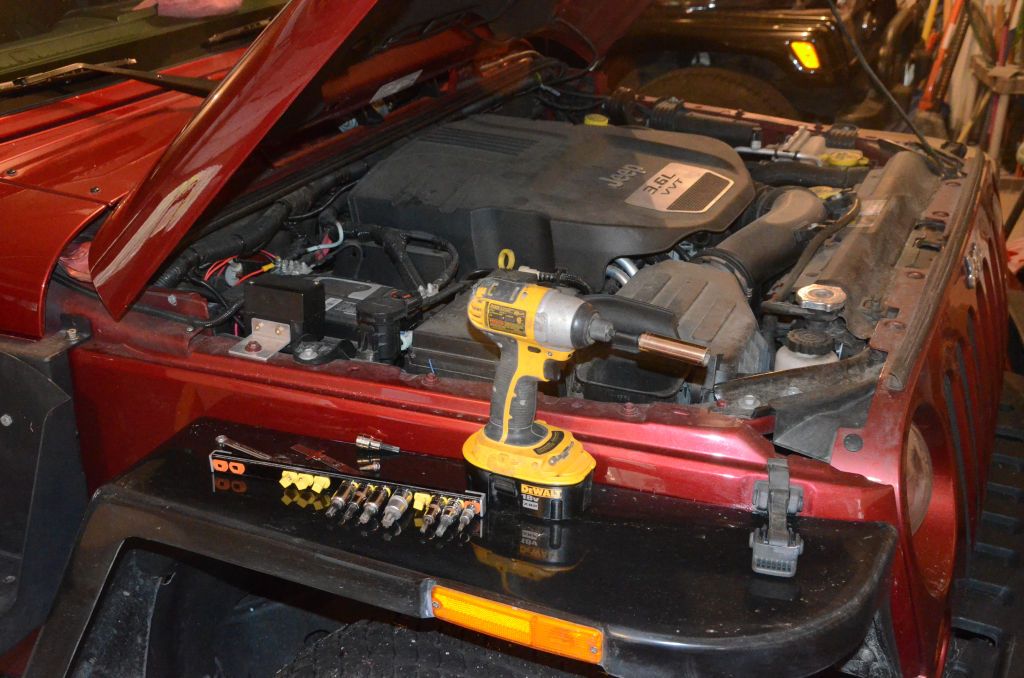
- Also did some work on the JKU Thursday, the flat fenders turned out to be a really handy work surface
")
.