Roof Top Tent Repairs and Upgrades, Part 2
A few holes in the screen
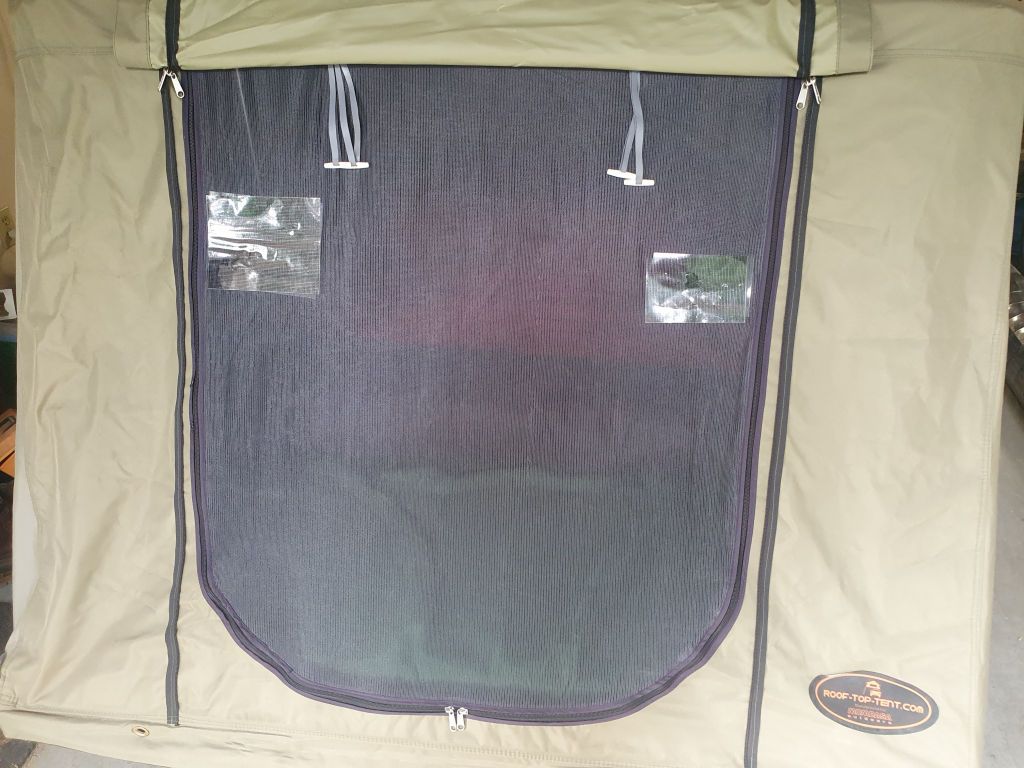
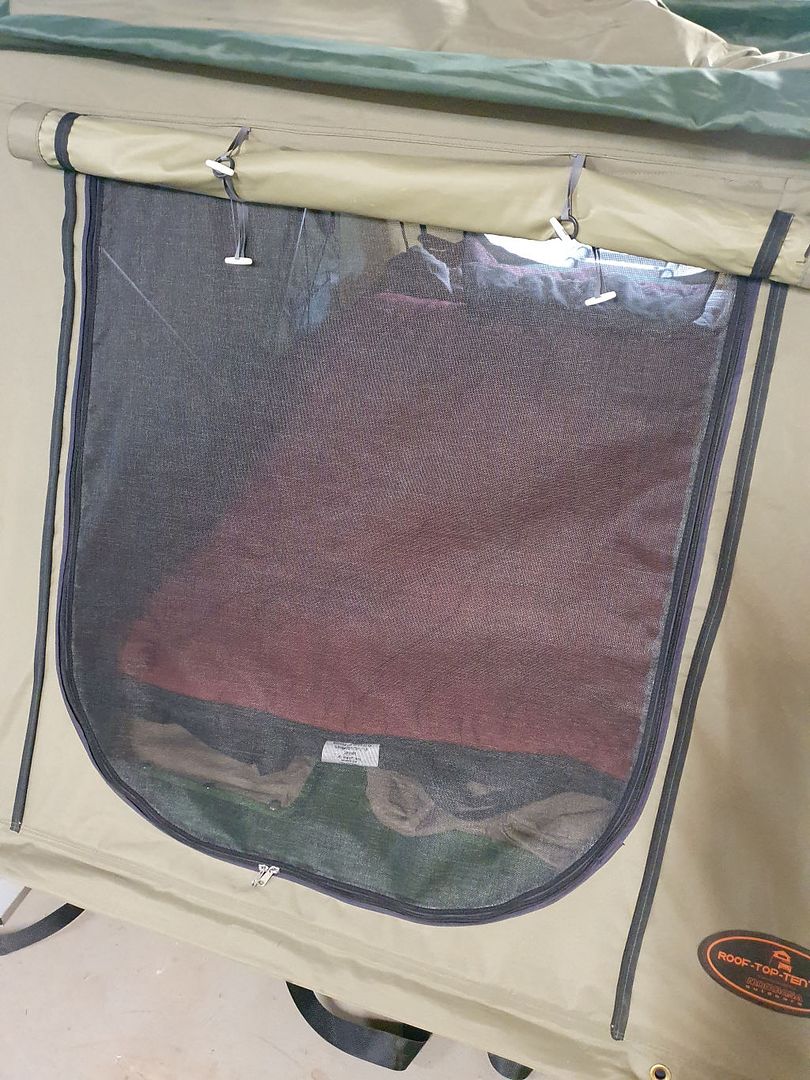
Over the years a few holes have developed in the screen at the main entry to the tent. I believe the original screens may be nylon, which is subject to degradation due to UV exposure.
I temporarily used Coughlan's screen patches, but they're not very pretty.
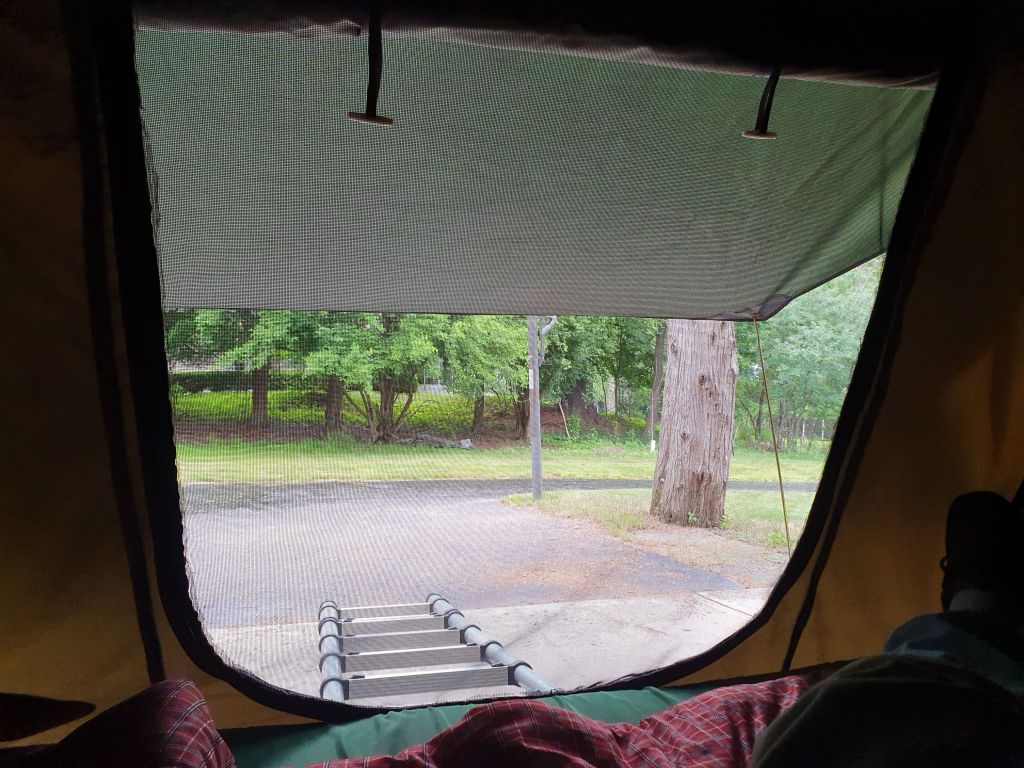
I decided to replace the screens at the entry and back of the tent with new fiberglass "noseeum" size screen. I ordered enough of this screen to replace all the screens in the tent if I decide to, but for now I only did two of the 4 screens because the side window screens are in fine shape. The new fiberglass screen is much stronger than the original and not as susceptible to UV as the original.
Replacing the screens is a bit involved, requiring the tent canvas to be removed from the structure, and the sewing can be a little tricky to get everything fitted properly and tight, but each step of the process required is not too difficult so taking it a step at a time it's possible to replace the screens successfully.
To start - if the tent has a fly, remove it for better access to the screens to be repaired.
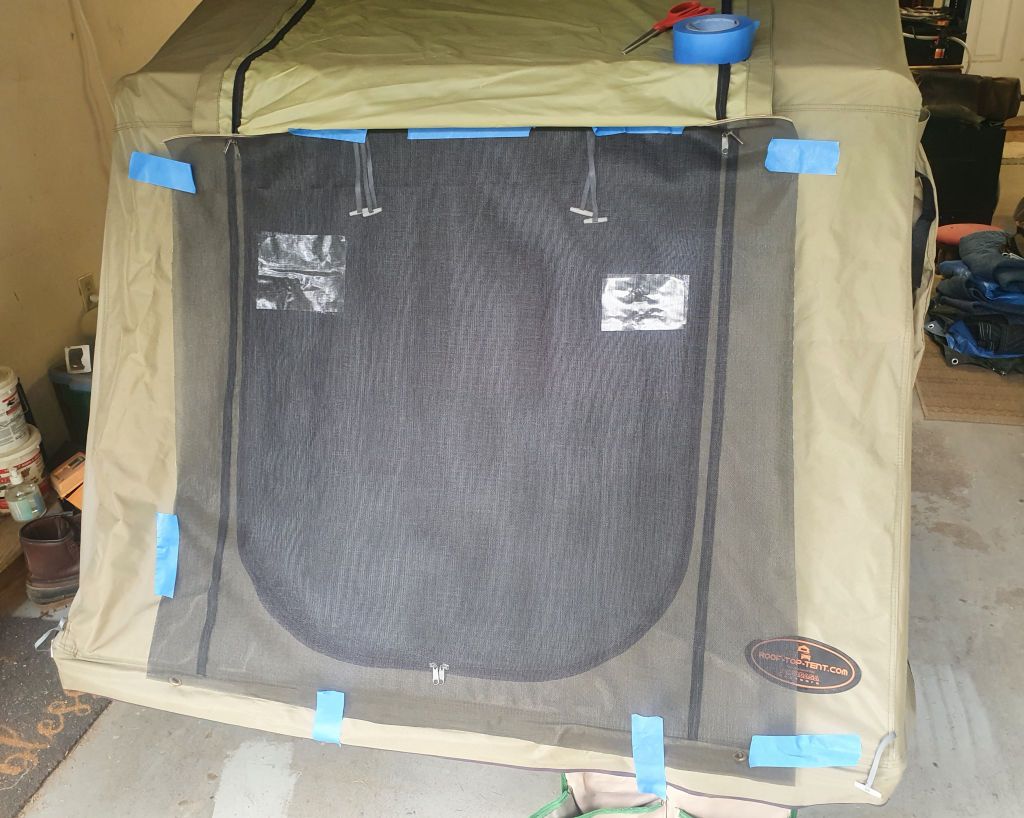
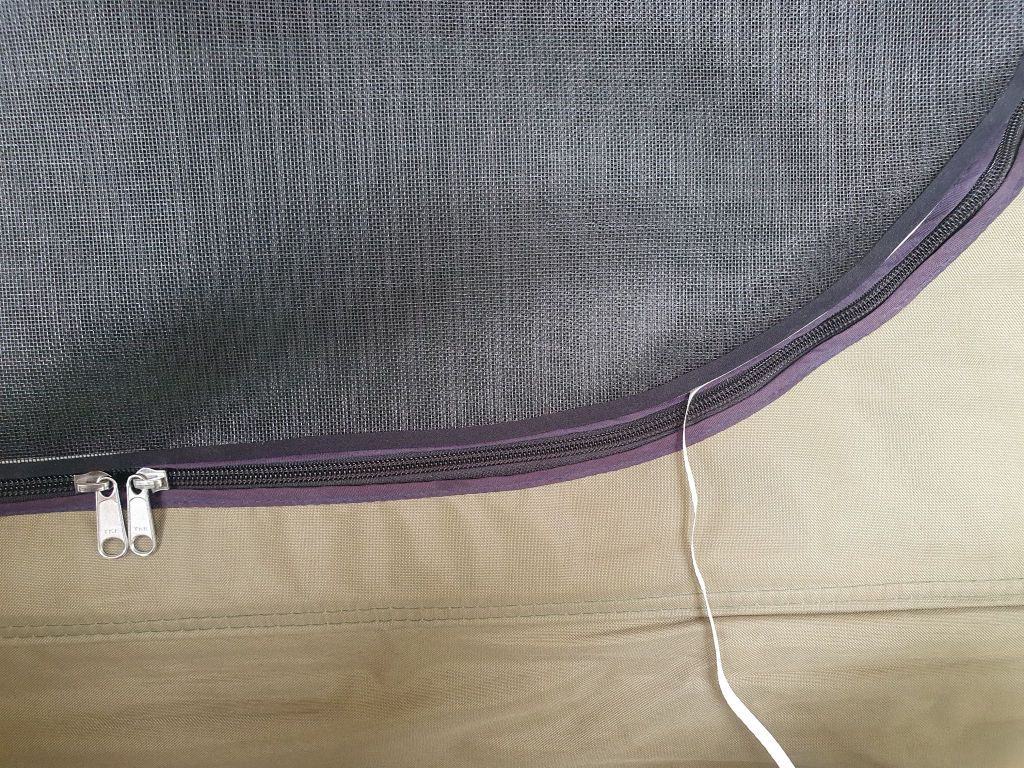
I find it best to fit the new screen with the tent erected so that everything is tight. I taped a piece of the new screen over the old screen.
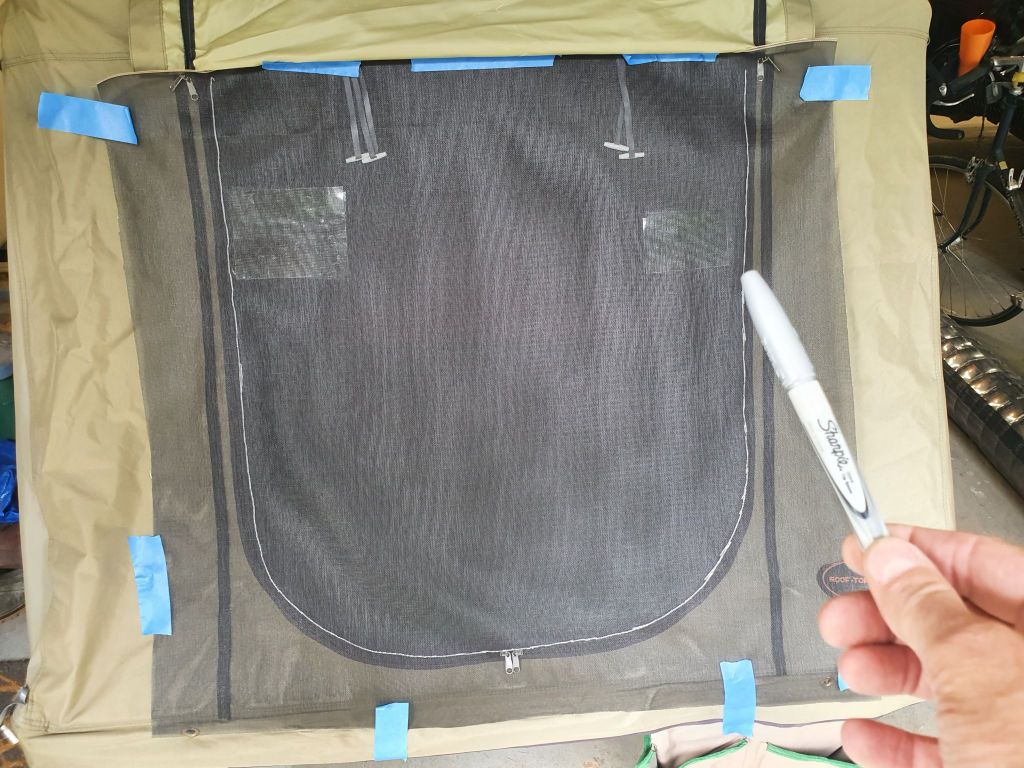
Then I traced about 1/4" inside the center of the zipper with a silver Sharpie marker.
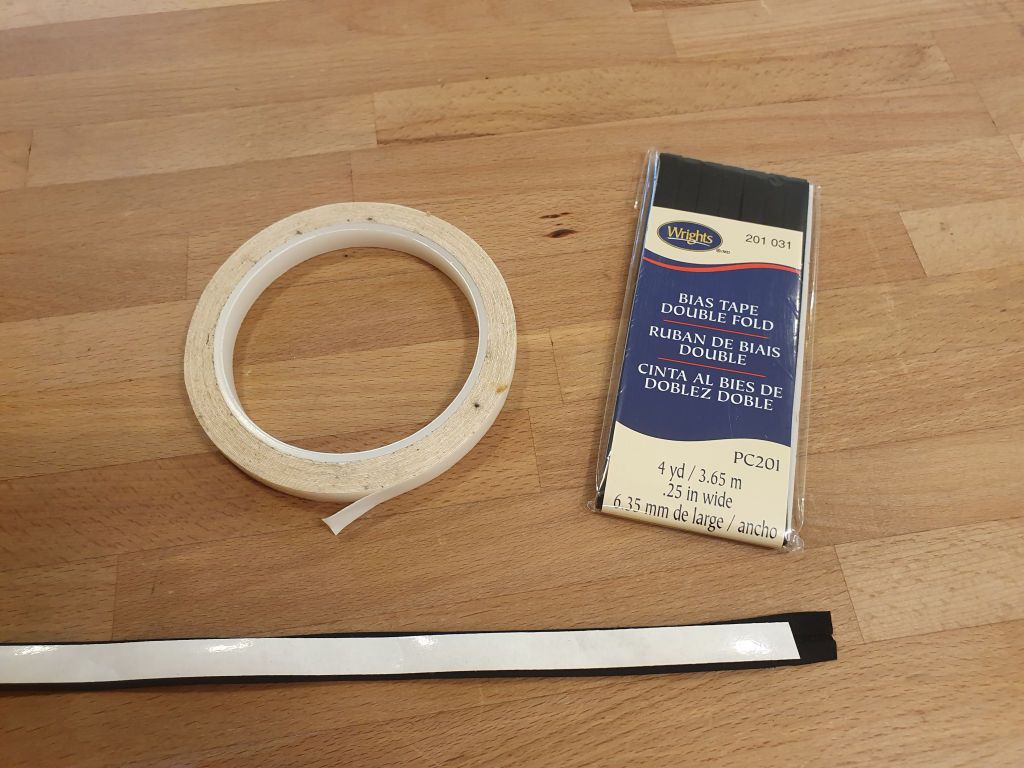
Remove the new screen and cut along the Sharpie line. Once cut to size, I applied Bias Binding tape around the edges. To secure the binding at this stage I used 3/8" Seamstick Basting Tape (
https://www.sailrite.com/search?keywords=seamstick). The 3/8" width is a good size for applying to the inside of the Bias Binding (it's applied to the binding at the bottom of the photo below, the backing hasn't been removed yet).
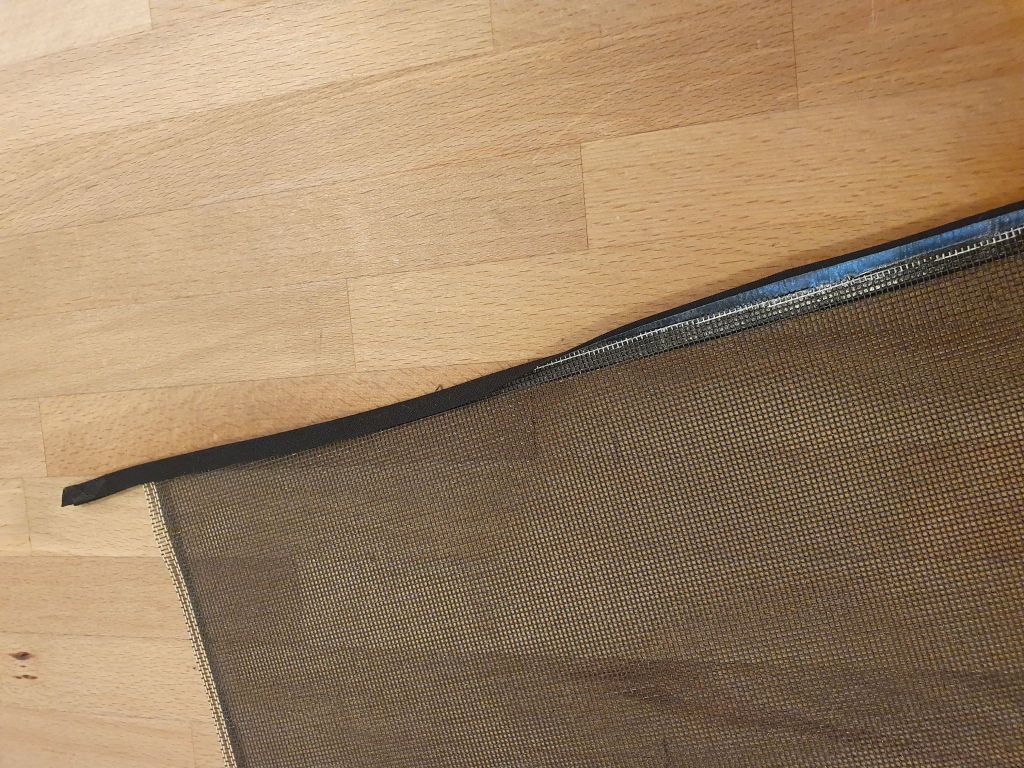
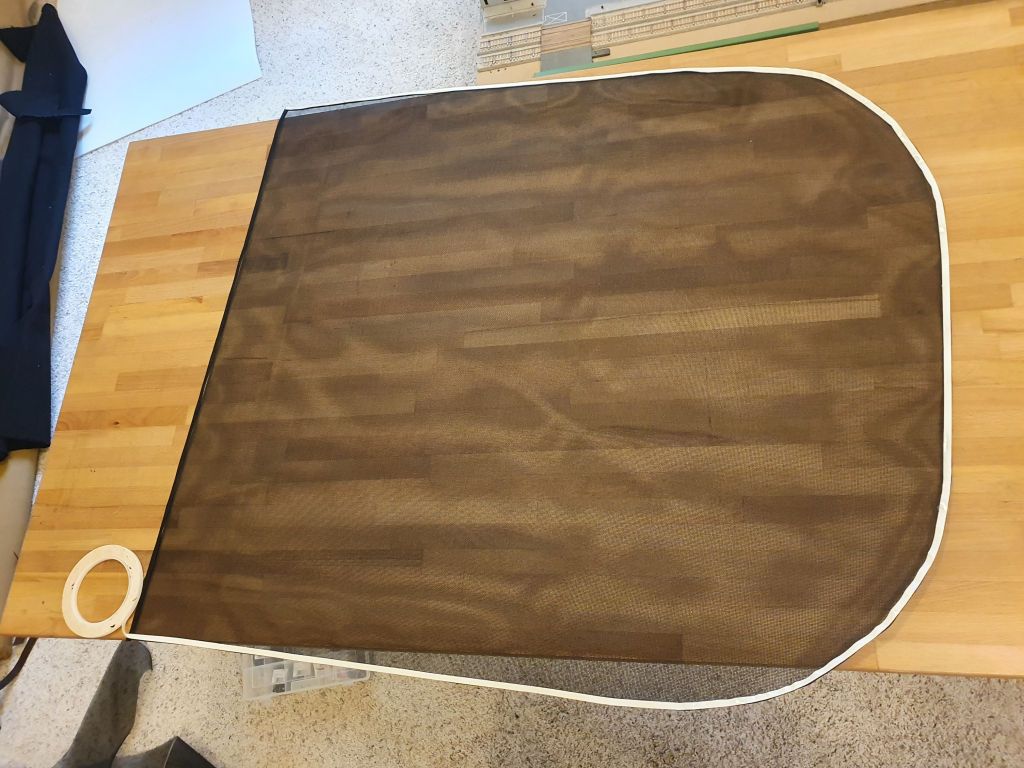
Stick it to the edge of the screen with half of it on the screen and half off the screen and the fold it over to stick to both sides:
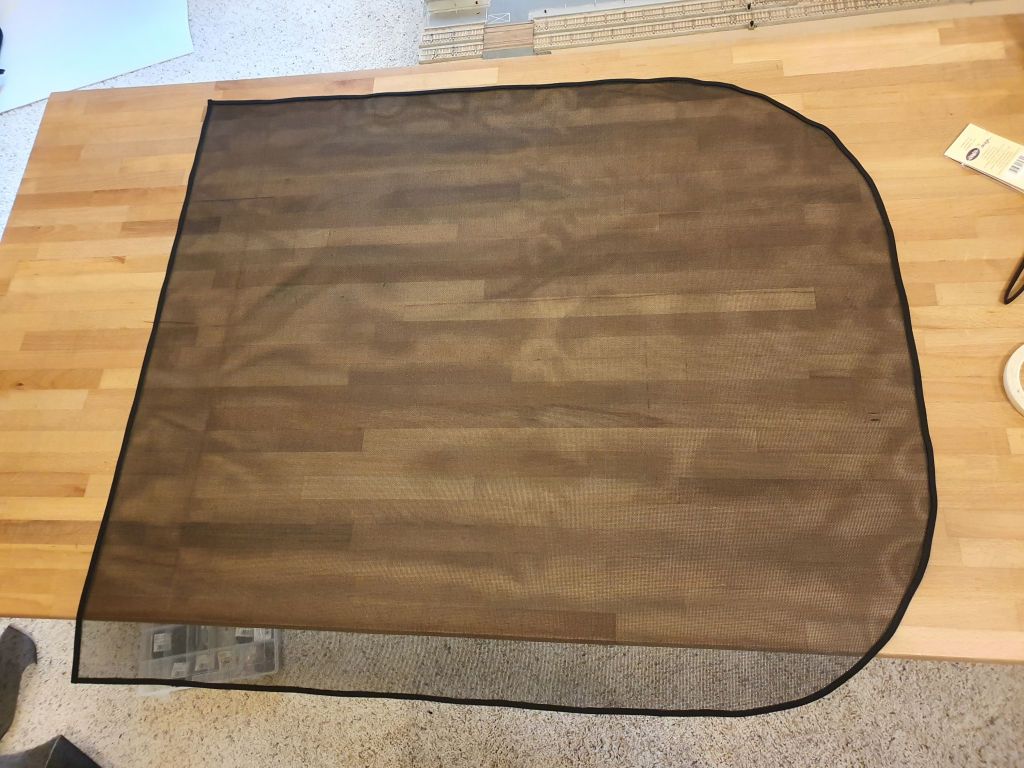
Bias Binding in place with Seamstick:
I then applied 1/4" Seamstick to one side of the bound edge:
Take the bound screen to the tent, remove the backing from the 1/4" Seamstick, and stick the new screen in place over the old screen:
Once all of the screens you intend to replace have new screens basted in place with Seamstick, remove the canvas from the RTT structure. I won't picture this because your tent may disassemble differently than mine. In my case, the bottom edges of the canvas have a tube sewn in the seam that slips into a slot in the tent base. For my tent, the best way to remove the edges from the slots was to have the tent folded to relieve tension on the canvas and slide both sides out of the channel at the same time.
With the canvas free of the structure, take the canvas to the sewing machine and stitch the bias binding to the old screen. The process of removing the canvas from the structure may have disturbed the new screen's adhesion to the old screen, so adjust the placement of the new screen as you sew. Also sew the bound top edge of the new screen to the canvas.
With the sewing done, reassemble the fabric to the structure. Probably this is the reverse of the removal process but your tent may be different.
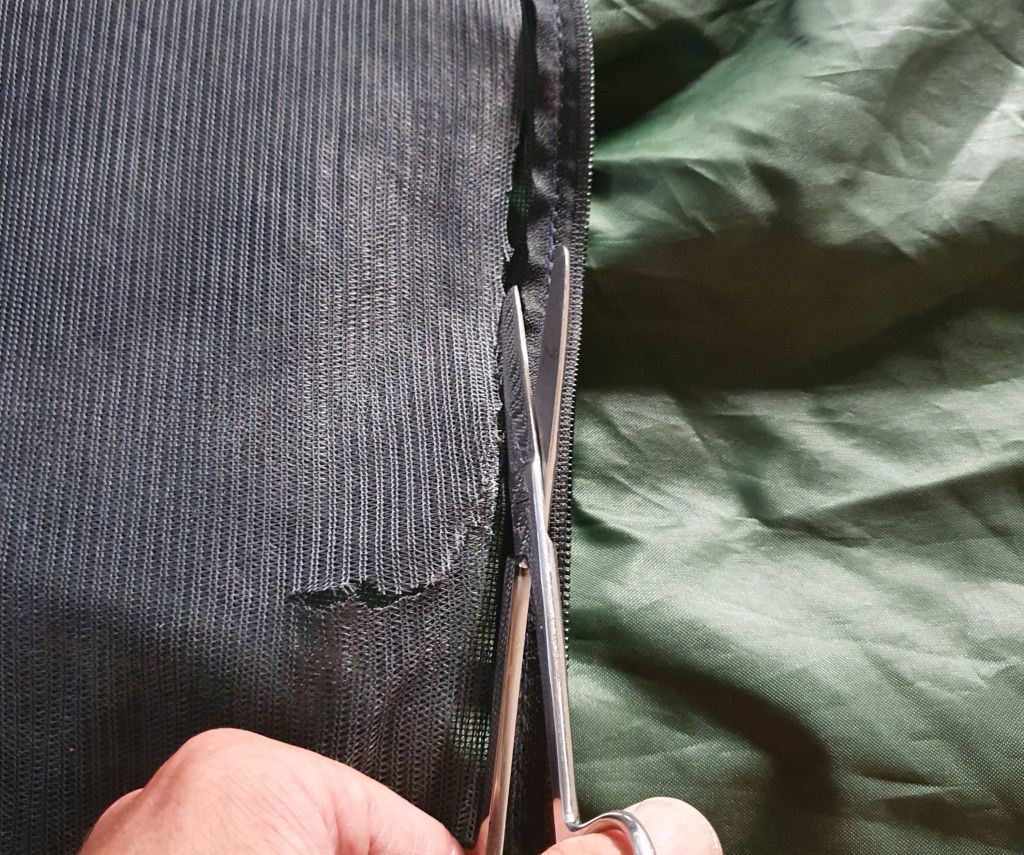
With the tent erected and the new screens in place, if everything checks out, cut the old screen out from behind the new screen.
Done.
Replacing the entry screens with new fiberglass screen is much stronger than the original nylon screen and the repair should last many years.



.jpg)
.jpg)

.jpg)
.jpg)