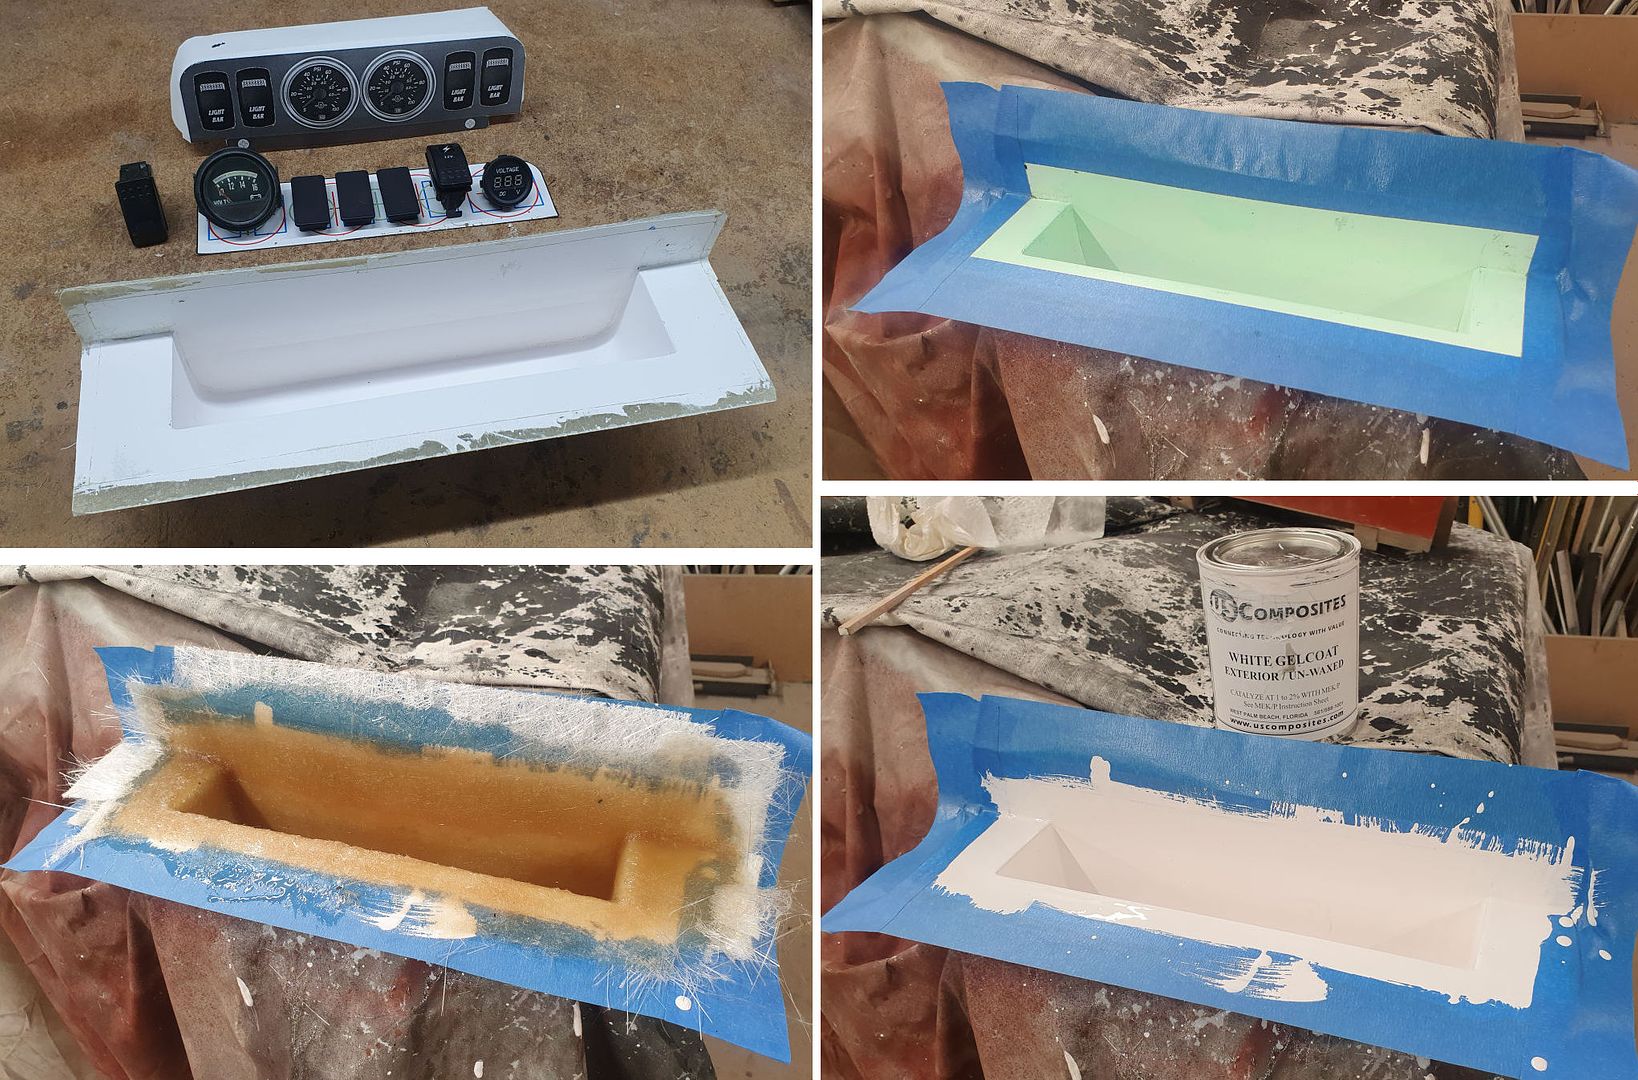
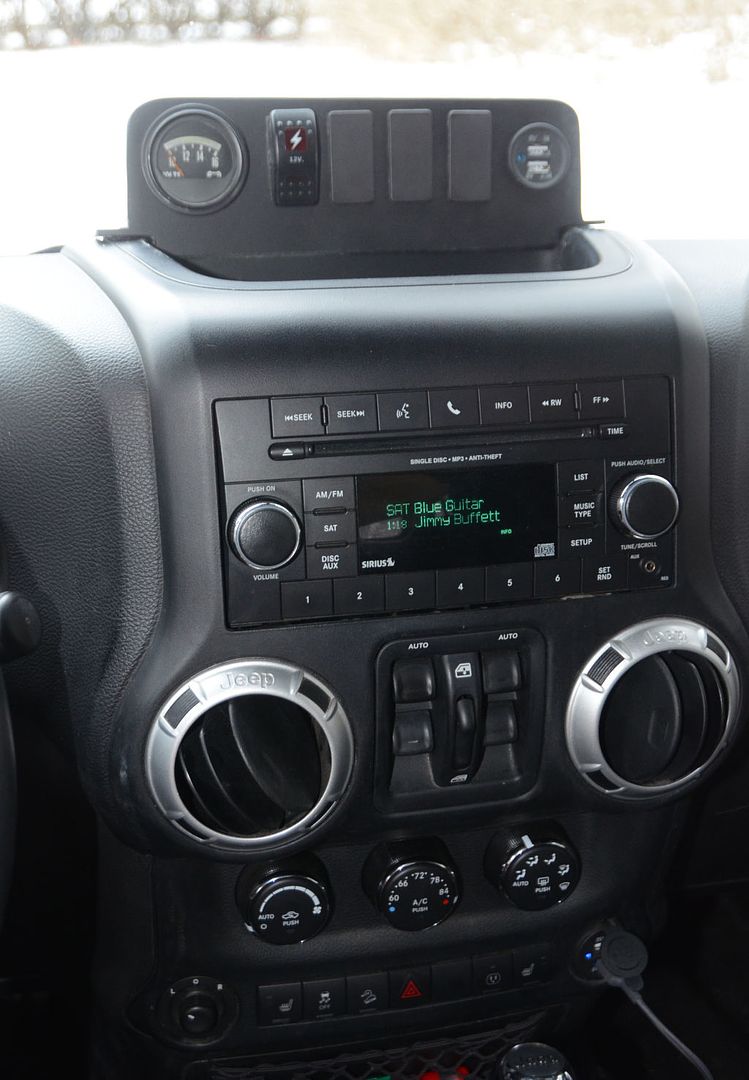
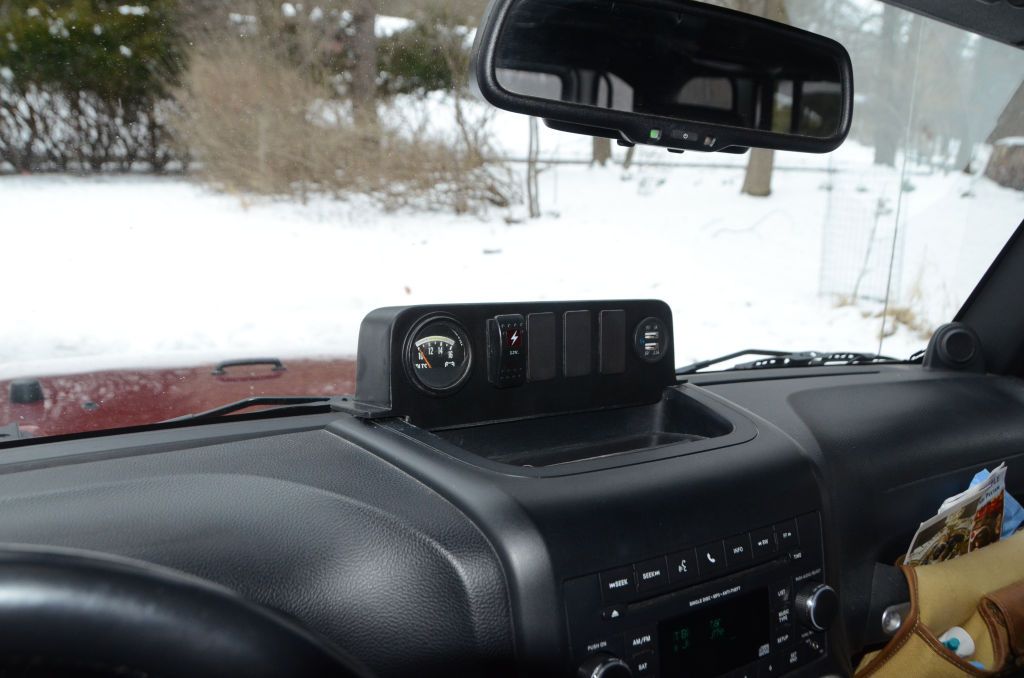
Yesterday I molded the first Auxiliary Gauge/Switch Panel. A summary of the process, clockwise from upper left...
Top Left: The mold has been trimmed and is ready for use.
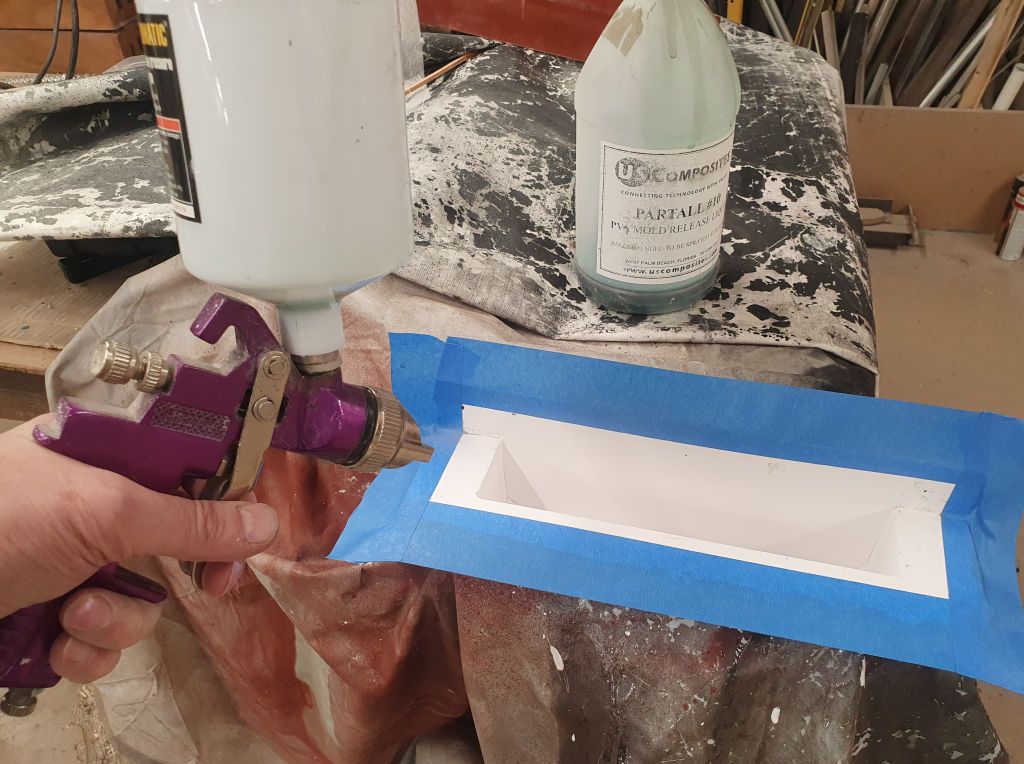
Top Right: The mold has been waxed and shot with PVA mold release.
Bottom Right: Gelcoat has been applied to the mold surface.
Bottom Left: Fiberglass layup is complete.
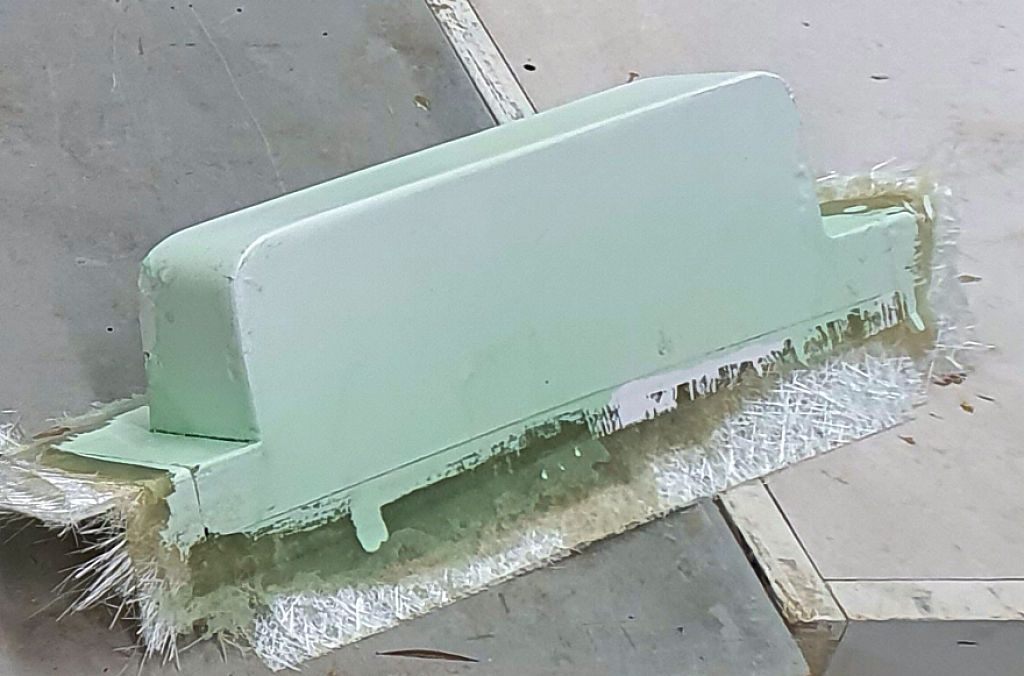
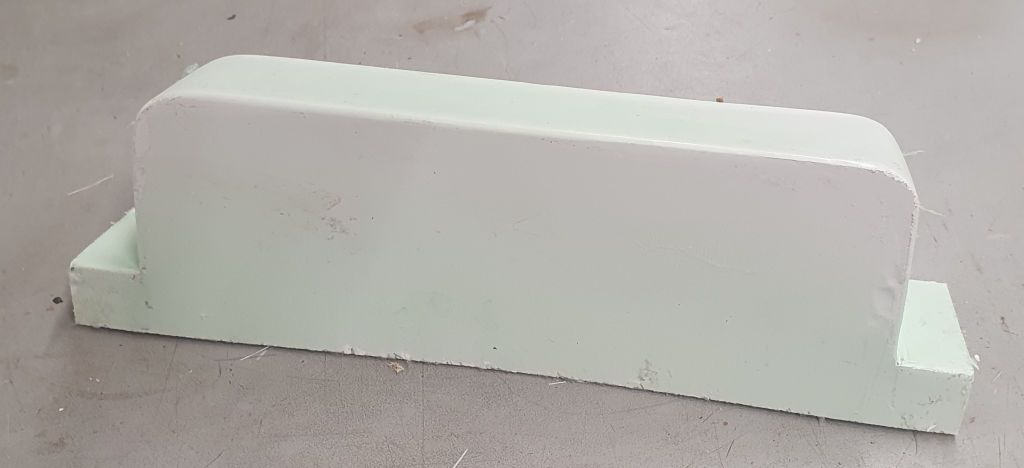
First thing this morning I popped the panel out of the mold:
In this photo I've done a preliminary trimming to remove the rough edges. I haven't washed the mold release off yet (the green stuff).
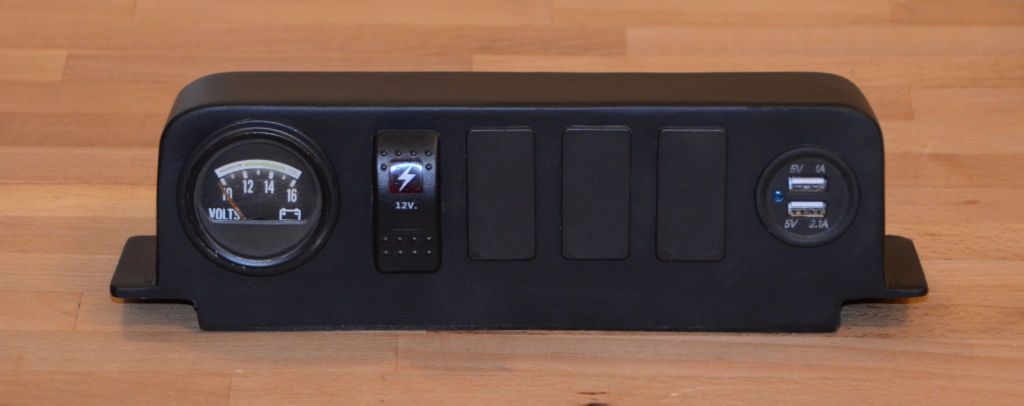
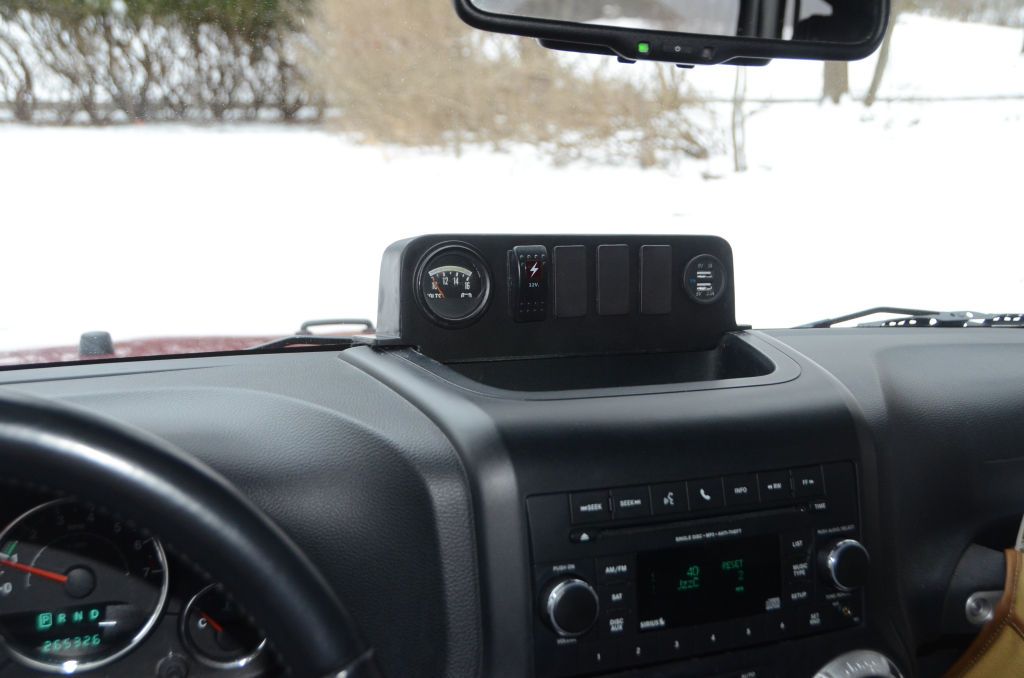
Next I'll make holes in the panel for a test selection of gauges and switches and I'll paint the panel black - ideally I would have molded this with black gelcoat instead of white, but I didn't have any black gelcoat on hand and it wasn't worth buying a quart when only about 3 ounces are needed for this part, so I'll paint it black.
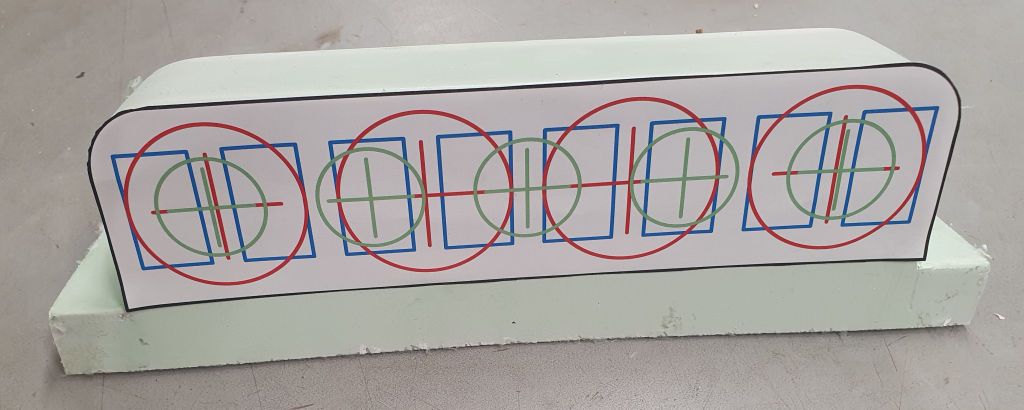
This photo shows a generic template I made for making holes for an assortment of gauges and switches, it gets attached to the panel with rubber cement during the drilling/cutting of the holes. I'll probably use a slightly different arrangement and I'll make another template for the arrangement I decide on.
More photos to come.

