Yeah...I don't know what they were thinking. But I know what I'm thinking! (sortof)
The day started at 5am when my brain turned on and told me to get up and at it.
So what to do at 5am while the neighbors are still sleeping.
Torches are quiet. I'll torch.
Oooh. Plasma cutters are quiet.
I'll cut.
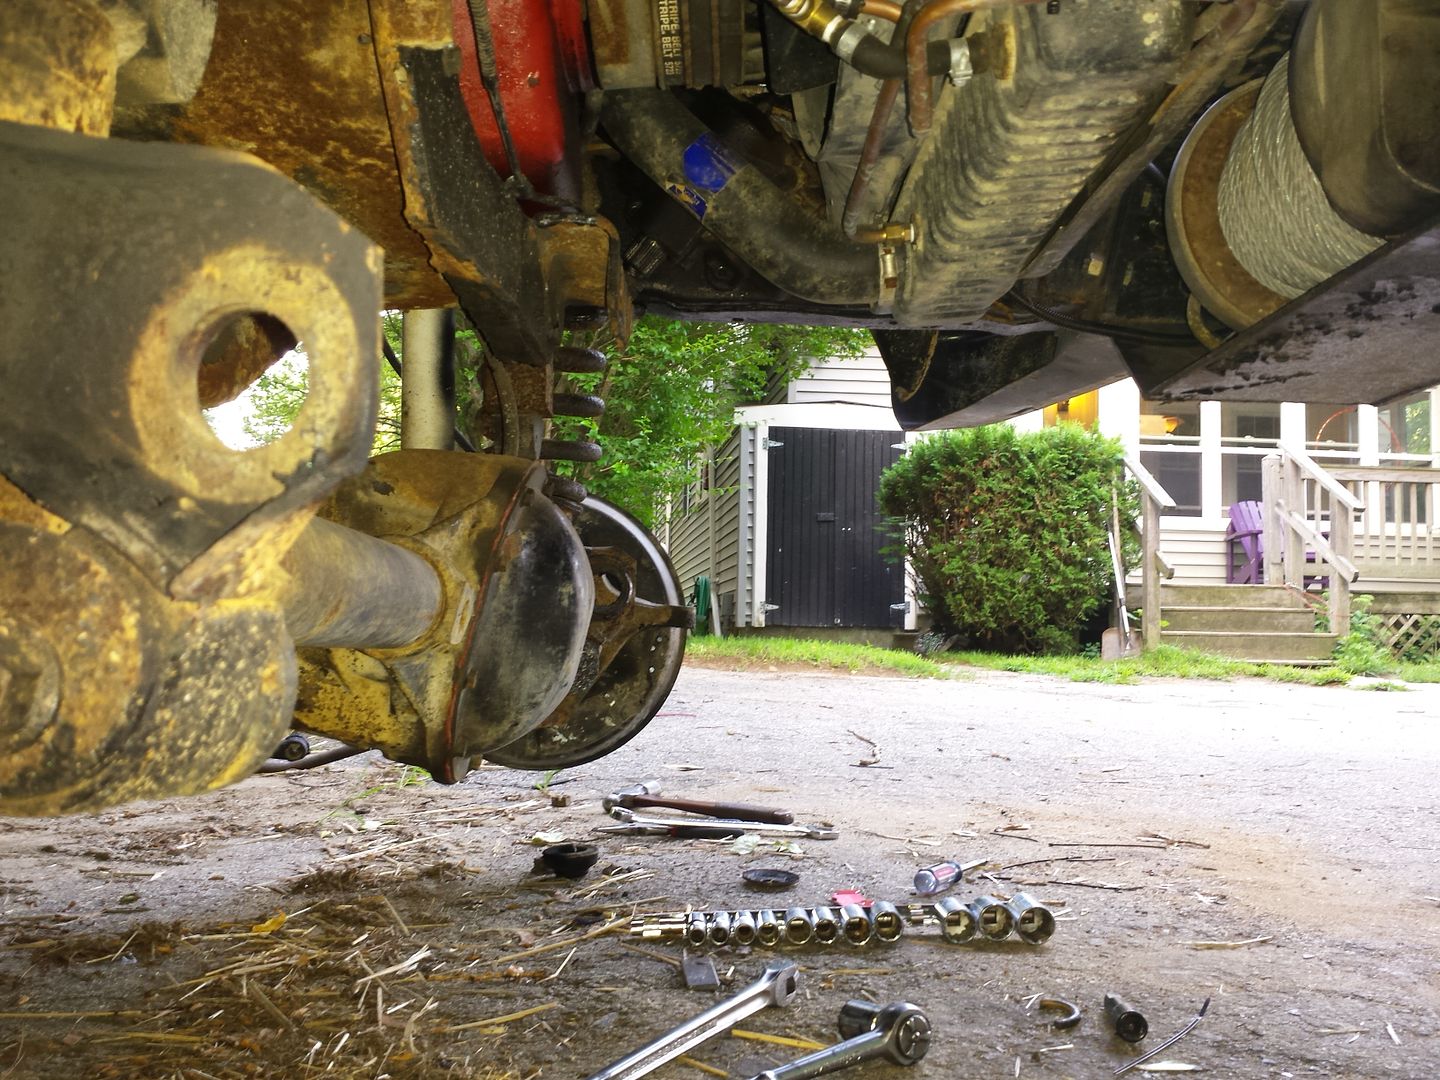
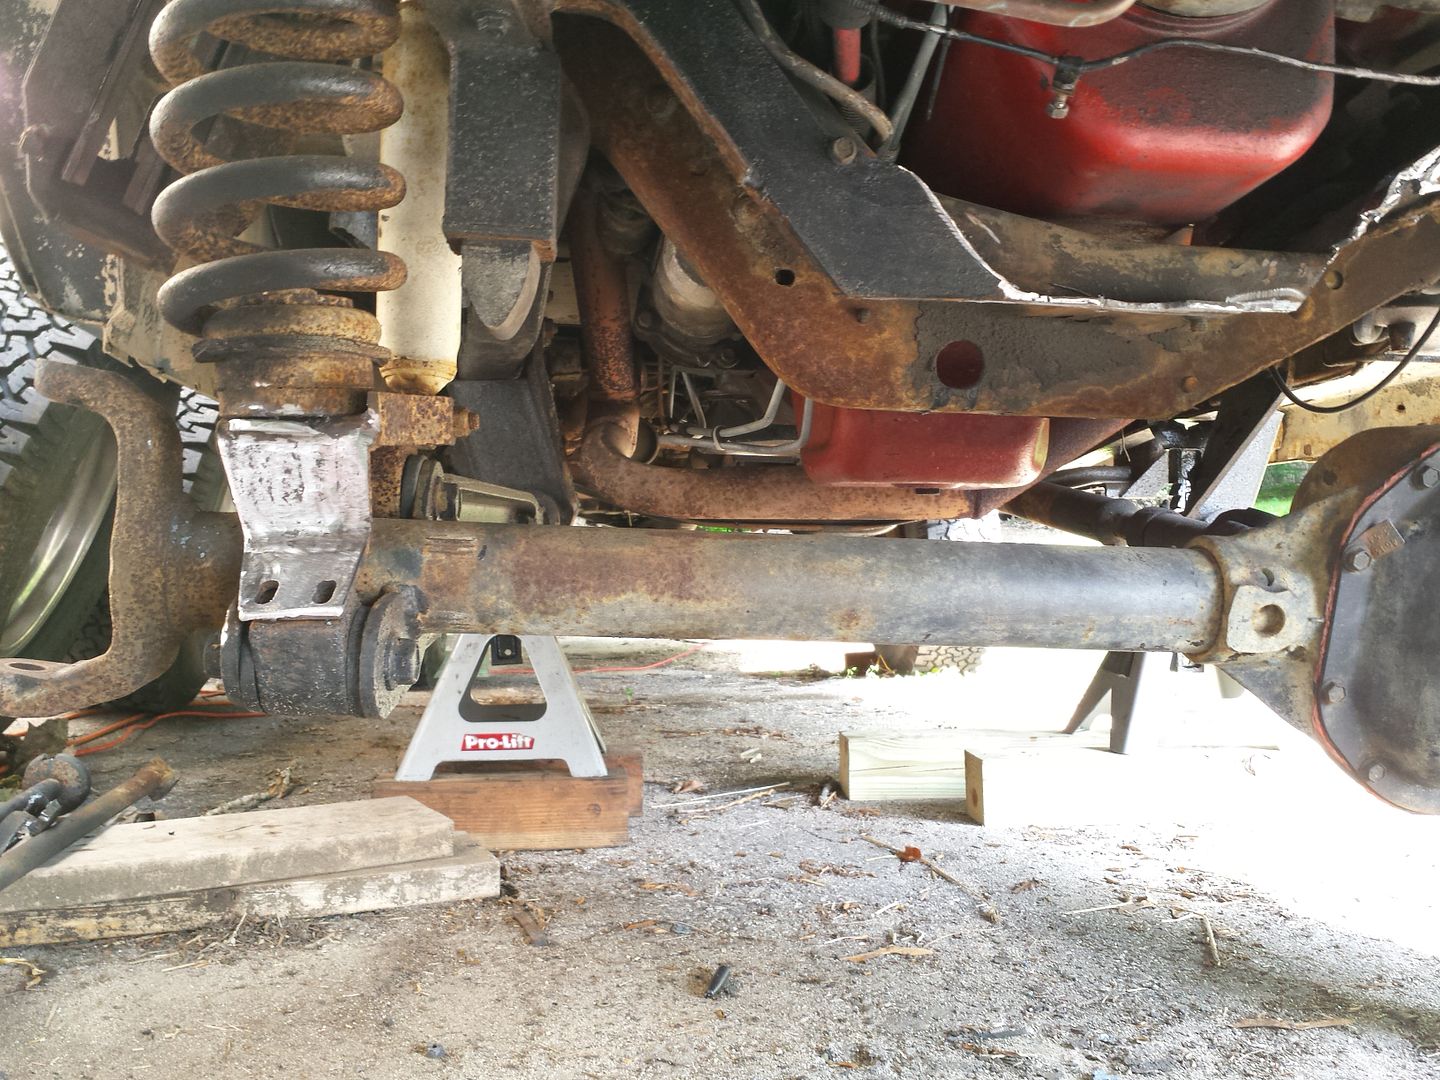
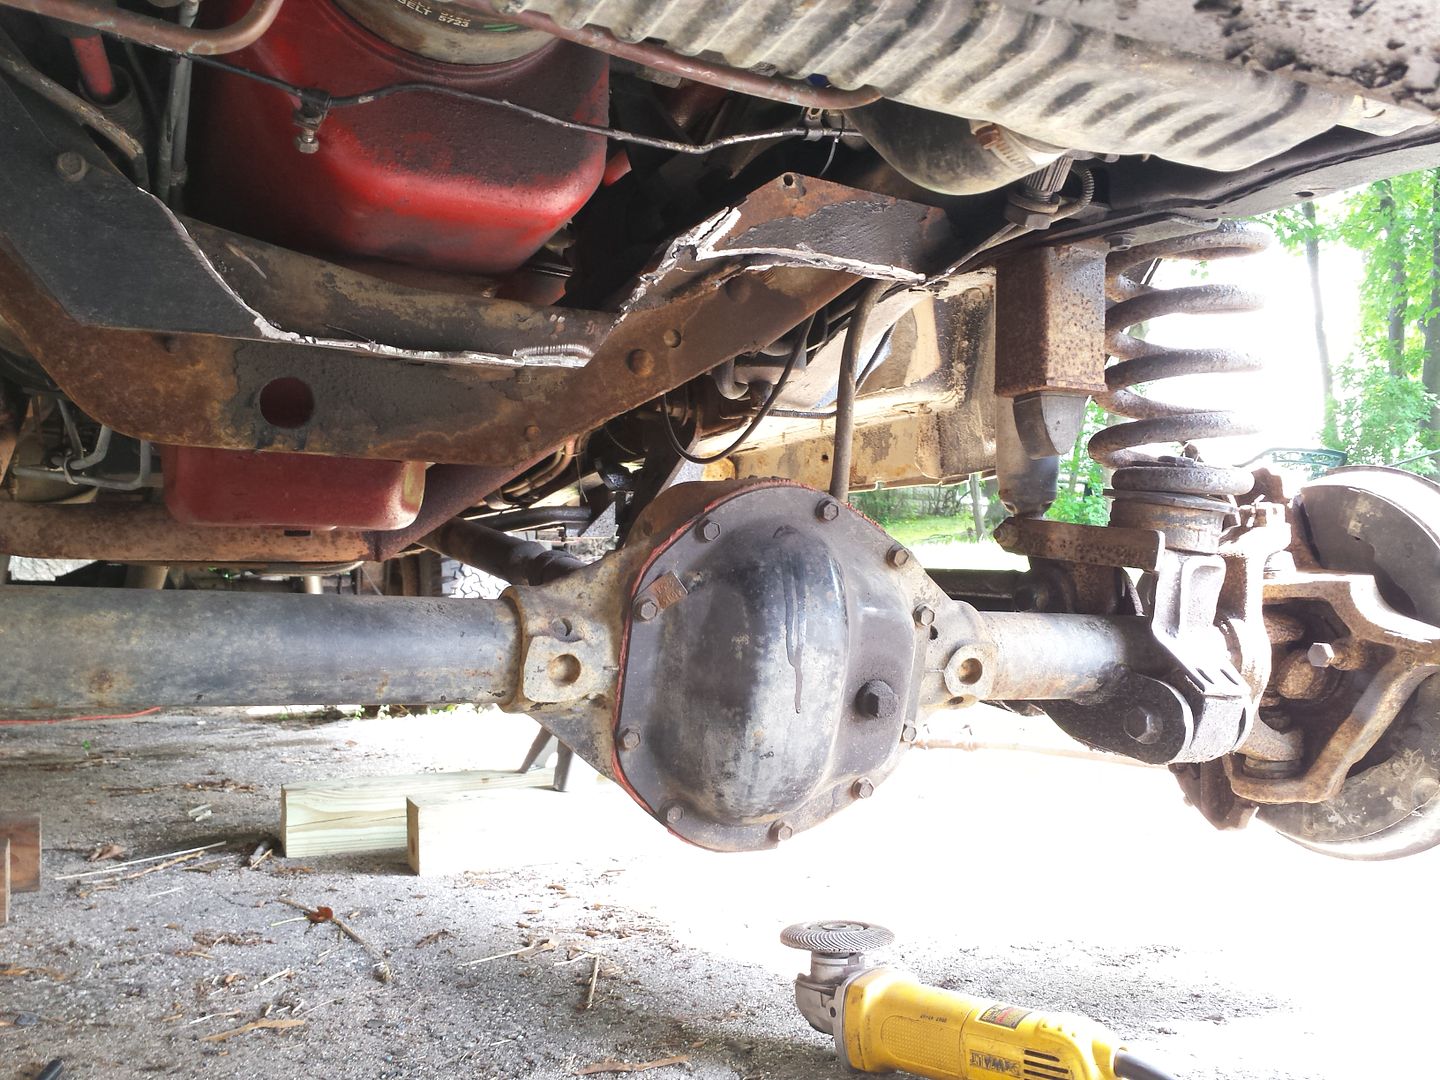
I eliminated the brackets on each side down on the axle as well as the bracket on the crossmember. There was actually quite a bit of material to burn through up there and I ended up with a rather ominous hole.
No bother. The plan than I don't have totally accounted for this.
While I was chopping with the plasma hatchet I decided it prudent to open up clearance a whisker above the front pumpkin. The intention for all the removals in the crossmember was to give myself a little breathing room for the panhard bar. When lining everything up by eye things were looking very....close.
Once I was done burning myself on the asphalt I decided it would be good to burn myself inside for a bit.
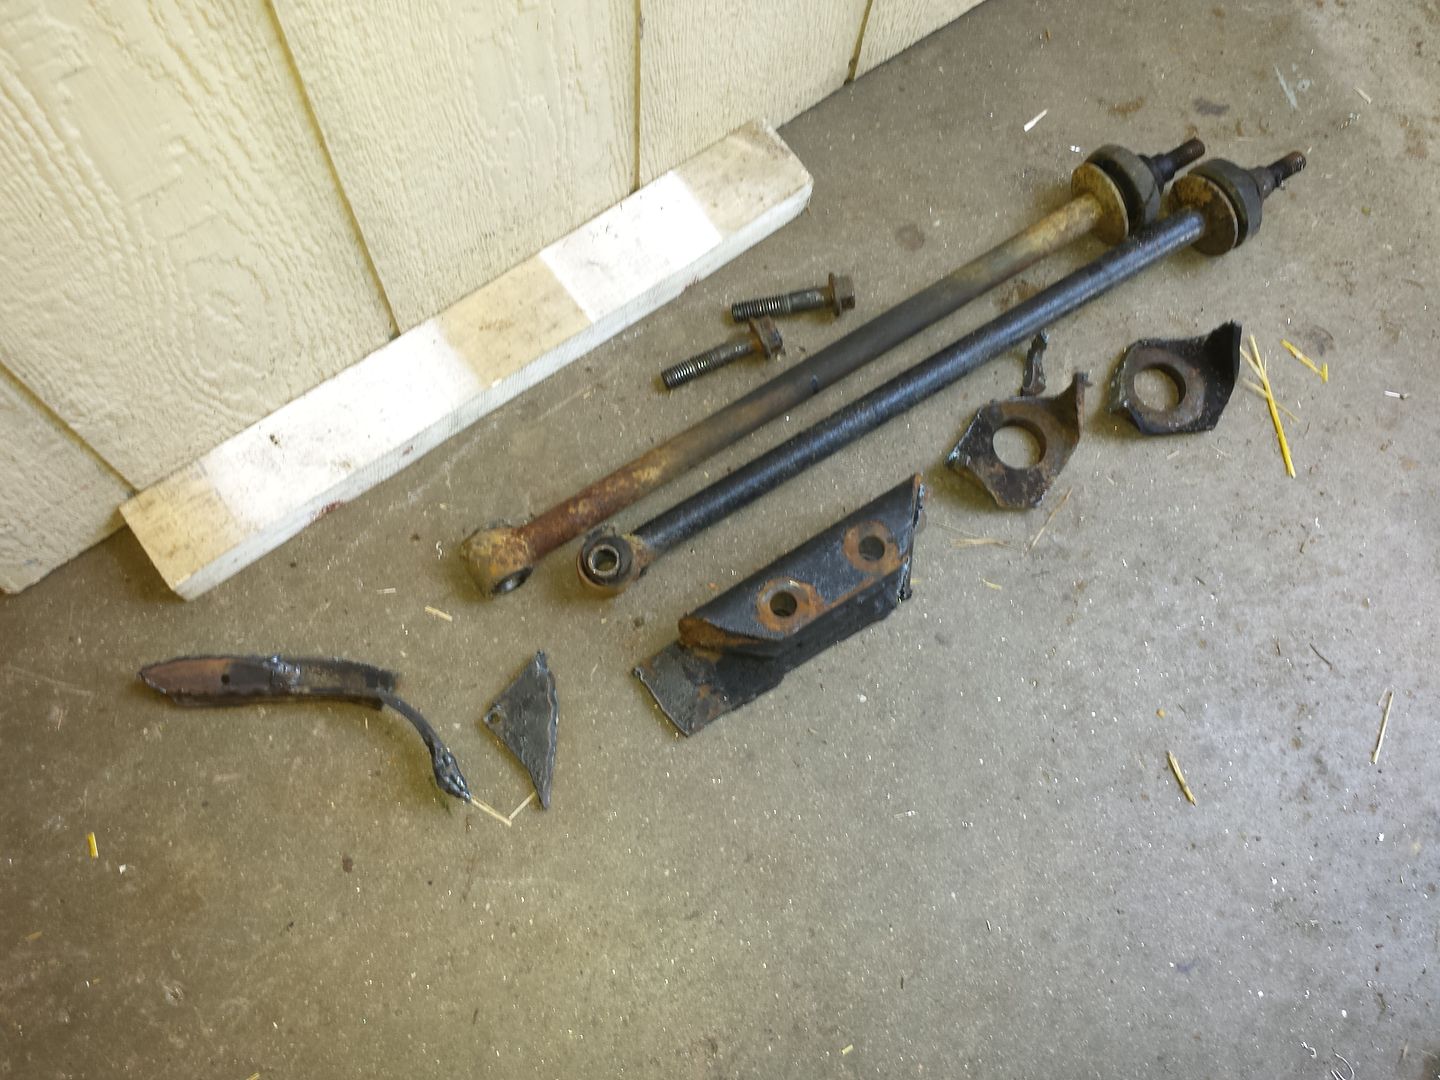
I got out the oxy/acy torch again and went to town straightening the pitman arm. Fear not...I followed the book. The arm is forged and can be bent very safely when you heat to the required temperature, continue applying heat while bending, and then cool very slowly in a bucket of sand. I took about 8 degrees out of the upper bend which should put everything in good alignment.

During the cooling process I ran out to get tie rod ends, ball joints, and some bolts.
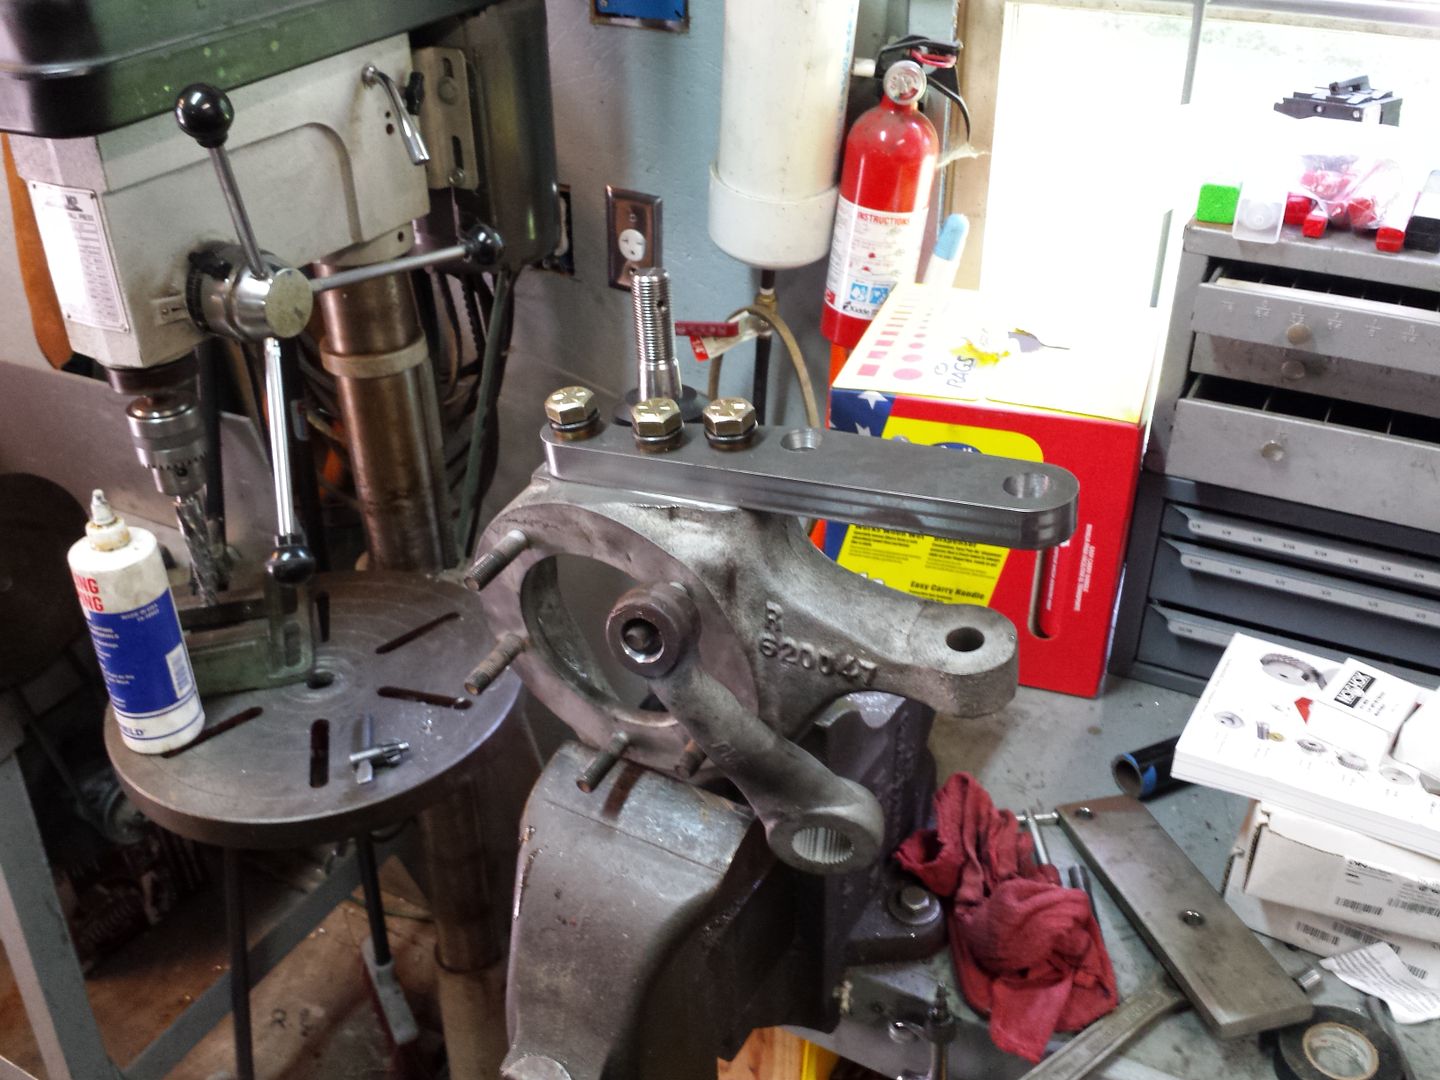
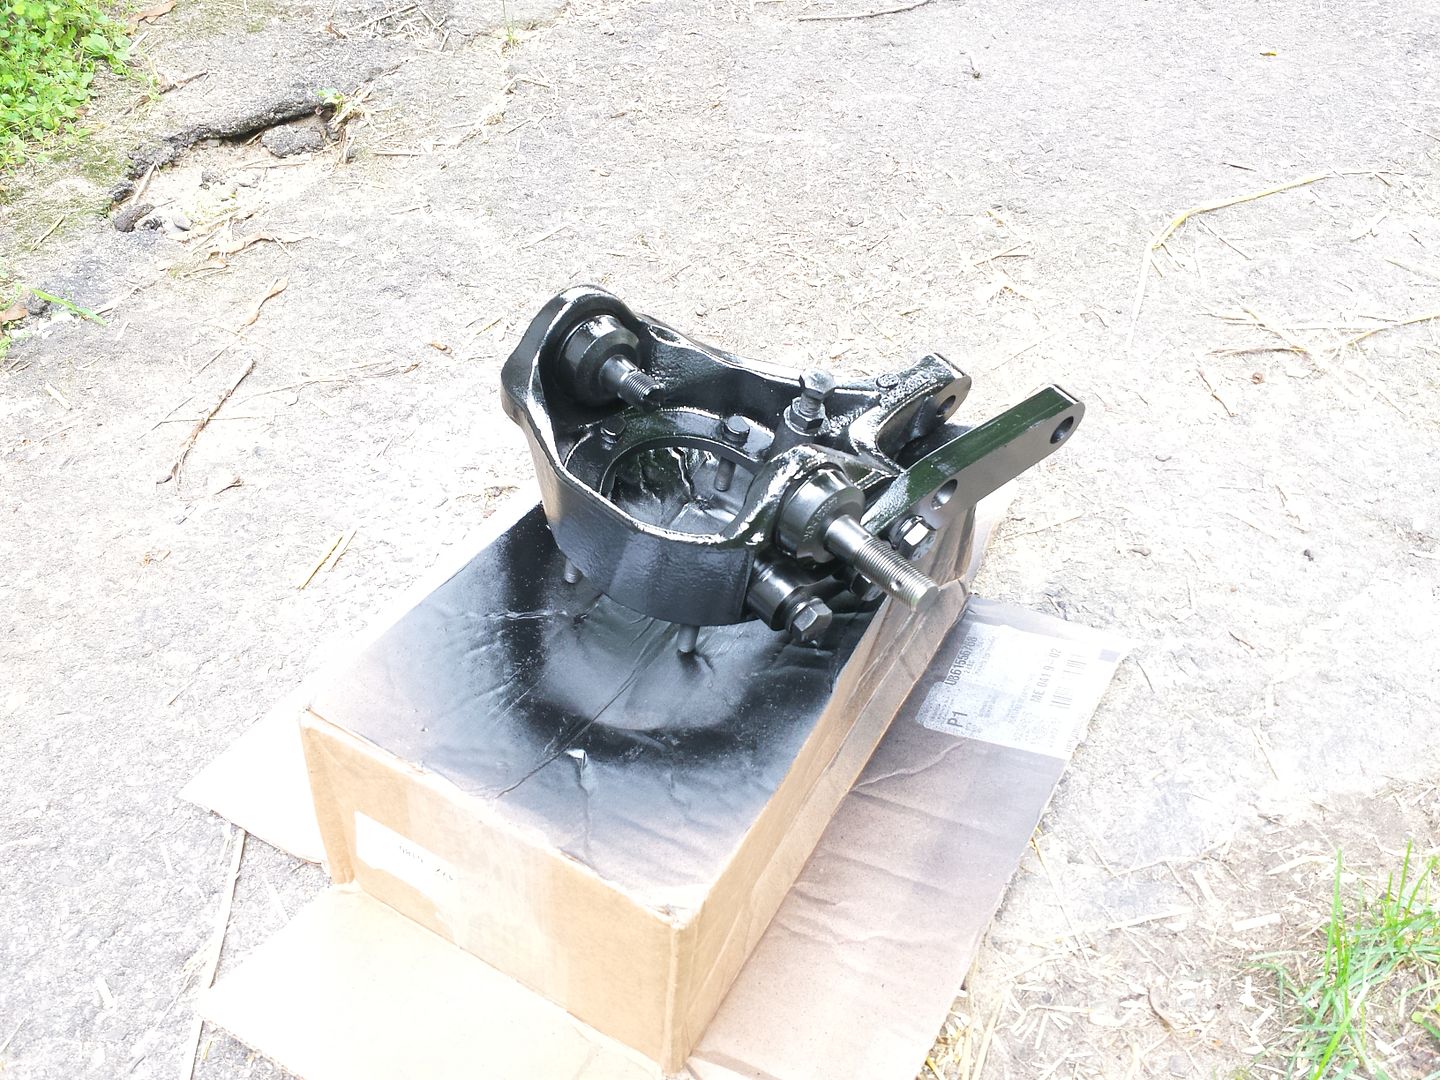
Upon return I fired up the mill and surfaced the top of the knuckle for the high steer arm. I also drilled and tapped the casting for the 9/16-18 bolts.

Once that was complete I broke out the 7 degree taper reamer to enlarge the tie rod end hole in the pitman as well as bore and ream a hole in the high steer arm.

And threw the rest of the knuckle back together.
By now grinding in the driveway wasn't going to bother anybody so I set to work cleaning up the hatchet wounds from earlier in the morning.
I needed to add a new flange to the areas of the crossmember which were originally cut by Pathfinder Industries and then again by myself. A few pieces of 1/4" x 1-1/4" steel bar made quick work of the repairs and the clearancing performed earlier really "started to pop" I probably gained almost an inch which is huge with these vans.
Unfortunately, I don't have specific pictures of the steel work. You'll see them in a few upcoming pics.
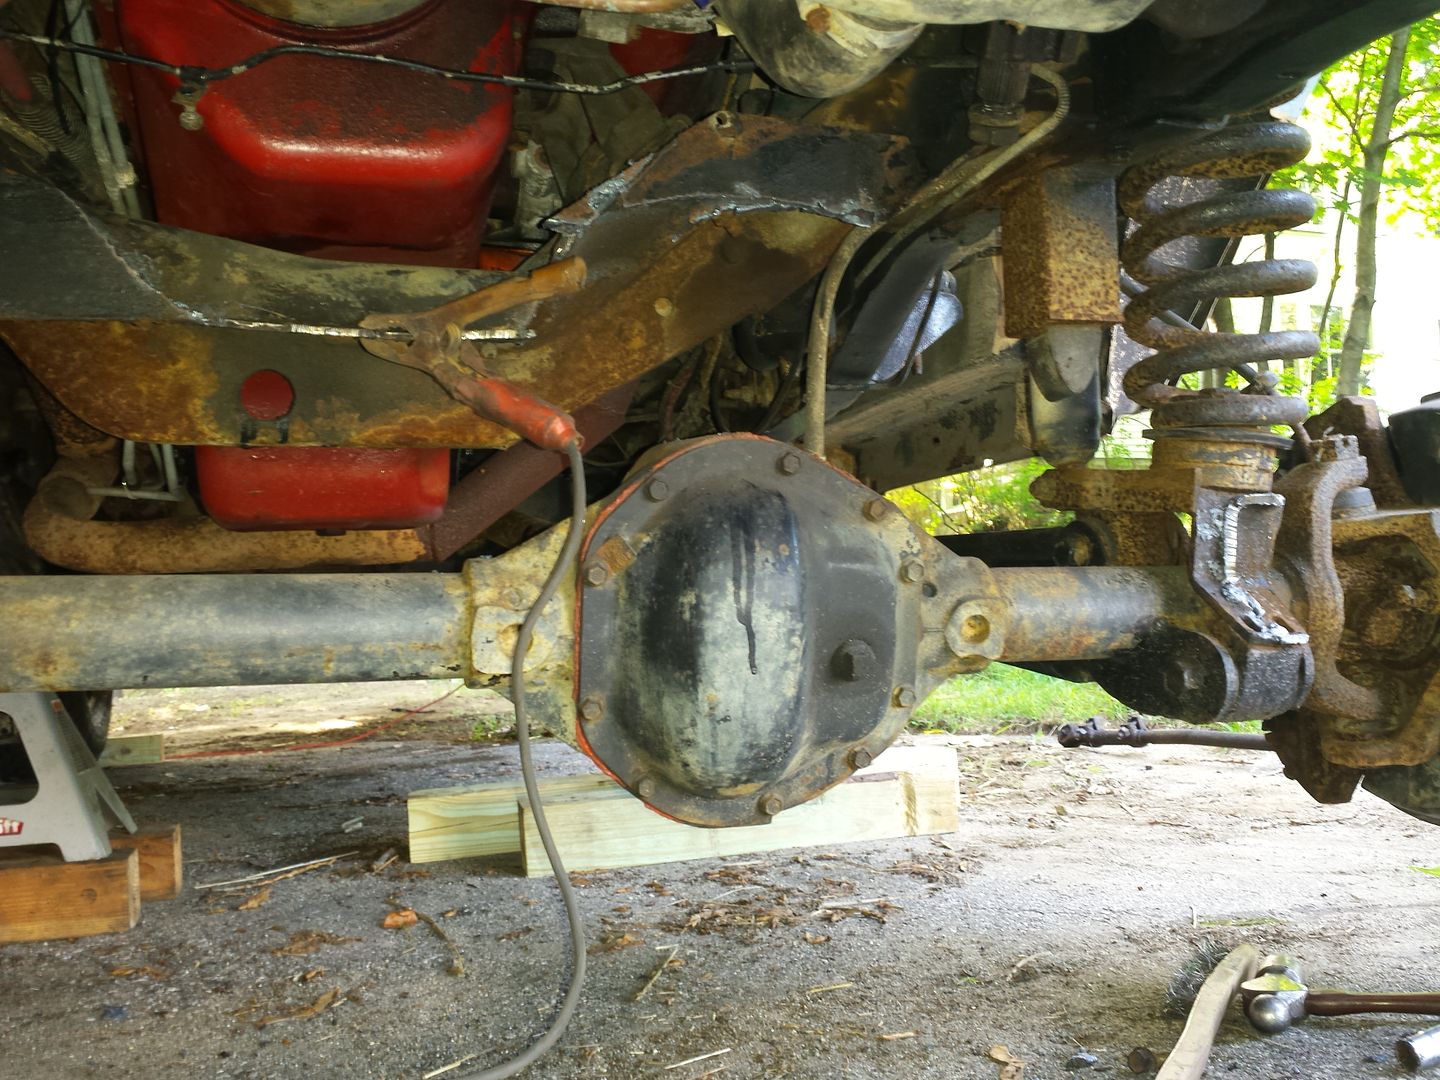
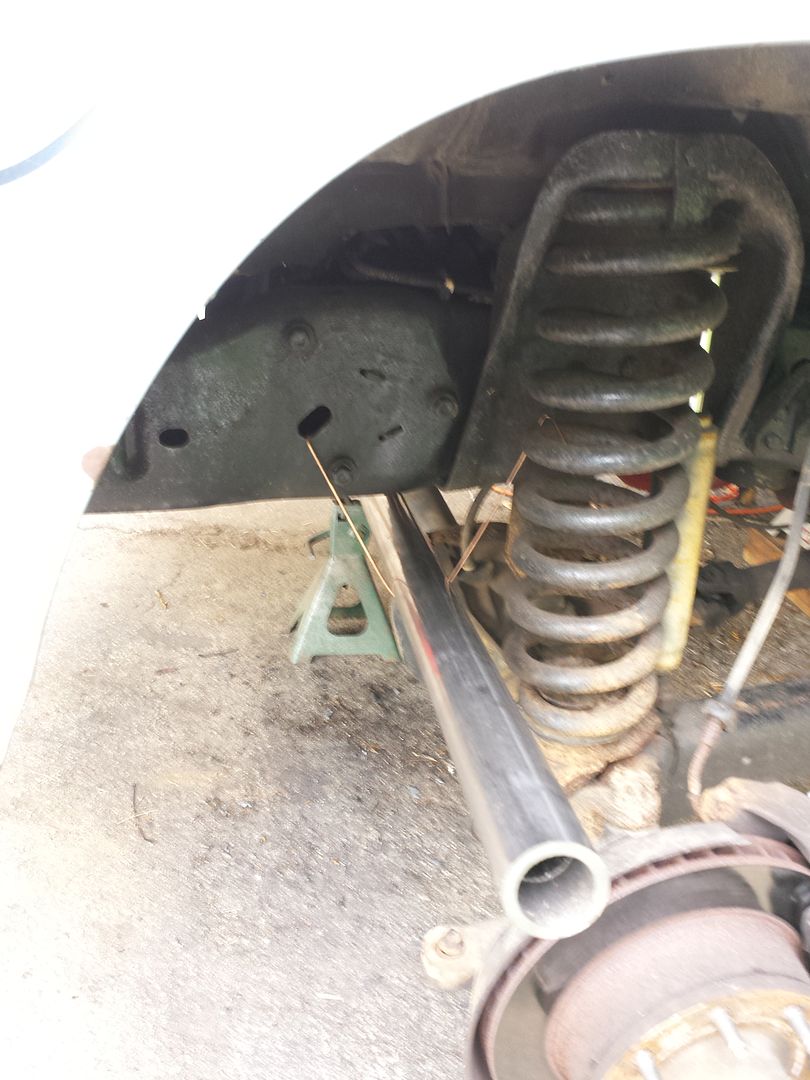
At this point I was itching to actually add in a piece of suspension linkage so I started in on the panhard bar mount on the axle. The stock mount has space behind the front plate for a welded nut so after a 3/4" steel spacer to get the the bushing out far enough for clearance. I still tried to keep it as close as possible to minimize the moment arm on the assembly.
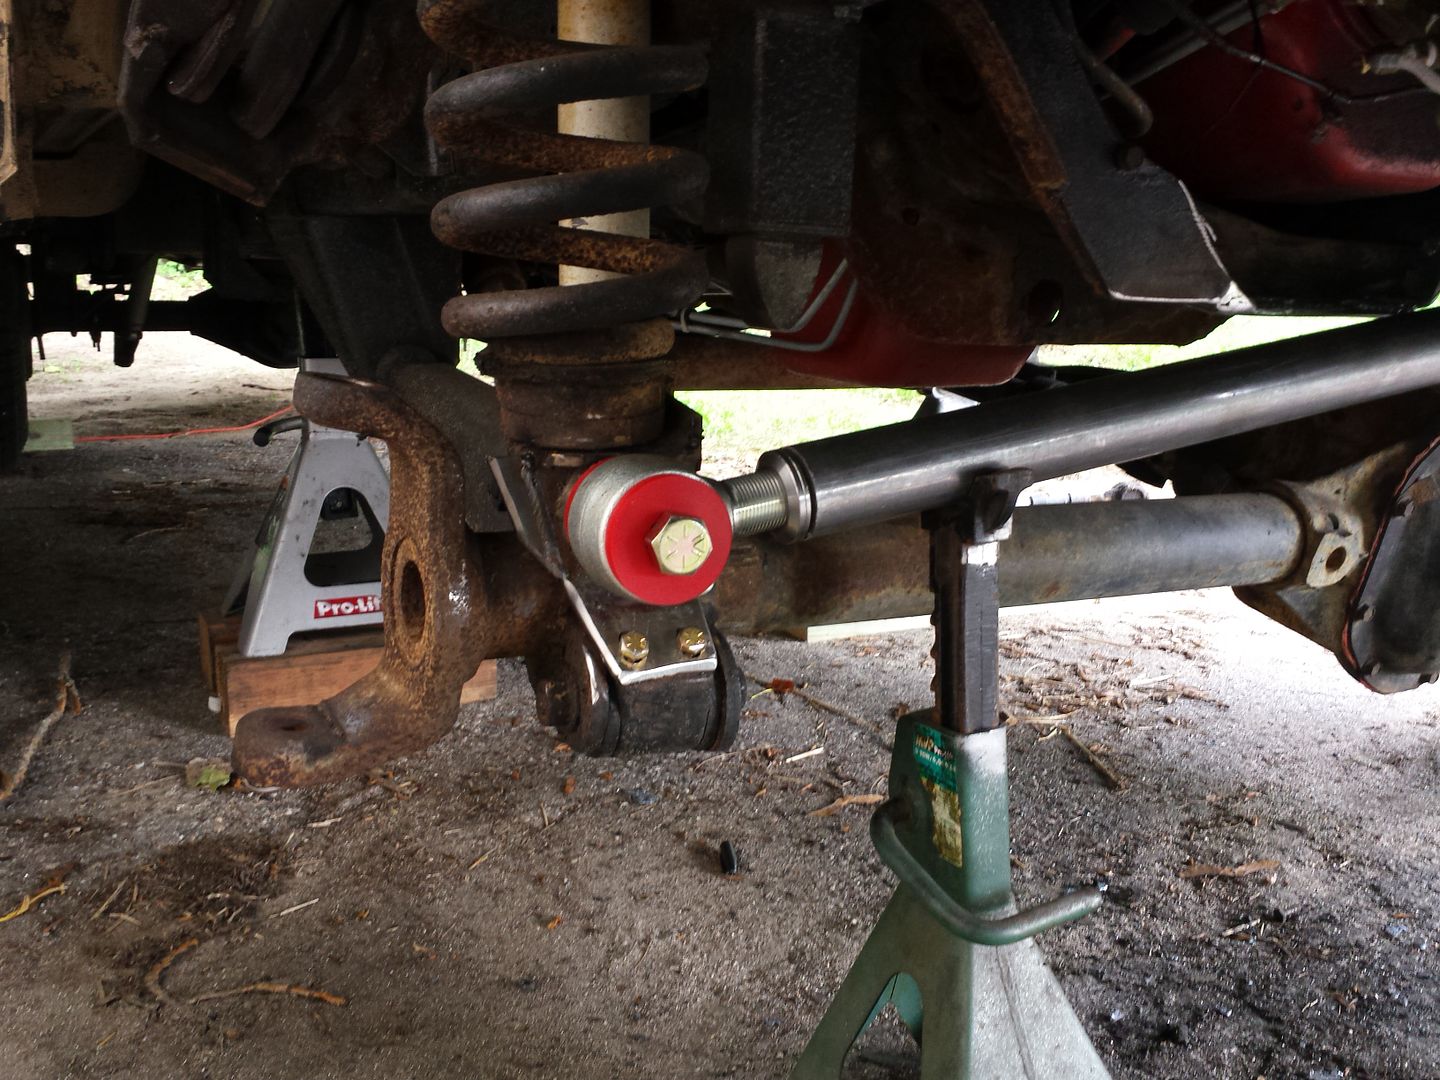
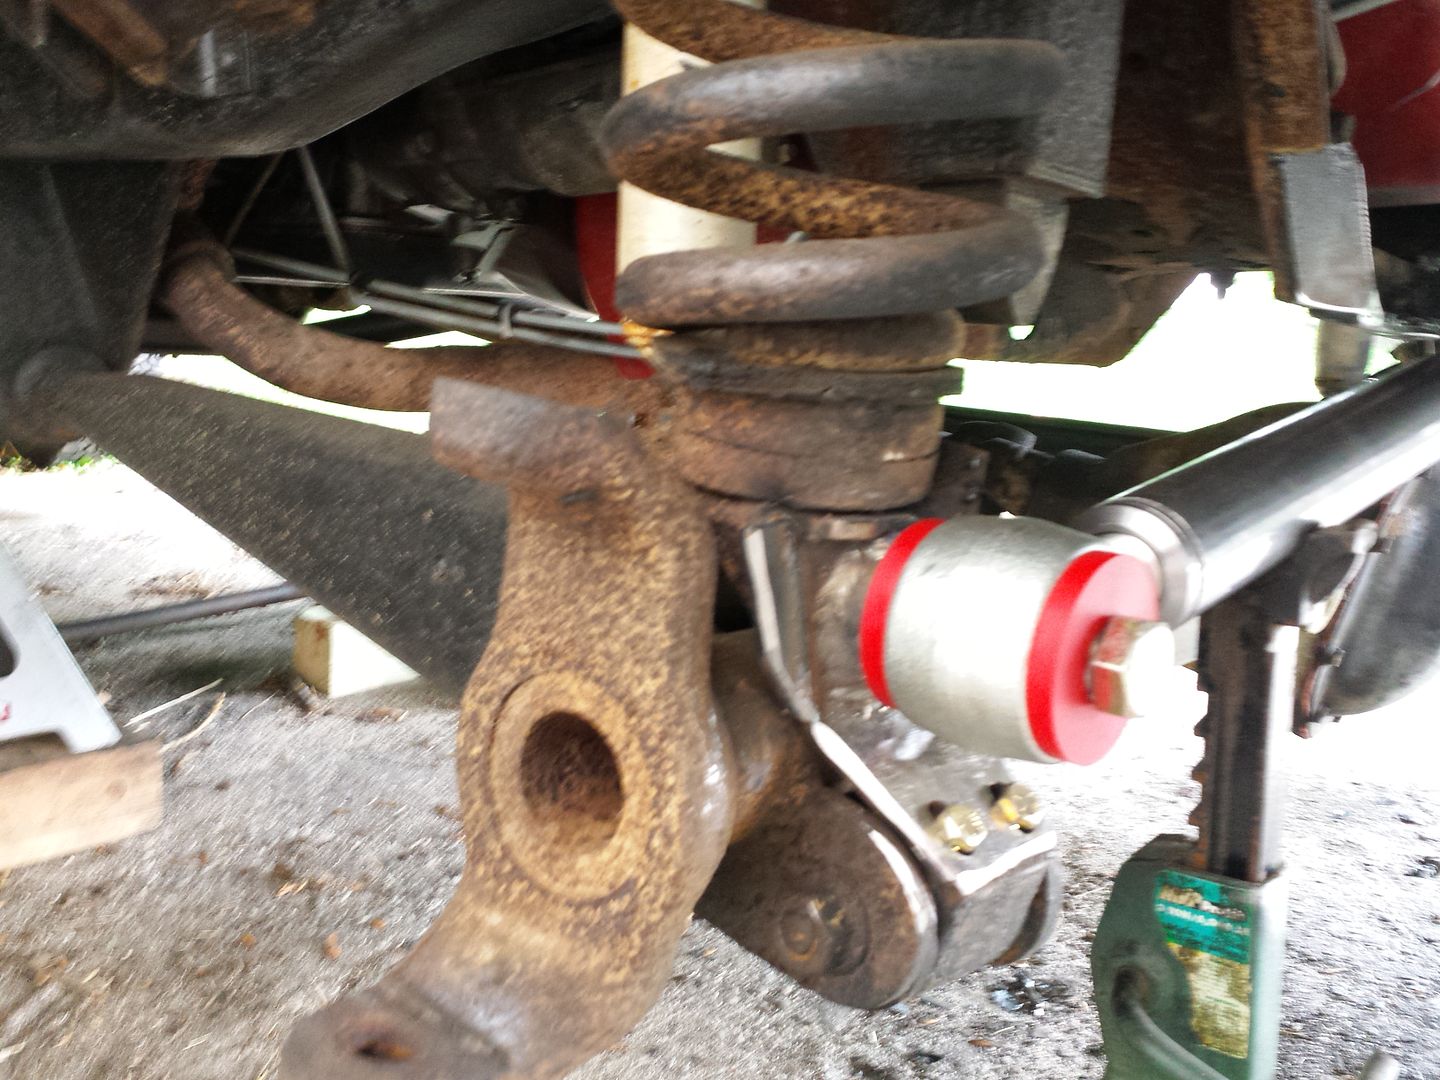
The mount is not complete yet as the final assembly will be in double sheer. I've allowed enough space for an outboard plate and don't expect any interference issues.
The opposite end of the panhard bar won't be mounted until the steering linkages are attached. Getting the panhard bar and drag link parallel and of nearly equal length is critical to prevent bump-steer. I can adjust the frame mounted end of the panhard bar position but I can't adjust the steering box position, so the frame end mount is the very last part to be fabricated. Also, not the new steel flange following along the bottom of the crossmember. I'll try and take a better pic tomorrow.

The opposite end of the panhard tube is supported by the most ghetto means I could devise....fabulous.
While all of this was going on I kept up on primer and paint for the knuckle assembly as well as a few other parts.
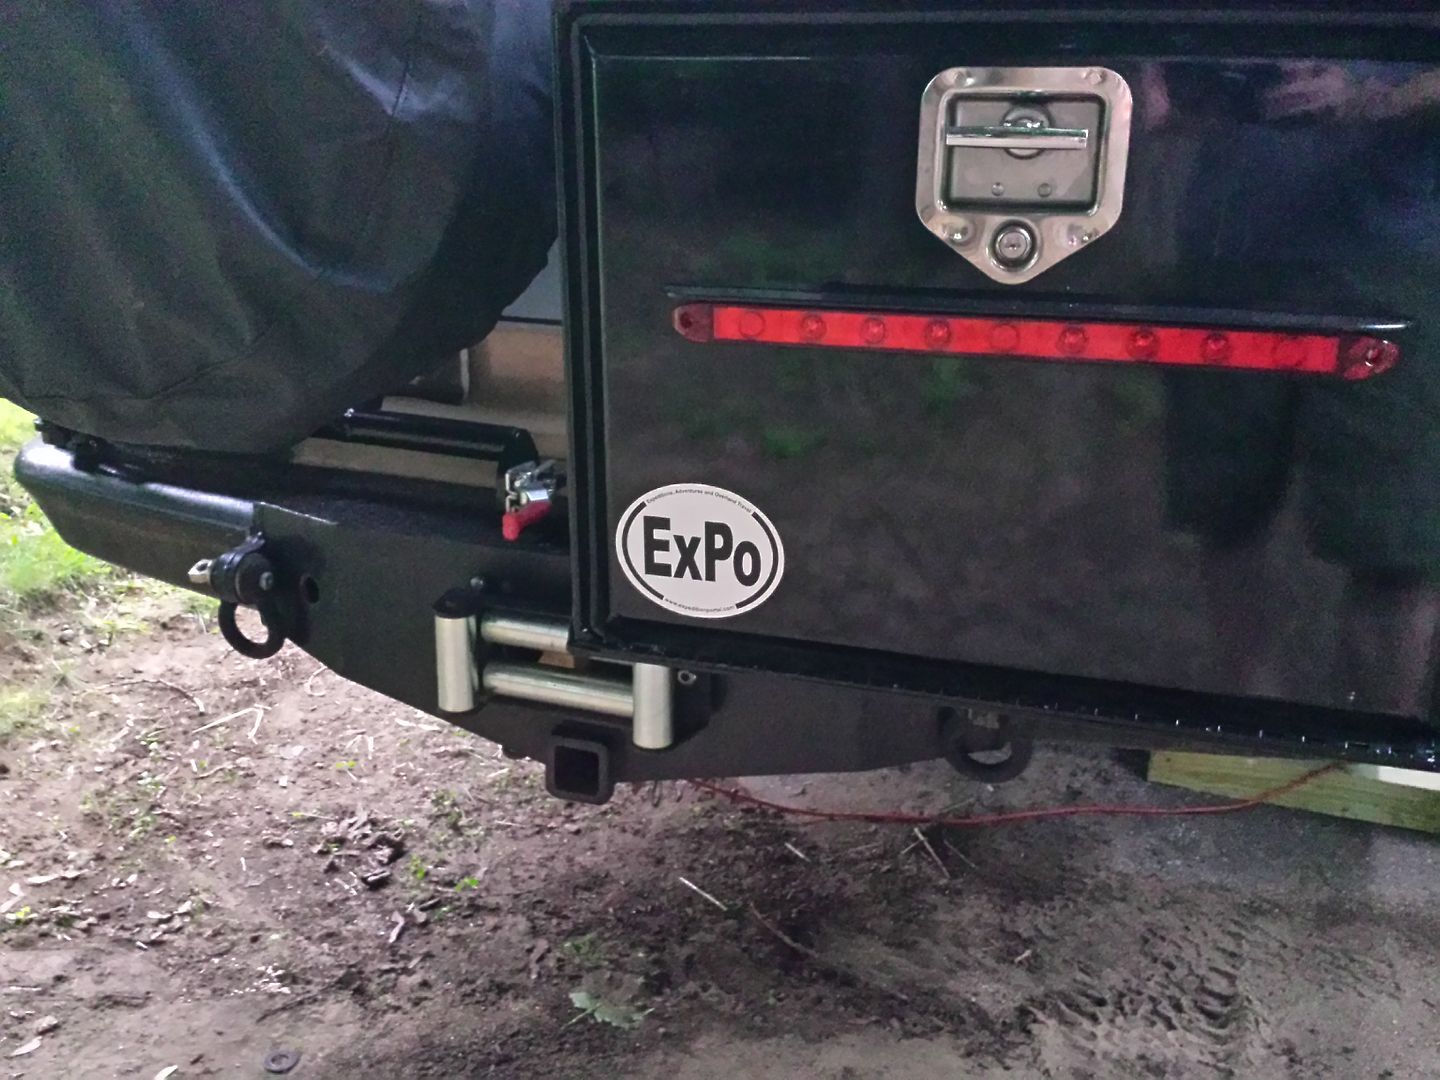
And then, right before closing up for the day, I applied my new sticker.
The shop was a disaster, I was a mess....it was time to call it a day.
SG


")


")


