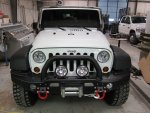
Brandy's 2012 JKUR Build

James Pierce

Adventurer
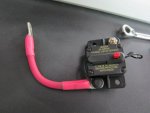
I installed the relay and breaker for the air compressor inside the battery box.

IMG_1083.jpg

I made up some 4ga cables using welding cable to connect the components.
IMG_1082.jpg

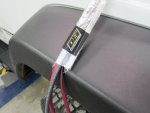
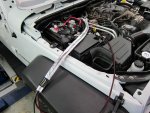
I also wrapped the cables in DEI heat sheath where they would pass close to the engine and exhaust.
IMG_1112.jpg

IMG_1111.jpg
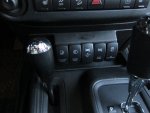
I was not that impressed with the switches and switch housing that came with the Spod. Don't get me wrong the panel design is functional and works well I just wanted something that looked a little more factory. I went with the lower Dastar panel and some laser etched Contura V switches from OTRATTW. I love the switches! They look like they came with the jeep from the factory. The daystar panel... not so much. Poor fit and I don't like it when manufactures feel the need to place their large obnoxious log on their products. I say let the product speak for itself. If it's built well you won't need to advertise.
IMG_1161.jpg

I wired the switches so that the lower LED (label) is illuminated when the dash lights are on...
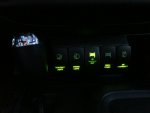
IMG_1162.jpg

and the upper LED (picture) is illuminated when the switch is turned on.

IMG_1163.jpg
 
Last edited:
James Pierce

Adventurer
Roof Rack Build

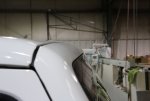
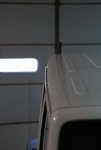
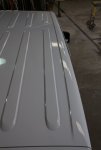
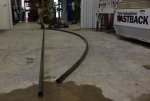
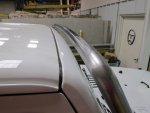
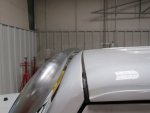
At first glance one might think the JK is just another boxy SUV like so many others on the market but upon close inspection you would be hard pressed to find a straight body panel. That being the case I've often wondered why manufactures use straight tubing when building aftermarket roof racks. My desire has always been to create a rack that accentuates the curves of the modern wrangler.

Curves...

161A0520-1.jpg

Curves...

161A0517.jpg

And More Curves

161A0523.jpg

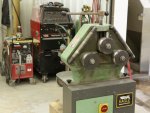
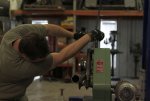
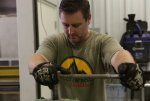
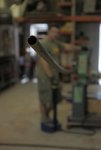
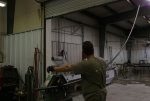
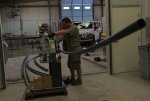
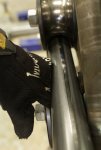
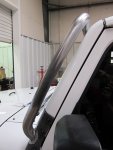
I started with 1 3/4" HREW and with the help of my friend Mark, who avoided being in any pictures for some reason, began rolling the tube which would become the skeleton for Brandy's rack.

Eagle Roll

MD5_3486.jpg

MD5_3536.jpg

MD5_3509.jpg

MD5_3532.jpg

Yes it really does have that much curve in the body!

MD5_3552.jpg

MD5_3625.jpg

Before and After

MD5_3556.jpg
 

NMBruce

Adventurer
Been following your adventures on another web site, and with a white 2013 Rubicon Unlimited, now I need to follow this for ideas.

I love the AEV bumpers, what do you hint of the weight of them?
 
Last edited:
James Pierce

Adventurer
Bruce,

The bumpers are very light to be as strong as they are. The strength is in the design and being made of stamped steel. IMHO I don't think there is another on the market that matches the body lines better.

James
 

James Pierce

Adventurer
Roof Rack Continued

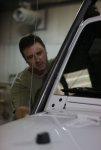
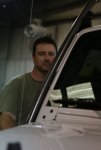
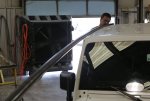
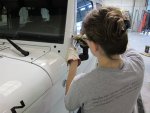
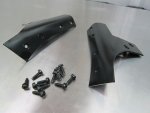
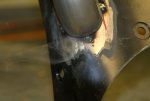
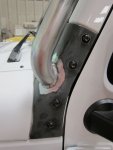
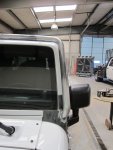
Brandy began by removing the factory windshield brackets while I worked on the aftermarket brackets.

IMG_1177.jpg

IMG_1178.jpg

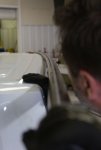
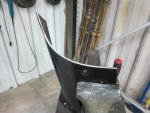
The bottom of the aftermarket brackets needed to be relieved so that they would not to rub the cowl.

IMG_1180.jpg

IMG_2035.jpg

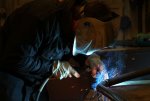
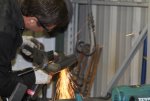
Melting Metal

IMG_2045.jpg

IMG_2060.jpg

IMG_2085.jpg
 

crawler#976

Expedition Leader
Very nice!

I've more than a little impressed with the fab work, it exceedingly clean and well thought out.

In my experience, the MT/R Kevilar is a vastly superior tire to the BFG KM2 in all conditions. I've had both on the Cactus Red Power Wagon, and of the 4 sets of tires it's had on it, the KM2's were the worst for traction. I had some weird wear due to having them mounted opposite - when the MT/R's K's first came out, it was said that direction didn't mater, but it most certainly does. As far as what you will get, I cant' say, but a friend has gotten nearly 40K on an '01 F250 diesel, and that's pretty good wear considering the weight.
 

James Pierce

Adventurer
Adventure Trailers Combo Slide Install

I had to put the roof rack on hold for a bit to make preparations for a trip to Colorado that I had put together.

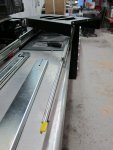
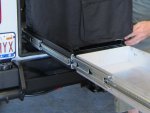
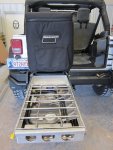
The first mod I needed to complete was the install of an Adventure Trailers Combo Slide:

IMG_1213.jpg

What's the first thing you do when you receive a new toy? Take it apart of course.

IMG_1219.jpg

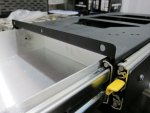
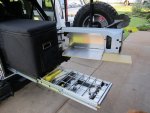
In order for the National Luna Quick Release Base Plate to work AT recommends you shim the base plate up to clear the lip on the front of the slide. I chose to remove the lip all together and loose the 3/4" that would have been added to the overall height. This also allowed me to move the fridge forward so that it is flush with the front of the slide. It really needs to be flush in order for it to fit between the door and the back seat. It is a very tight fit. Also by lowering it 3/4" it opens a little bit further. The Fridge lid will just hit the wiper cover on the rear window if the cover is not removed.

IMG_1215.jpg

Lip Removed

IMG_1233.JPG.jpeg

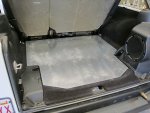
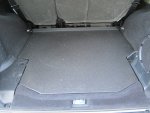
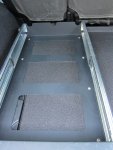
I did not want to drill through the carpet and tub to mount the slide. So I cut a base plate out of 3/16" aluminum which the slide bolts to.

IMG_1220.jpg

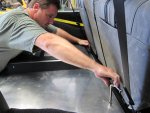
The aluminum plate bolts to existing tie down locations in the tub.

IMG_1226.jpg

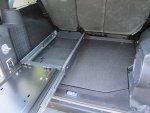
Then slide then bolts to the aluminum plate.

IMG_1231.jpg


IMG_1237.jpg
 

James Pierce

Adventurer
After having completed the plate I sent it to be coated with LineX. The plate and slide can be removed from the jeep as one pice. With the quick release fridge slide and the alloy base plate I can remove the the unit in under 3 min and return the jeep to stock form. However since having installed the fridge it has been so handy we have yet to remove it. :)

IMG_1244.jpg

IMG_1246.jpg

IMG_1247.jpg

IMG_1251.jpg

IMG_1250.jpg

IMG_1249.jpg

IMG_1248.jpg

IMG_1253.jpg

IMG_1252.jpg

IMG_1260.jpg
 
Last edited:
Forum statistics

Threads
188,239
Messages
2,904,423
Members
229,805
Latest member
Chonker LMTV
Top