Build - Fiberglass & Foam Truck Camper

underkill

Active member
IMG_0541.jpg
Now I need to cut the hole for the hot air duct
IMG_0537.jpg

IMG_0539.jpg

IMG_0541.jpg

IMG_0542.jpg

IMG_0543.jpg

Time for a countertop test fit!
IMG_0544.jpg

IMG_0546.jpg

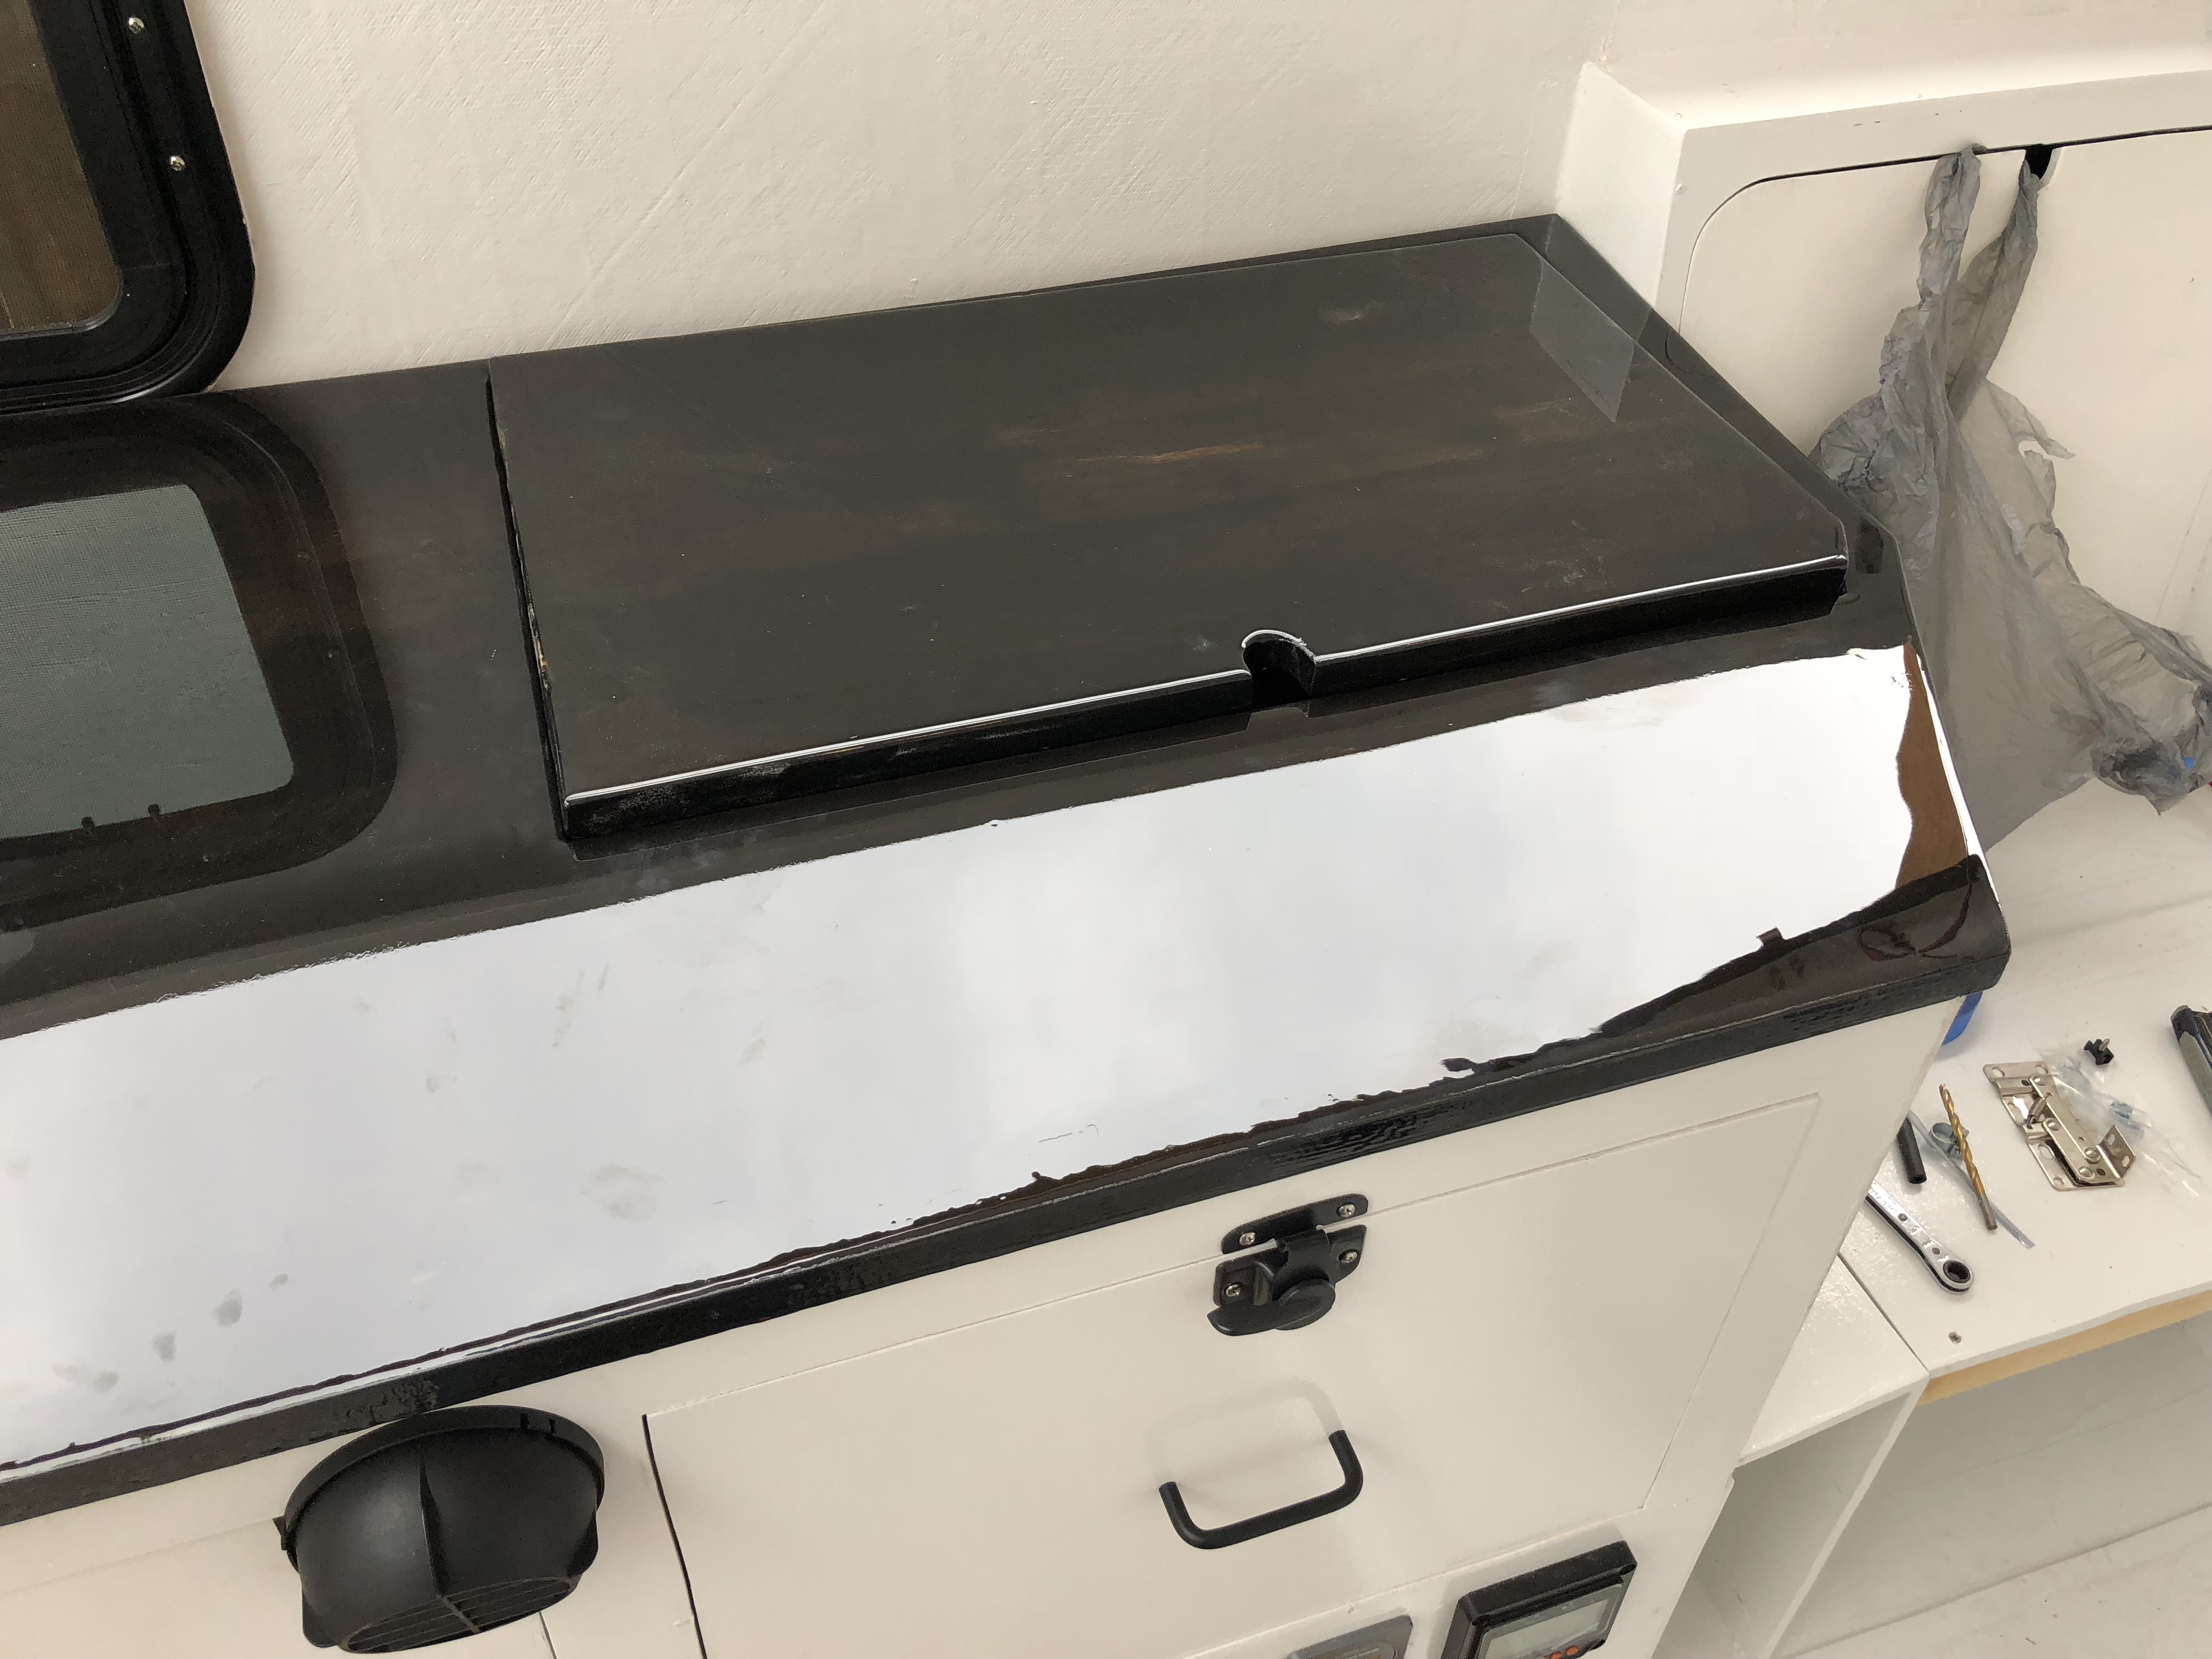
The stove cover needs some trimming now due to the thickness of the epoxy layer. It should look amazing when it's done though.
IMG_0547.jpg

The sink cover fits perfect!
IMG_0549.jpg

I'm super duper pleased with how the countertops turned out! It's literally exactly what I wanted!
 

underkill

Active member
Now it's time to start the canvas!

I’ve actually had the fabric for quite a while now. I bought like 6 yards of bright orange vinyl coated polyester and 2 yards of black for “just in case” and “oh crap I want a cover for this thing!” I chose 18oz weight because that’s apparently what most pop up campers are using, so it seemed like a safe bet. It’s actually a lot more flexible and thin than I thought it was going to be, but it should fold nicely inside the camper. I also keep calling it “canvas” but, like I said above, it’s vinyl coated poly. This means it’s completely waterproof, super rugged, and won’t rip. Mytarps.com, where I bought all this stuff, has great prices and a huge selection of fabric.

The first step was to take the orange canvas and cut it in half lengthwise. It comes 61″ wide and the height I need is 28″. Worked out pretty perfectly!

IMG_0529.jpg

My plan is to get all 4 sides done, and then sew them together. I’m doing this all on our kitchen table, which is big, but not big enough for all of that! So… multiple pieces it is!


The first step to actual sewing (besides obsessive amounts of measuring), was using the basting tape (essentially ************ double sided tape…) to hold my fabric down so I can sew it. Apparently you use this stuff instead of pins when you have heavy duty fabric or waterproof fabric… and I have both!

IMG_0534.jpg

I have a helper...
IMG_0533.jpg

I had to watch an entire youtube video on how to set up the thread on my new Sailrite sewing machine...
IMG_0527.jpg

Some test stitches to get used to my new toy...
IMG_0528.jpg

To start I hemmed both sides to make the width exactly 28" tall.
IMG_0532.jpg

Did that for all 4 sides and labeled them so I don't get them mixed up!
IMG_0548.jpg

If I didn't want windows, I could have sewn all 4 sides together and been done, but I want big windows... so here we are!
(no big family dinners until I'm done sewing!)
IMG_0551.jpg

The tutorial I’m following is actually for windows in the clear plastic of a boat enclosure. Since I can’t see through my material, my plan was to make a pattern and then draw the same shape on both sides of the fabric. The first step in this devious plan is to actually make a pattern. I had a sheet of plywood/laminate/cardboard that was used for shipping something. (don’t remember what). I figured it would work great. The tutorial also recommended a minimum radius of 8″… so I went with 10″ just so I had less issues with the corners.
IMG_0555.jpg

There are going to be 4 big D shaped windows.
IMG_0556.jpg

They're going to be BIG!
IMG_0557.jpg

IMG_0559.jpg

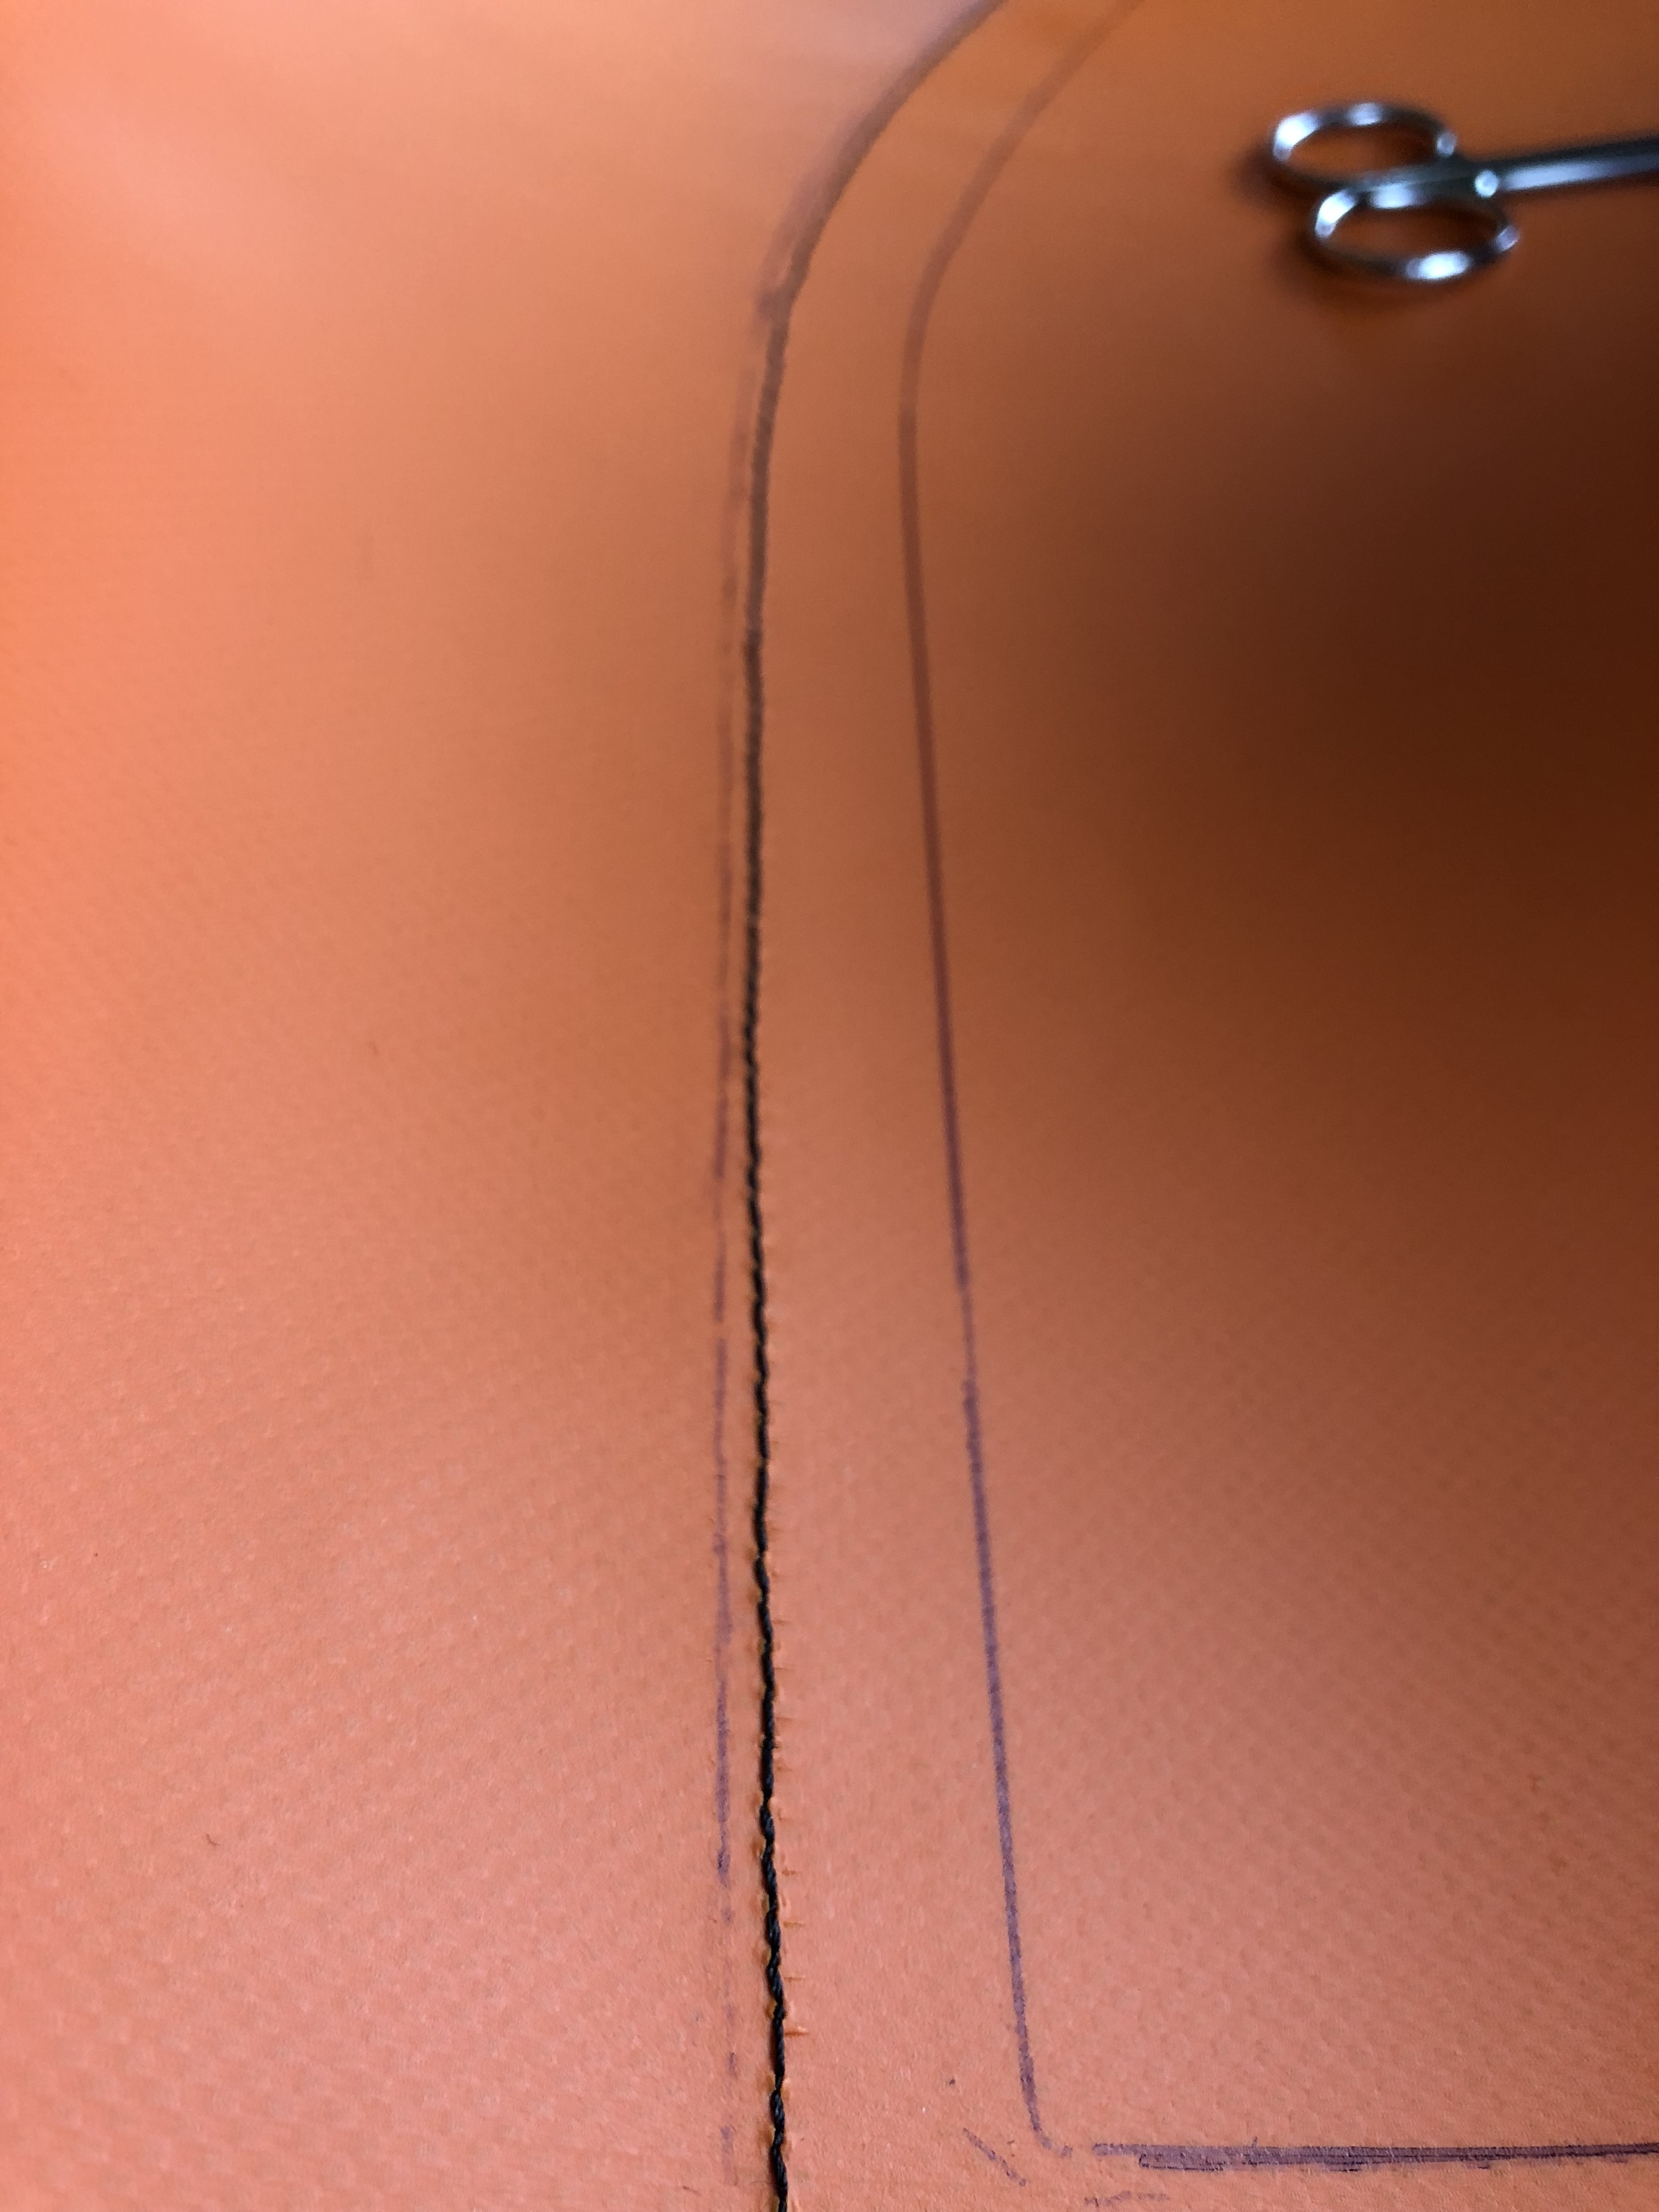
I marked the window on both sides of the fabric and then used the bias tape to attach the bias tape
IMG_0561.jpg

Sewing it on
IMG_0562.jpg

Now it’s time to sew the zipper in. I started by putting basting tape on both sides of the zipper and then very carefully aligning it with the tape on the other side. The zipper will curve around the radius, but it gets a little awkward.
IMG_0564.jpg

The seam for the zipper on one side matches up to the other edge of the bias tape on the other side. Pretty slick.
IMG_0566.jpg

I definitely wanted mesh screens to keep bugs out!
IMG_0568.jpg

Cut to fit
IMG_0570.jpg

Bias tape on the other side of the screen
IMG_0571.jpg

The hardest part was trying to mark on this side where the two pieces of bias tape meet on the other side so I can use it for a reference. I didn't quite get it. The tutorial I was watching was for windows on clear vinyl for a boat enclosure. It's a little harder when you can't see through your material.
IMG_0574.jpg
 

underkill

Active member
Despite my rampant negativity, I did actually manage to finish this stupid bias tape and it doesn’t look awful from a few feet away because it’s black and I bought black thread! Ironically I only bought the black thread because they were out of the clear/white thread that’s usually used. So that worked out nicely!
IMG_0581.jpg

That actually didn't turn out too terrible. I started with the window on the canvas that goes at the very front. People will look at that one less! I’m now done with the actual window/zipper situation. The next step is to separate the zipper and cut the canvas so the window opens. (but NOT to accidentally cut the screen!)
IMG_0582.jpg

Put the double zippers on
IMG_0583.jpg

The last step in the window process is to sew on the 2″ tape at the top to cover the ends of the zippers and the screen. It also makes it look a lot more finished! Also at this point is where you do whatever you want to hold the canvas up when you want the screen exposed. I have a lot of little buckle things leftover from an old boat cover, so instead of buying something I actually wanted (and having to go to the store…) I just used those.
IMG_0584.jpg

IMG_0585.jpg

IMG_0586.jpg

IMG_0587.jpg

These are going to flow a LOT of air!
 

underkill

Active member
I didn’t get a lot of other stuff done on the camper this weekend since I was concentrating on sewing the canvas, but I did manage a little bit!

We ordered a power inverter so we can run laptops and my coffee machine, however it was just way too big for any of the spots we were going to install it. So it gets to go back to Amazon. The replacement came in yesterday though! 750 watts should be enough for my coffee (and the laptop? the laptop might actually be MORE powerful than my little coffee pot…), it’s much much smaller, and it’s orange to match the camper. That’s just a bonus but it makes me happy anyway.
IMG_0552.jpg

I’m not quite ready to install the countertops yet, so I did a little bit more work on the hinged stove panel. The thickness of the gloss I poured over it made it to where it didn’t fit. I ended up sanding down the sides to bare wood and reapplying the black stain to the edges. Fits great now!
IMG_0553.jpg

I sealed the edges of the balsa/fiberglass panel that will make the slide out portion of our bed with epoxy. That will get rid of any lingering sharp fiberglass pokies and make it easier to paint.
IMG_0554.jpg

Painted!
IMG_0563.jpg

Since I knew I was going to be ignoring the camper today while sewing, I went ahead and slapped some primer on the other side of the bed slide and a layer of final white paint on the other. As luck would have it, I’m now completely out of white paint and I still have one side to go. I guess I get to run to West Marine after work one day.
 

underkill

Active member
I've been using this youtube tutorial for the windows (like obsessively)

If you watch the video linked above, you’ll see that they’re sewing a window into clear plastic for a boat enclosure. Since I can’t see through my orange canvas, I had to mark the underside differently. They just see through their material and mark where both sides of the bias tape meet. I decided to mark the other side after I sew on the first piece of tape. It’s easier to see where it stops and I can shove my pen into it and it actually draws pretty nicely.
IMG_0589.jpg

I also like to put the basting tape in the middle of things. That doesn’t work around corners very well, so I started taping things at the edges. On some critical seams that bend around the corners I would have two layers of tape. Might seem like a waste of tape, but it sure made things easier.
IMG_0590.jpg

I guess I have a little bit of an excuse with the first window in that I was learning how to use my brand new machine, but it seems pretty obvious now that the more consistent the seams are, the easier it is to use them to locate other seams… So I stepped up my game a bit and it made everything look, and work, a bit more nicely.
IMG_0592.jpg

…and because I always forget that the little ******** is down there… periodically check the bobbin thread. I ran out once this time and it just pisses me off out of principle because it’s such a small easy thing to fix.
IMG_0593.jpg
 

underkill

Active member
Finished up another window!
IMG_0597.jpg

By far the most annoying part of sewing these windows is keeping the canvas rolled up and out of the way. I have a lot of canvas and a small table, so this is harder than it sounds.
IMG_0598.jpg

I made my own little buckle ends.
IMG_0599.jpg

I’ve been slowly working my way through the windows and sewing the pieces together. The zippers on the first 3 windows went just fine, but on the 4th one (and, of course, the one that will be most visible and the one I wanted to look the best) the needle just wasn’t having any more of my ********. I ended up breaking one on the first end of the zipper and then knocking the tip off of the needle on the second one. Awesome.
IMG_0600.jpg

and of course that messed up the corner a little bit.
IMG_0601.jpg

Not my best window of the 4
IMG_0612.jpg

Now comes the hard part... stitching all 4 of these pieces together...
IMG_0613.jpg

That's almost the entire length of my house...The hard part here is rolling up the end tight enough that it fits through the arm of the sewing machine so I can actually sew it… I have almost 30′ of fabric in total.
IMG_0615.jpg

I'm going to add velcro to both edges of the canvas so I can eventually make a removable insulation layer for cold weather camping. My back hurts from awkwardly leaning over my machine and feeding fabric through, but it's done!
IMG_0620.jpg

IMG_0621.jpg

The last seam is going to be hand sewn to keep the canvas tight after it's installed on the camper!
 

underkill

Active member
Got some small stuff done today. The inverter is mounted and ready to go.
IMG_0624.jpg

IMG_0625.jpg

I also made some covers for the cookie/chip cabinet so they don't fly out. ;)
IMG_0643.jpg
 

underkill

Active member
Now it's time to actually attach the canvas. A lot of campers just have the canvas screwed into wood. That would be convenient and quick, but wood rots. We have two pieces of aluminum angle epoxied to the camper shell and roof that we are going to attach our canvas to. The top will just be screwed in but the bottom will be thru bolted. We decided on 4″ bolt spacing. No real justification other than I looked at other campers and thought 4″ looked like what they had. Then Jason went through and drilled all of the holes while I followed him with the countersink bit to clean up the holes so we didn’t risk damaging the canvas. It was a pain in the ass.
IMG_0626.jpg

IMG_0623.jpg

I decided to do it like reupholstering a motorcycle seat and just start from the middle and work my way to the ends!
IMG_0627.jpg

IMG_0628.jpg

IMG_0629.jpg

Working our way around the sides...
IMG_0630.jpg

The canvas is actually getting pulled tight!
IMG_0631.jpg

This is pretty tedious. We're using stainless screws with self locking nuts on the back side. I have to poke a hole in the canvas with an awl where the bolt goes through. It's pretty slow going!
 

underkill

Active member
We're making pretty good progress down the sides of the camper. It's very orange in here! :eek:
IMG_0634.jpg

IMG_0635.jpg

IMG_0637.jpg

IMG_0638.jpg

The sides are pretty much done now!
IMG_0639.jpg

The windows are HUGE and flow a ton of air!
IMG_0644.jpg

The mesh doesn't block the view at all really
IMG_0645.jpg

My iphone doesn't like trying to balance the colors between the orange canvas and purple tinted lights.
IMG_0646.jpg

We’re still not done with the back piece. The aluminum is 1/8″ thick and even though we have oversize pilot holes, we keep breaking a ton of the screws for the upper canvas in the roof. So many, in fact, that we ran out and need to go buy another box of them. That was super frustrating. We’re also waiting for the hand-sewing kit we ordered to actually finish up the last corner, so we’re going to have to wait until Friday to finish this installation anyway.

Regardless, I think it actually turned out fantastic! The windows are huge, work well, and flow a ton of air. The canvas is a pain, but straightforward to install. There are some waves in the canvas, but not as many as I think even show up in the photos. I can’t wait to take this thing camping!
 

underkill

Active member
Since the camper is almost a usable thing we made an appointment with the DMV to get this thing inspected and legal! That means it needs to be able to go in the truck. We made a hoist system in our backyard to lift it up. Aside from a little imbalance from the battery on the port side it was pretty easy to put in the truck! and now I get to show off how cool it looks! :)
IMG_0650.jpg

IMG_0651.jpg

IMG_0652.jpg

I love how it doesn't stick out past the bed rails on the truck and there's no awkward gap on top of the roof. It's super low profile!
IMG_0654.jpg
 

underkill

Active member
Since the neighbors have been listening to us use power tools in the backyard for months now they were curious as to what we were building... so we popped up the roof and showed off a little bit. This looks way cooler than I ever thought it would!
IMG_0656.jpg

IMG_0657.jpg

IMG_0660.jpg

Still need to finish the back edge, but we're waiting on parts.
IMG_0661.jpg

IMG_0662.jpg

Happy camper!
IMG_0664.jpg
 

underkill

Active member
So yeah, the last corner seam was pretty much guaranteed to be a pain in the ass. The roof is slightly larger than the attachment point on the shell, so each piece has a slight taper to the ends. I left myself lots of extra room just in case I didn’t measure something. (I’m a notoriously ************ measurer) One edge was easy to mark, but the other was mostly guessing and hoping we got it right. I tried to use the basting tape, but it didn’t stick quite enough.

Since I obviously can't use my sewing machine, I ordered the Sailrite Speedy Stitcher awl and the appropriate sized needle. Sailrite is such an awesome company… they have a handy, informational Youtube video for pretty much everything you would want to know about their products. This includes the awl that I now own and don’t know what to do with. ;)
IMG_0679.jpg

The first seam took probably an hour and a half and the second took 45 minutes. So, progress was super slow and frustrating. There wasn’t really any other way to do it though, and now it’s done! I didn’t take many pictures of the process.
IMG_0680.jpg

BUT it's done now! This also means that the camper is now a fully finished, watertight shell with complete canvas! :) It's officially usable!
 

Forum statistics

Threads
188,028
Messages
2,901,377
Members
229,352
Latest member
Baartmanusa
Top