Okay, thought I'd add some answers to questions I've gotten from forum members.
1: What's up with the hi-lift mount?
Since I spend the majority of my time off pavement, a big item like the hi-lift gets a lot of jostle. This means, potentially, serious damage if it gets loose or breaks what it's mounted to. I used (but modified) the XRAC mounting system (
http://www.amazon.com/Hi-Lift-4X400-4XRAC-Mounting-System/dp/B000CMHNY2/ref=sr_1_2?ie=UTF8&qid=1348352442&sr=8-2&keywords=hi+lift+mount) after having had the TM-700 mounts (
http://www.amazon.com/Hi-Lift-Jack-...&qid=1348352442&sr=8-1&keywords=hi+lift+mount) on the FJC and having been really unhappy with them (they eventually slipped, even though I put them on a bar that I'd applied thick clearbra to, in order to give them more grip, and then eventually one of the studs broke off completely). Here, the XRAC system goes through to new structural mounts instead of being fastened just to the bed. This makes for a super sturdy mount.
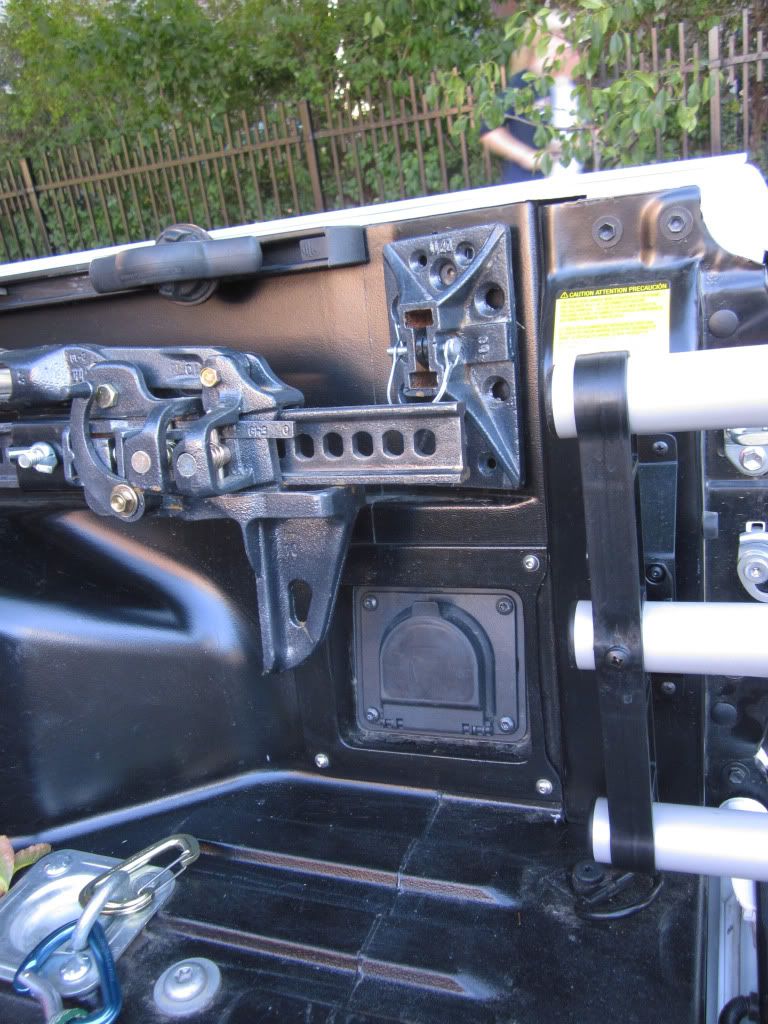
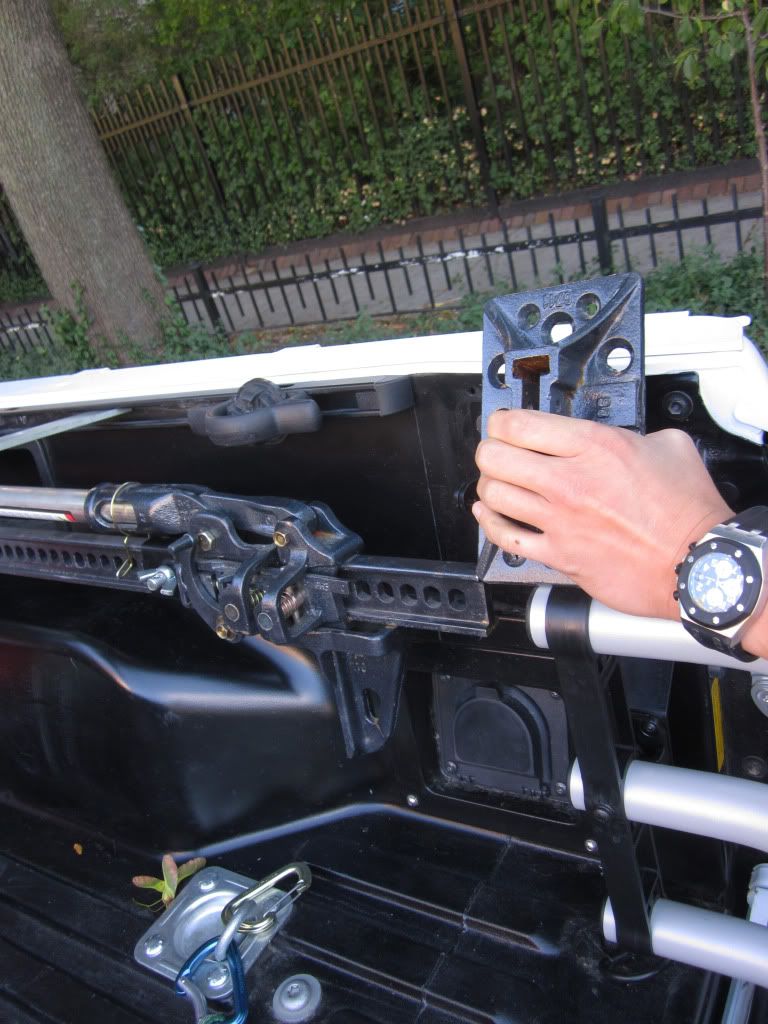
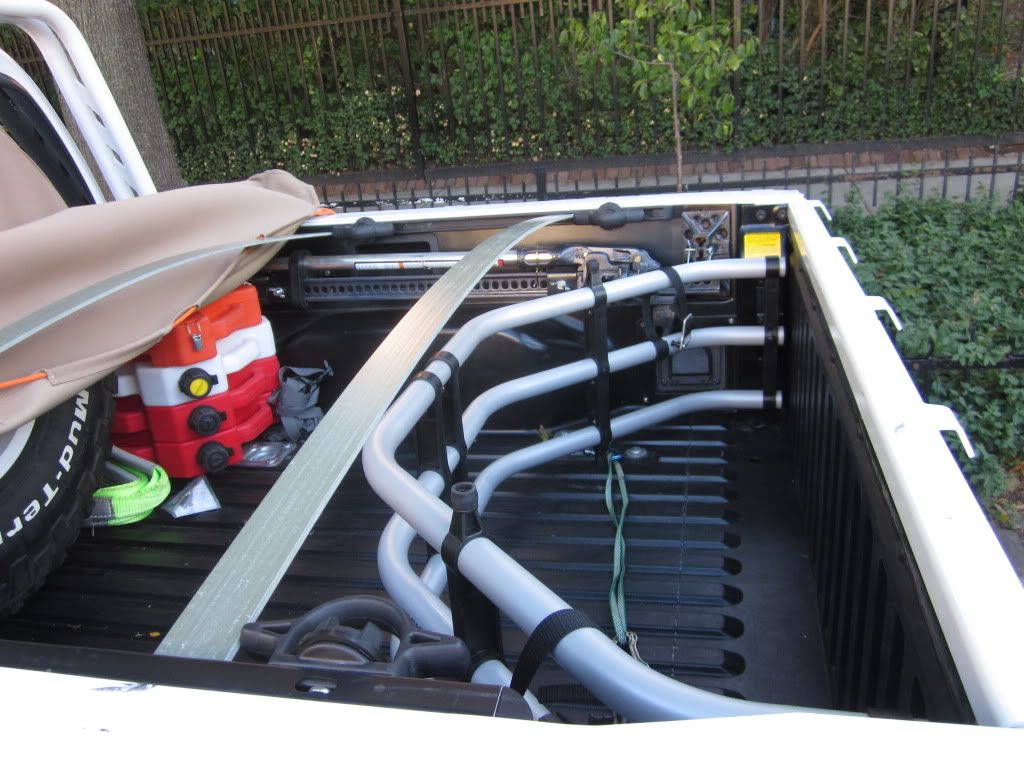
The problem with the Hi-Lift is that its "foot" takes up so much space. Anyone who has tried to store a Hi-Lift in an interior space has run into this problem. How can you have the foot handy (not in some recovery gear bag!) but not have it in the way? The solution is a bracket that the foot mounts to with the same pin used on the Hi-Lift. This way, you slide the pin out, take the foot off its mount, and slide it onto the Hi-Lift. I was shocked that no one has an off-the-shelf bracket like this; it had to be fabricated.
Here, the jack and foot are stored securely on the starboard side of the bed, up and out of the way.
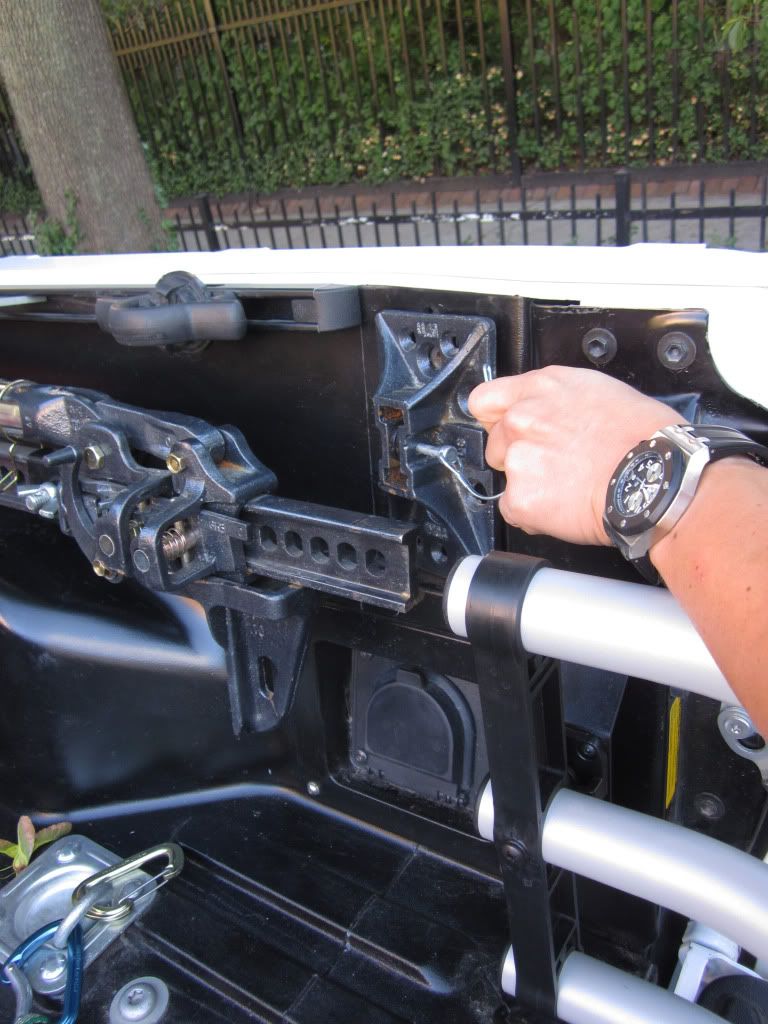
Now, pull the pin and the weight of the foot on its perch is all that keeps it in place:
Now, take the foot, attach it to the jack (using the same pin) and dismount the jack. You're ready to use the Hi-Lift.
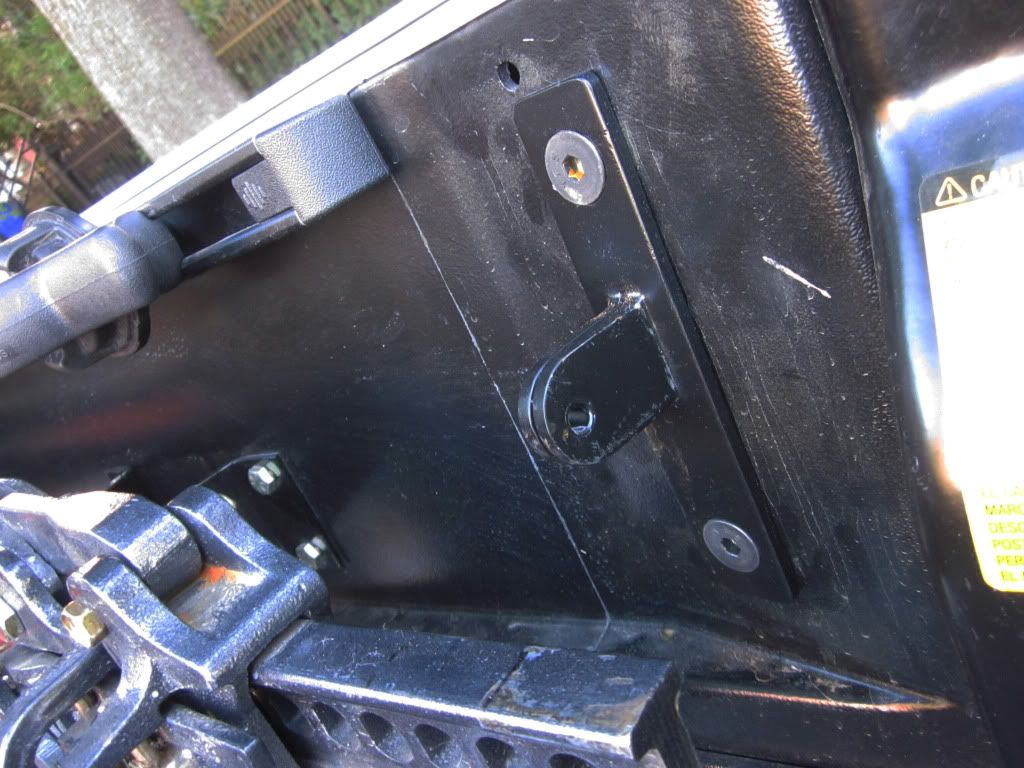
Here is the bracket:
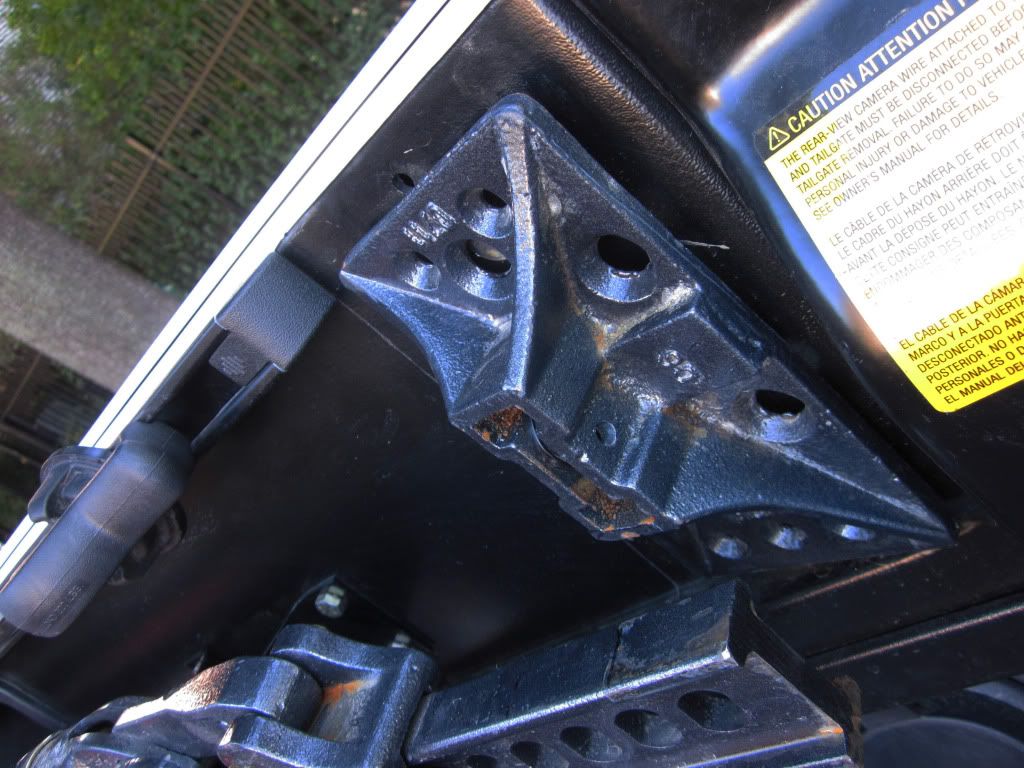
Foot mounted:
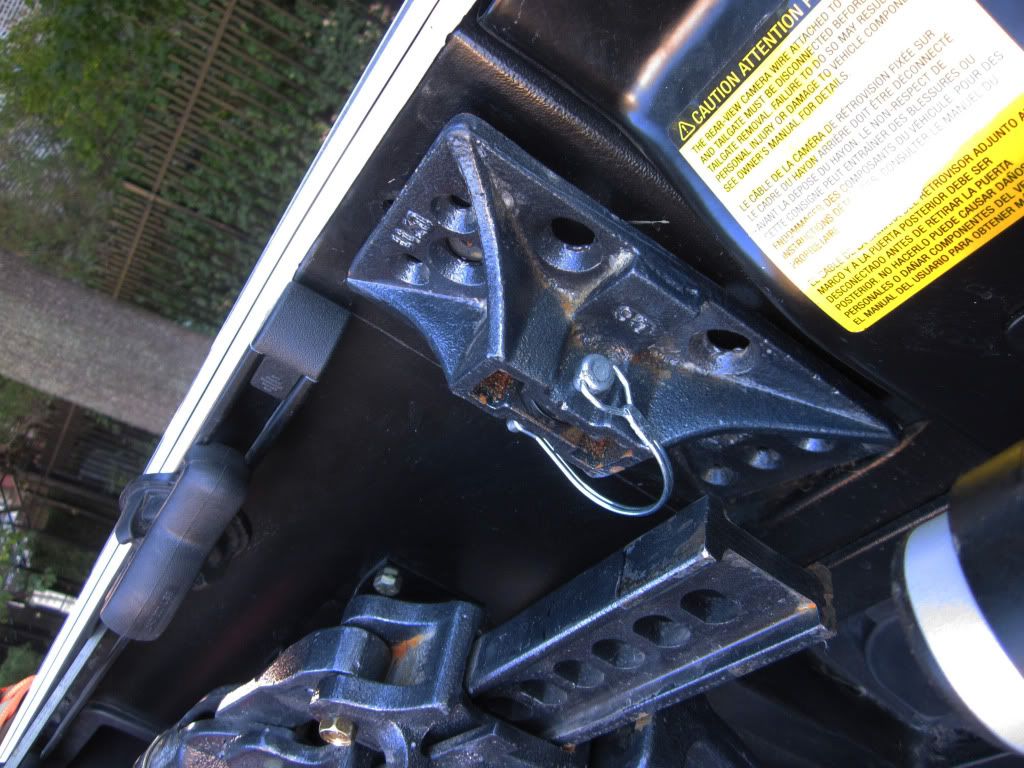
Pin re-installed:
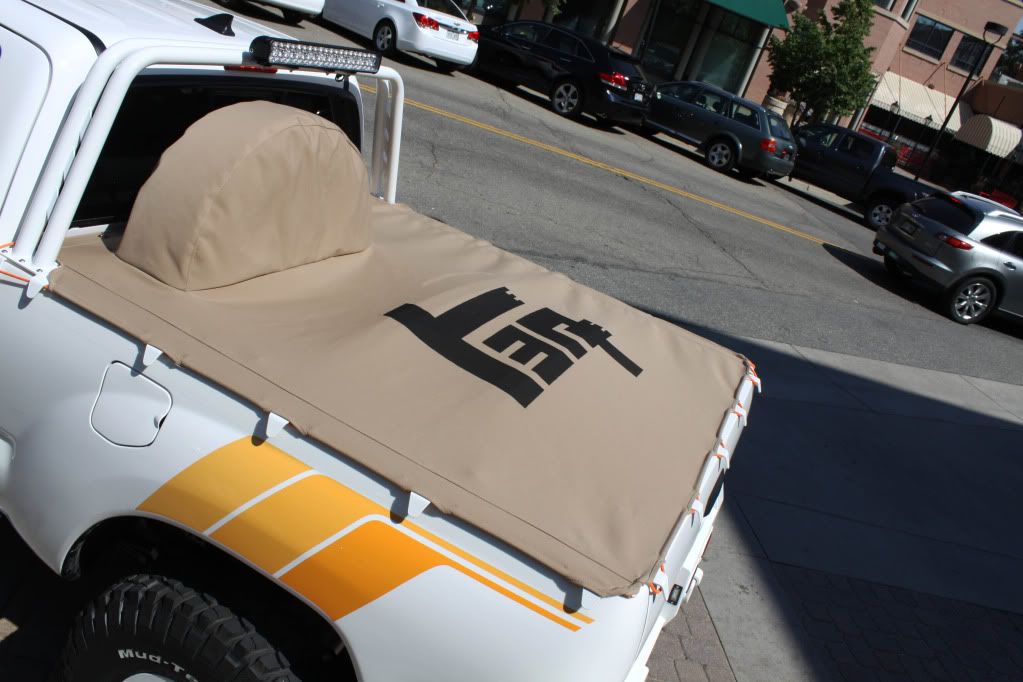
2: Short bed on a non-rock-crawler? Are you crazy?
Well, maybe I'm crazy. Not ideal for those who carry a ton of stuff, but for five or six days (especially in temperate climates where ground tents are fine) I think it's worth the trade-off. Even the road in front of our house in Uganda is a test of departure angle, let alone the roads leading to Juba or some of the roads past Arua and into Congo! But sometimes you want to carry more stuff, or have big stuff to move short distances, or pick up something and want to bring it back. What to do?
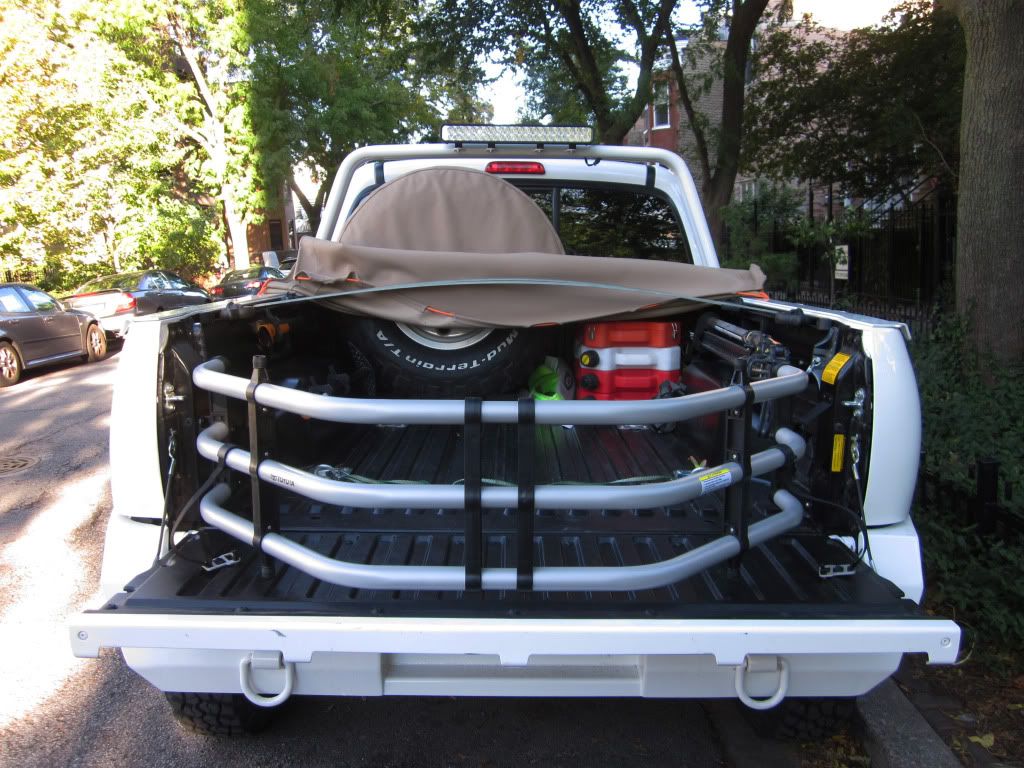
Well, for these situations we modified the Toyota bed extender to work with the modified bed. Not a lot of work, actually, and a worthwhile experiment. How much utility will we really get out of it? I'm not sure. But it's a nice option to have.
Bed extender in the shortened bed:
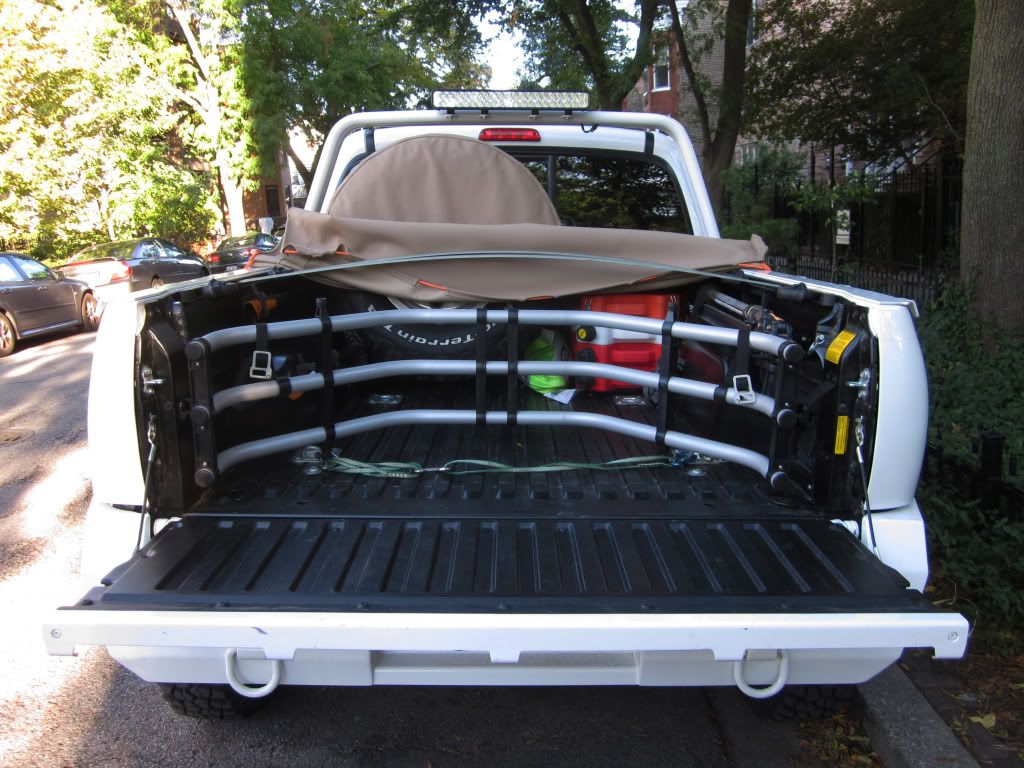
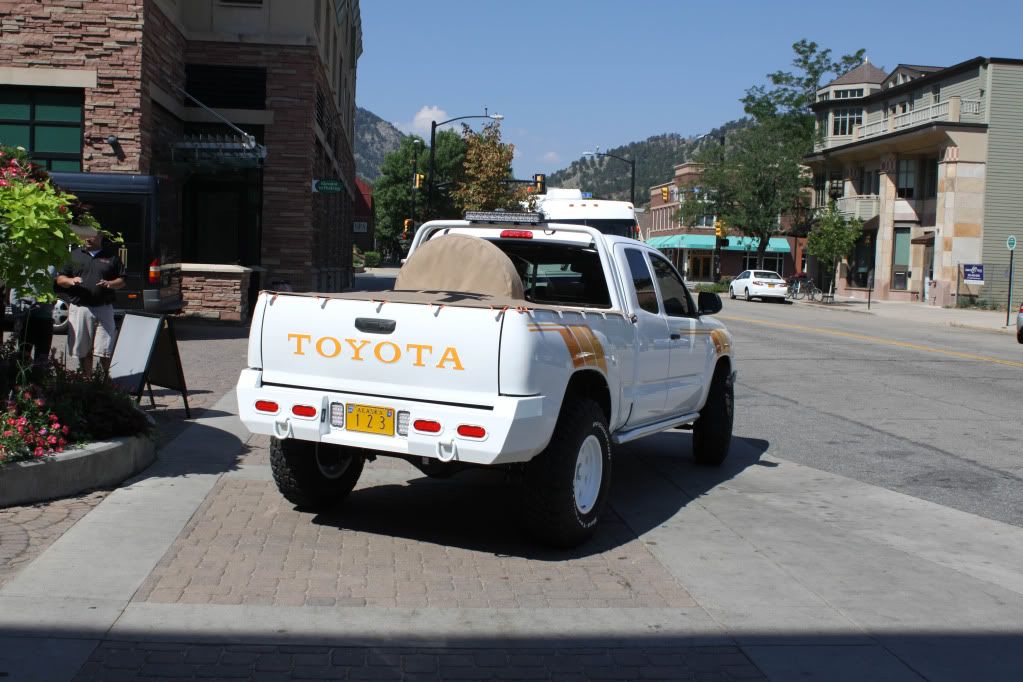
Bed extender extended:
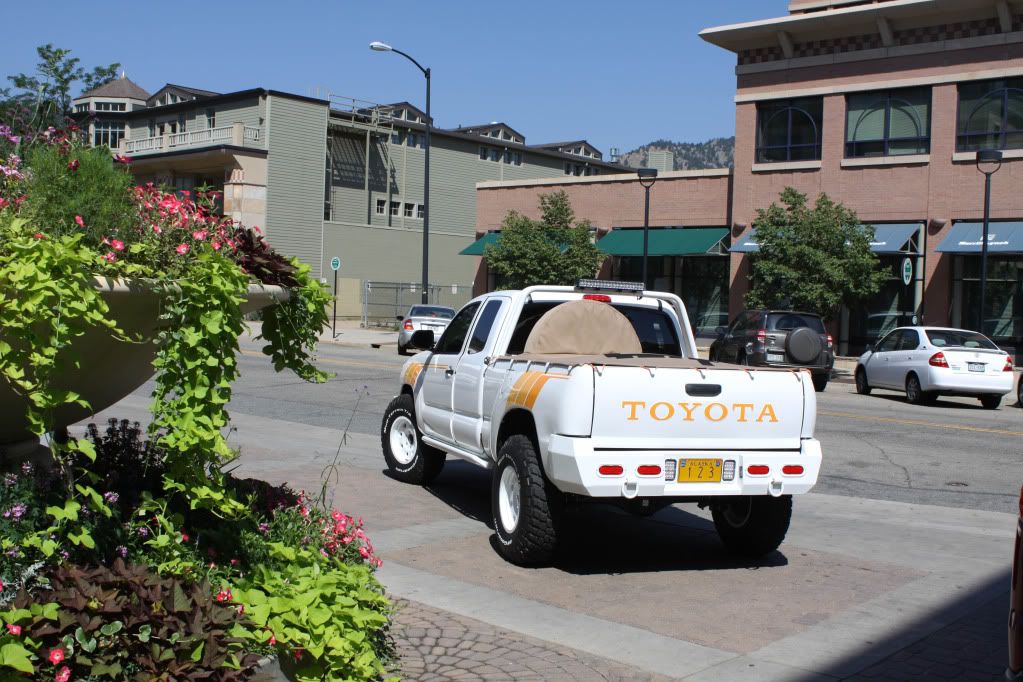
Some shots from the rear:
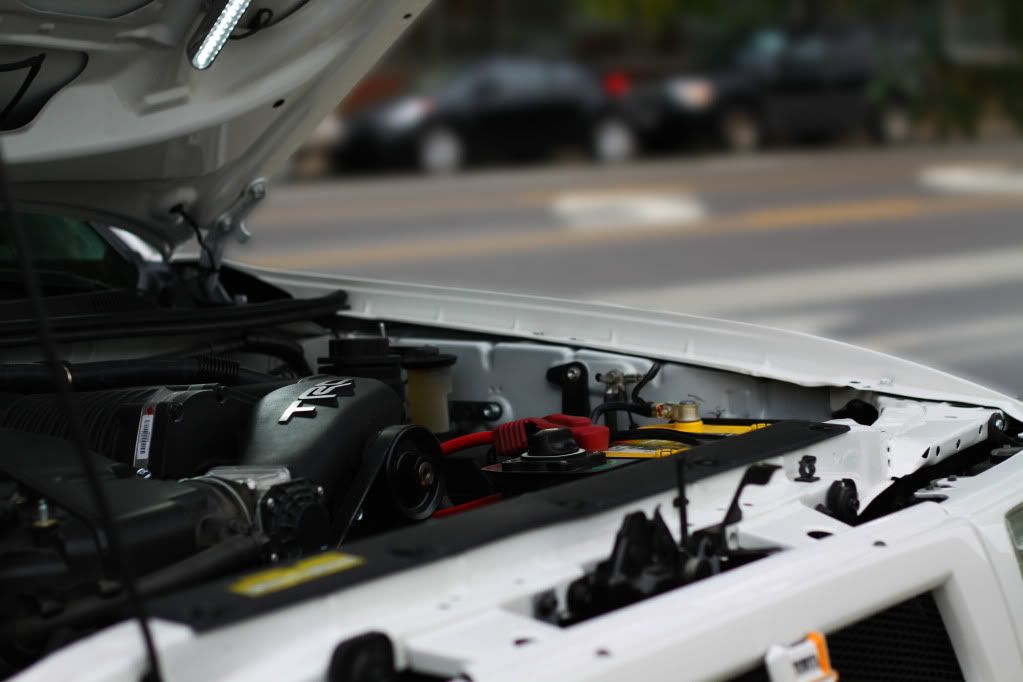
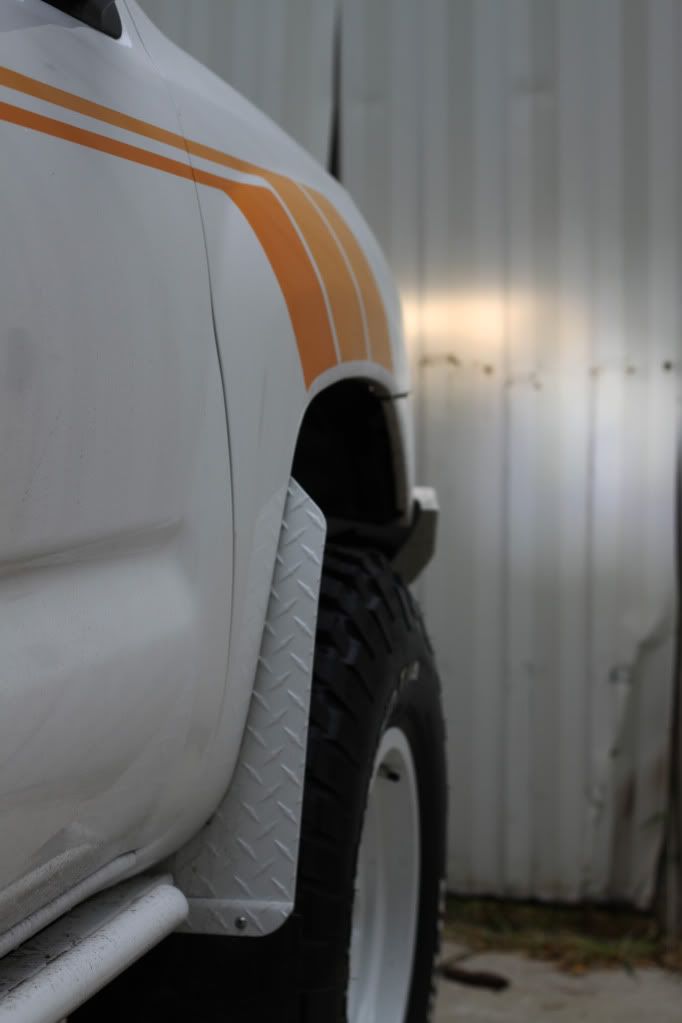
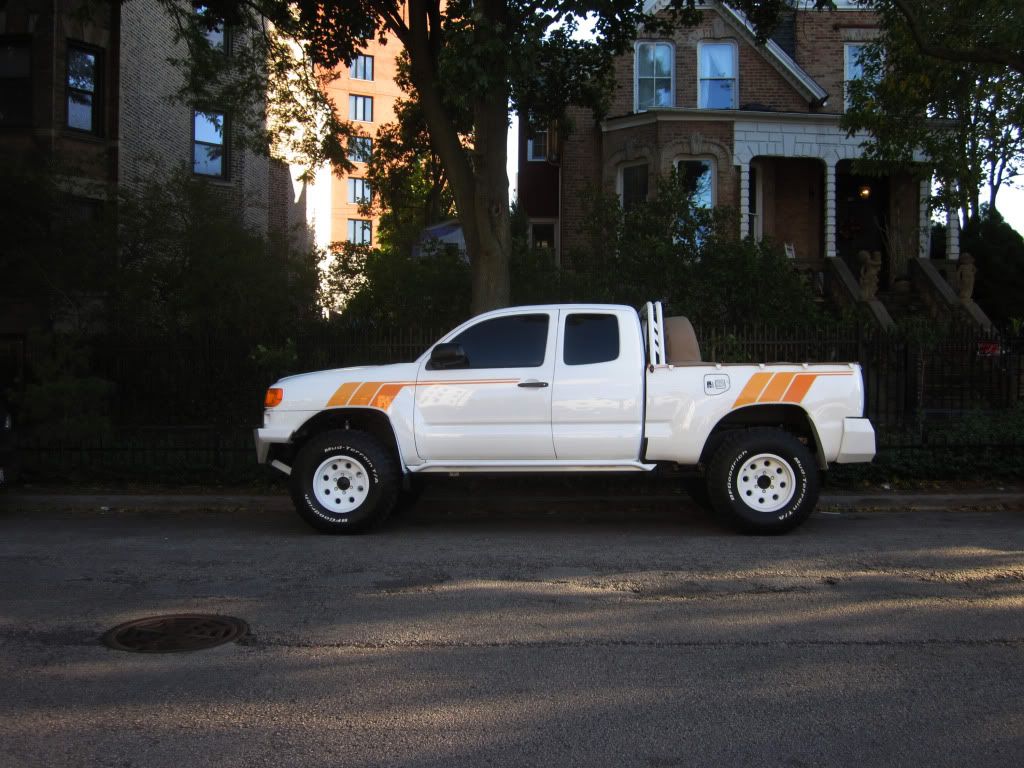
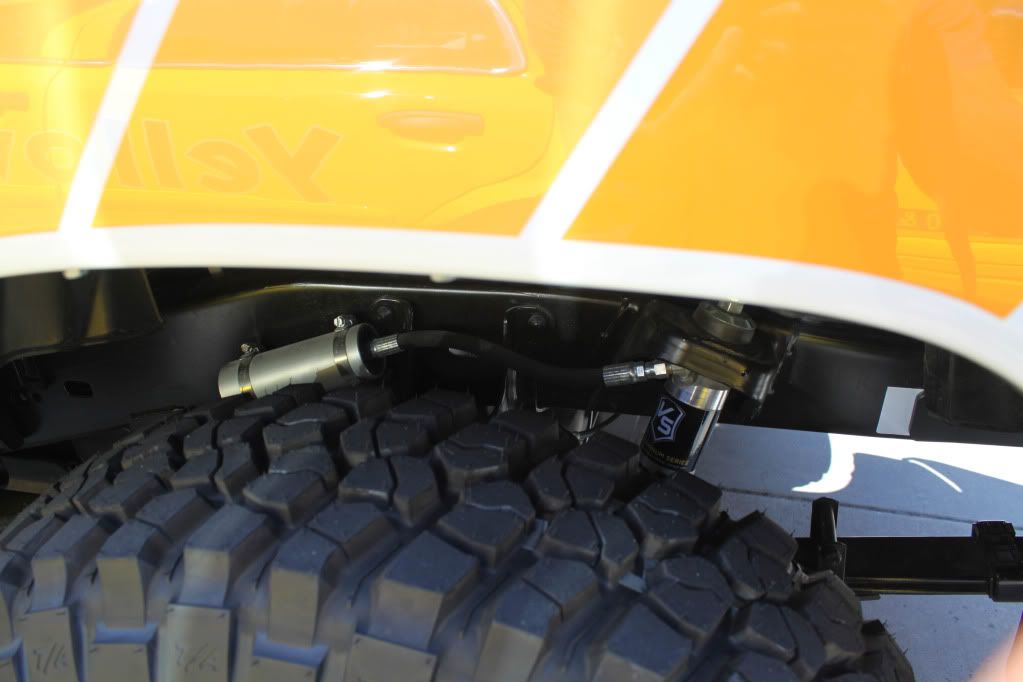
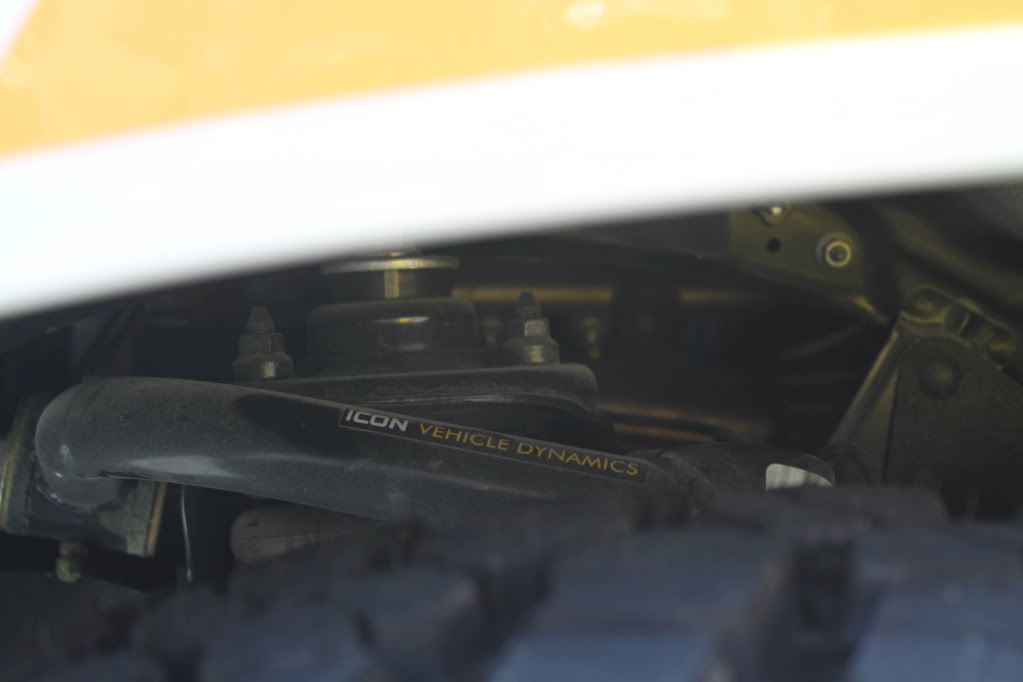
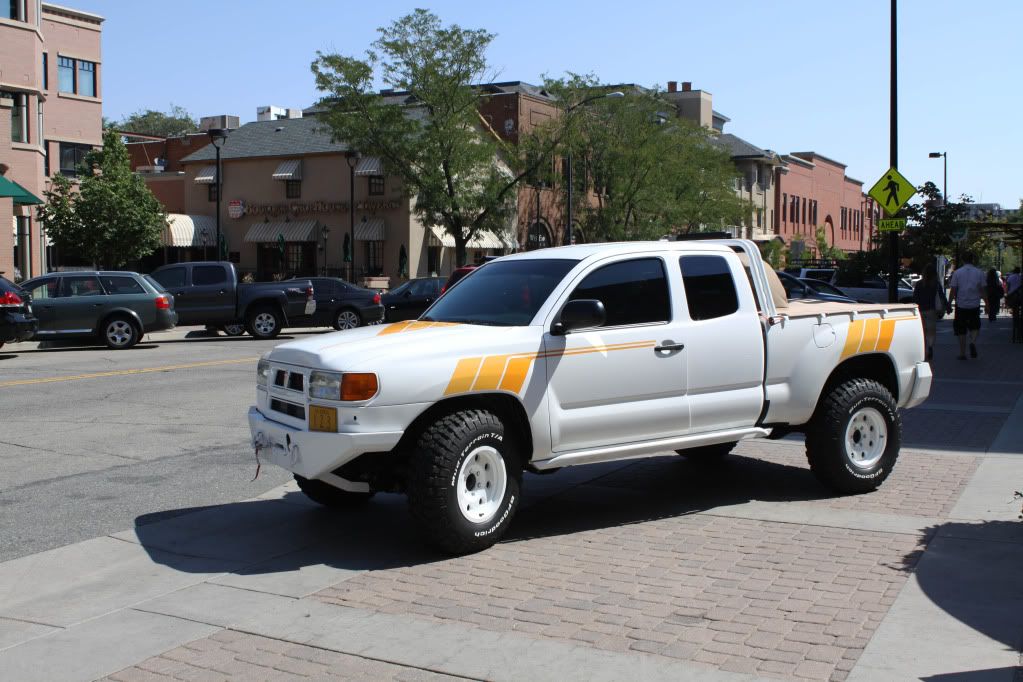
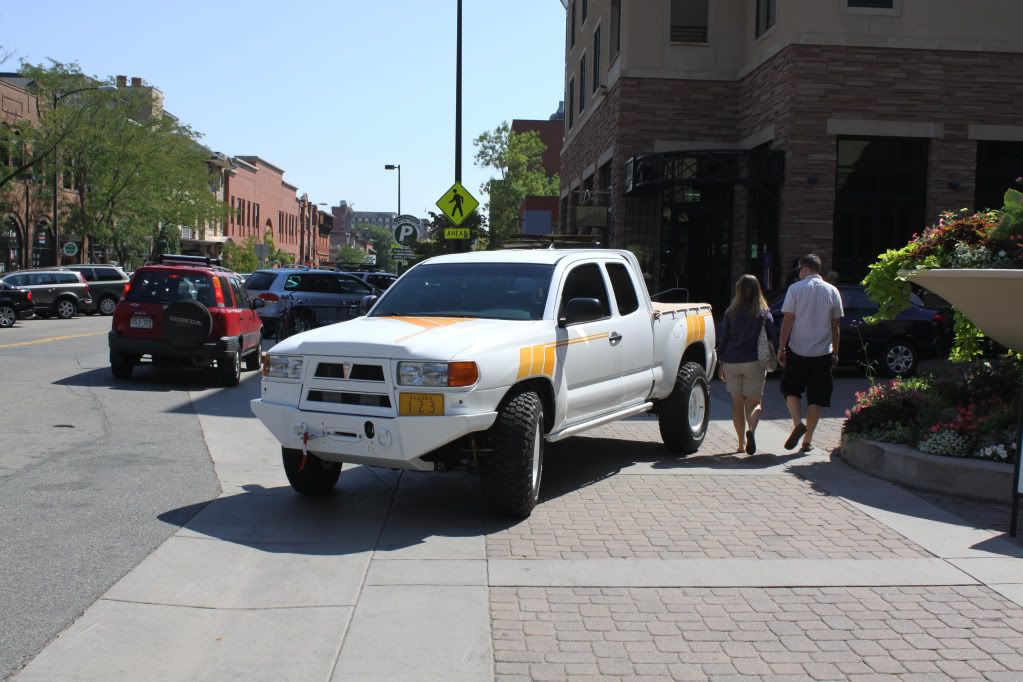
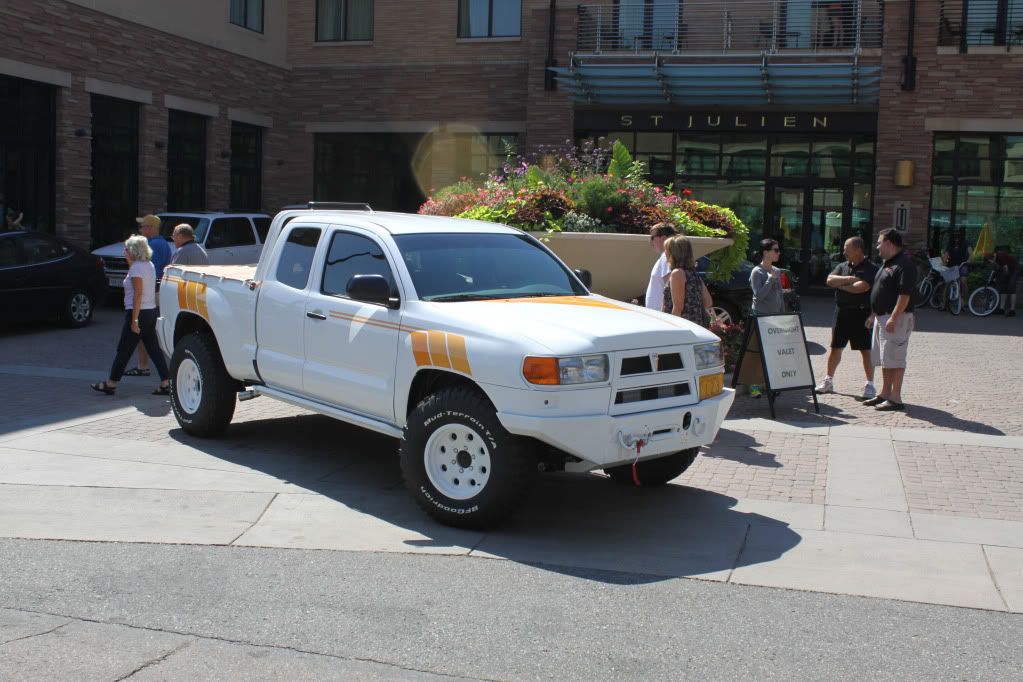
3: Your front ride height varies a lot in these pictures. What's up?
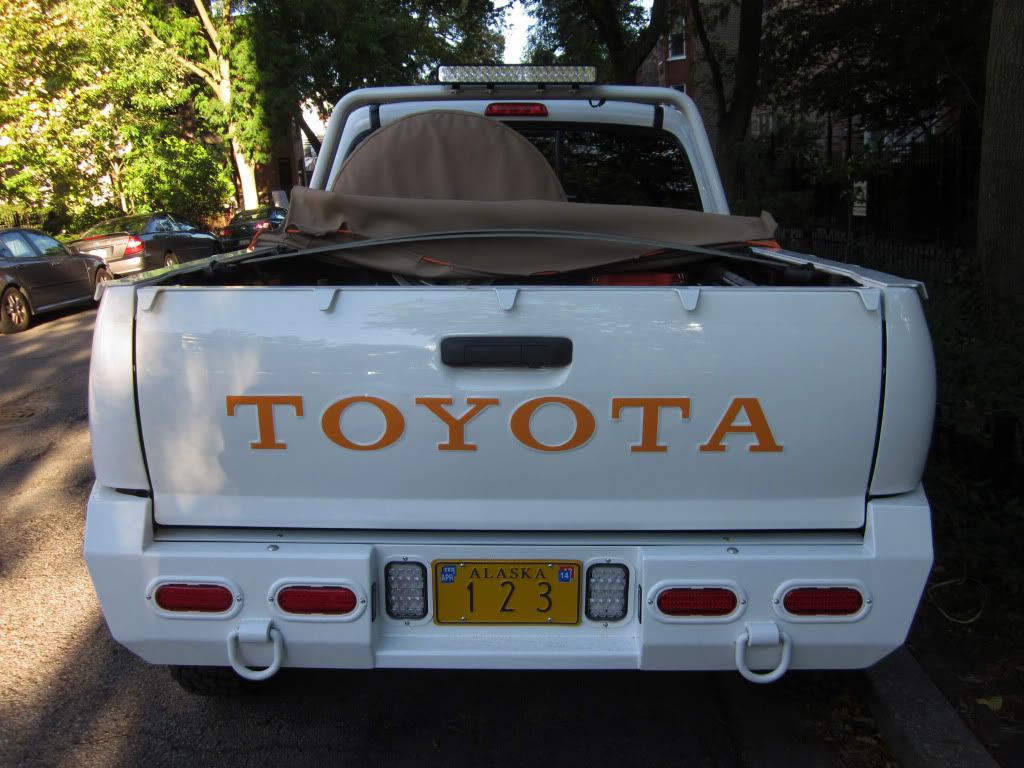
Well, various settings and modifications led to where we are now. The photo below shows the truck as it stands this week, and as it will be shipped. Front and rear fenders are at approximately equal height on level ground, though the rear is slightly higher (unloaded).
Current height in pic below (ICON Stage 4 suspension with coilovers set to be slightly lower than the rear "settled, unloaded" height).
")