jscherb
Expedition Leader
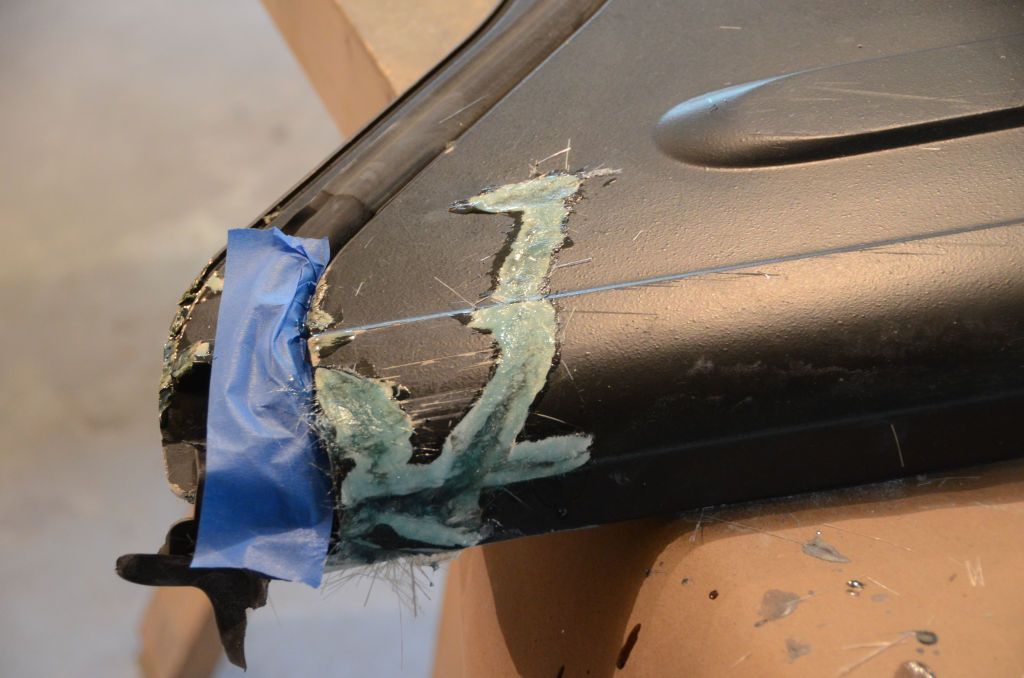
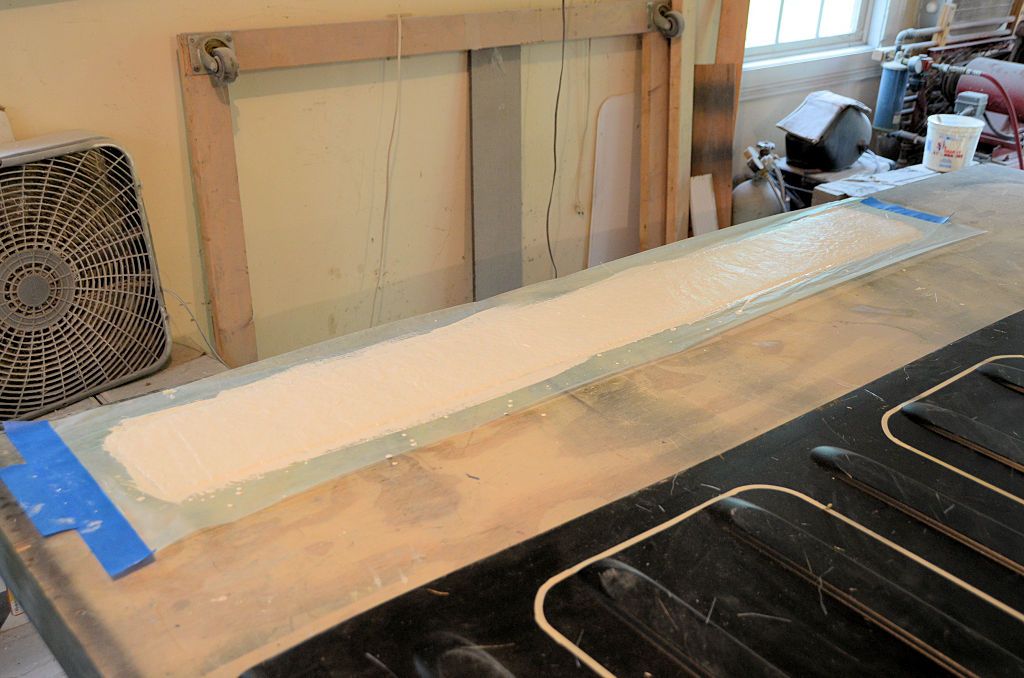
The first step was to reinforce the cracked areas from the inside. In this photo the inner and outer skins are pried apart as far as possible, and I've applied several layers of fiberglass mat soaked in SMC-compatible resin to the inside of the cracked area. The repair is blue because SMC resin uses the same (blue) cream hardener as body filler. Masking tape is used to hold the cracked parts in position and to prevent resin from leaking out through the cracks.
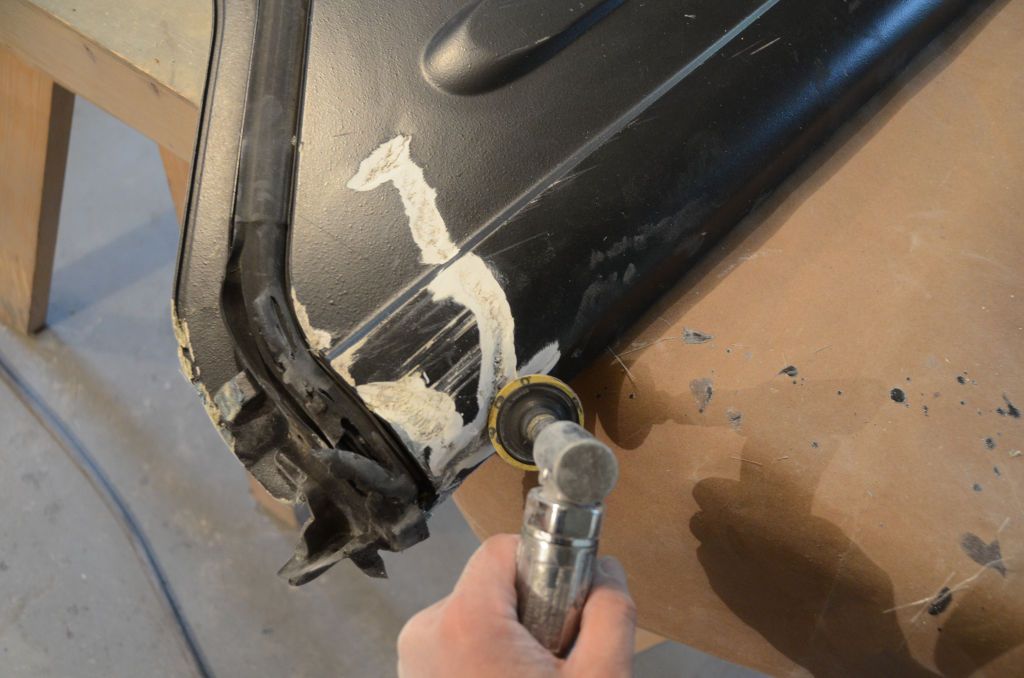
In the photo in the previous post that shows the skins pried open you can see the beads of adhesive that were used at the factory to bond the inner and outer skin together at the factory; I ground that adhesive off before bonding the skins back together.
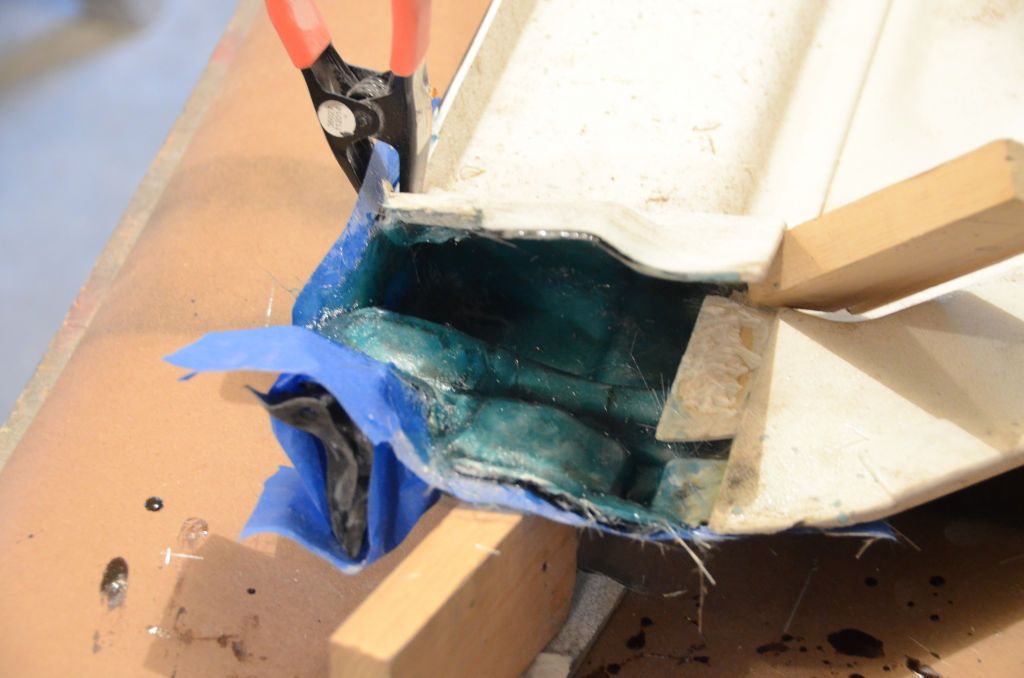
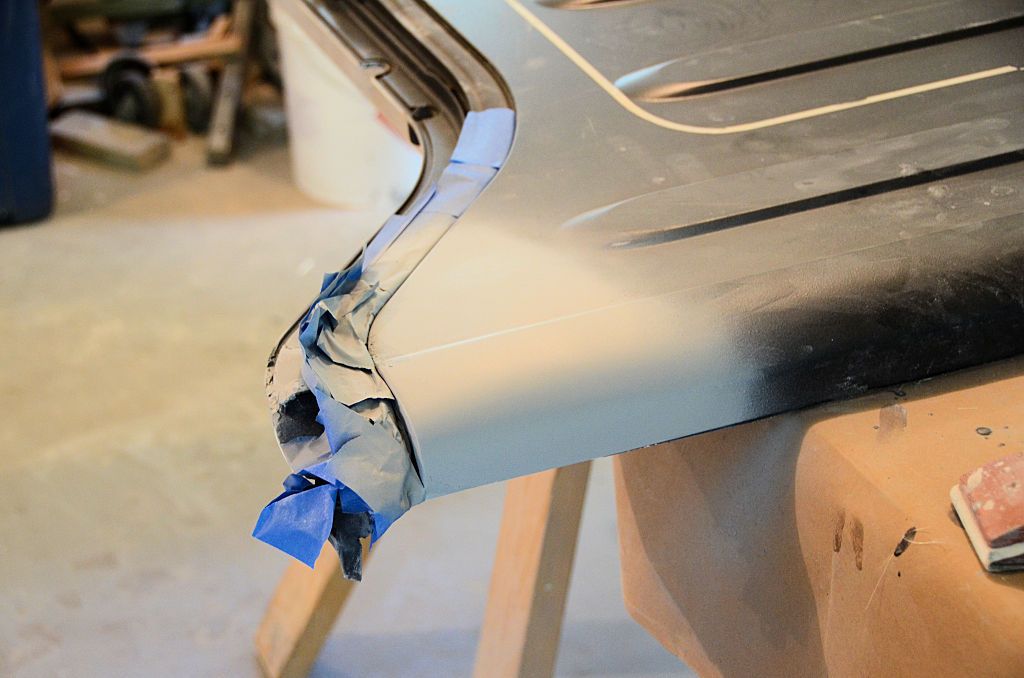
When that was cured, I applied fiberglass mat soaked in SMC-compatible resin between the separated parts and applied pressure with clamps while the resin cured.
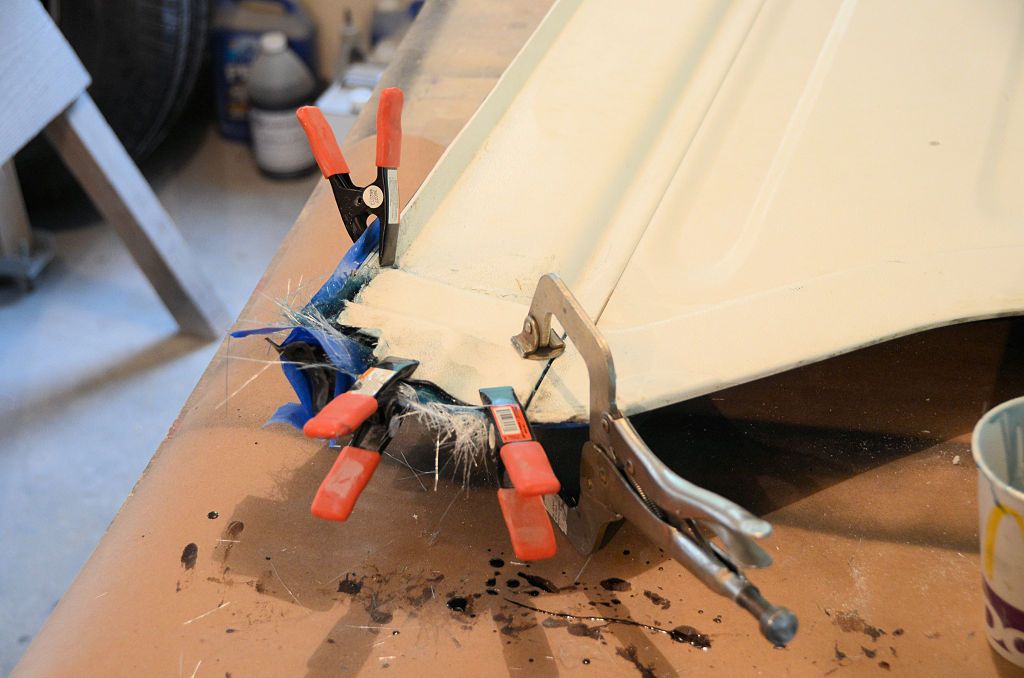
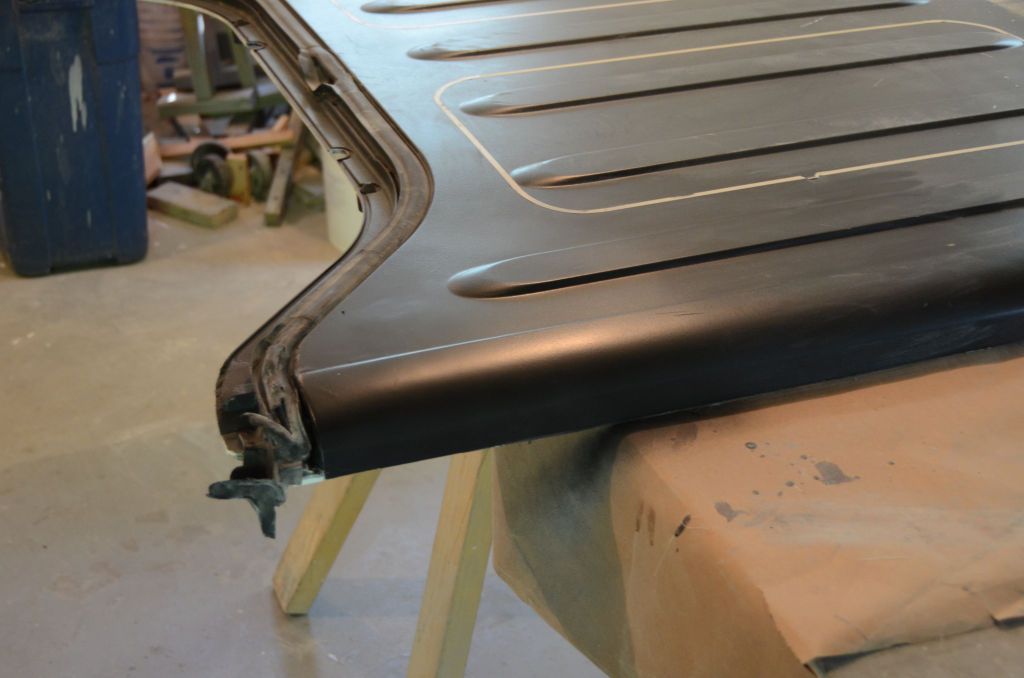
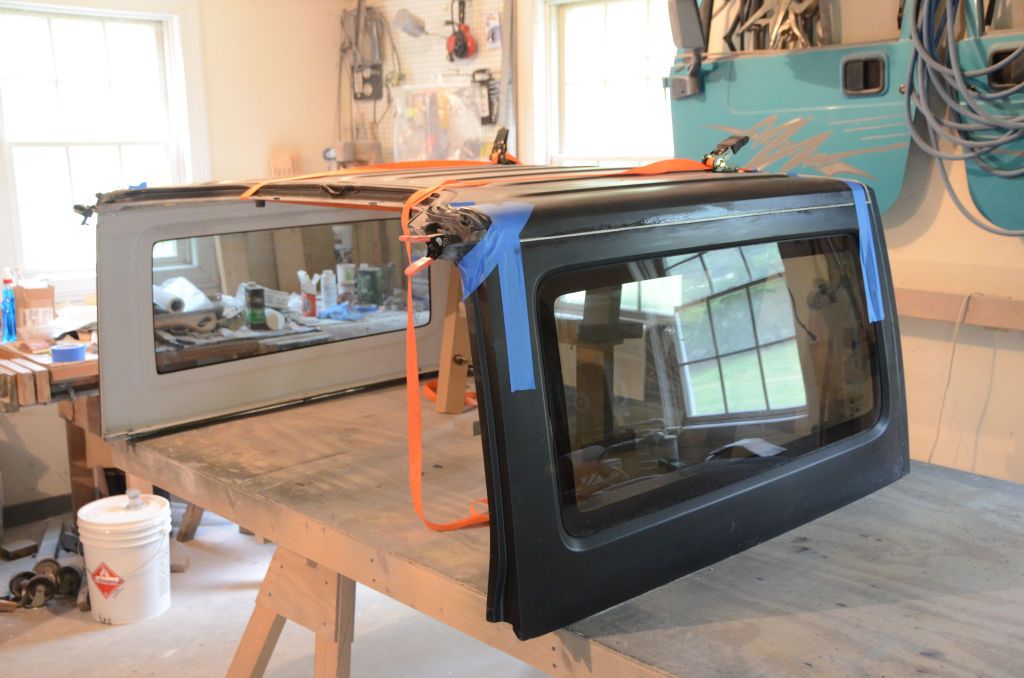
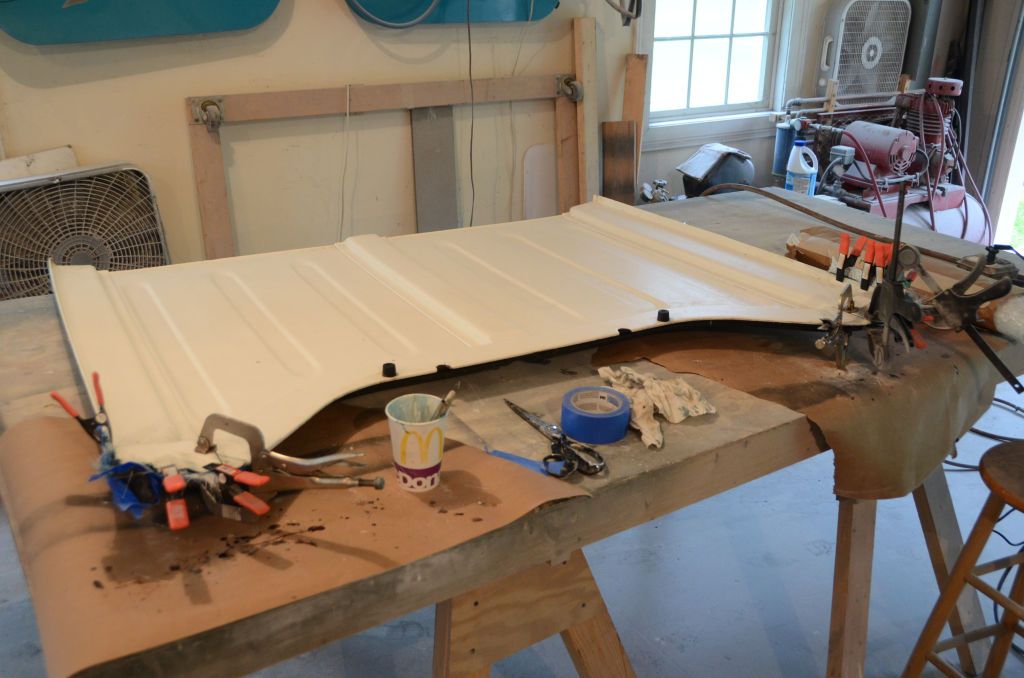
Both front corners are damaged; I'm only showing the detail of the most damaged one but this next photo shows both in the process of being repaired.
In the photo in the previous post that shows the skins pried open you can see the beads of adhesive that were used at the factory to bond the inner and outer skin together at the factory; I ground that adhesive off before bonding the skins back together.

When that was cured, I applied fiberglass mat soaked in SMC-compatible resin between the separated parts and applied pressure with clamps while the resin cured.

Both front corners are damaged; I'm only showing the detail of the most damaged one but this next photo shows both in the process of being repaired.

Last edited:

