Converting a factory JK/JKU hardtop to modular

jscherb

Expedition Leader
Hello Jeff, greetings from good ol' Germany. Following Your thread from the beginning, it encouraged me to think about an own conversion. Finally i am getting hands on a not too much damaged hardtop w/o windows for a small budget (150€).
Now the hard thing starts: what and how and why... ;-) I do want it all...
Just a few ideas which are in my mind:
- modularise the HT
- make roof with windows
- add the pillar and make it more convertible
- and on top get the barn door conversion done
- compose the conversion with a bestow sunrider for hardtop which i already own.
Maybe my skills with fibreglass aren't enough, so i might adopt some of Your ideas in aluminium and/or wood.
Thank You so much for the inspiration.
Keep on going Your ideas, they do influence my thinking about jeep conversion very much.
regards
Helmut

Guten Tag!

Good luck with your project, and please contact me if you need any advice or help along the way.

Two comments...

Since the hardtop you're getting doesn't have windows, why don't you consider the Retrofit Offroad slider window kit? It installs easily and is a nice upgrade from the factory windows which you don't have anyway. http://www.retrofitoffroad.com/product-category/jeep-wrangler-jk-factory-hardtop-slider-window-kit/. I'm sure they can ship to Germany.

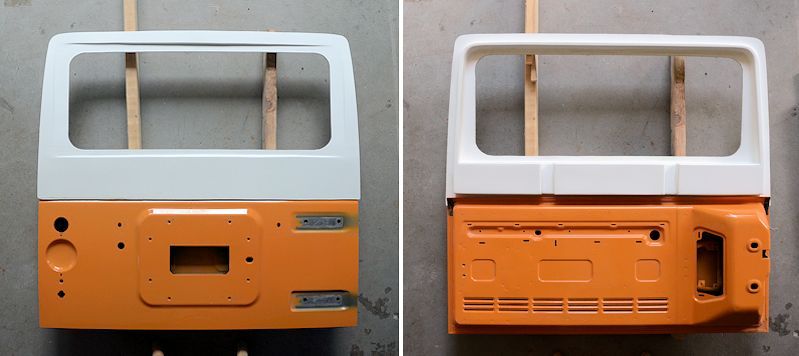
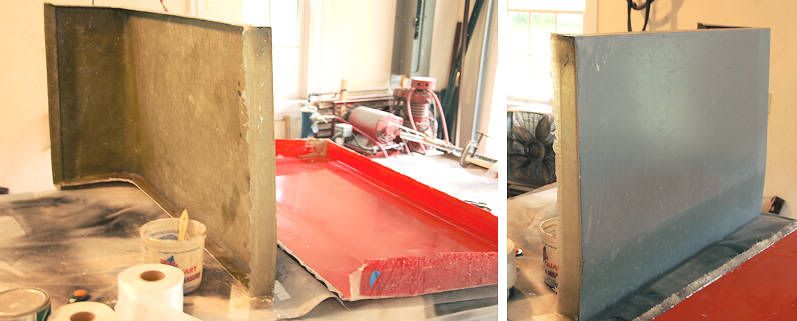
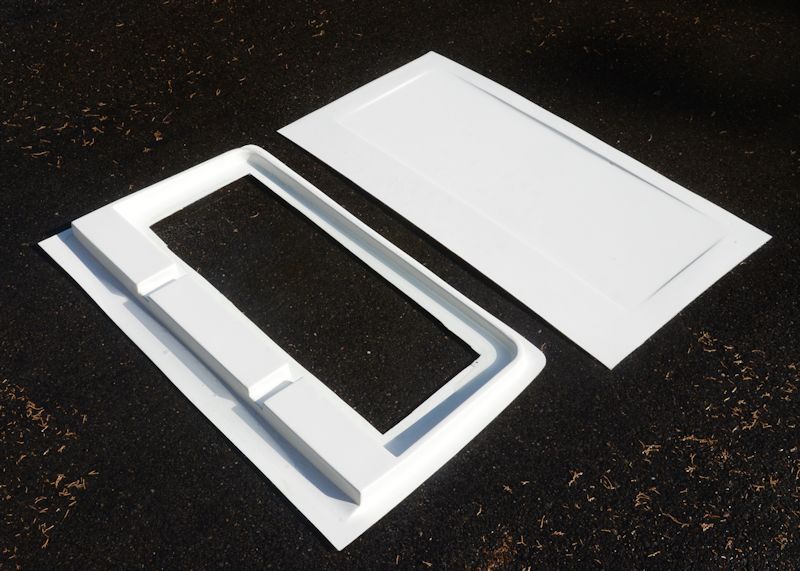
All of the modifications you listed are described in some detail in this thread and should be fairly easy to do with ordinary tools and skill, except the barn door. Since the factory hatch (and weatherstrip surface) is curved in both directions, in order to have a barn door seal well enough to keep weather out, the barn door will need to be curved in both directions. Also, it needs to be structurally strong enough so that when it's bolted to the tailgate it doesn't flex at the top so it keeps pressure on the weatherstrip. I did this with curved molds for both an inner and outer shell. Anyway, save the barn door project for last, maybe by the time you get experience with the simpler work of making the hardtop modular you'll be ready to tackle the more advanced barn door project.

Good luck!

Freundlicher Gruß

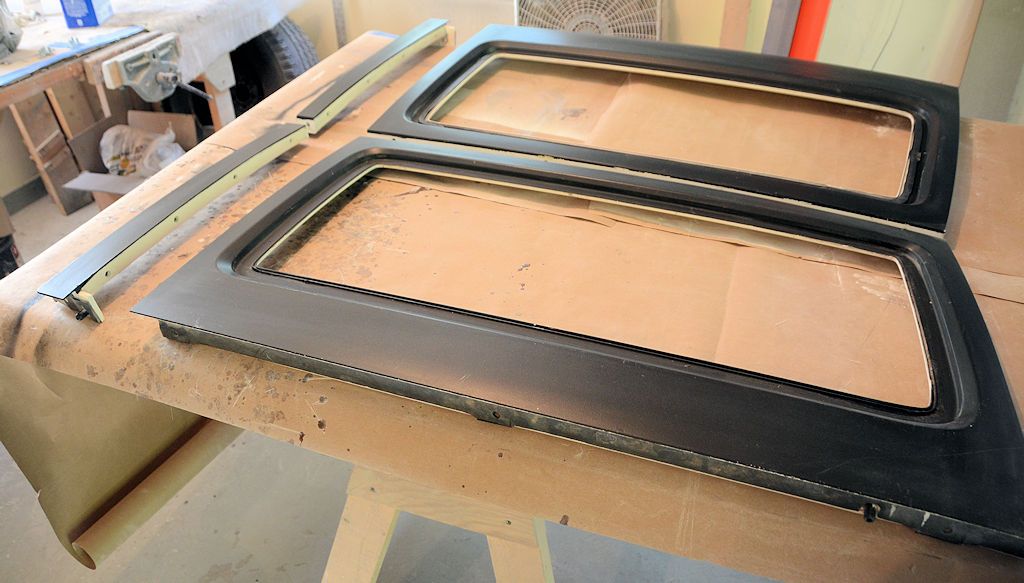
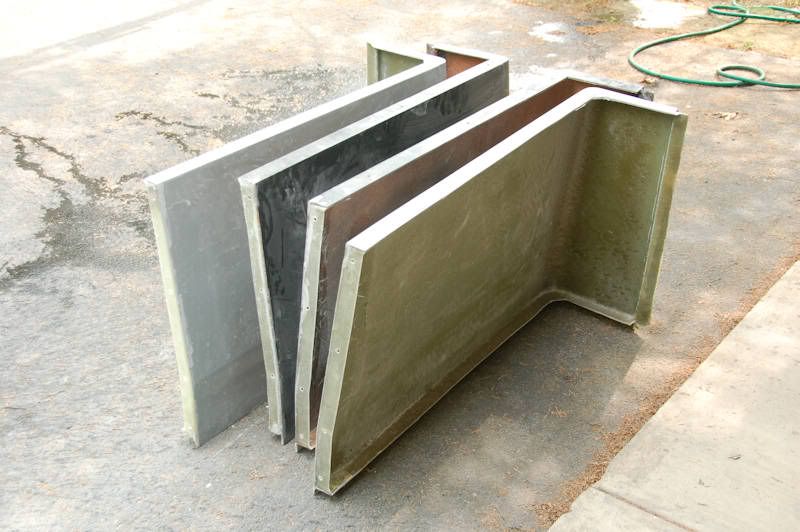
BarnDoorMolds_zpsmug3spei.jpg


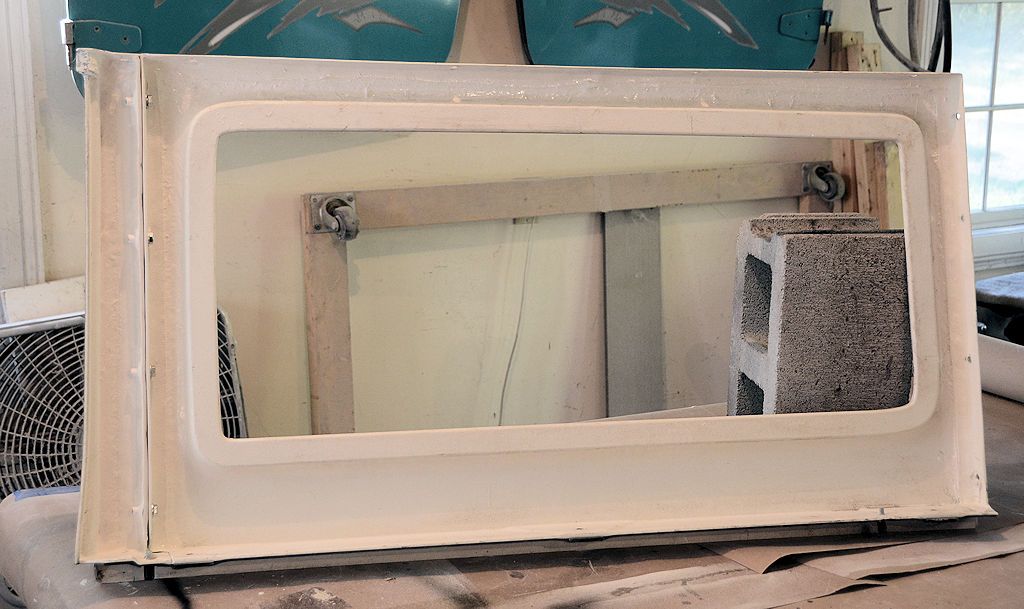
Parts1Popped_zpsc31a1ca7.jpg


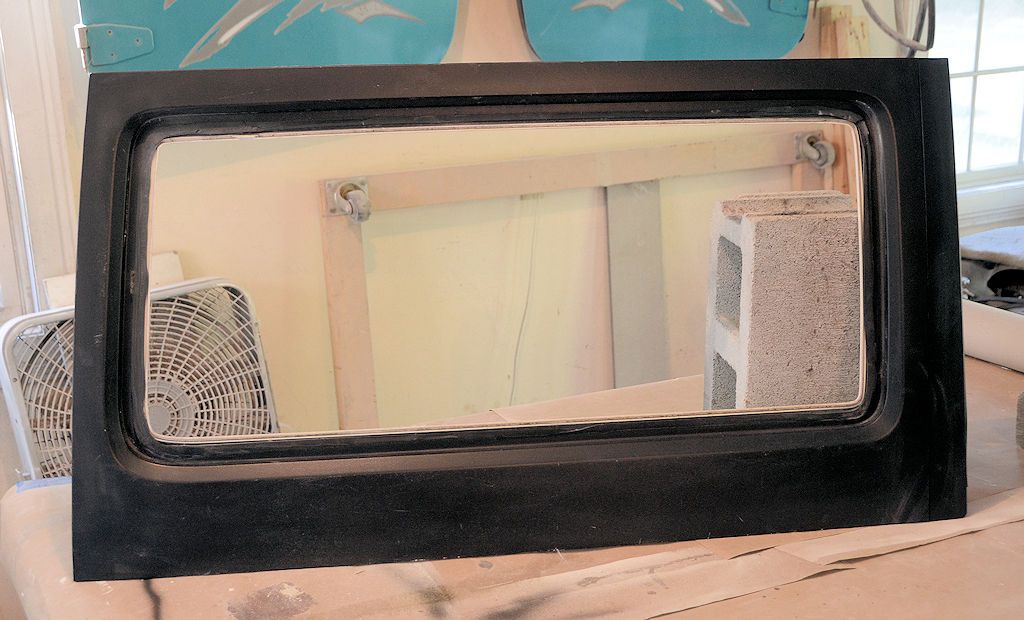
DoorAssemblyMockup_zps7fac7bf6.jpg
 

Earl1

New member
Guten Tag!

Good luck with your project, and please contact me if you need any advice or help along the way.

Two comments...

Since the hardtop you're getting doesn't have windows, why don't you consider the Retrofit Offroad slider window kit? It installs easily and is a nice upgrade from the factory windows which you don't have anyway. http://www.retrofitoffroad.com/product-category/jeep-wrangler-jk-factory-hardtop-slider-window-kit/. I'm sure they can ship to Germany.

All of the modifications you listed are described in some detail in this thread and should be fairly easy to do with ordinary tools and skill, except the barn door. Since the factory hatch (and weatherstrip surface) is curved in both directions, in order to have a barn door seal well enough to keep weather out, the barn door will need to be curved in both directions. Also, it needs to be structurally strong enough so that when it's bolted to the tailgate it doesn't flex at the top so it keeps pressure on the weatherstrip. I did this with curved molds for both an inner and outer shell. Anyway, save the barn door project for last, maybe by the time you get experience with the simpler work of making the hardtop modular you'll be ready to tackle the more advanced barn door project.

Good luck!

Freundlicher Gruß
Hello Jeff,

thank You for Your encouragement. I will certainly come back on Your offer to give advices to me novice.

Kind regards

Helmut
 

jscherb

Expedition Leader
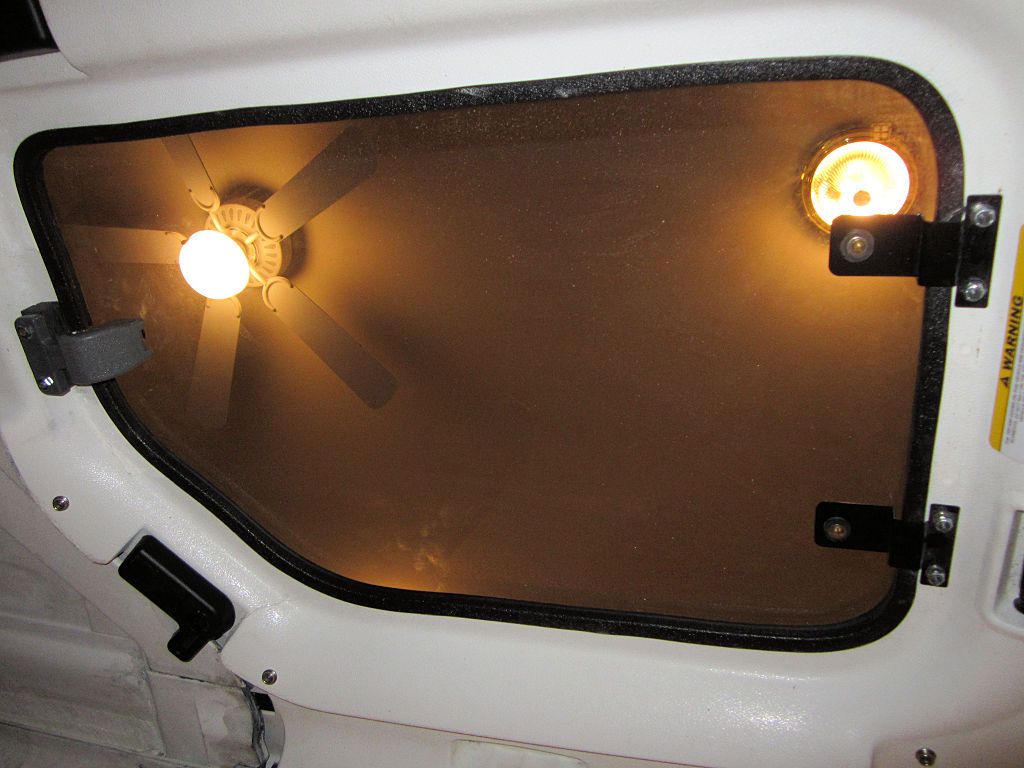
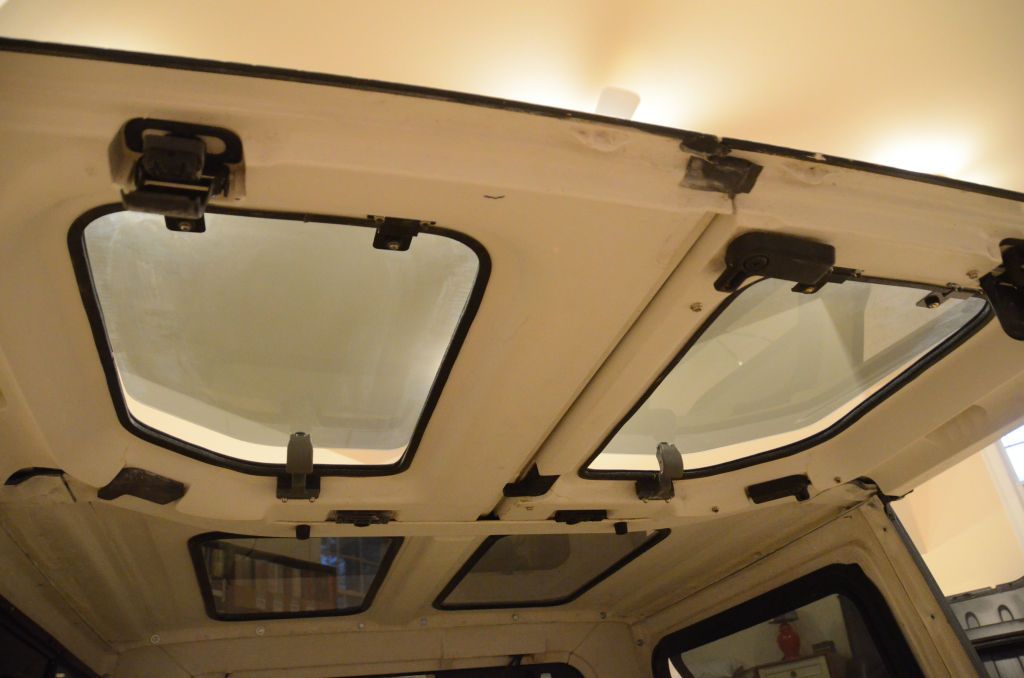
I installed the new skylight hinges yesterday and they checked out fine - fit is great and they seem to spring back and hold their shape. The photo below is a quick shot showing the full set of preproduction hardware in place (ignore the lights in the ceiling of the room this hardtop is set up in :)).

PreproSkylightHardware_zpsjmul8cf5.jpg


PreproSkylightHardware1_zps7bai2xg5.jpg


Now that I've got the final hardware, I'll install a skylight in another Freedom Panel, photographing and documenting each step of the installation in preparation for writing the instructions for the kit.
 

Comanche Scott

Expedition Leader
Looking good Jeff!

Congrats on the top 3 pick of SEMA for Overlander. That is a pretty awesome accomplishment, when there is so much exceptional stuff out there. :beer:
 

jscherb

Expedition Leader
Looking good Jeff!

Congrats on the top 3 pick of SEMA for Overlander. That is a pretty awesome accomplishment, when there is so much exceptional stuff out there. :beer:

Thank you. In both cases I set out to do something that hadn't been done before.
 

jscherb

Expedition Leader
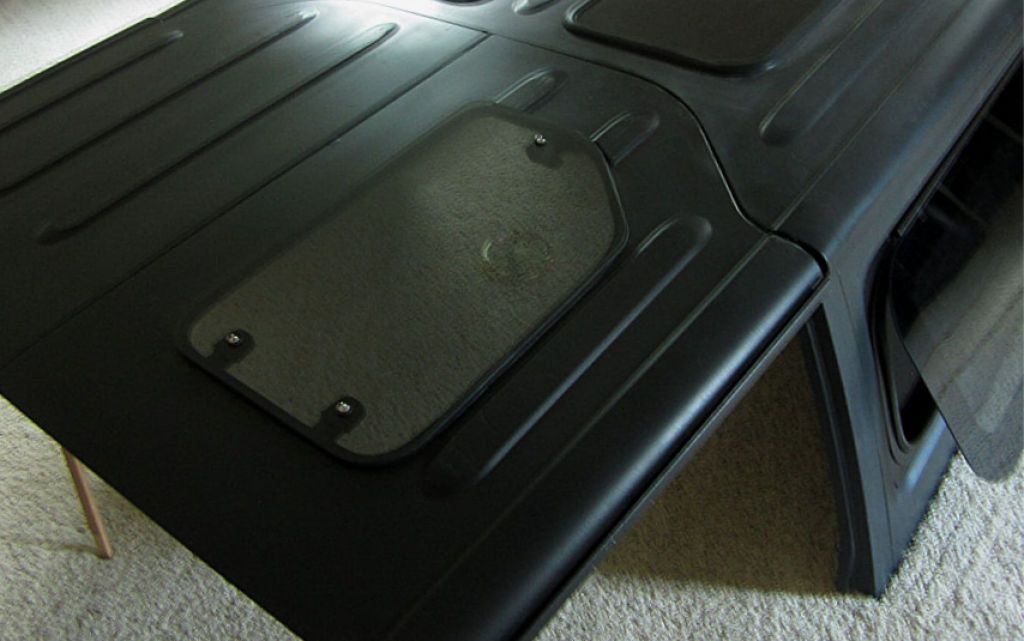
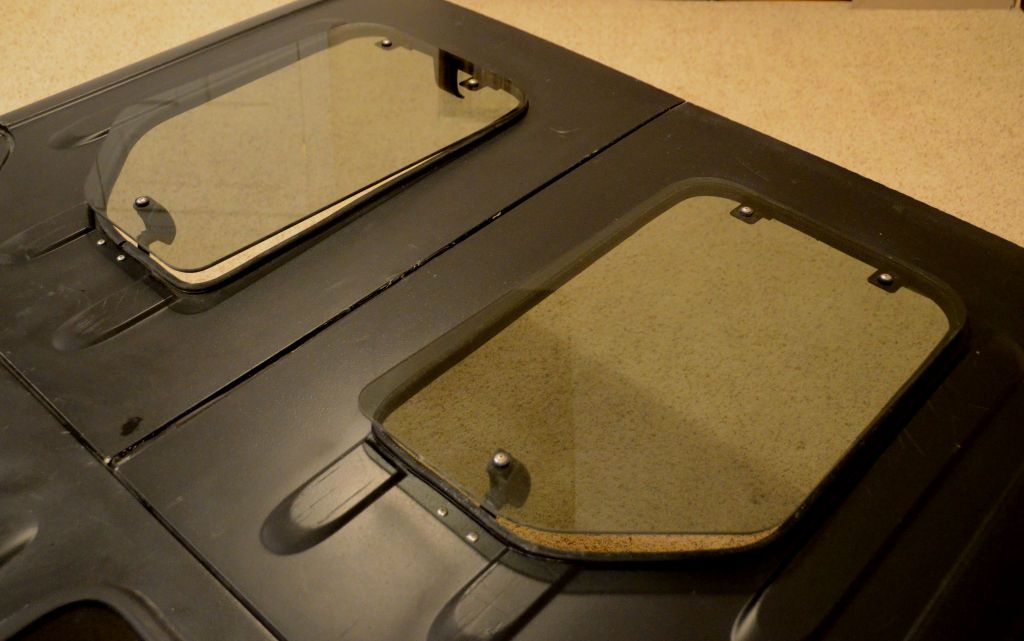
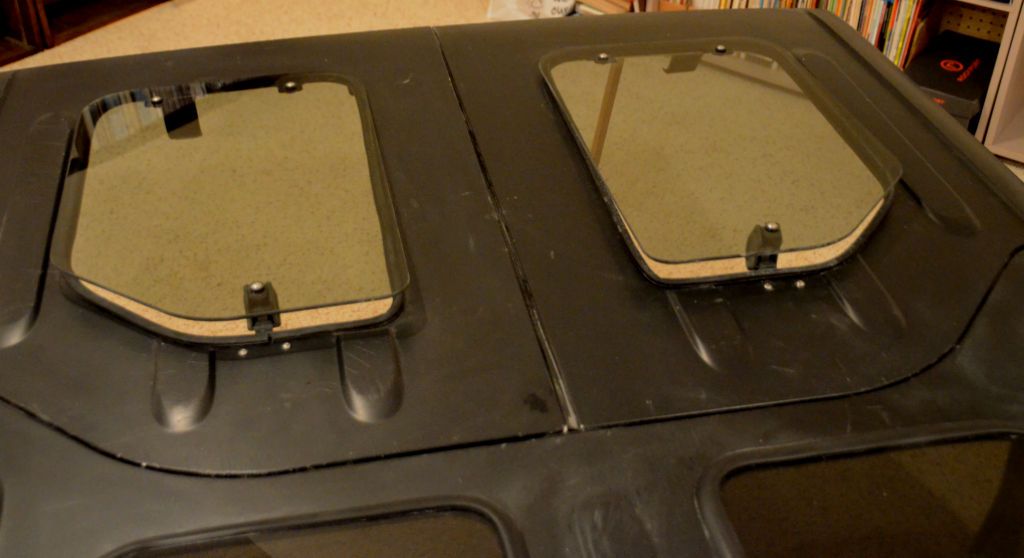
Testing the final hinges, I installed a second skylight today. I took photos of each step in the installation for use in the instructions, which I'll write over the next few days. I'll make the instructions available so people can review them and let me know if they think this installation is something people might do themselves.

TwoSkylights3_zpsriibvzbu.jpg


TwoSkylights4_zpsik2nuddp.jpg
 

jscherb

Expedition Leader
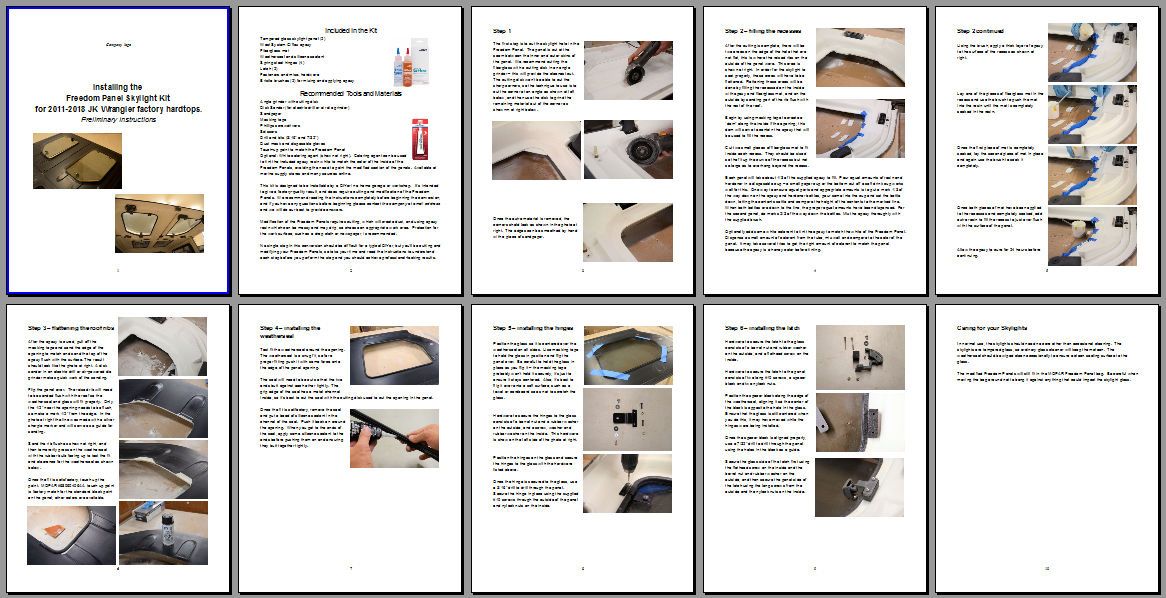
Yesterday I finished a first draft of the installation instructions so now I'm done with the Freedom Panel Skylight project. I turned the instructions over to a company that's expressed interest in marketing the kit. I don't know if the kit will become a product, cutting holes in a Freedom Panel isn't something everyone would be willing to DIY, so there might not be enough interest in the kit to make it a worthwhile product.

InstructionThumbnail_zpsvg2wg1al.jpg


It was a fun project even if I can't use the end result with my hardtop but I'll save them in case I ever have factory top on my Jeep again.

TwoSkylights2_zpsrhssxr5u.jpg


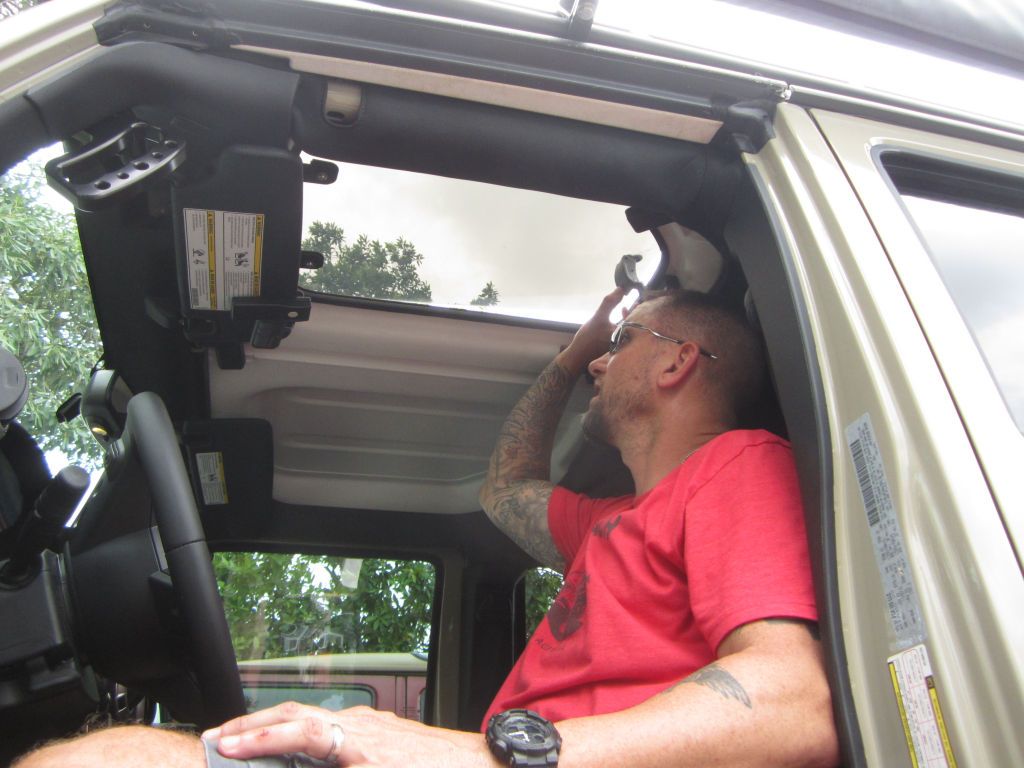
Can't even test them on Donny's Jeep anymore because he's getting an Ursa Minor :).

SkylightTest1_zpsnbq7mtoi.jpg
 

Comanche Scott

Expedition Leader
This kit seems like such a small risk for such a great reward.
I hope it does come to fruition. There will be a lot of very happy Jeepers out there if it does. :)
 

jscherb

Expedition Leader
This kit seems like such a small risk for such a great reward.
I hope it does come to fruition. There will be a lot of very happy Jeepers out there if it does. :)

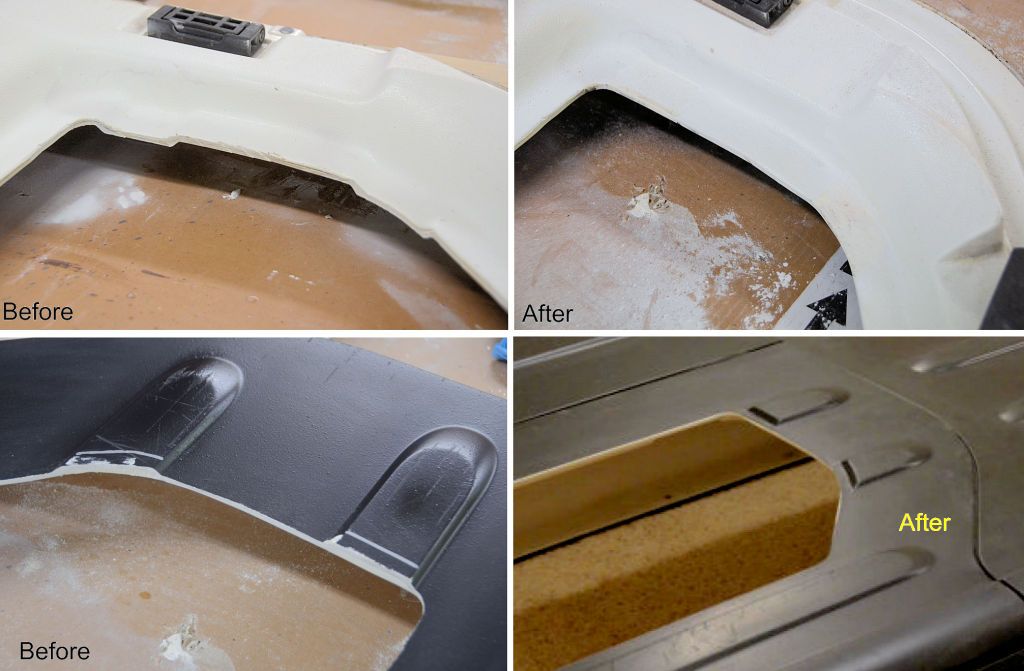
I don't know how many people would attempt the install themselves. It's not really difficult, and I've written detailed step-by-step instructions, but some of the people I've talked to about the kit are hesitant to do the conversion themselves - some are afraid to cut holes in their expensive Freedom Panels, and some are hesitant to do the small bit of filler/modification work to flatten out the area where the raised ribs are cut through, shown before and after below. What's required is filling the recesses on the inside with resin and a little fiberglass and sanding a bit of the raised portion flush on the outside, but that may put some people off. If too many people are unwilling to do the installation themselves, then it probably won't be worth bringing the kit to market.

RibsBeforeAfter2_zps8dwxjkla.jpg
 

rubicon91

Explorer
Yesterday I finished a first draft of the installation instructions so now I'm done with the Freedom Panel Skylight project. I turned the instructions over to a company that's expressed interest in marketing the kit. I don't know if the kit will become a product, cutting holes in a Freedom Panel isn't something everyone would be willing to DIY, so there might not be enough interest in the kit to make it a worthwhile product.

InstructionThumbnail_zpsvg2wg1al.jpg


It was a fun project even if I can't use the end result with my hardtop but I'll save them in case I ever have factory top on my Jeep again.

TwoSkylights2_zpsrhssxr5u.jpg


Can't even test them on Donny's Jeep anymore because he's getting an Ursa Minor :).

SkylightTest1_zpsnbq7mtoi.jpg

Ha well it is not here yet so lets test away :) The top is not due in at the earliest until the week before Christmas and I have a sneaking suspicion it will be after the new year before I have it so we still have time for things.
 

jscherb

Expedition Leader
Ha well it is not here yet so lets test away :) The top is not due in at the earliest until the week before Christmas and I have a sneaking suspicion it will be after the new year before I have it so we still have time for things.

My next trip to Florida will be late January, hopefully you'll have the Ursa Minor by then but if not I'll bring the Freedom Panels for us to play with. I hope your top comes on time though!
 

Ark

Member
jsherb

One of the big things that always worries me with aftermarket sunroofs are leaks. From everything I've read, it really sounds like you know your stuff and have done a good job incorporating that into this project but I just can't shake the nervous feeling I get when I hear "aftermarket sunroof". Have you done any leak tests yet? A youtube video in the car wash would be excellent!
 

jscherb

Expedition Leader
jsherb

One of the big things that always worries me with aftermarket sunroofs are leaks. From everything I've read, it really sounds like you know your stuff and have done a good job incorporating that into this project but I just can't shake the nervous feeling I get when I hear "aftermarket sunroof". Have you done any leak tests yet? A youtube video in the car wash would be excellent!

Sorry, no car wash video yet.

The skylights are designed using standard automotive engineering practice and well-proven automotive components, so I have high confidence in them. The weatherseal is a standard automotive component that's been used in flip-open vent windows since the 70's. The hinges follow current automotive engineering practice and are made from heat-treated spring steel and are dimensioned to provide the correct pressure on the weatherseal. The latch is a standard automotive vent window part (from a Mazda model not available in the U.S.) Everything is designed and engineered basically the same way as the side vent windows of a minivan or extra cab pickup, the design and engineering used are well known and accepted practice in the automotive industry.

Also, I used the same basic design and weatherseal for the power vent windows of my Safari Cab, and I've had that one through the car wash many times with no leakage (with the vent windows closed of course :)).

VentWindow_zpsqo2hzuz6.jpg


BTW vertically oriented vent windows are more likely to leak than horizontally oriented ones, and the vertically oriented vent windows of the Safari Cab are completely weathertight, even through the car wash.
 

prperkins

New member
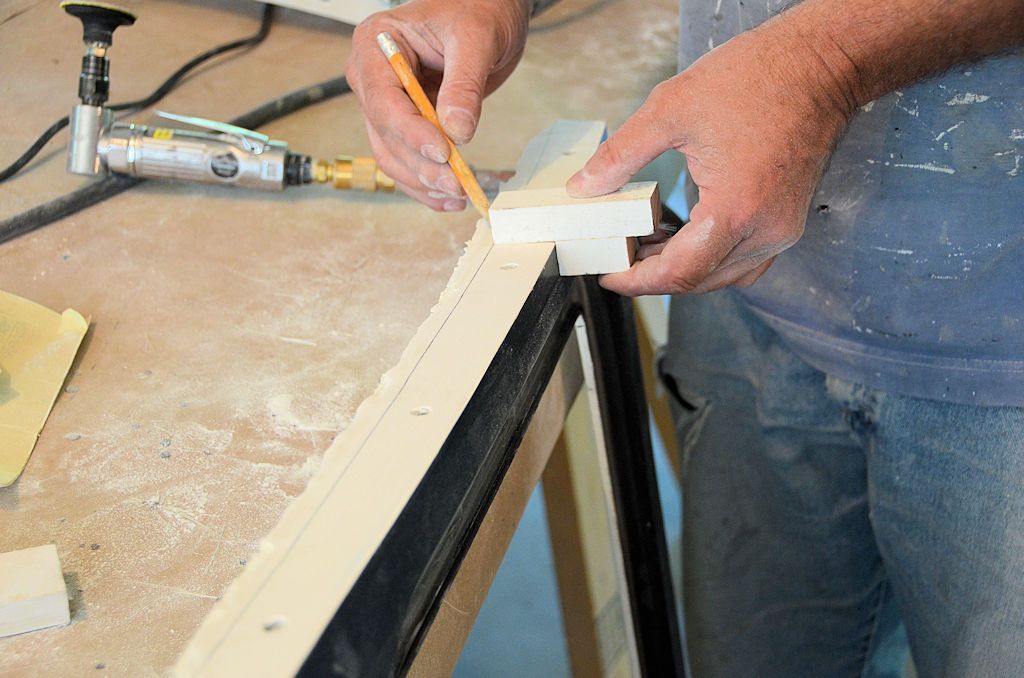
After the fiberglass to secure the t-nuts has cured, the flanges can be trimmed to approximately 1" wide and touched up with paint. A technique I use to mark a line perfectly parallel to a curved edge like this one is to make up a marking gauge out of two scraps of wood nailed together at the correct flange width:

MarkingGauge_zpsp4pvefyr.jpg


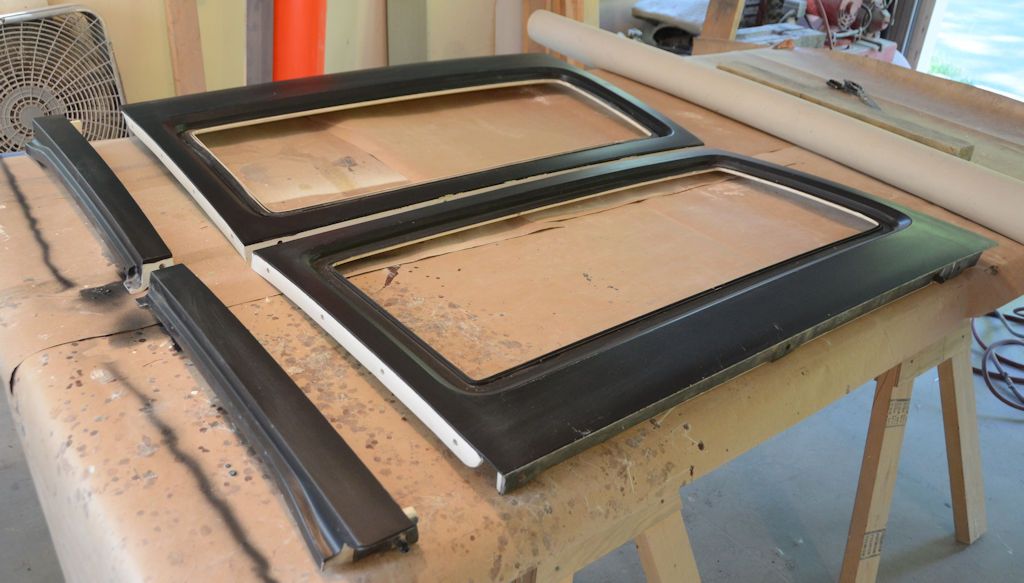
Flanges trimmed and touched up:

BPillarsDone1_zpsfd4srwzm.jpg


BPillarsDone2_zpsvohzlomd.jpg


The two parts can then be bolted together to form a complete panel. Weatherstrip will need to go between the parts, I'd put it on the panel side, not on the pillar side, so that when the panel is removed the weatherstrip goes with it.

BPillarsDone3_zpss45jpq3b.jpg


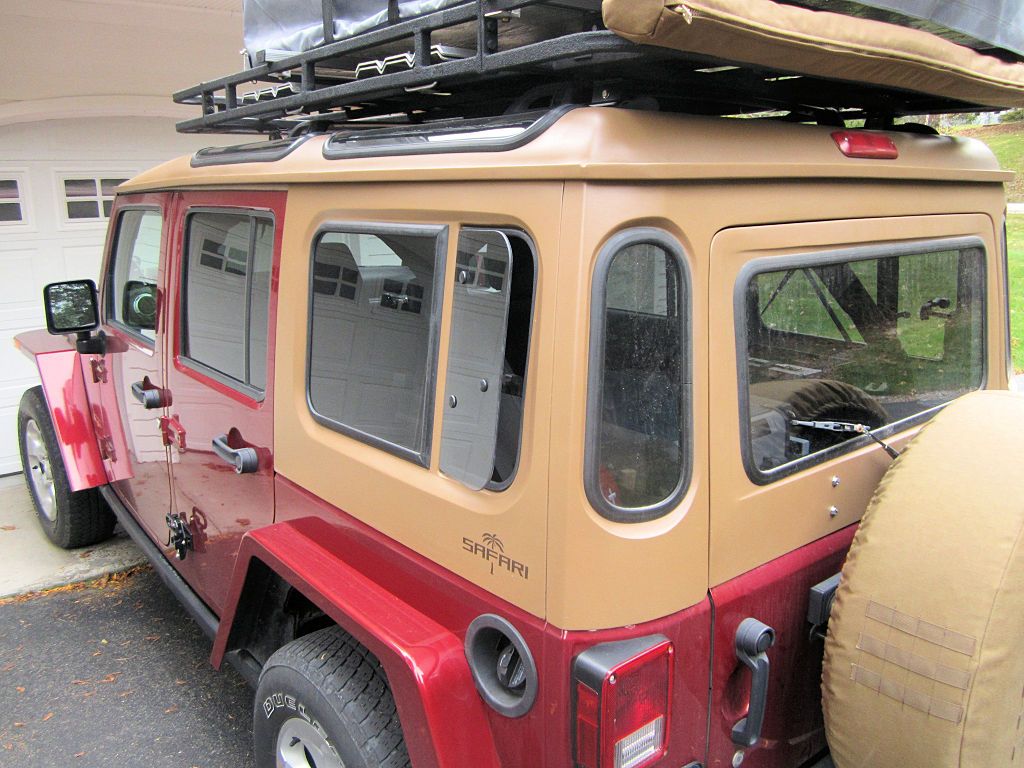
From the outside, the joint is barely visible (it's on the right in this photo).

BPillarsDone4_zps9oyphsbx.jpg

Jeff,

I'm wondering if a similar process is possible on the LJ tops offered by GR8TOPS, to separate the side piece and the back side (where they have molded one piece vs. your two); and if this process is possible...would the separate pillar supports still be required for strength and integrity. Just not sure about any of this because the factory top and the GR8TOP Safari Cab are different materials. Thanks!
 

jscherb

Expedition Leader
Jeff,

I'm wondering if a similar process is possible on the LJ tops offered by GR8TOPS, to separate the side piece and the back side (where they have molded one piece vs. your two); and if this process is possible...would the separate pillar supports still be required for strength and integrity. Just not sure about any of this because the factory top and the GR8TOP Safari Cab are different materials. Thanks!

Yes you can do that with the Gr8Tops Safari Cab. It's even easier on their top than on the factory top because the Gr8Tops top is made from ordinary fiberglass, not the SMC variant of fiberglass that the factory top is made from.

I've done it several times to alter the lengths of LJ Safari Cab side panels. I needed to shorten the Gr8Tops panels in the following photo for a camper project:

SideNewFlange4.jpg


So I cut them to length, put them in my Safari Cab side panel mold, and molded new end flanges on.

SideNewFlange3.jpg


You'd be cutting the panel in half and adding new flanges on each side of the cut, and you don't have the molds so you'd make the flanges with boards clamped in place as a form, but the process is the same and it's not difficult.

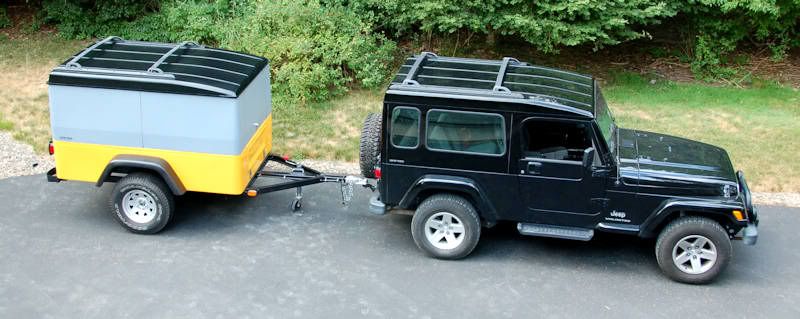
BTW the project I cut them for was a Safari Cab based camper top for a Jeep-tub trailer...

CamperTwins1.jpg
 

Forum statistics

Threads
188,296
Messages
2,905,088
Members
229,959
Latest member
bdpkauai

Members online

Top