Spent the last few days building cabinet drawers. Some drawer slides were donated to us, so we're going to build around those. They are professional cabinet builder grade hidden drawer slides. Not what I wanted to work with, as they just upped the skill level and time to build these drawers, but it's saving us money and we'll have some pretty awesome drawers.
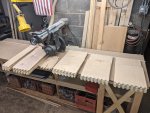
All this plywood was leftovers from when we did the van interior many months ago. Thank goodness we kept all those scraps. No way could we afford the lumber prices now with the market what it is! Lots of measuring and planning ahead and this is the best we came up with. Usually drawers are made of solid 0.75" wood, but this is what we got and it will be lighter. Ran these boards through the router on a simple jig. Took many hours, mostly trial and error. It's my first time attempting joints like this.

So this is the plan we came up with. Figured these simple joints will hold the corners very strong. A groove in the bottom of each side will hold the bottom panel in place. The drawer slides will be mounted under the bottom panel. The lowered relief in the one panel at the bottom is clearance for the push button latch. They are made for 0.75" panels, and since we already have 0.5" here and adding an additional 0.5" front panel later, we had to router out 0.25" so the wood wouldn't be so thick.
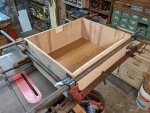
Lots of clamps, but didn't have enough. Barely had enough to glue one at a time. No metal fasteners holding these together, all glued joints.
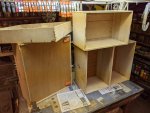
Took several days to get all these done. Under the one drawer you can see the orange handled retainer clips that attach to the drawer slides.
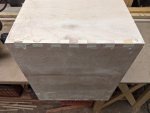
Some sanding and they don't look so bad! Running plywood through the router in the orientation we did was scary. Lots of risk of the ply blowing out. You can see some of that happening if you look closely. Not too bad, I'll live with it. They are very solid and strong, and that's all that matters.
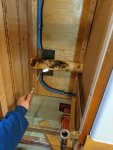
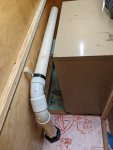
But, and there is always a butt, some things we didn't account for. The pipe we ran for the fridge vent last week is in the way of the bottom drawer. We had just enough clearance behind the drawers for the pipe, but never accounted for the 1" offset bend we put in the pipe to get around those electrical lines. Way too much work to move the pipe or rebuild the lower drawer. We have the "appropriate" tools to fix pickles like this.
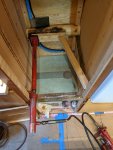
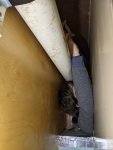
Make the pvc soft and pliable, then use hydraulic ram to gain clearance! Yes, the pipe looks like it was the main course at a barbecue, but it's just an air vent and nobody will see it. Promise not to tell anyone? Wouldn't be an accurate build thread if we didn't show all the oopsies.
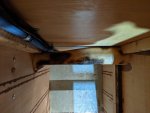
We were afraid to share this blunder, but you know what, we're pretty proud of the result!
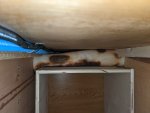
If that fit doesn't put a smile on your face...
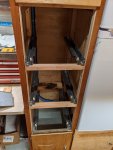
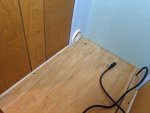
And finally drawer slides all installed and ready to accept drawers. But drawers still need more work...
