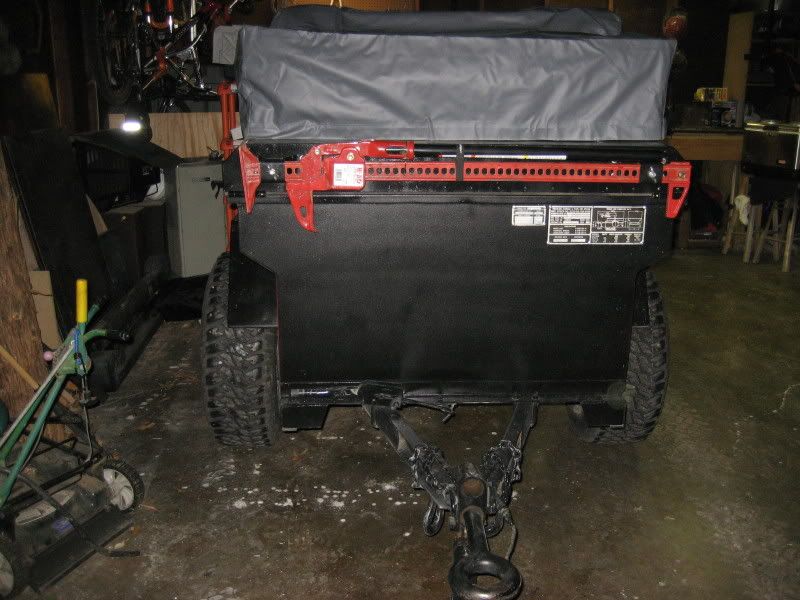
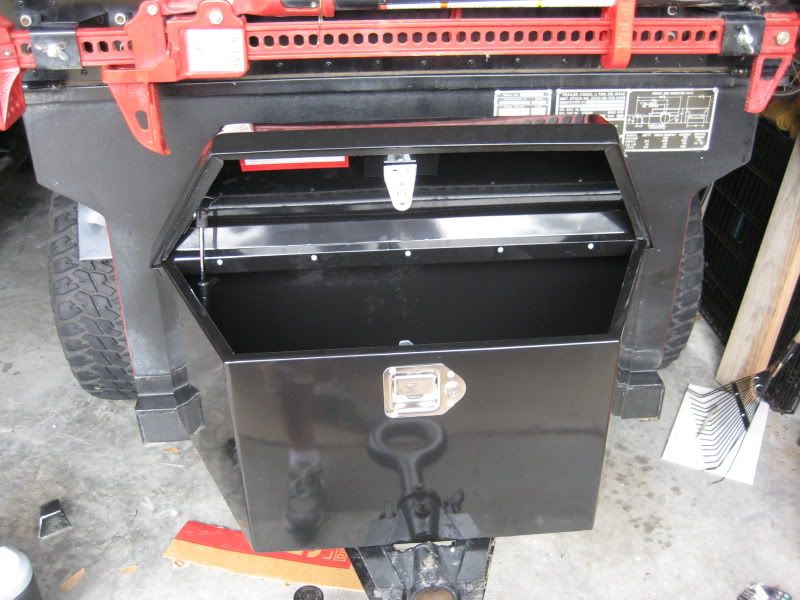
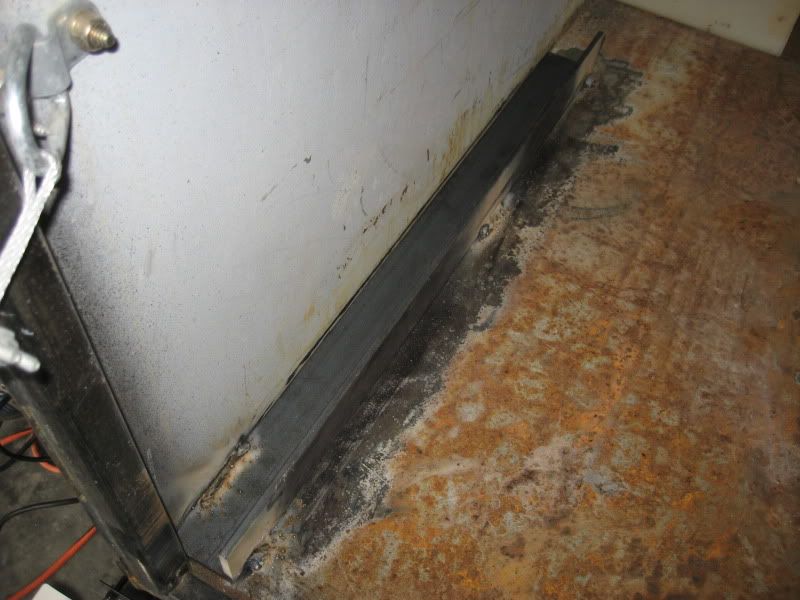
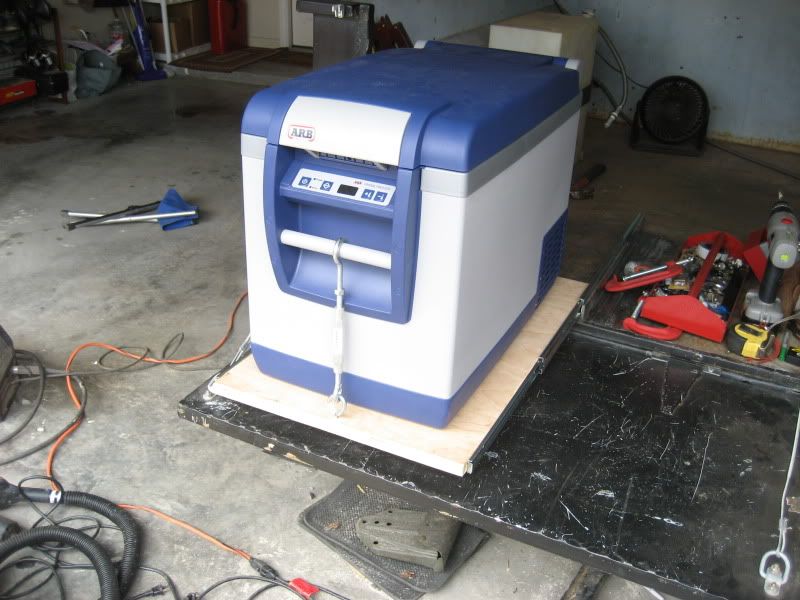
Got the fridge in and some electrical work done finally. I welded in some angle iron pieces as brackets for the slides. They aren't quite long enough to get the fridge all the way out but they'll work for now. The price difference between these 24" HomeDepot models ($16) and the 30" ones from McMaster-Carr is like $90. So I'll make due with these till I can find suitable replacements.
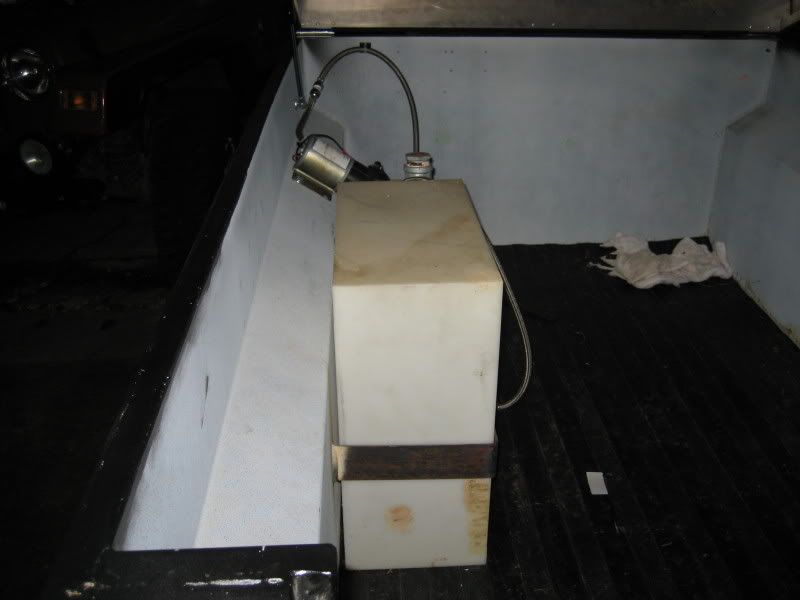
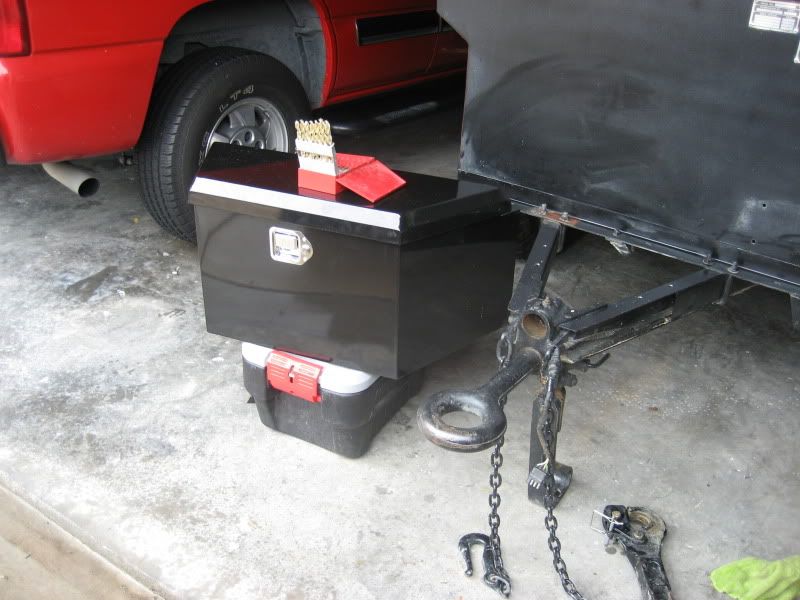
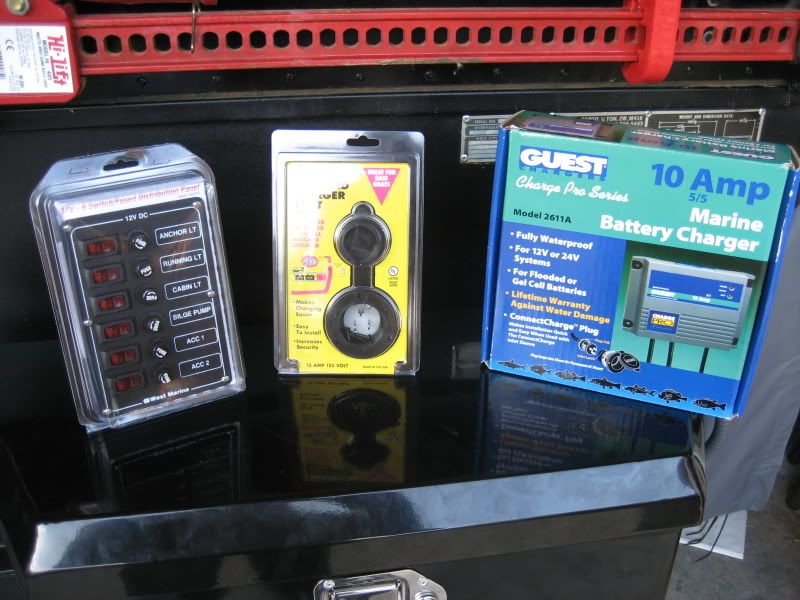
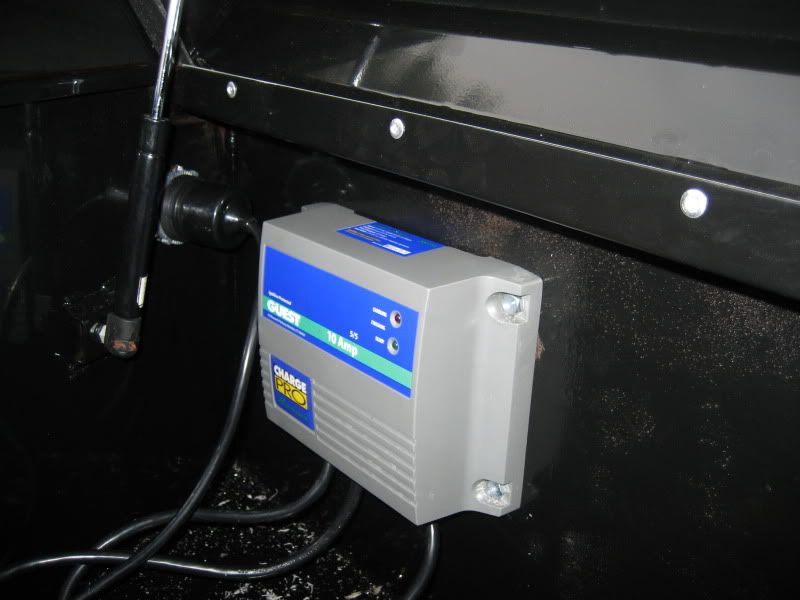
Here is the charging outlet, fuse panel, and 10 amp charger.
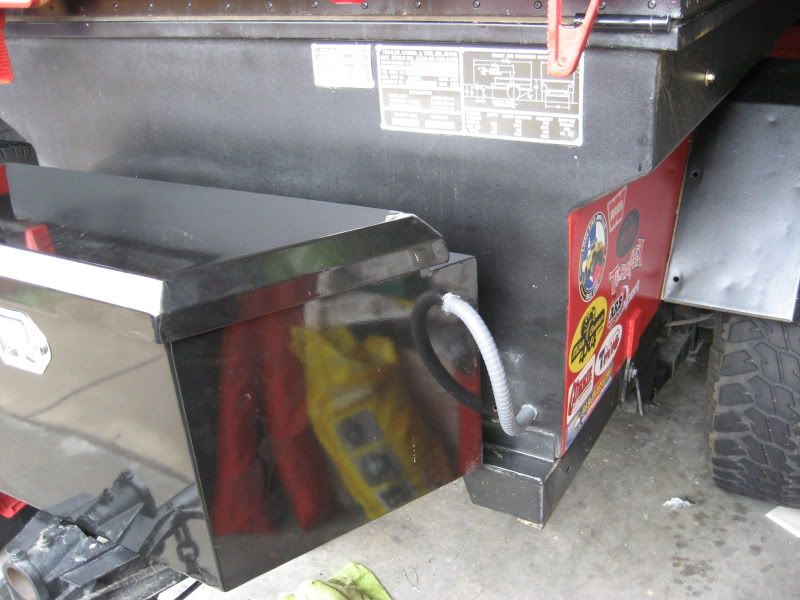
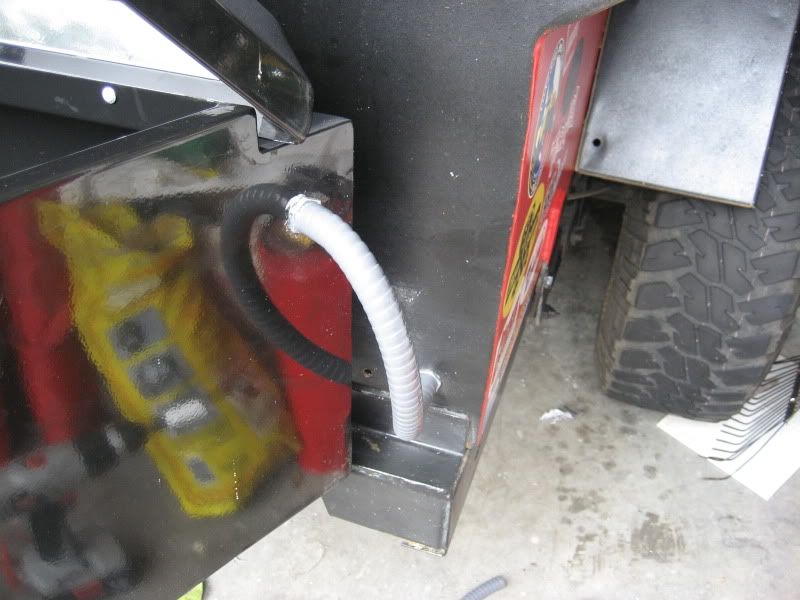
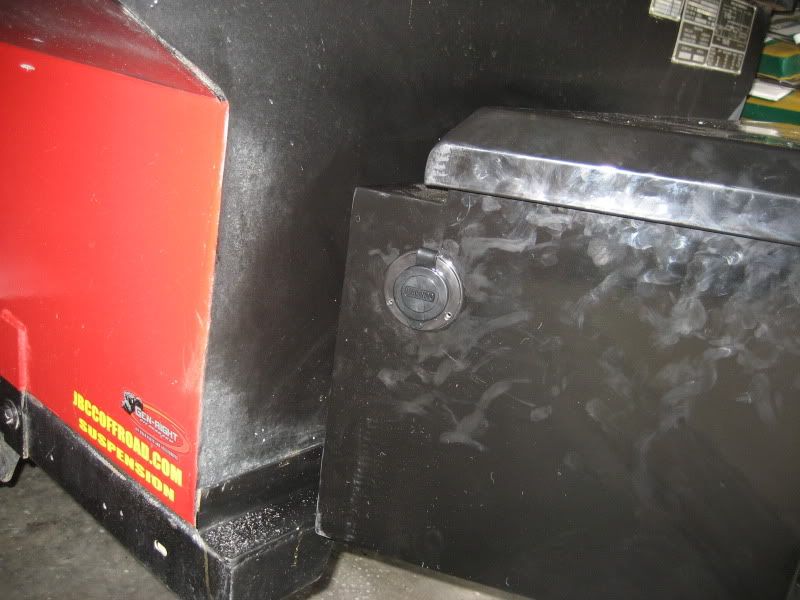
This is the charging outlet mounted
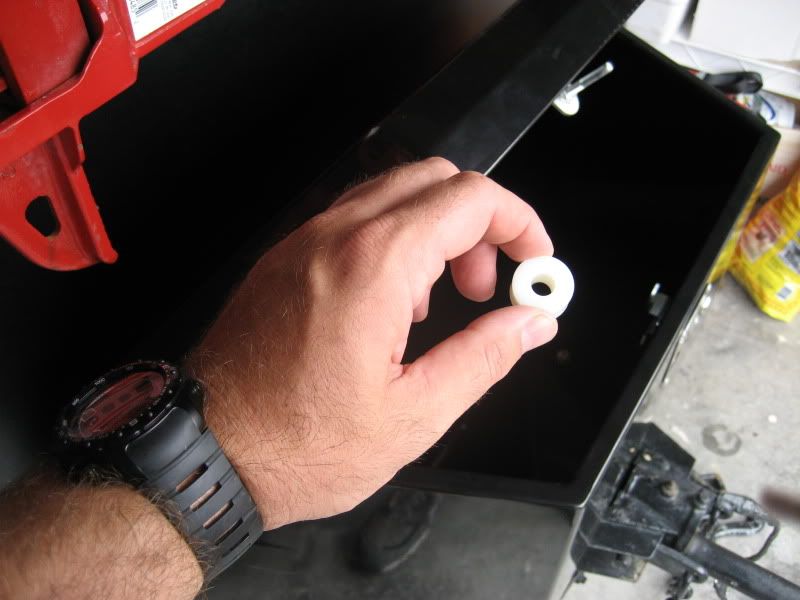
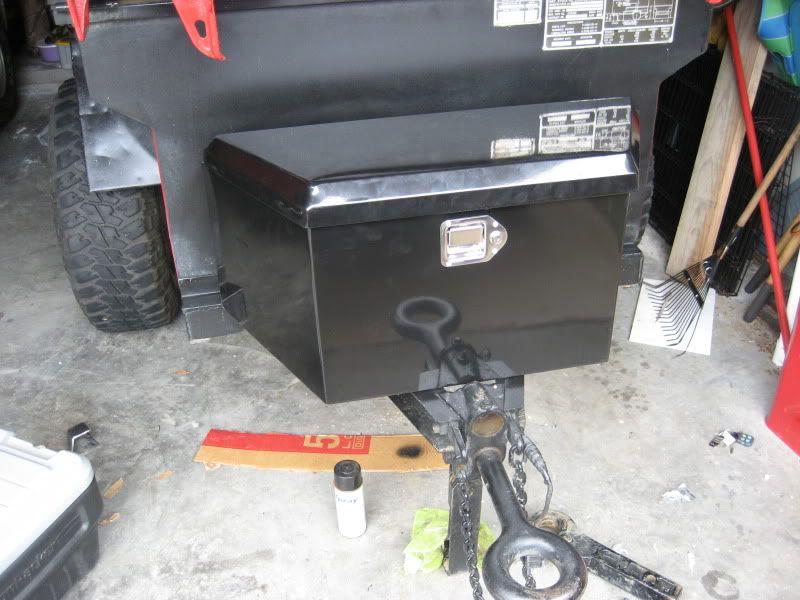
The 10v charger mounted inside the tongue box
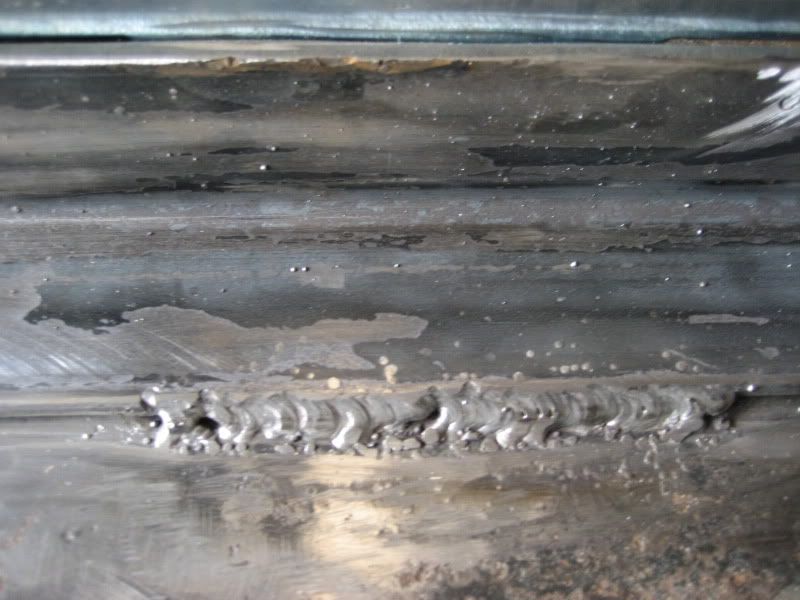
and here is one of my angle iron brackets. I know my welds are ugly but they are really strong. Not half bad for teaching myself in 5 mins! I'm working on making them prettier!
From there I just welded in the other bracket, attached the slides and screwed in a piece of plywood for the base.
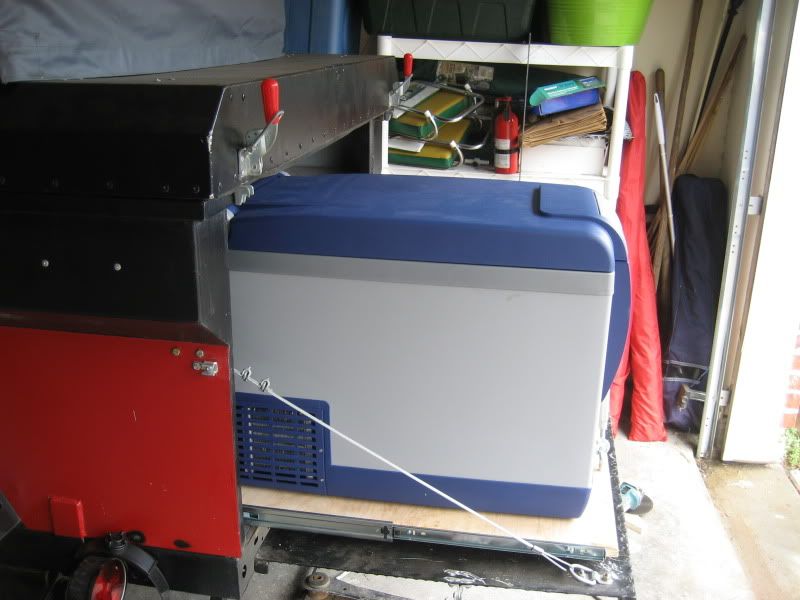
I can secure it to the platform with these turnbuckles!
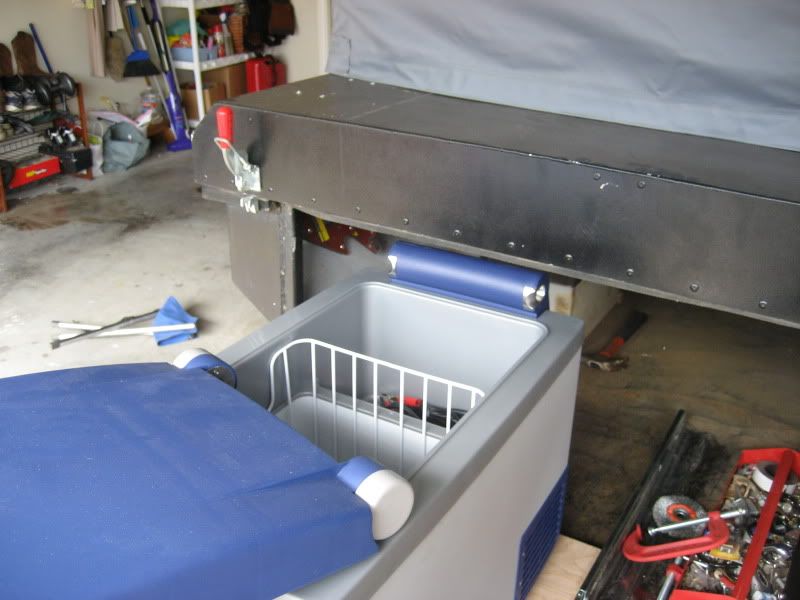
This shows a good angle of how much I can open the fridge lid when the trailer lid is down
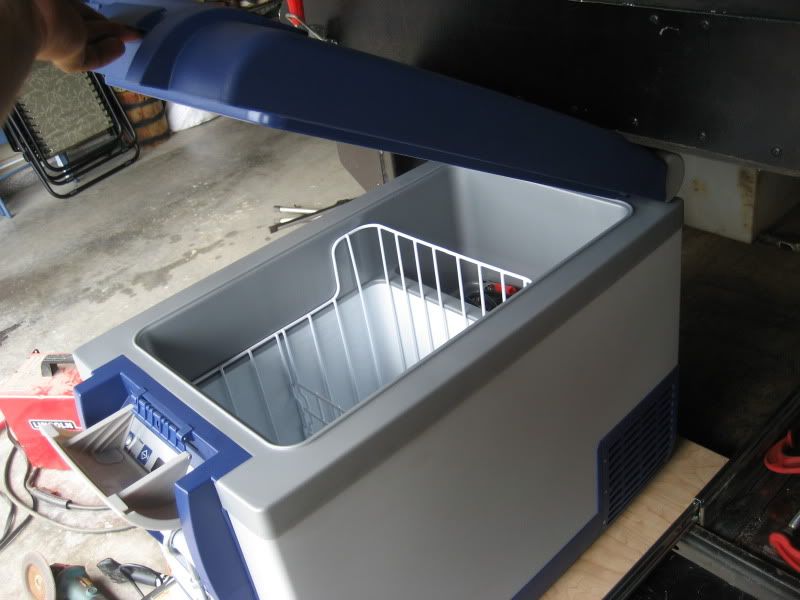
But the geniuses at ARB designed the lid hinges to quick release with a firm pull! I love this thing!
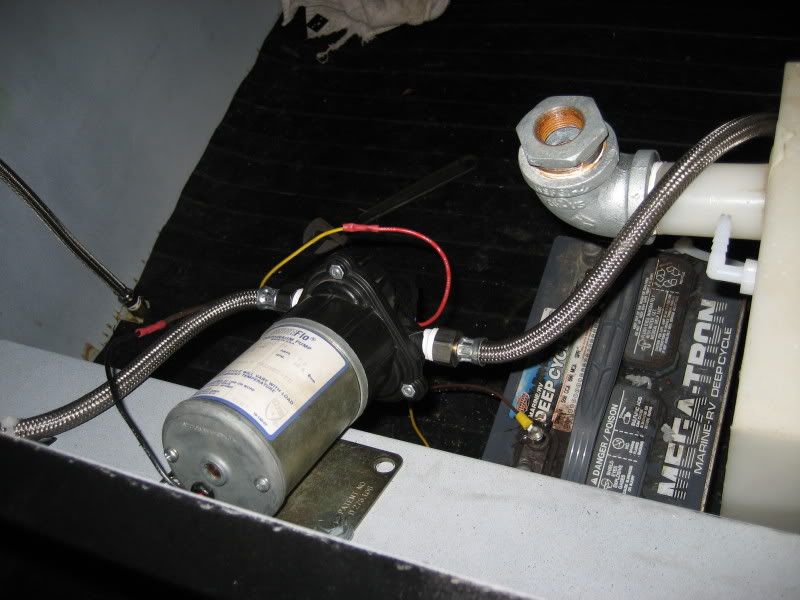
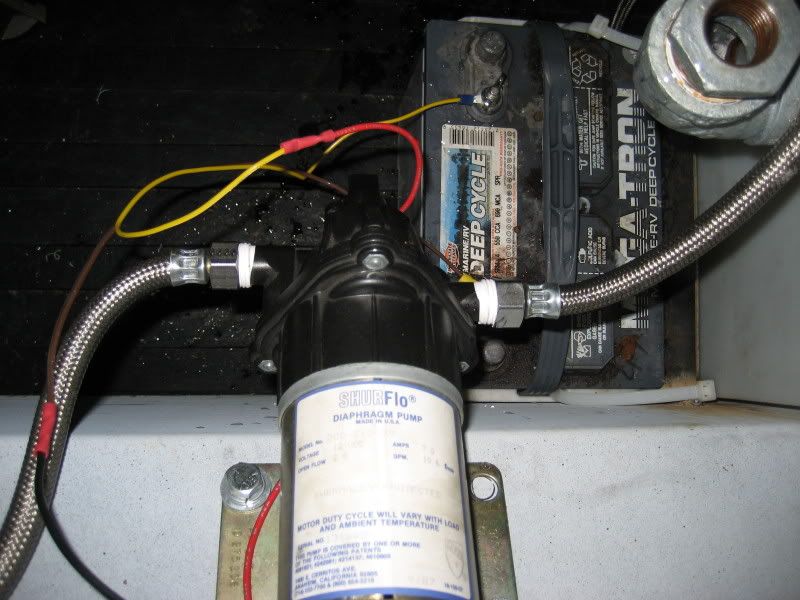
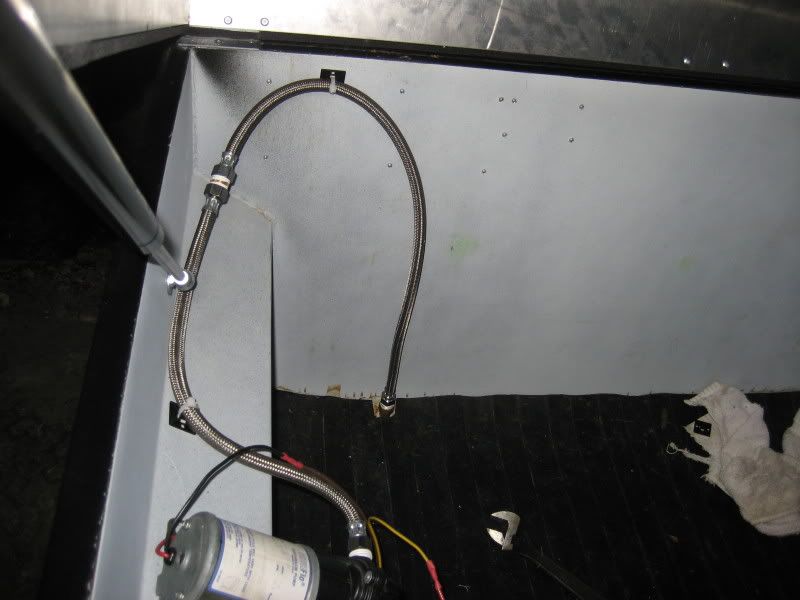
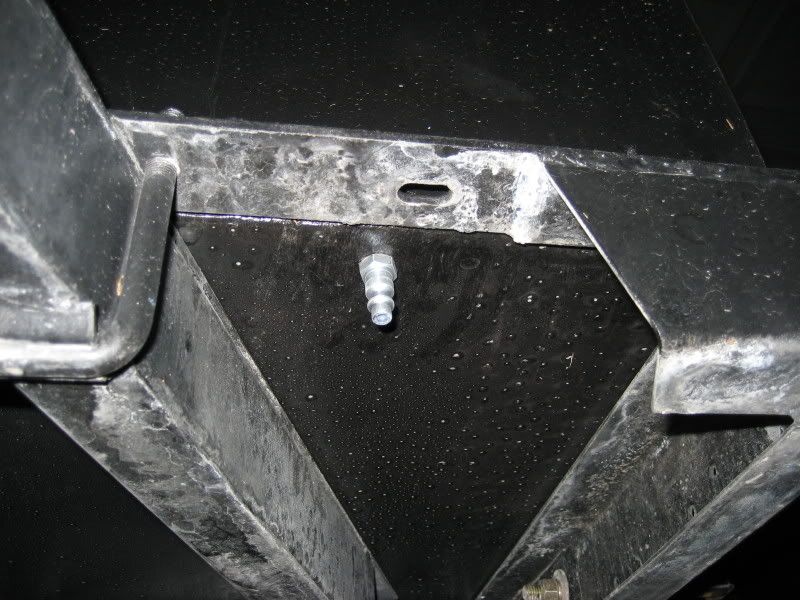
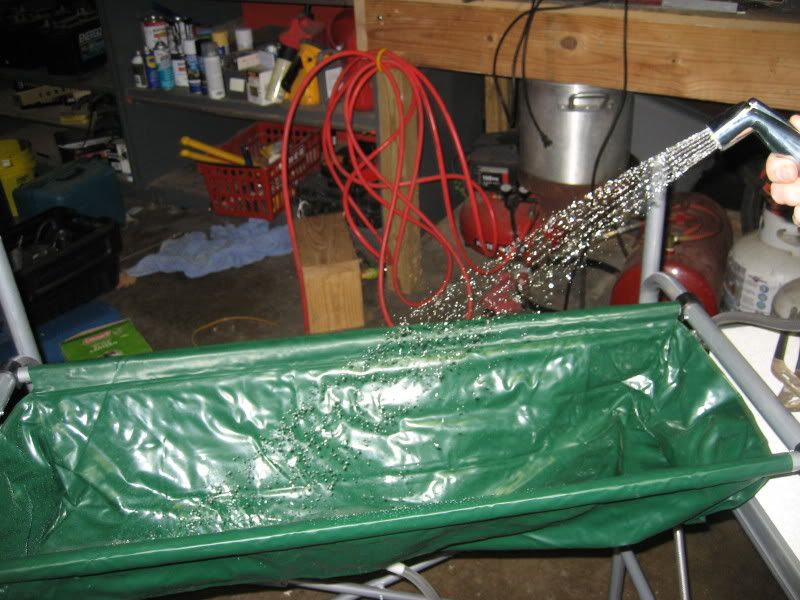
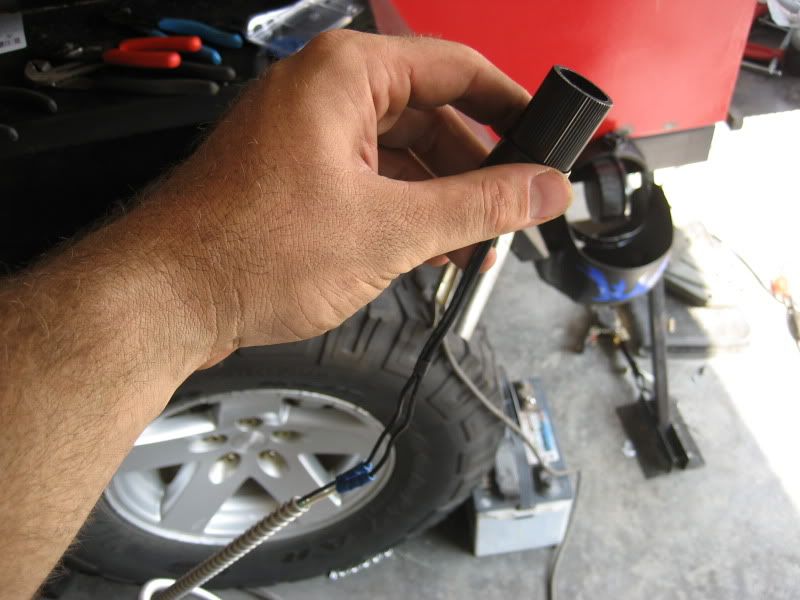
Instead of taking apart the fridge's car charger and hard wiring it to the battery I simply wired one of these 12v adapters to my conduit. So now I can keep the car charger for the fridge intact and use it in any vehicle! just plug one end into the fridge and the other here and I'm done!
Still have to wire everything up and run the batteries is parallel, but about 90% of the work is done! Now I'm ready for and awesome camping season!
D