Equipt
Supporting Sponsor Presenting Sponsor of Overland
Tembo Tusk LoadSpotter Cabinet
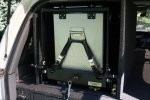
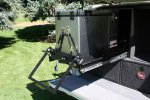
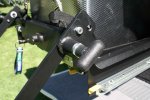
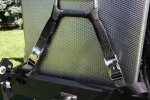
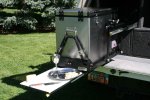
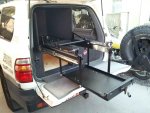
As I noted a while back, I've had a couple issues with the drop down fridge slide that I have been using. So, we're moving on. Jerry at Tembo Tusk helped me get one of his LoadSpotter Slides with the Cutting Board Attachment. Jerry is a really great man to work with. Smart, eager to help, and know exactly how to build an incredibly robust fridge slide.
The trick of the matter is that this slide is 2" wider and 1-1/2" taller than the other slide. So, a new fridge enclosure was necessary. The next trick is that the height requirement of the slide is at the upper limit of the space I have to use in the back of the truck.
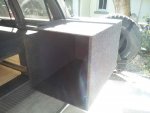
Instead of a complete wood cabinet, I made one with 1/8" aluminum plate top and bottom to gain the clearance I needed. Also, to maintain as narrow a cabinet as I could I went with 5/8" ply. This would let me open the slide, and be able to pull out the right hand drawer with an 1/8" to spare.
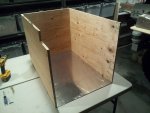
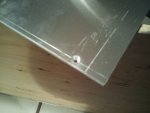
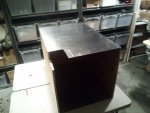
I drilled and countersunk the aluminum plates to keep the surface smooth, and notched the corner to fit the arc of the rear entry. The cabinet turned out to be lighter than the original in spite of the fact it was larger. A bit of paint and a layer of heavy duty speaker felt, and we are ready to install.
Cheers,
As I noted a while back, I've had a couple issues with the drop down fridge slide that I have been using. So, we're moving on. Jerry at Tembo Tusk helped me get one of his LoadSpotter Slides with the Cutting Board Attachment. Jerry is a really great man to work with. Smart, eager to help, and know exactly how to build an incredibly robust fridge slide.
The trick of the matter is that this slide is 2" wider and 1-1/2" taller than the other slide. So, a new fridge enclosure was necessary. The next trick is that the height requirement of the slide is at the upper limit of the space I have to use in the back of the truck.
Instead of a complete wood cabinet, I made one with 1/8" aluminum plate top and bottom to gain the clearance I needed. Also, to maintain as narrow a cabinet as I could I went with 5/8" ply. This would let me open the slide, and be able to pull out the right hand drawer with an 1/8" to spare.


I drilled and countersunk the aluminum plates to keep the surface smooth, and notched the corner to fit the arc of the rear entry. The cabinet turned out to be lighter than the original in spite of the fact it was larger. A bit of paint and a layer of heavy duty speaker felt, and we are ready to install.


Cheers,

