Winch Installed...
We finally got the winch in and running today.
Installation was pretty straight froward.
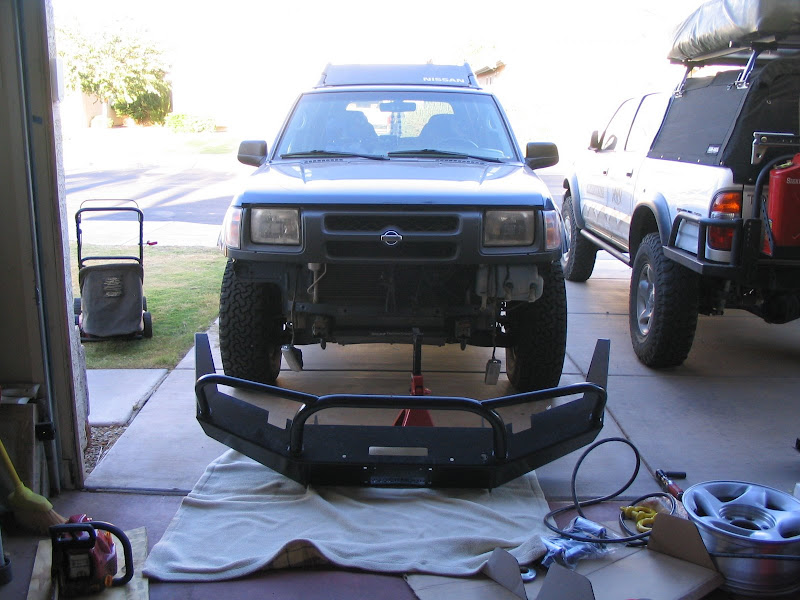
1.) Remove Bumper
2.) Install Winch via mounting holes
3.) Wire in winch
4.) Re-Mount bumper
Bumper removed:
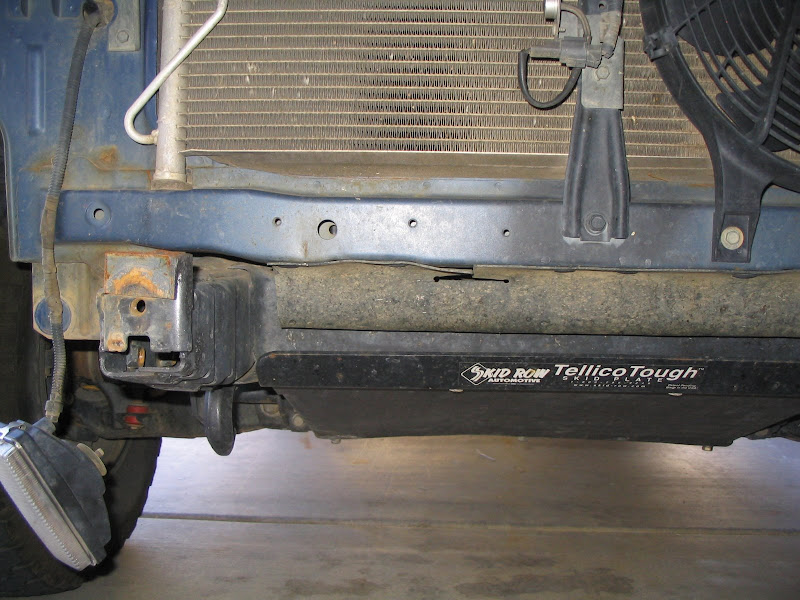
Frame horns got some POR to address the rust issues:
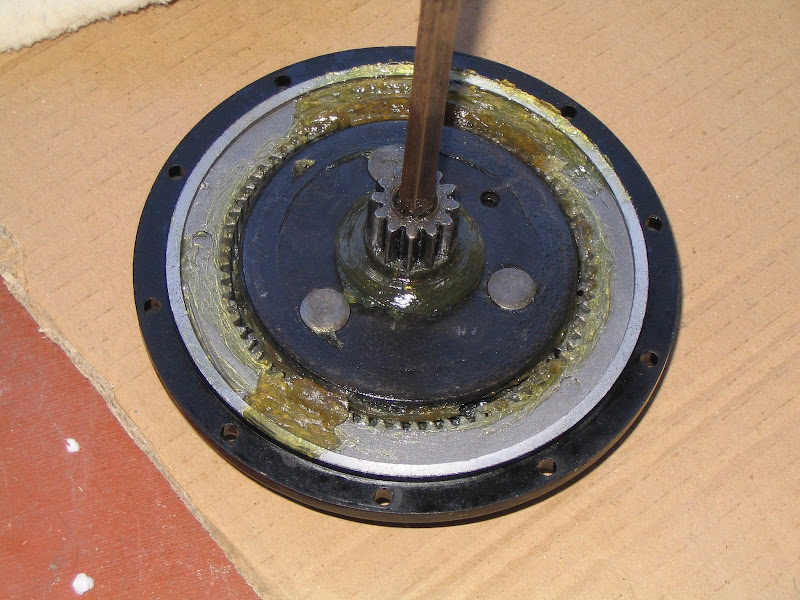
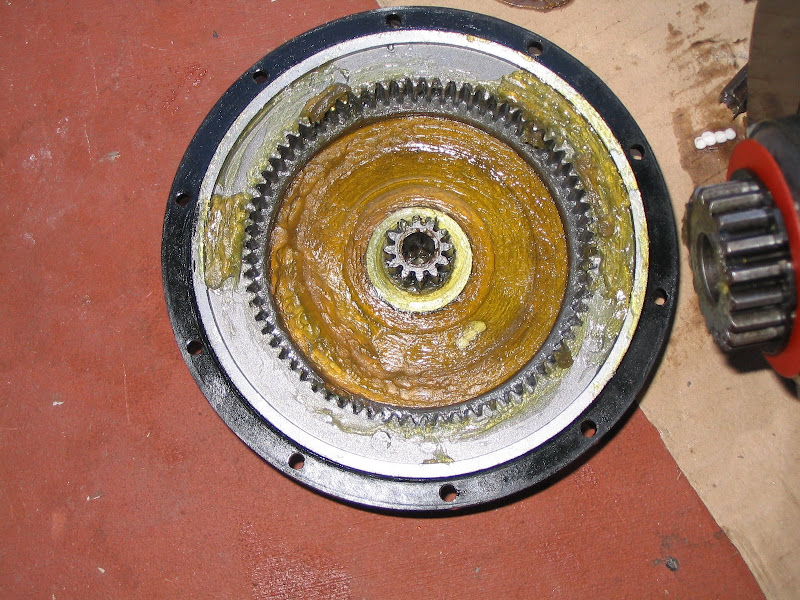
Prior to installation we wanted to take a good look at the internals of the winch:
I am glad we decided to look inside. Look what we found.
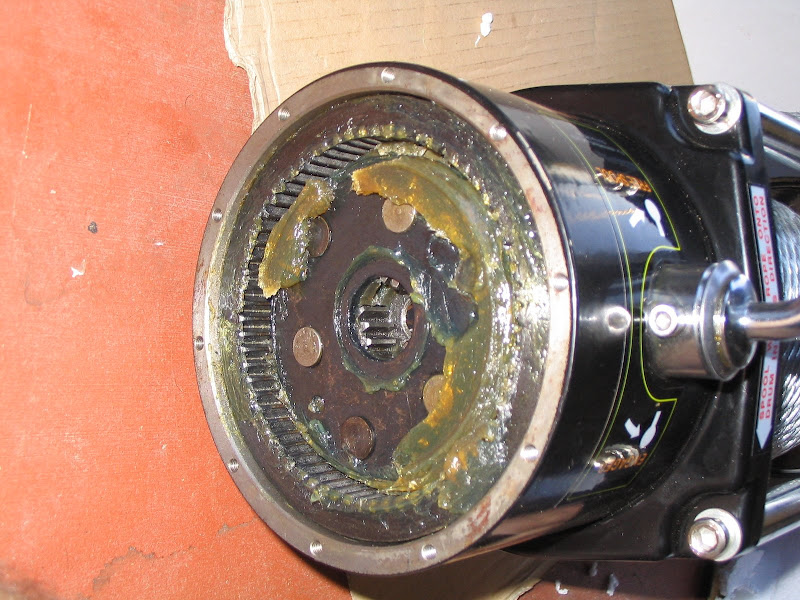
Unfortunately this was not the only spot we found Styrofoam packed into the grease! We re packed the winch with grease and in total found 9 balls of Styrofoam (the size of a BB). You can 4 other "chunks" in the picture above (wiped on the cardboard).
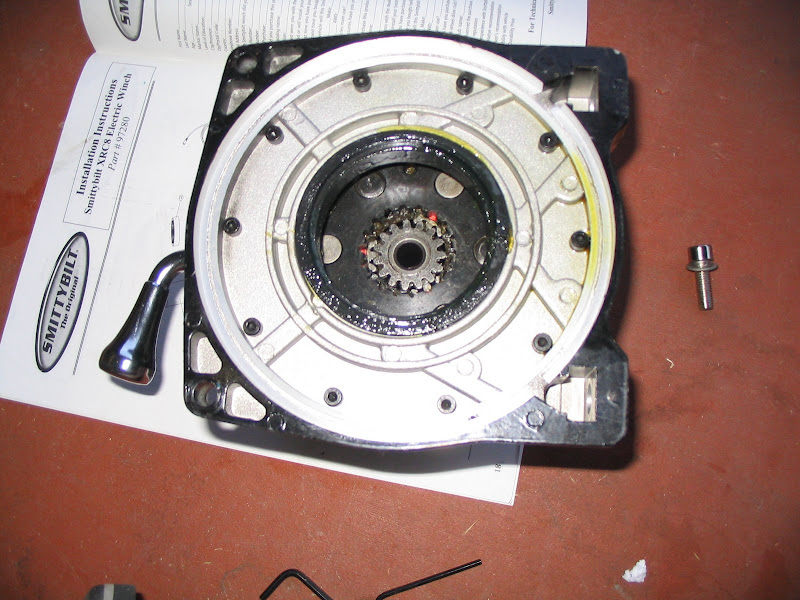
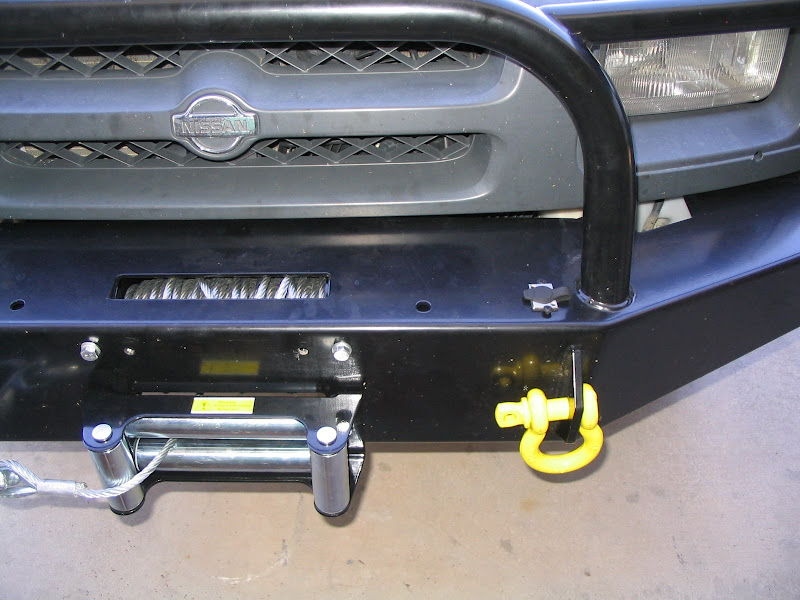
With the Shrockworks front bumper the winch mounts with the bottom of the winch facing the front (so to speak on its side). With this configuration the winch had to be clocked so that the clutch handle could be easily reached. Clocking required removing the 10 screws on the clutch housing as in the picture below:
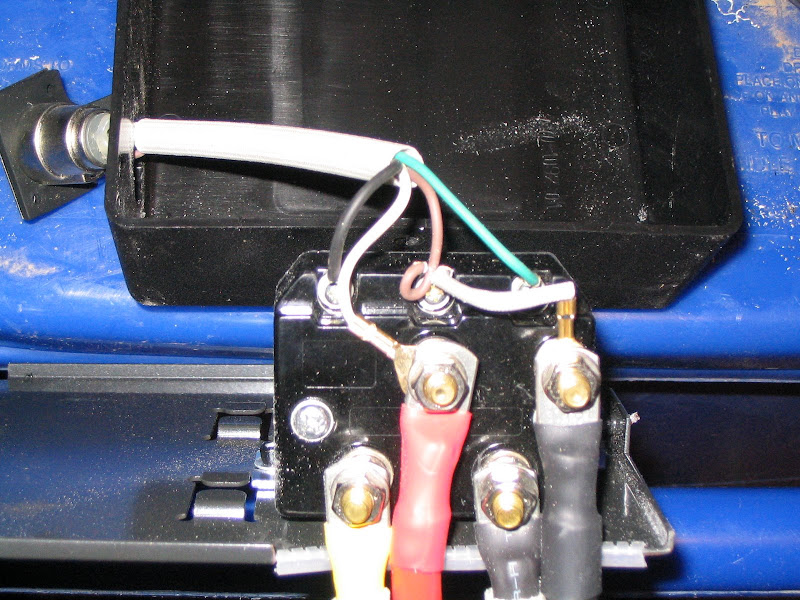
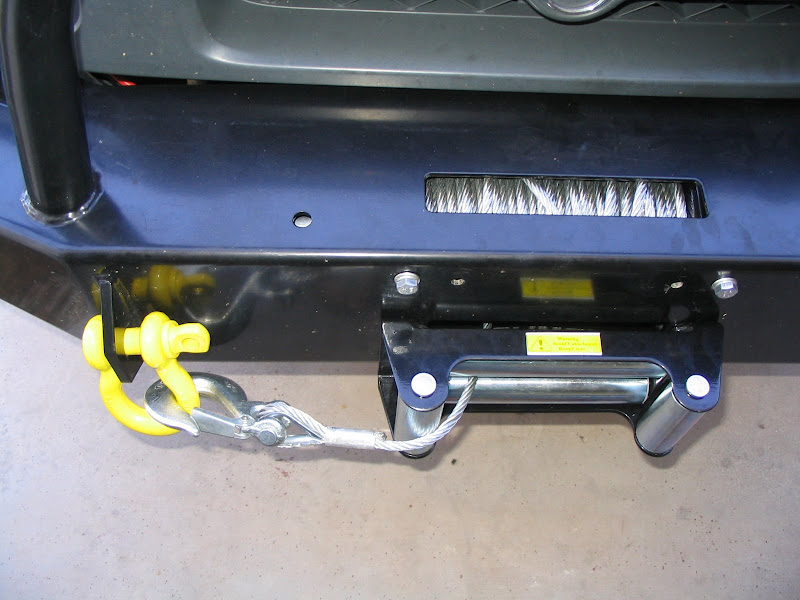
The solenoid (control box) is not water tight and is overly large for what was in it. With the bumper it would not allow enough room in to mount the unit using the bracket included with the XRC-8. We drilled out the rivets that held the plastic cover on and the solenoid to the base plate. The bracket that held it to the base plate fit perfectly on a cross member on the front of the Xterra.
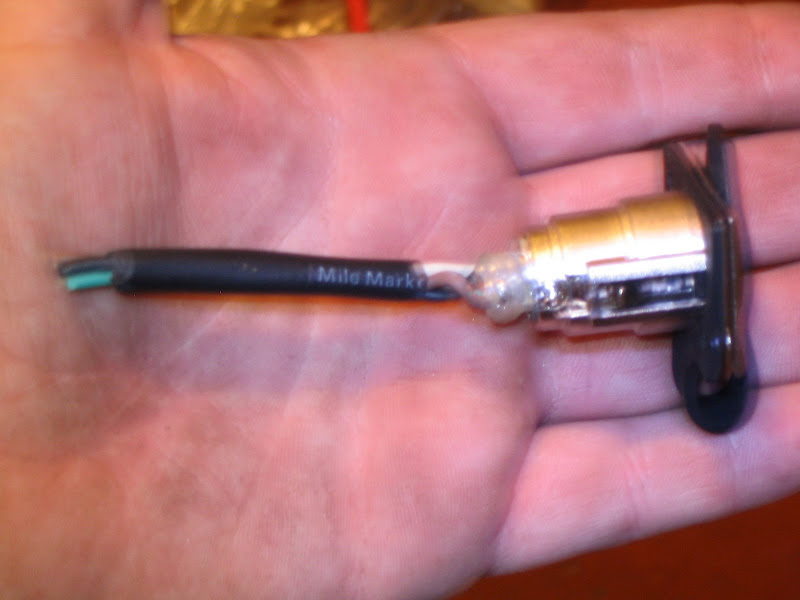
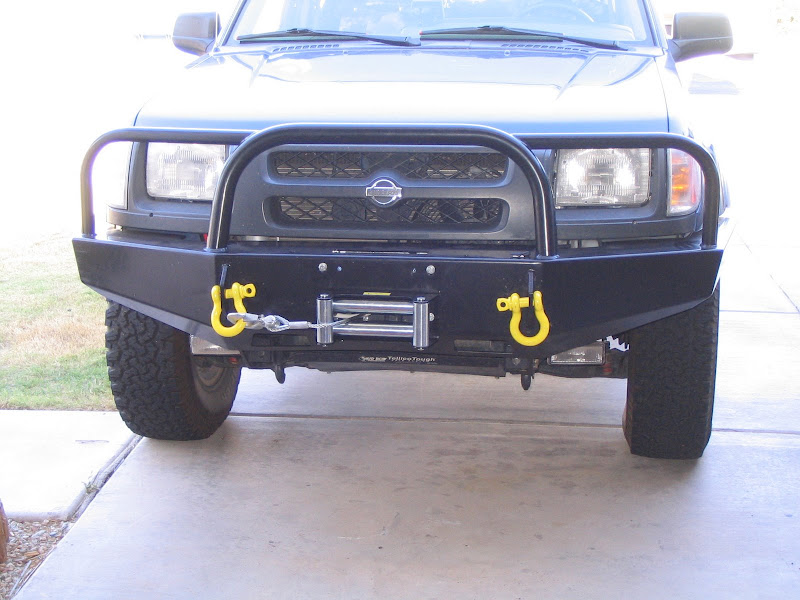
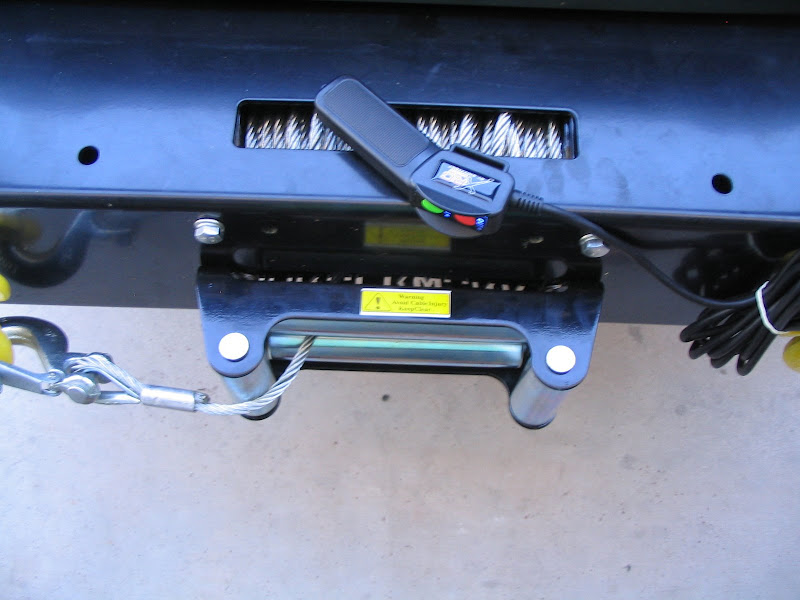
Since the Shrockworks bumper has a location for a winch plug in, we relocate the controller plug there. I wonder who makes the SmittyBilt winch?
More in the next post.....

")