Team Ball's Out
Adventurer
.
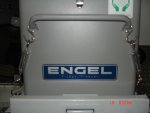
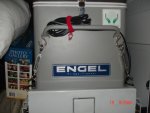
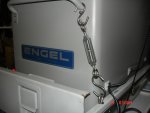
For all of you that have a Engel fridge this is what I came up with to keep my fridge from bouncing around. 4 SS turn buckles. I hated the bunggies and the many kinds of straps. Now you might think it might be a pain in the *** to do but it was pretty easy.
Pretty easy to follow, I took pictures of all of the hardware you will need .See list below.
Note you do not have to use SS... I used it because it won't rust.
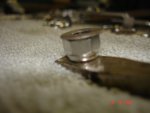
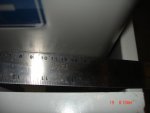
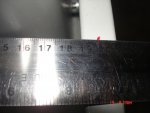
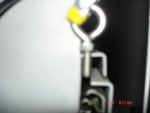
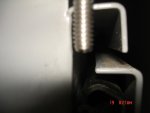
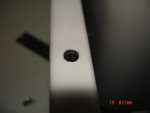
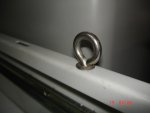
Take a ruler or straight edge in the front of the fridge and this will give you a reference point as to where to drill your holes. Do this on both side of the fridge and mark with a marked as to where to drill the holes. After you have marked the hole locations measure about a 1/4" from the mark towards the end of the end of the slide. Why? so the turn buckle will have clearance and won't hit the fridge when you tighten the turn buckle. Remove the fridge from the slide to make drilling easier. Use a center punch to mark the hole location. I than used a small drill bit as to have as pilot hole. Drill 2 holes one on each side of the front using the small bit. Next I used a drill bit one size bigger than a 1/4" a 17/14"bit . The eye bolts are a 1/4".and if you use the same size bit it's a tight fit, the bigger bit makes it easier to install the eyelet. I used a 1/4" flat washer on top and under the slide and used a nylon lock nut. Done.
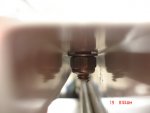
Back holes are the same process but measure 5/8" from the end of the slide, mark and drill holes one on each end. Same with the flat washers and tighten. The back is a bit tricky to get the nut and the flat washer inside of the slide so I uses a bit of electrical tape on a flat blade screwdriver sticky side out to help or if you have a kid with small fingers that will work as well. Tighten up and your done. Vac up all of the metal cutting from drilling so they wont leave any rust marks. Install the fridge and install the s hooks and turnbuckles.
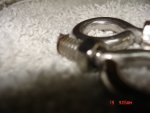
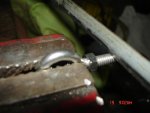
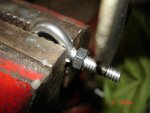
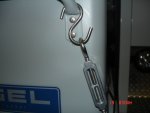
The eye bolts were a bit long and I needed to trim @ 1/4" off of each one. I could not find them any shorter. So I used my grinder with a cut off bit or you could use a hack saw. If you do trim them make sure you leave the nut on while you trim the excess off why? When you cut the you will mess up the threads a bit. So after you cut to length you can file off the burr and than run the nut off the end and that will clean up any remainder of the burr. Or you can use a Die to touch up the threads Install eye bolts in the holes in the same manner as the front and your done. Install the SS hooks on the fridge handle and one in the eye bolt and snug up the turnbuckle. Remember you are not going to tighten the turnbuckle really tight... it only needs to snug. Part numbers are listed below..
4 Each 1/4" X 5 1/4" turn buckles part number #7110
4 Each 1/4" X 2" eye bolts # 7131
8 Each S hooks # 7152 they come 2 in a pack.
4 Each nylon nuts
8 Each Flat washers.
Attachments
-
 fridge tiedowns 001.jpg110.6 KB · Views: 11
 -
 fridge tiedowns 002.jpg141.6 KB · Views: 7
 -
 fridge tiedowns 003.jpg123.3 KB · Views: 6
 -
 fridge tiedowns 004.jpg132.9 KB · Views: 6
 -
 fridge tiedowns 005.jpg101.4 KB · Views: 5
 -
 fridge tiedowns 006.jpg144.4 KB · Views: 8
 -
 fridge tiedowns 007.jpg155.7 KB · Views: 8
 -
 fridge tiedowns 009.jpg139.6 KB · Views: 7
 -
 fridge tiedowns 011.jpg113.4 KB · Views: 8
 -
 fridge tiedowns 010.jpg112.1 KB · Views: 16
Last edited:

