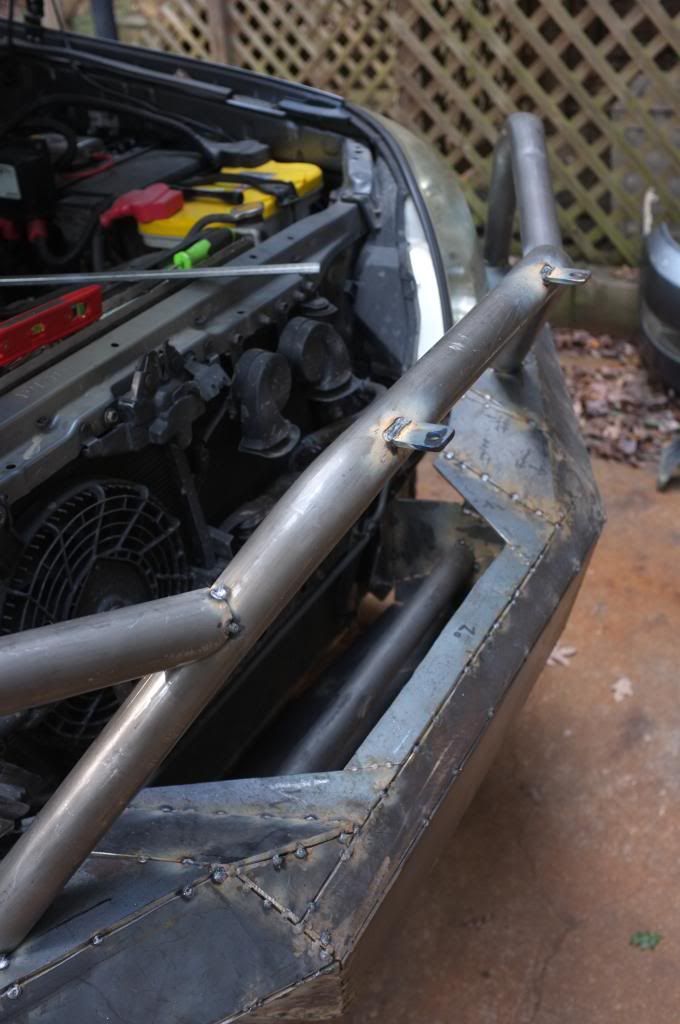
I did some work on the bumper yesterday. I was mainly focusing at getting the hoops mounted and starting to look at the internal reinforcements of the bumper.
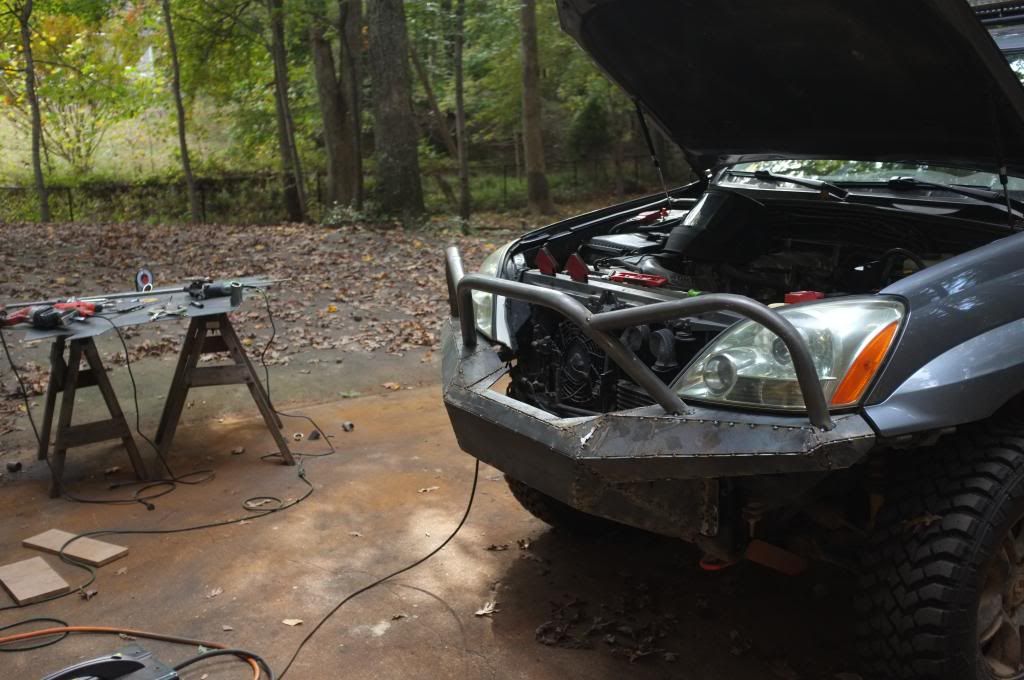
I wasn't sure about using hoops at first but once I got them on i was very happy with it and thought it look pretty cool actually. It kind of makes the bumper a lot more aggressive.
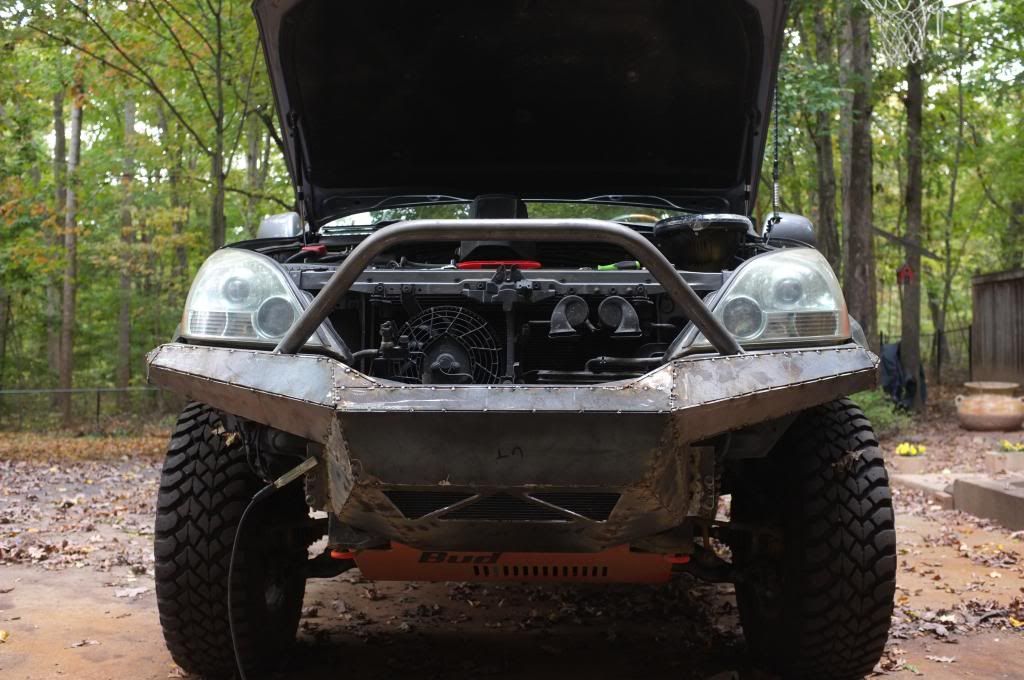
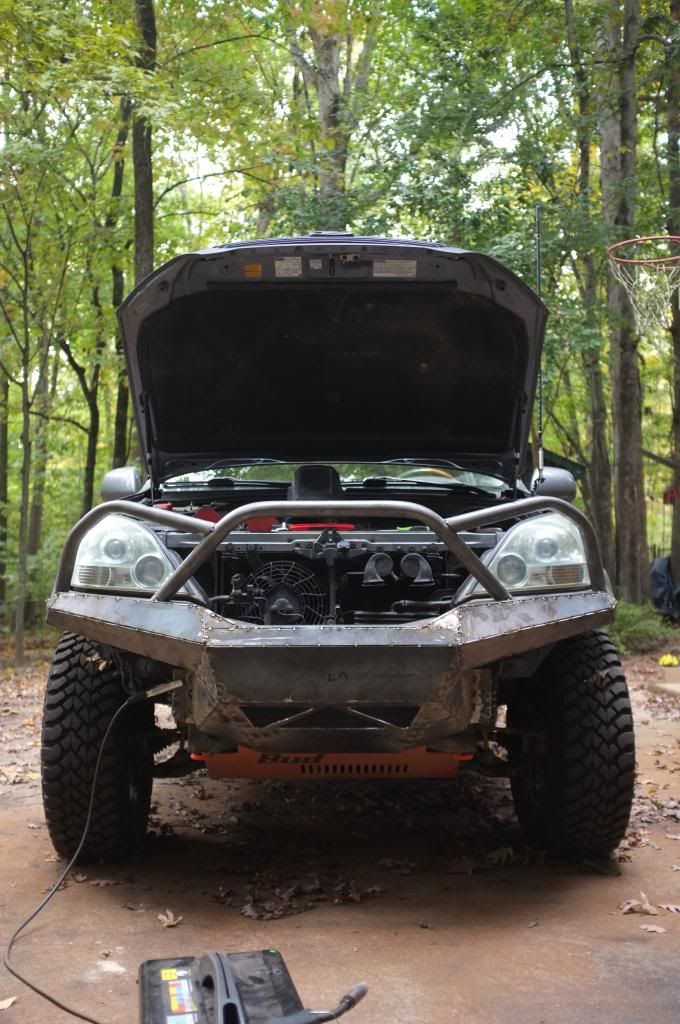
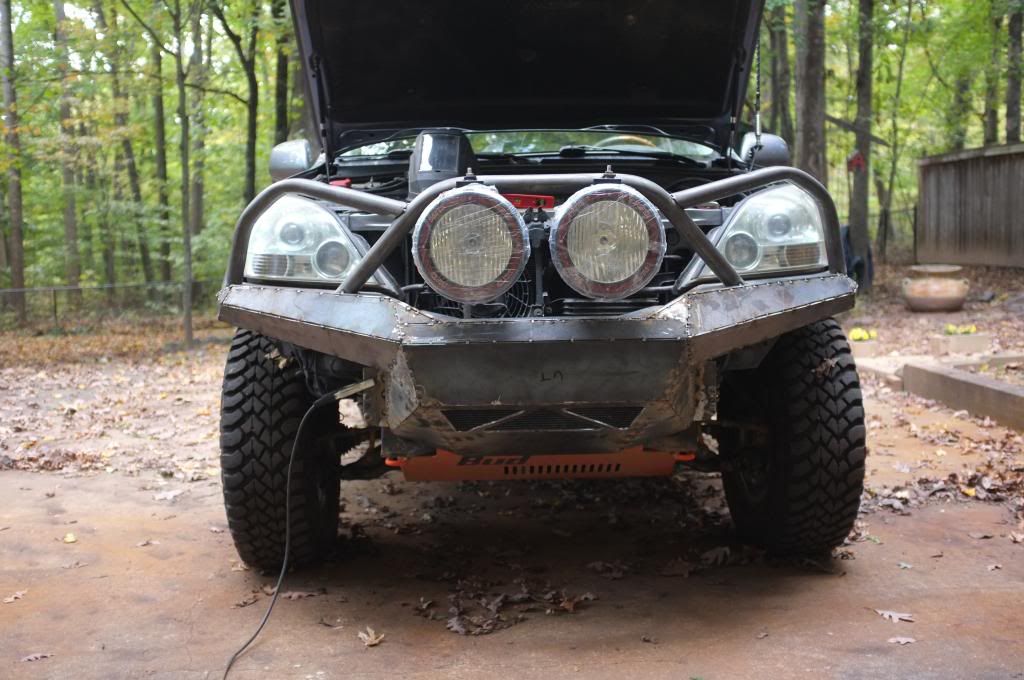
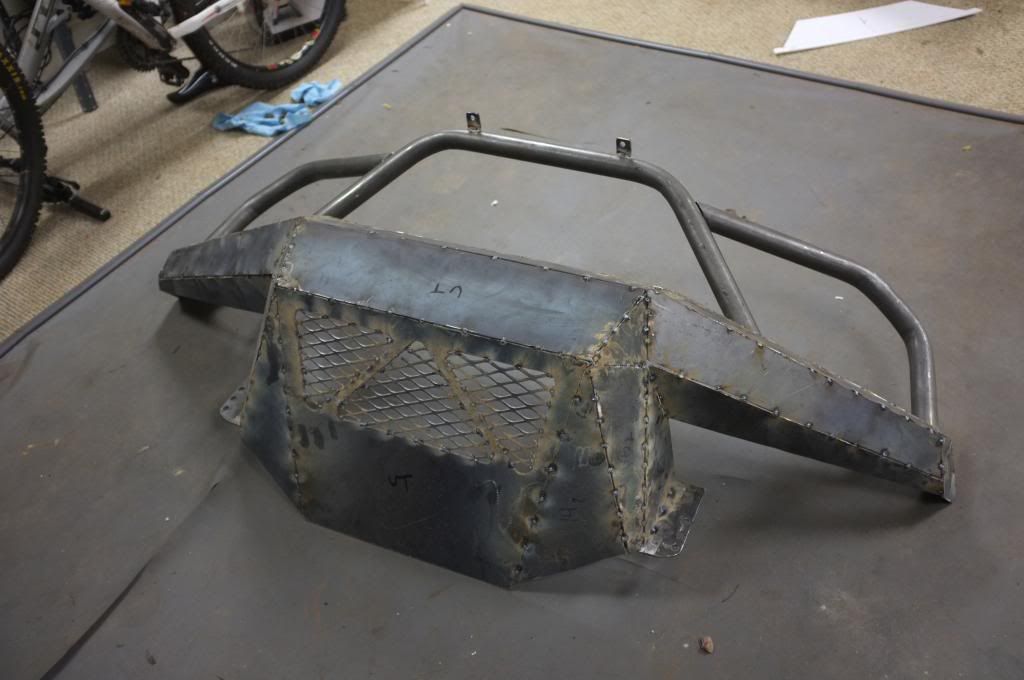
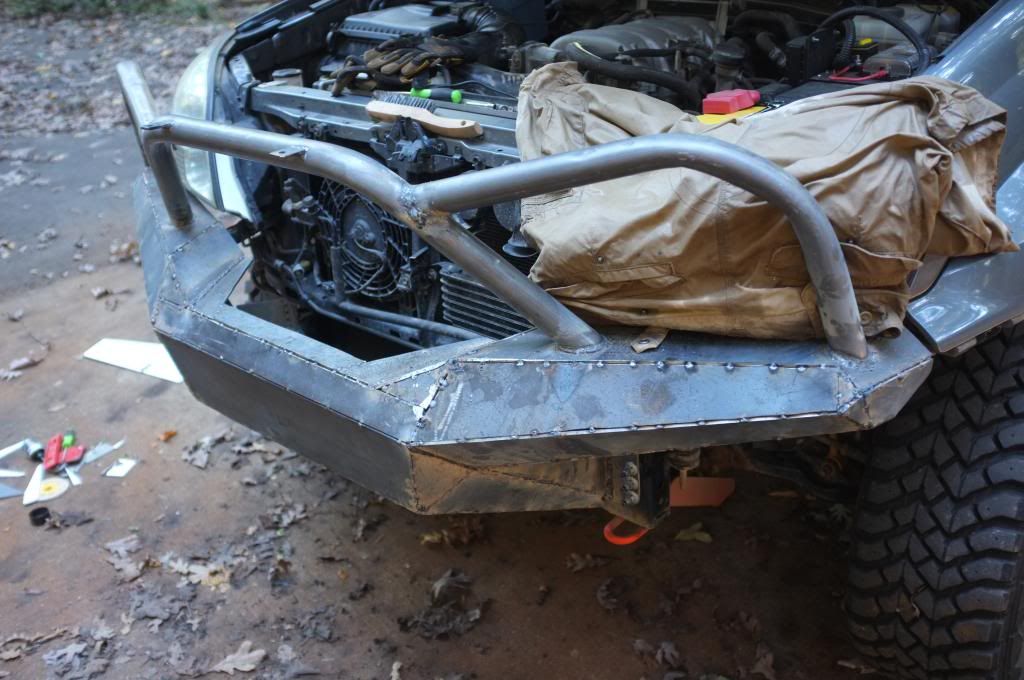
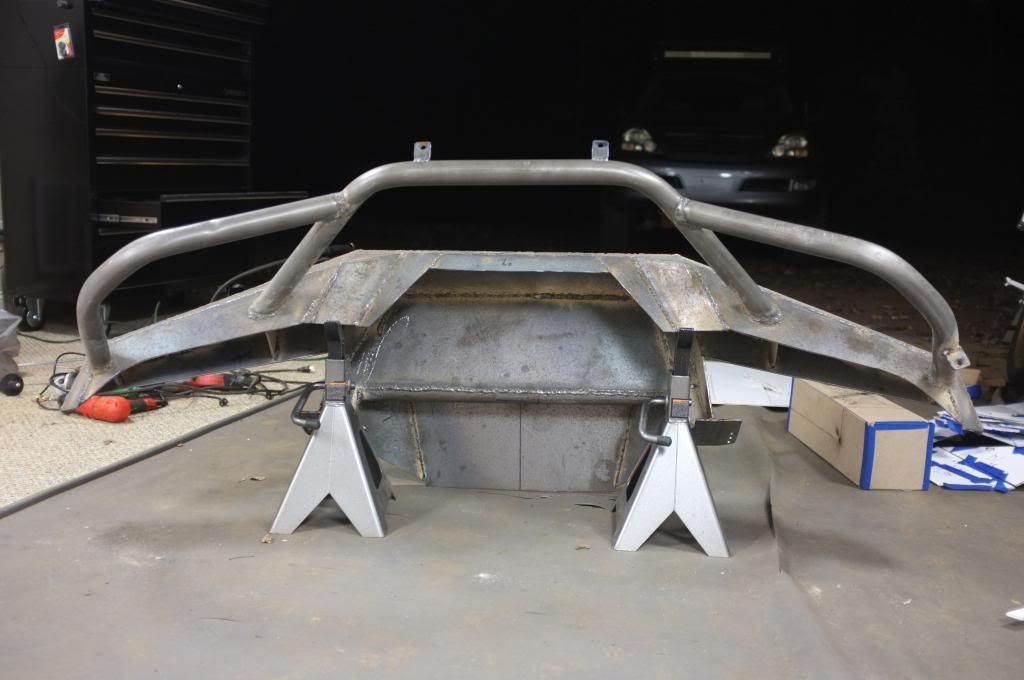
Added the main center hoop to the bumper. It has about 30 degrees lean forward and is wide enough to house my 2 9" HIDs.
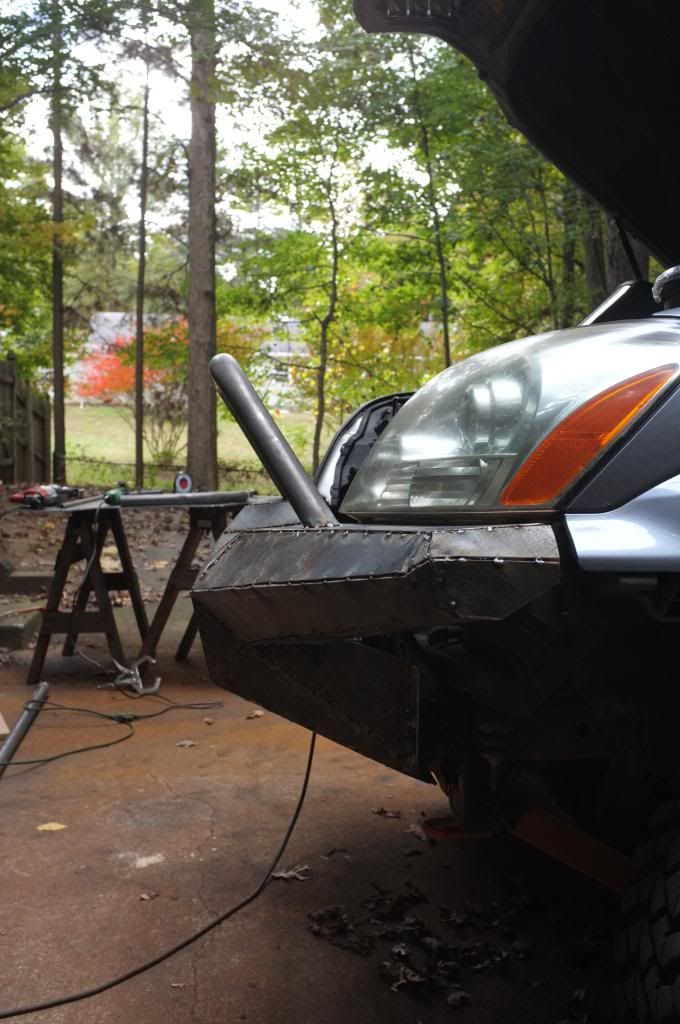
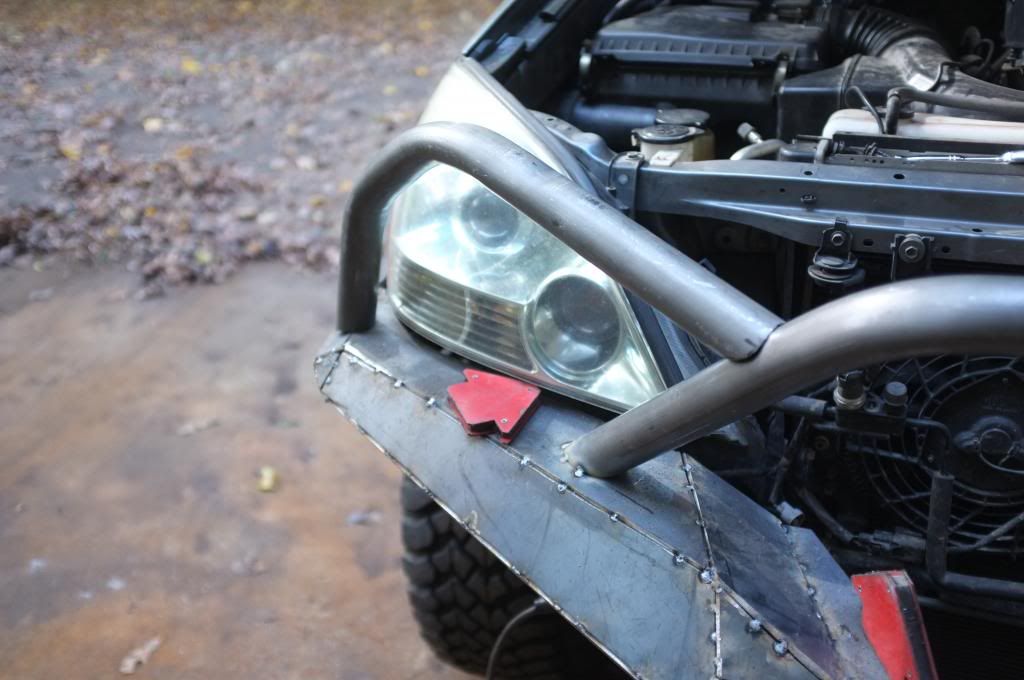
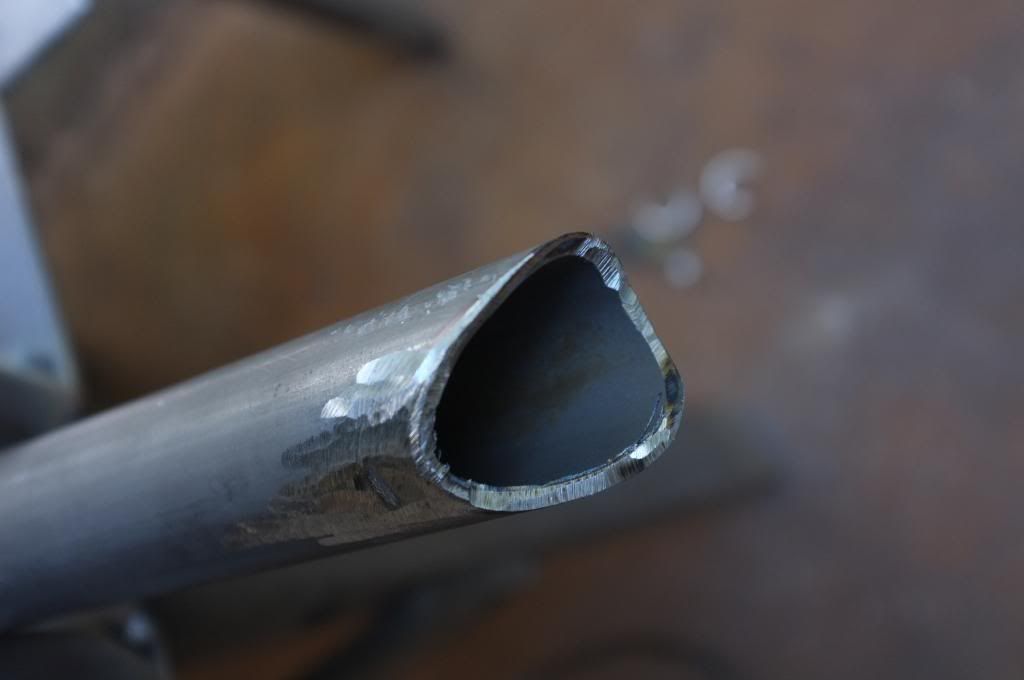
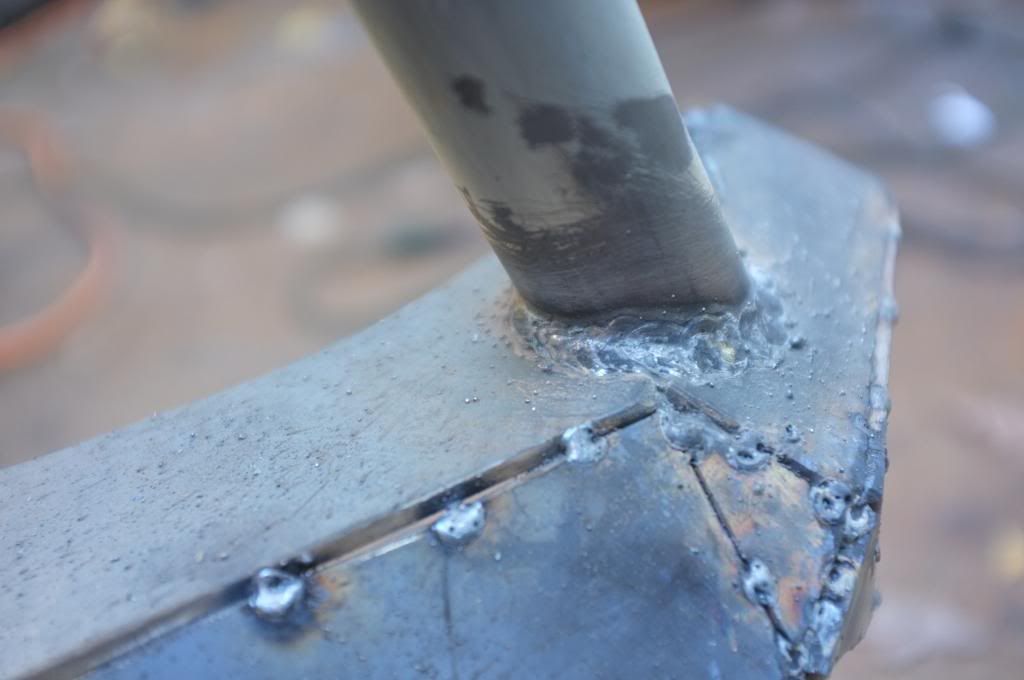
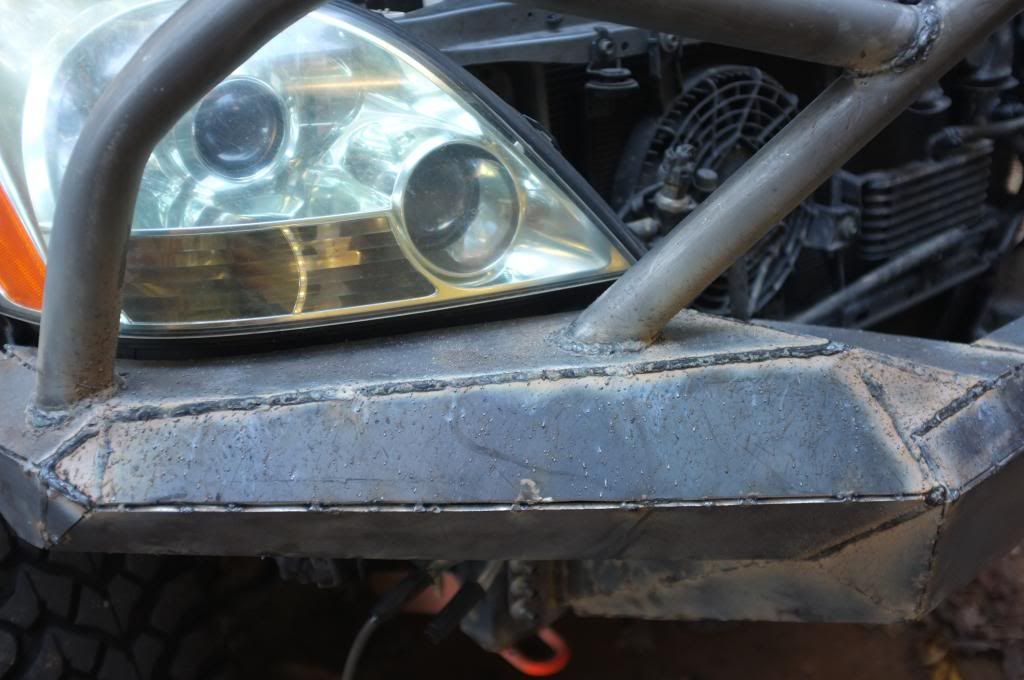
After that I started to play around with the head light hoops. Trying to find a good balance of protection and lean inboards/down to get that aggressive look. Once I had them where I wanted then I started doing the notching, by hand of course
")
I welded on tabs for my lights and test fitted them. Looks like one damn aggressive Baja racer in the front now
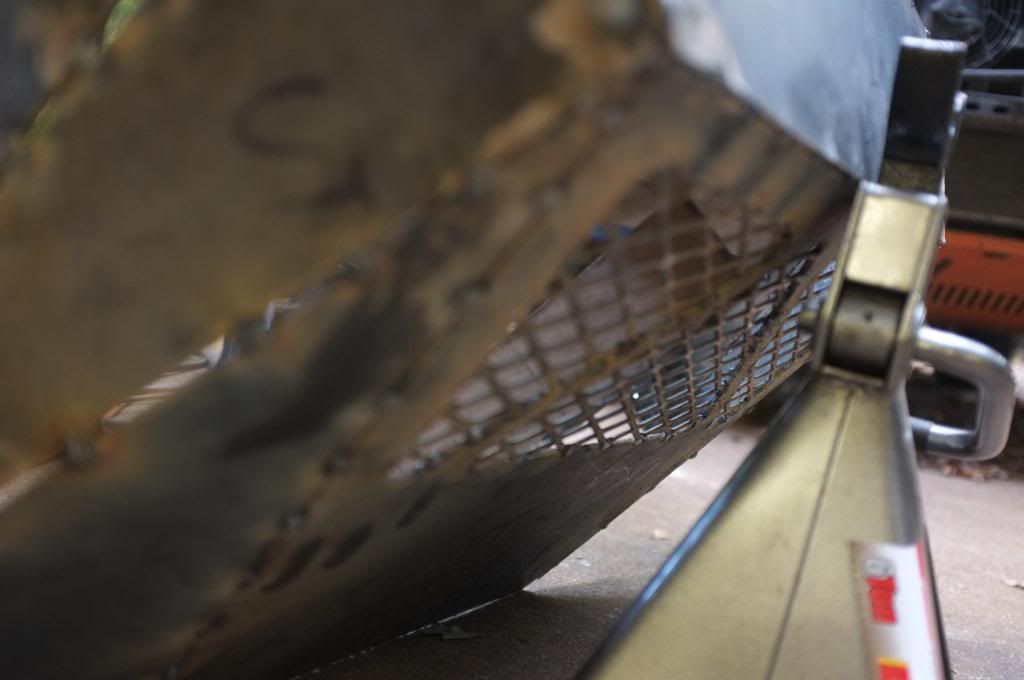
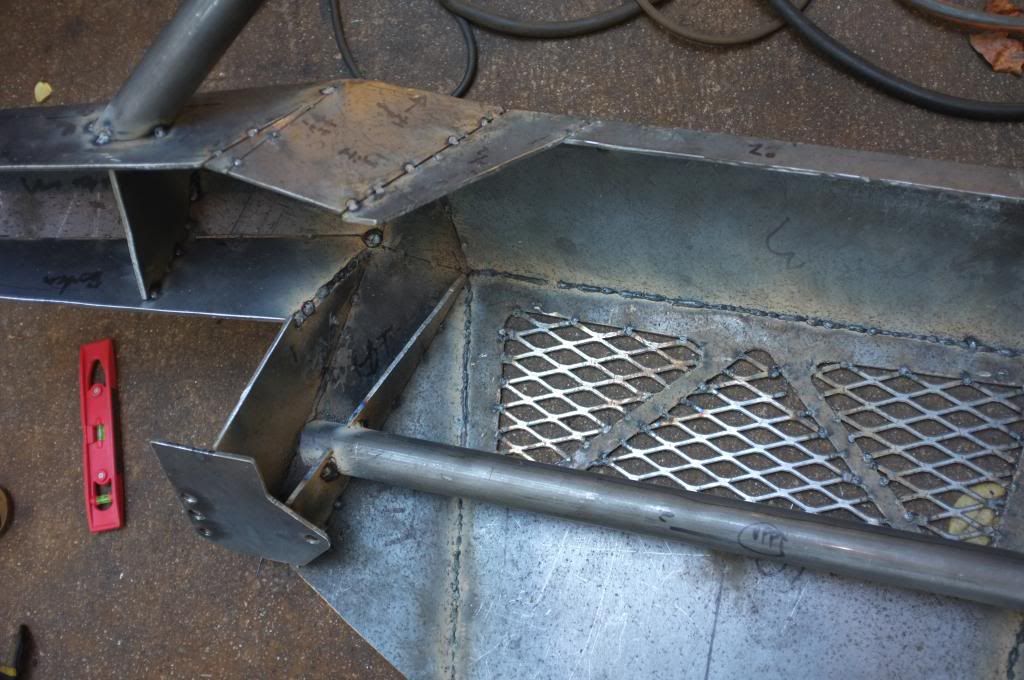
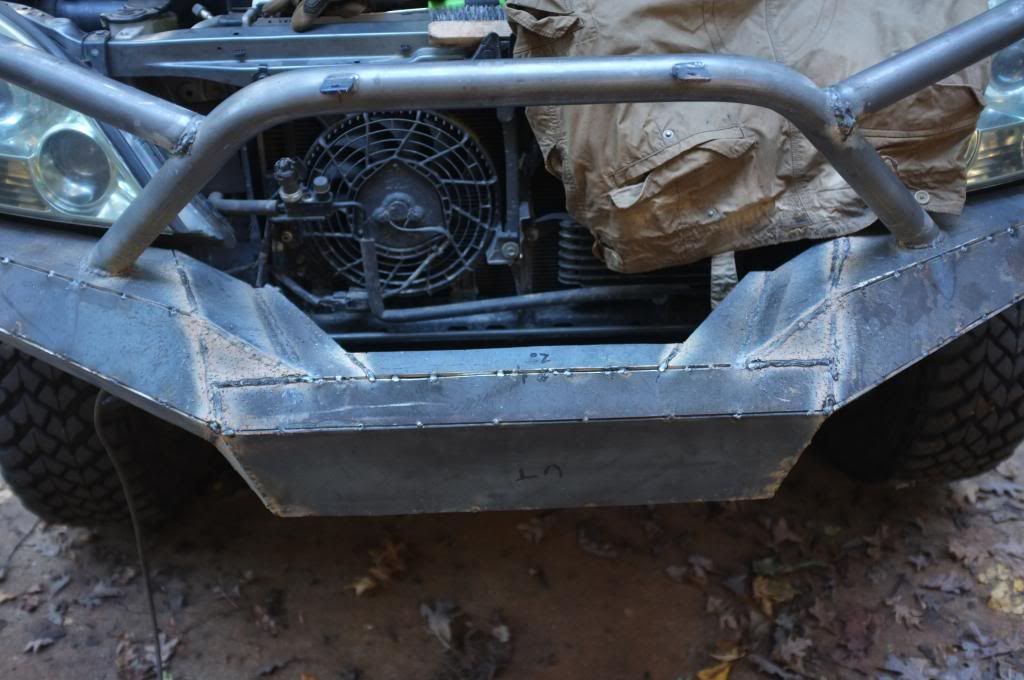
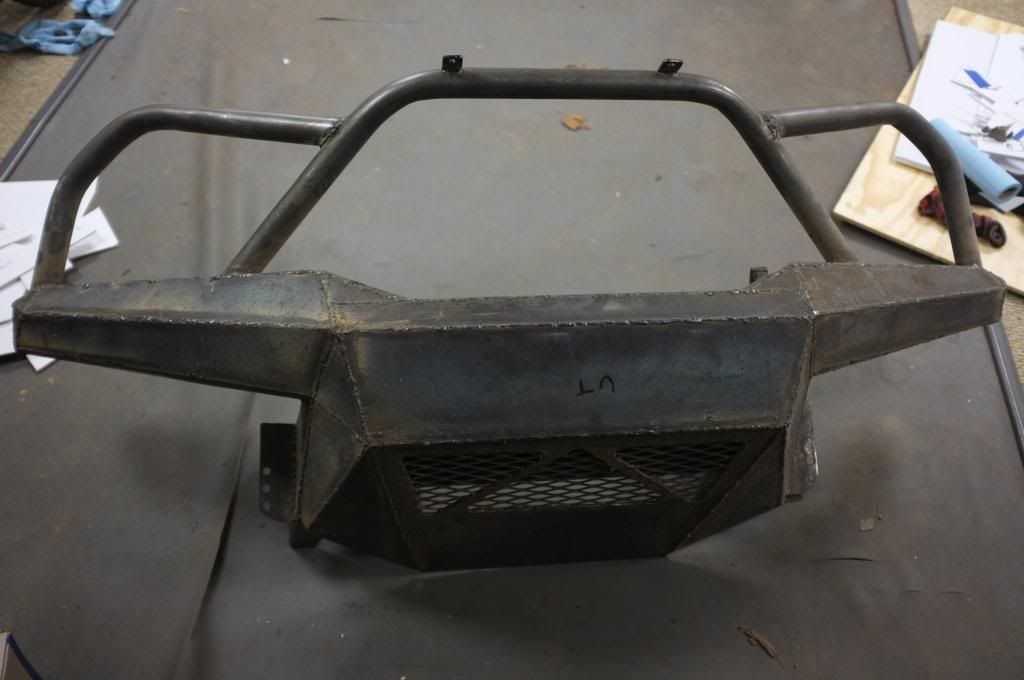
I also welded on some grid plating(or what ever you call it in English) to cover the vent holes so no big rock and other crap will fly in and hit my radiator.
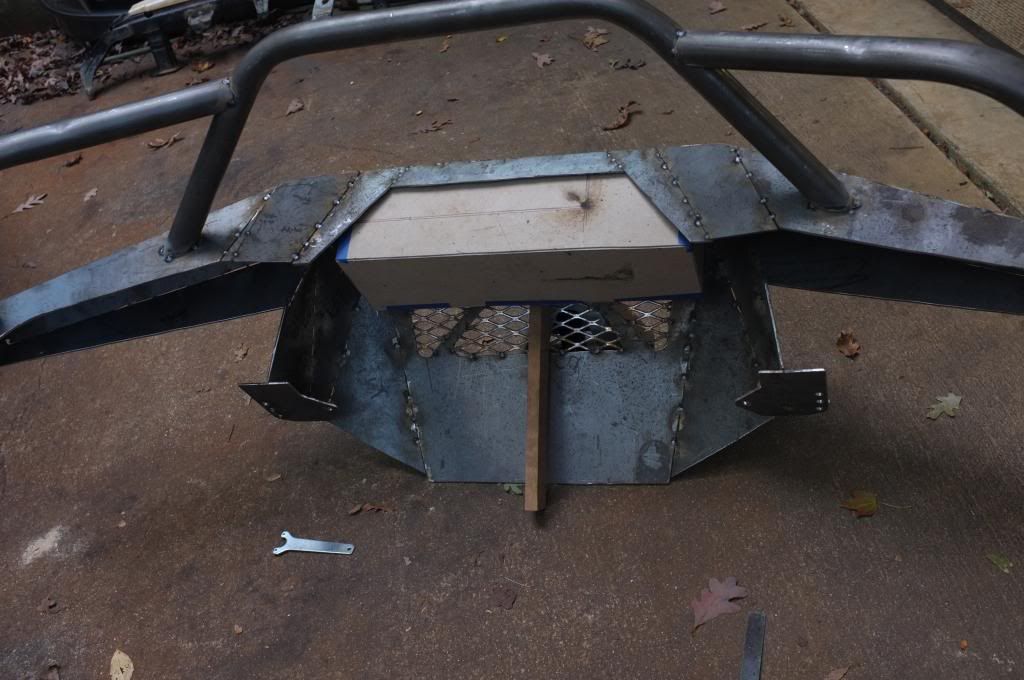
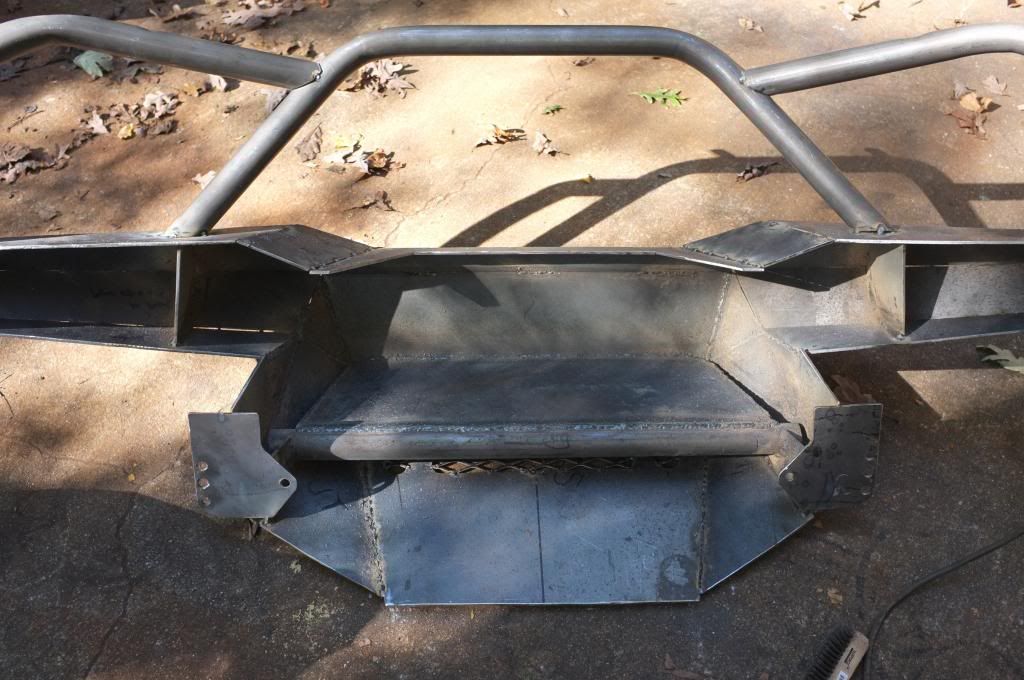
Here is my "winch" in its position so I can start looking at a winch mounting plate and where to mount a cross member. I noticed that I wasn't able to move it as far to the side as I want to after I rounded the edges so the fairlead might not get perfectly centered.
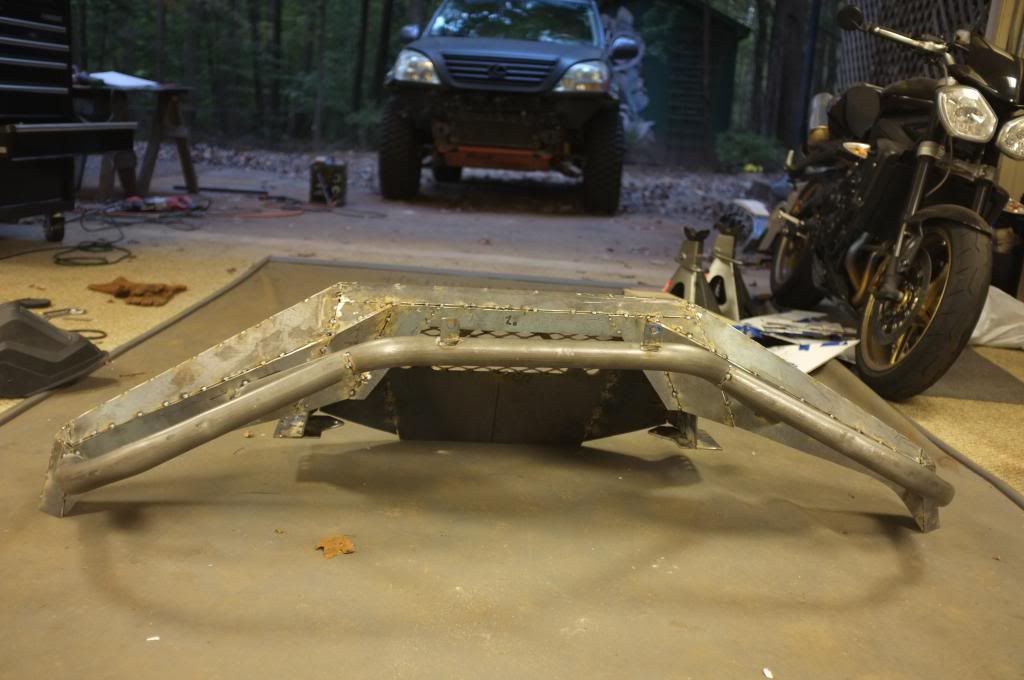
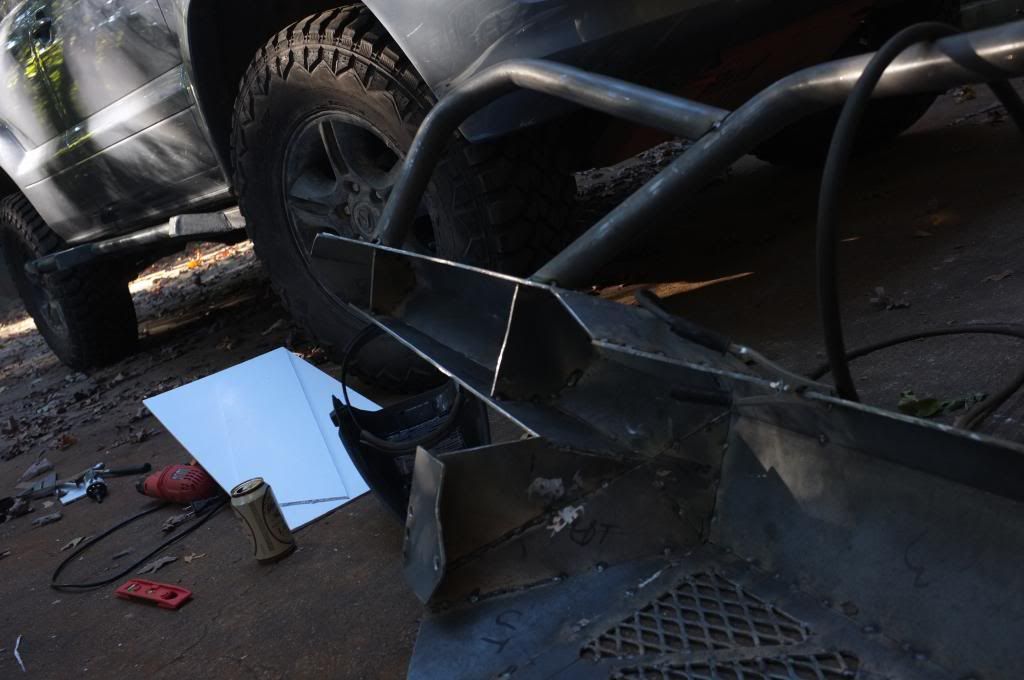
This Is what it looked like at the end of the evening.
I hope I will be able to build some this weekend and hopefully get the reinforcements done so I can start welding everything and get this sucker done soon. I have a busted shoulder and spending this many hours every other evening building a heavy bumper like this is not really helping out