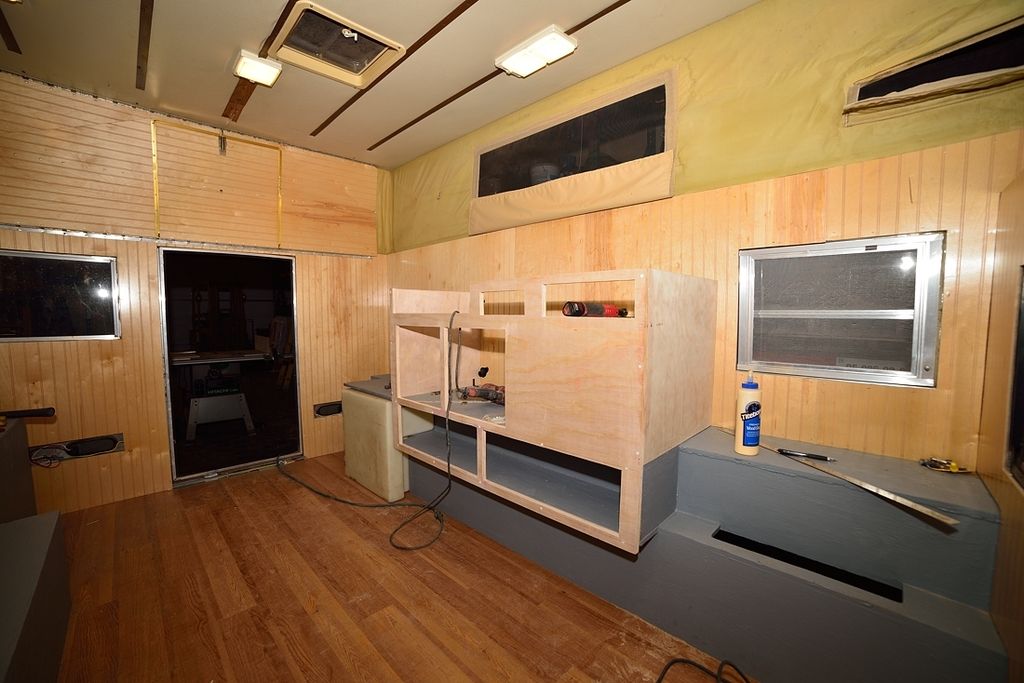
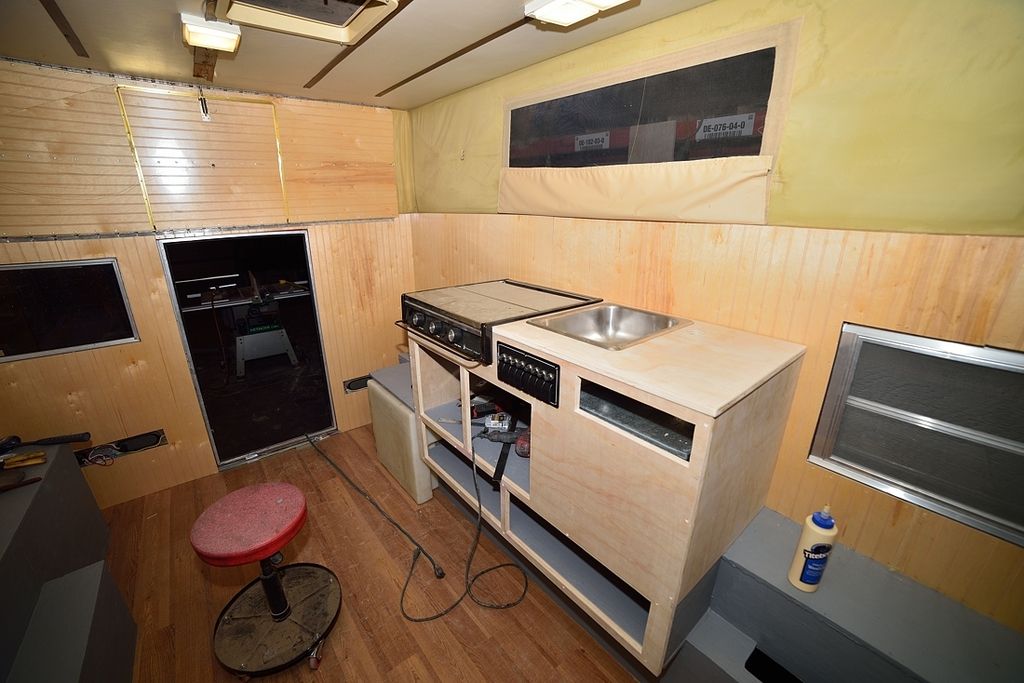
Time for a small update, did a little more work on the camper.
First, I tensioned the spring piano hinges to be able to install the front lifting panel.
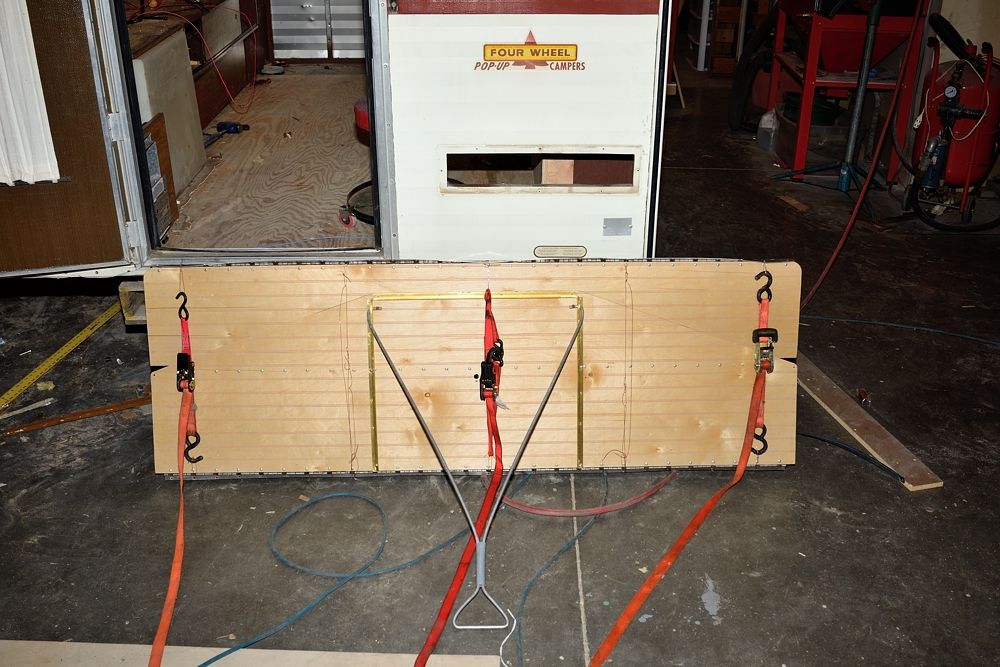
I then started by riveting in the top of the panel. Because I am using the same hinges in the same places, I could rivet back into the original holes in the roof. This meant I didn't need to measure or make sure the roof would be aligned with the camper, so it was a quick install. I also tied some fishing line to the center elastic and fished it through the hole in the lift panel. This made it easy to reinstall all the elastic like the original.
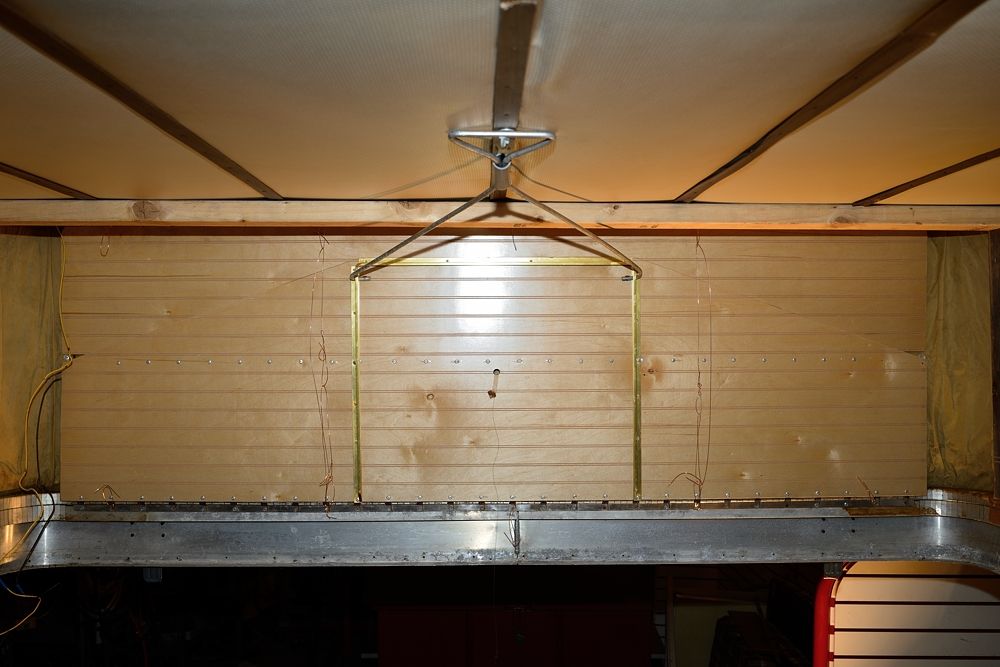
The front now lifts up and down extremely easily. All those little springs on the 3 hinges really help with lifting force. They nearly lift the roof by themselves.
I then measured and cut a new cabover wood piece. Since I want this one to last, I coated the new cabover wood with some 2-part polymide epoxy.
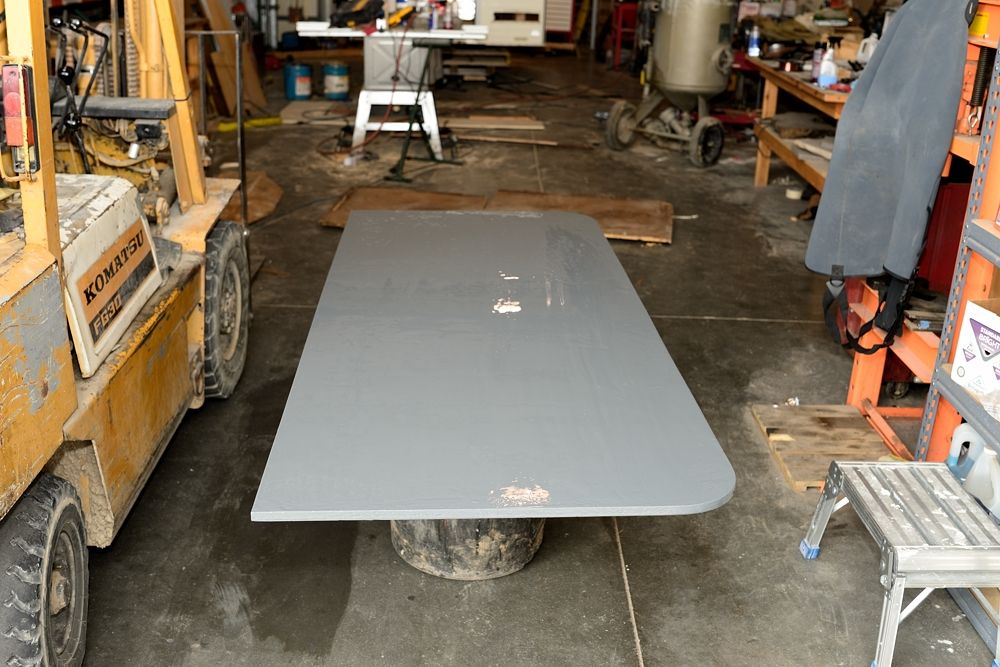
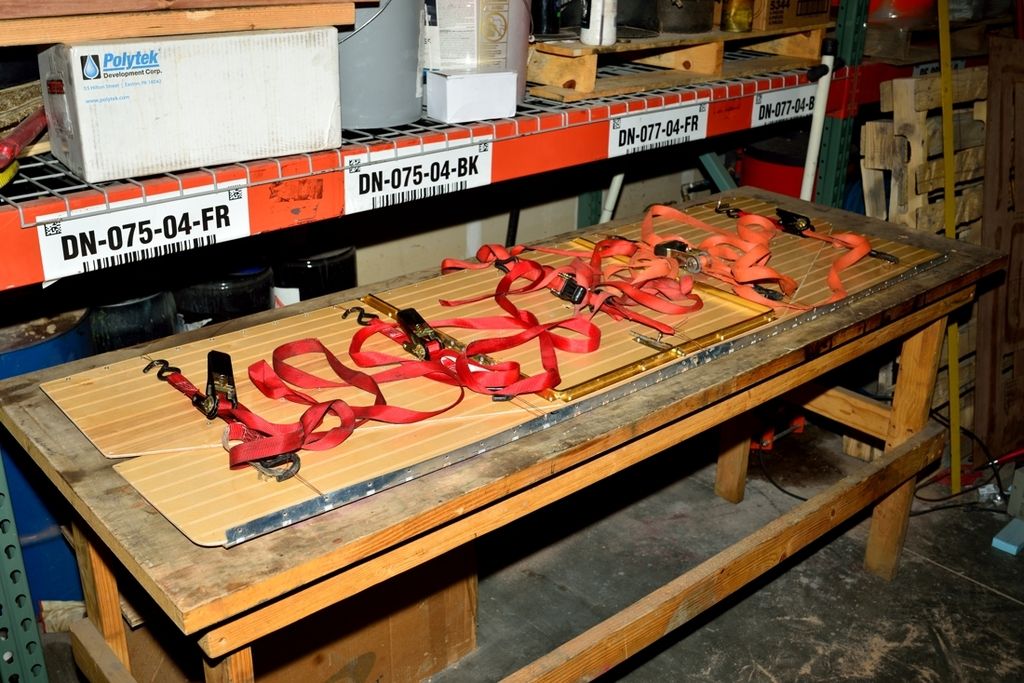
While the epoxy was drying, I rebuilt the back lift panel. This one went much faster than the front, completing it in a couple of hours.
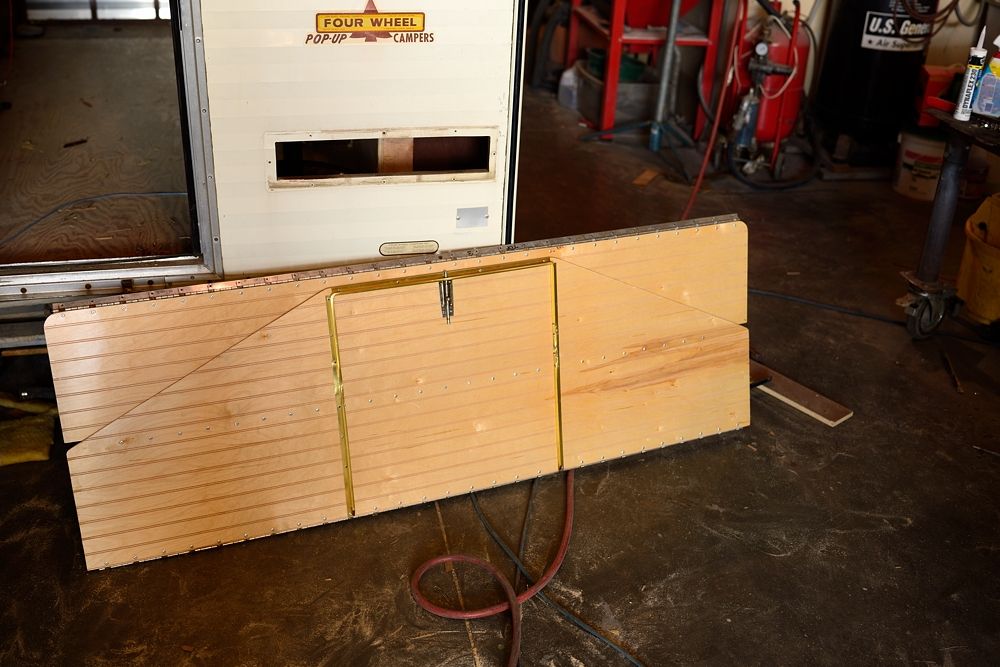
After it dried, I brought it into the camper and slid it in place. I then lifted up the edges and applied lots of caulking around the edges before screwing it all in. I then applied some putty tape and installed the trim piece to the outside. I'm going to leave off the plastic insert as I'm going to be painting the outside shortly.
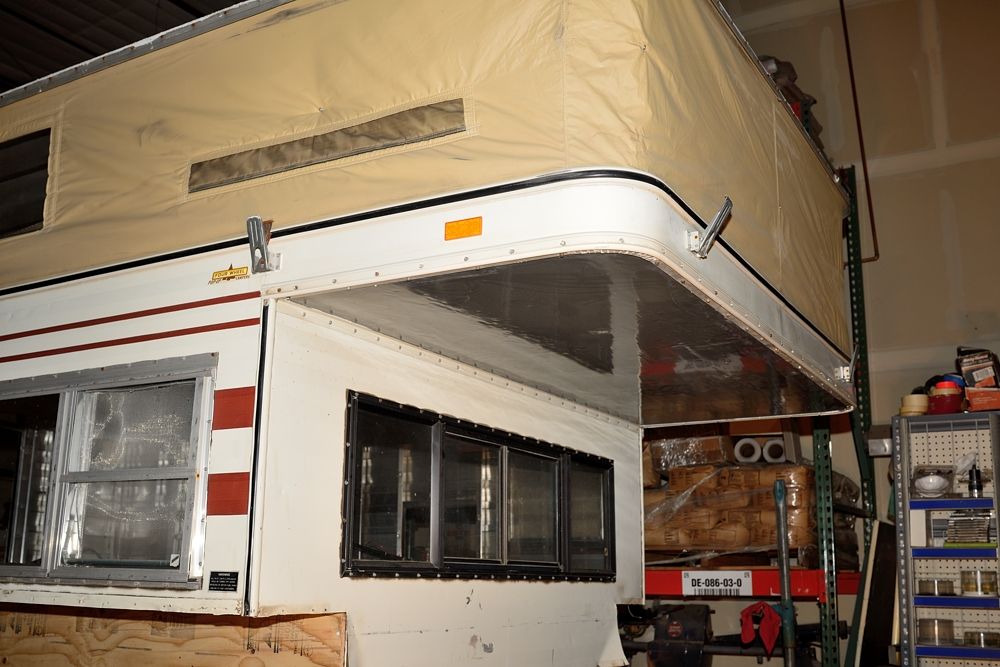
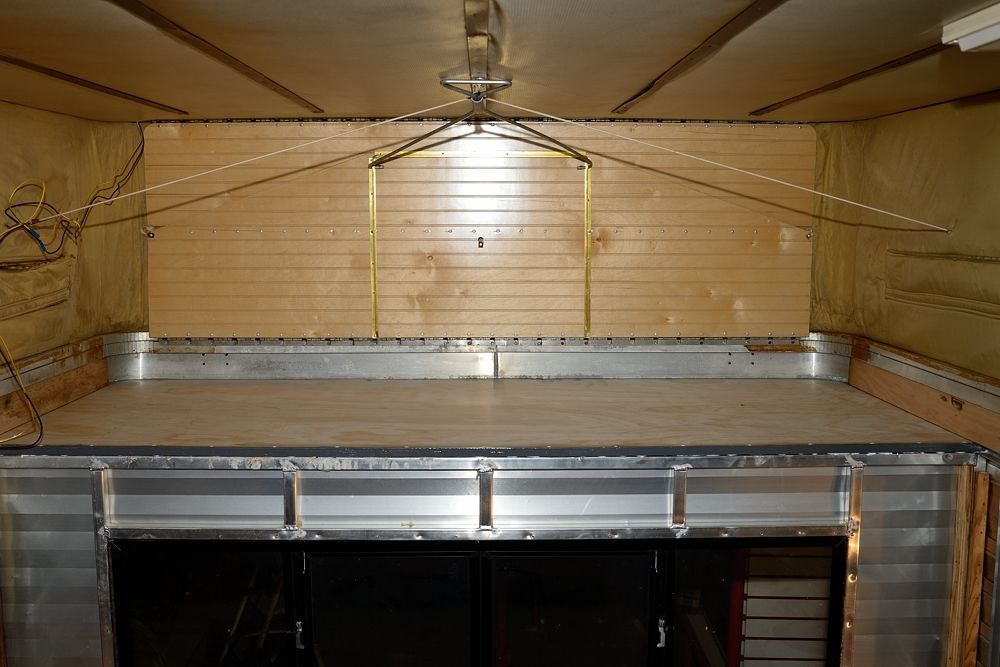
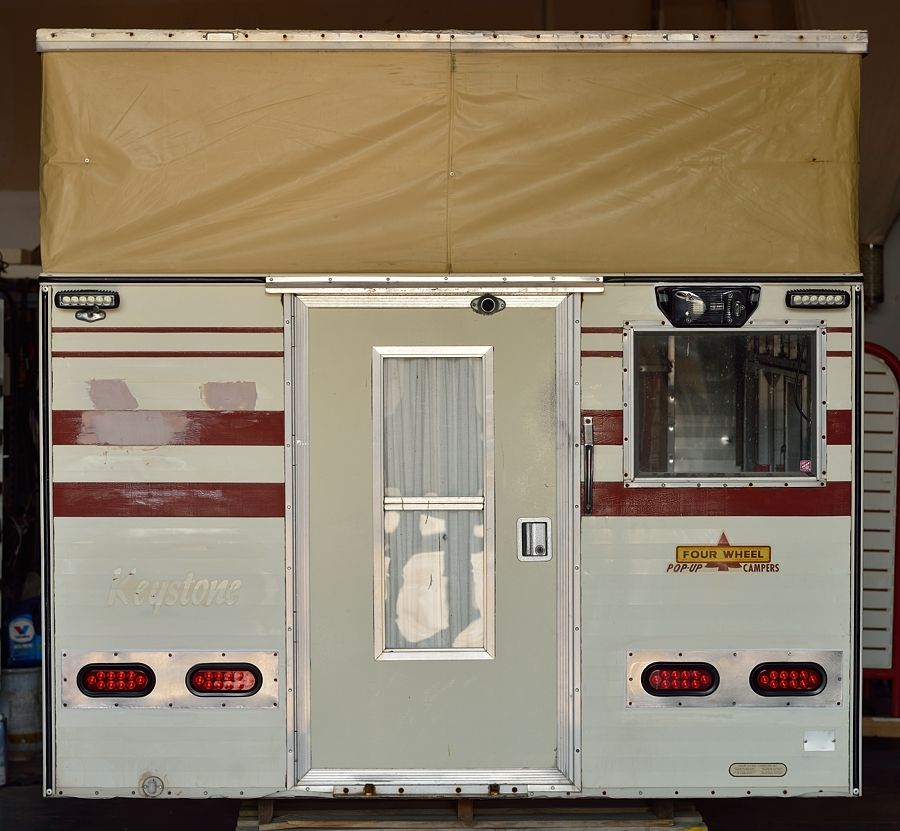
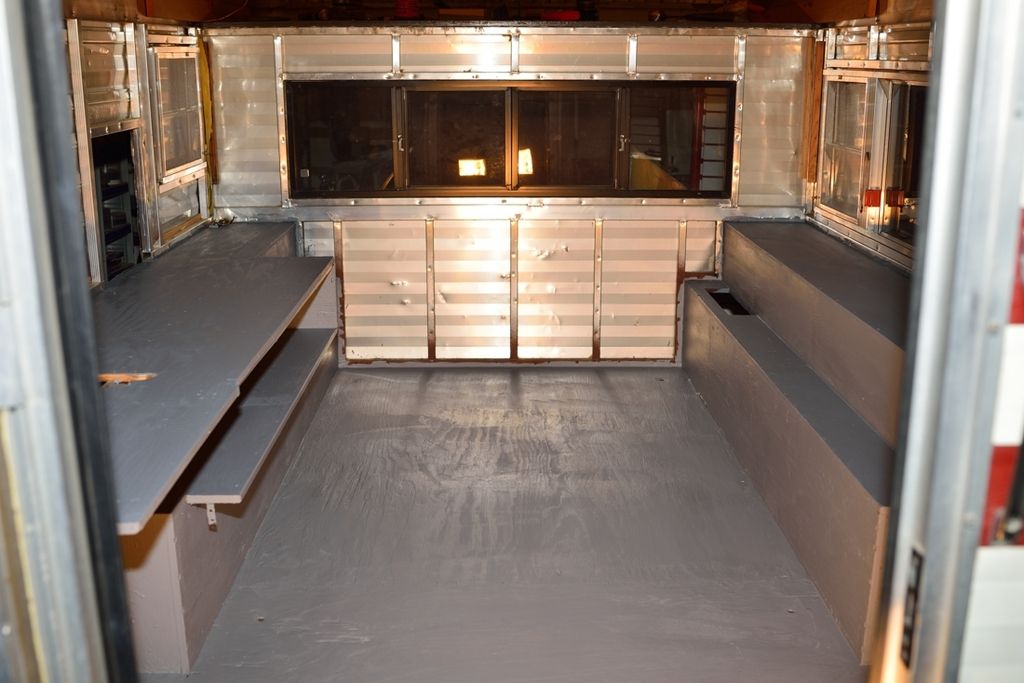
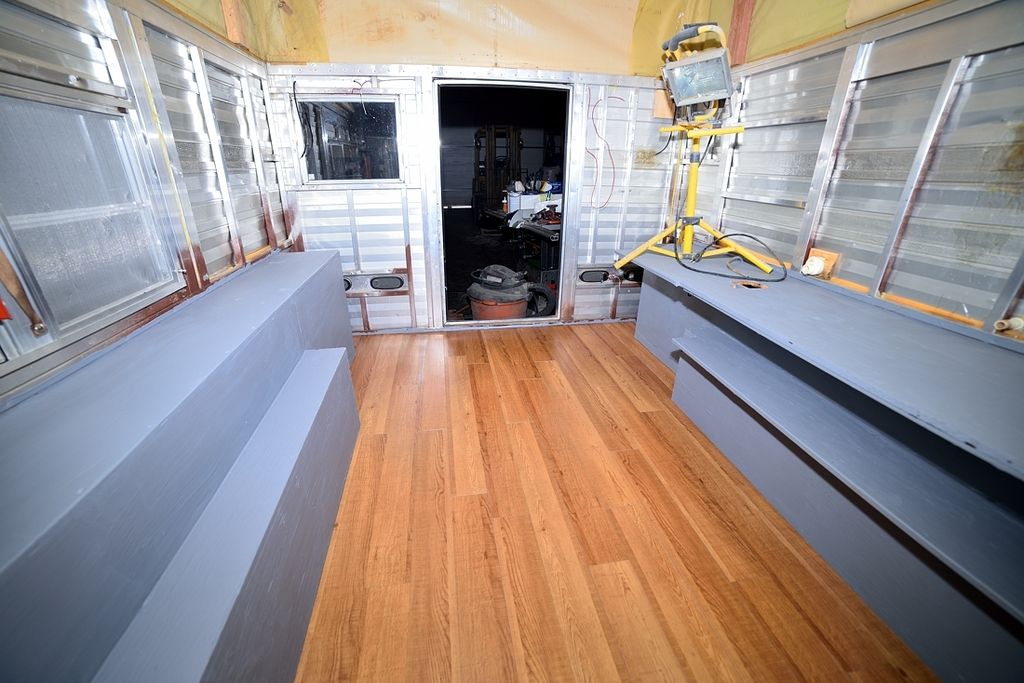
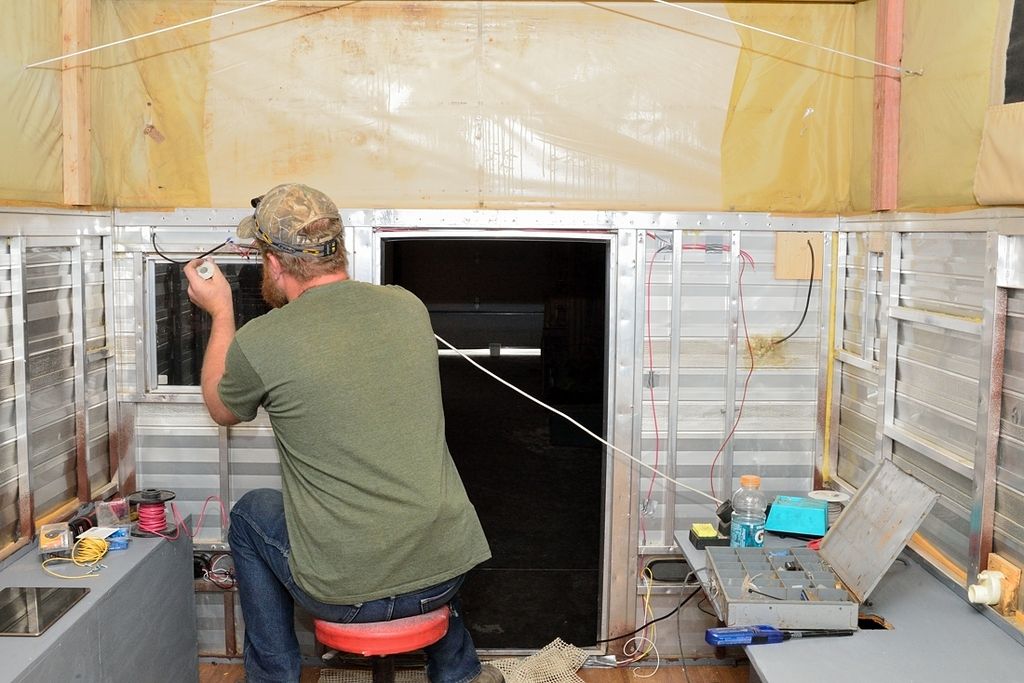
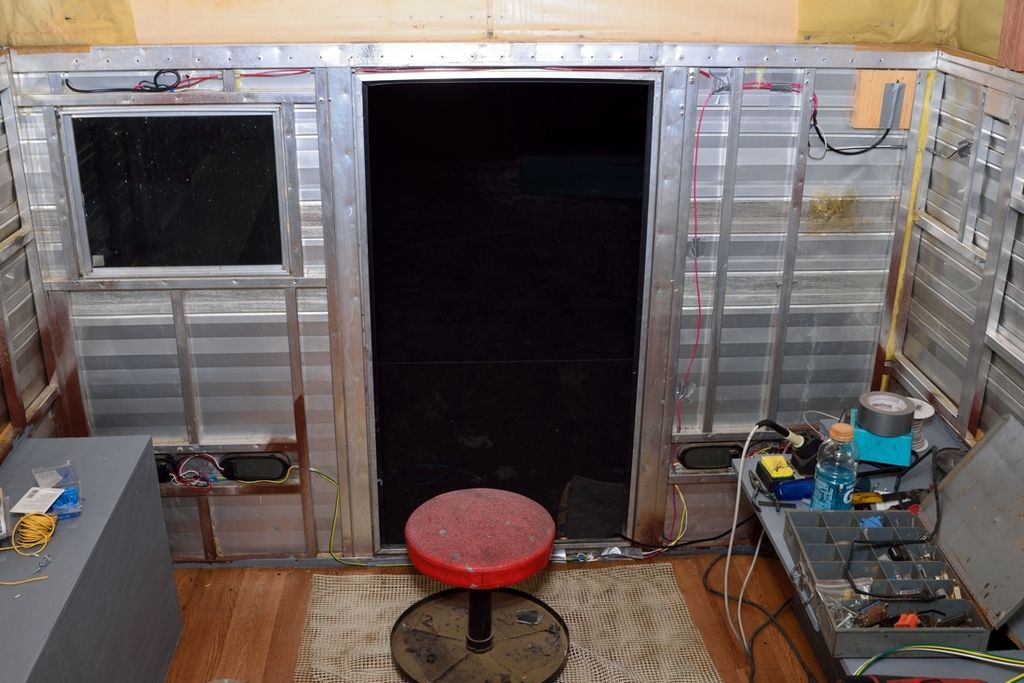
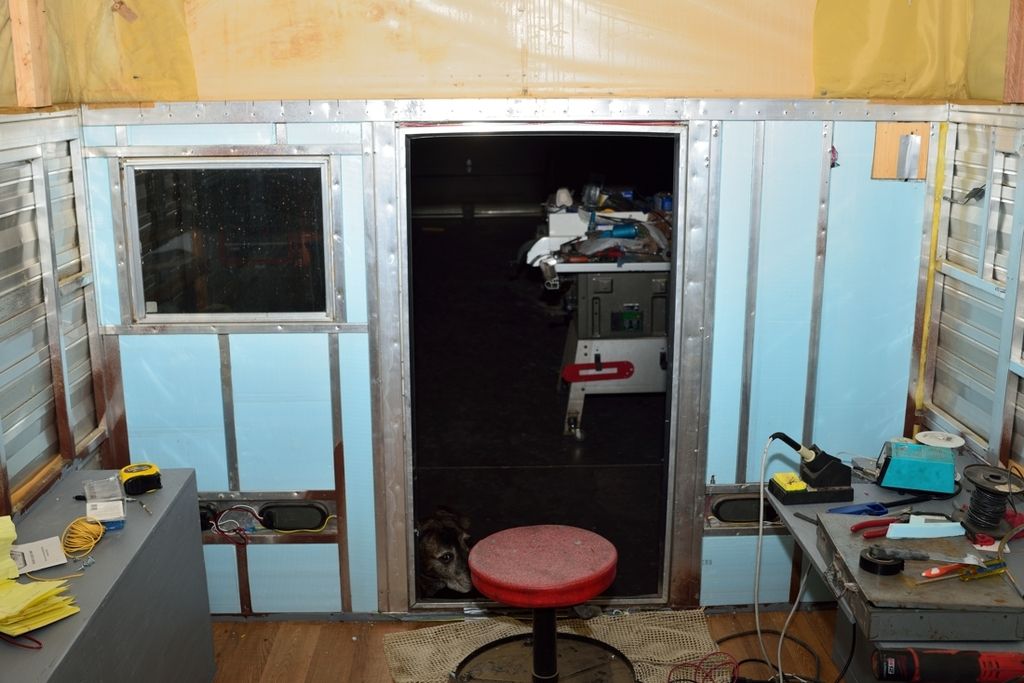
Before I can start installing the inside paneling, I have to run all the wiring and install all the lights I'm going to have on the camper. So, I first decided to replace the old outdated tail lights with some new LED tail lights.
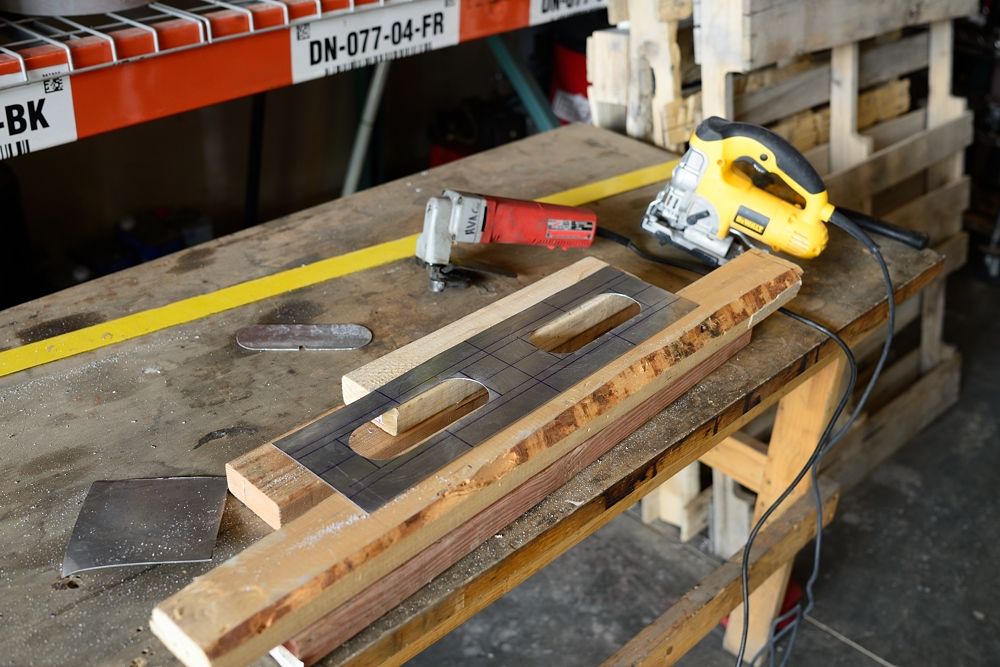
I got a sheet of aluminum and started up my snipper and cut it down to size. I then measured up the lights I am installing and used a jigsaw to cut the cutouts.
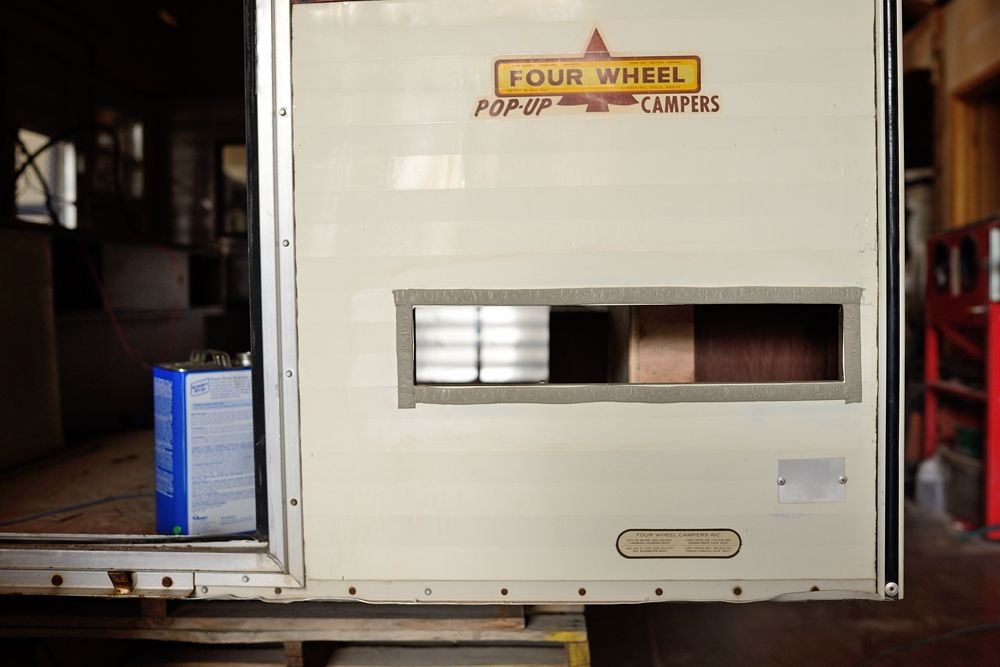
I cleaned up the area around the old lights and applied some putty tape
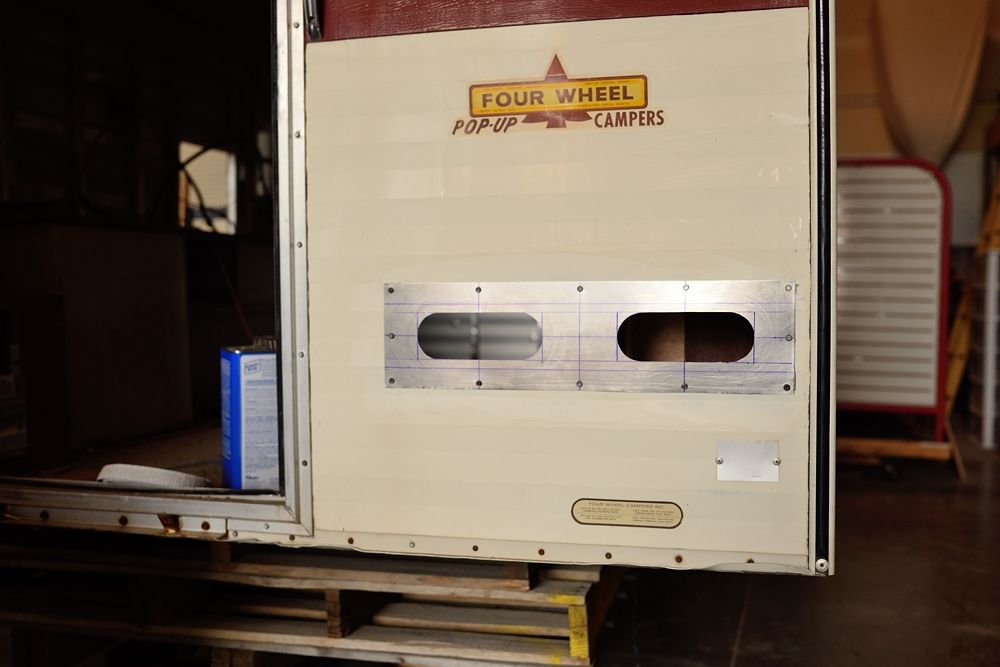
I then screwed the new plate down to the camper and caulked the edges.
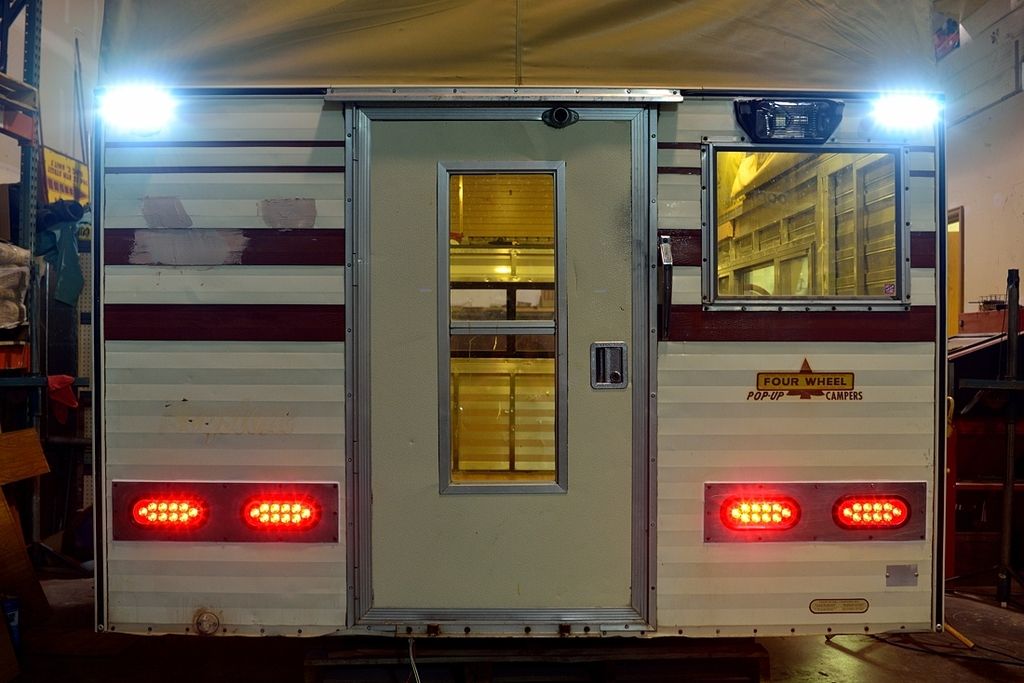
Finally I popped in the lights. When I permanently mount the lights after I paint the exterior, I will calk the rubber gaskets in and calk the lights in to make sure the area is 100% sealed.
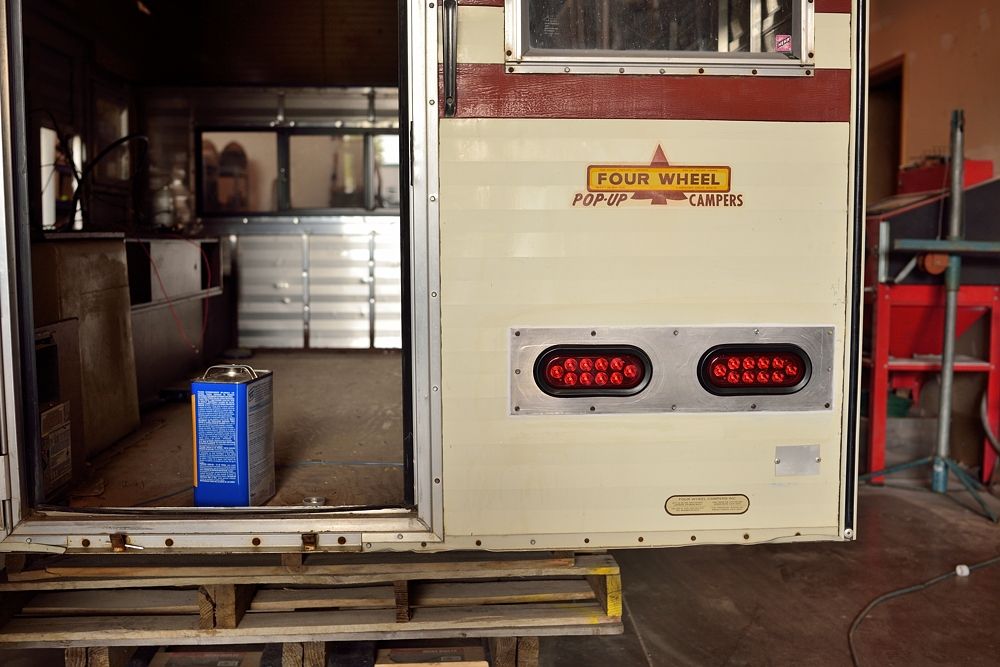
Quite the difference from the old tail lights.
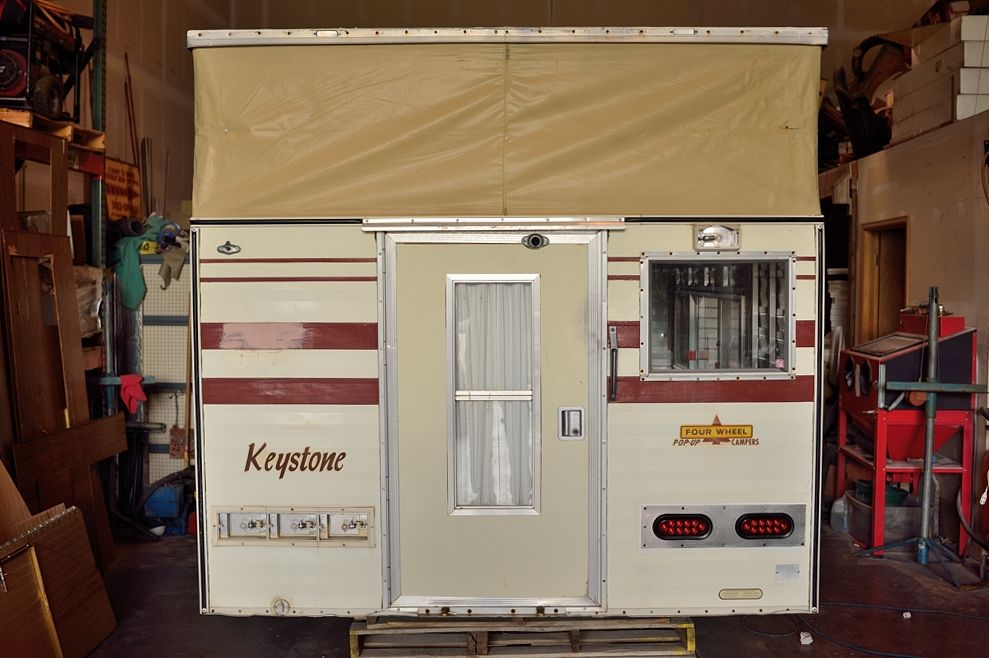
I then installed an LED light to the top right of the camper. This will serve a dual function of a backup light and will be wired to a switch to turn on inside the camper. An identical light will be put on the left side of the camper. I will be replacing the porch light with a new updated unit
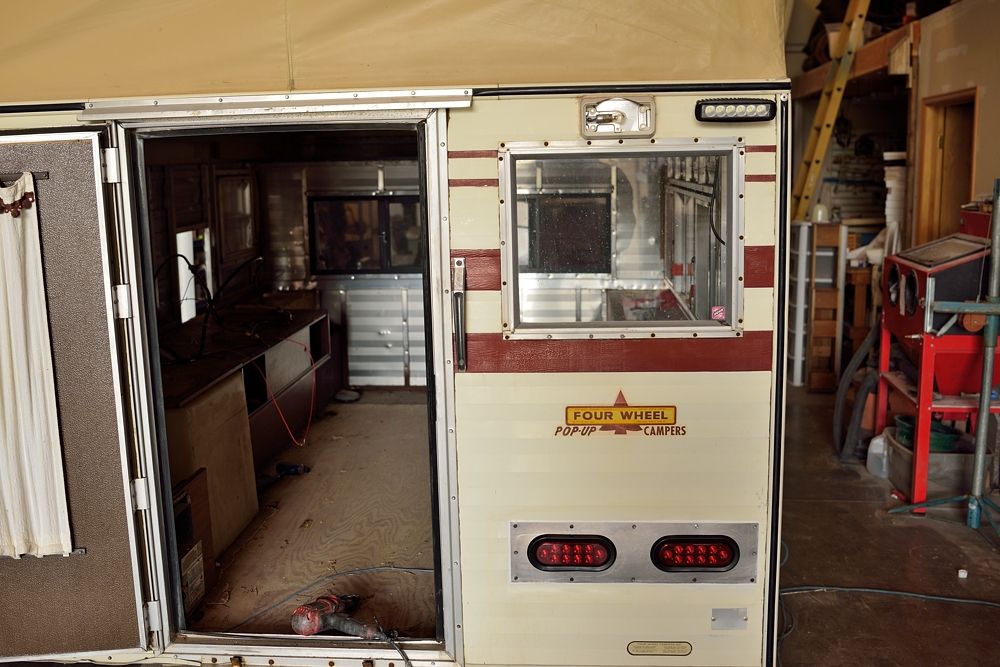
Tomorrow, I'll finish the left side tail lights and get all the wiring done to the back end so that I can install the back paneling and the lift pane


