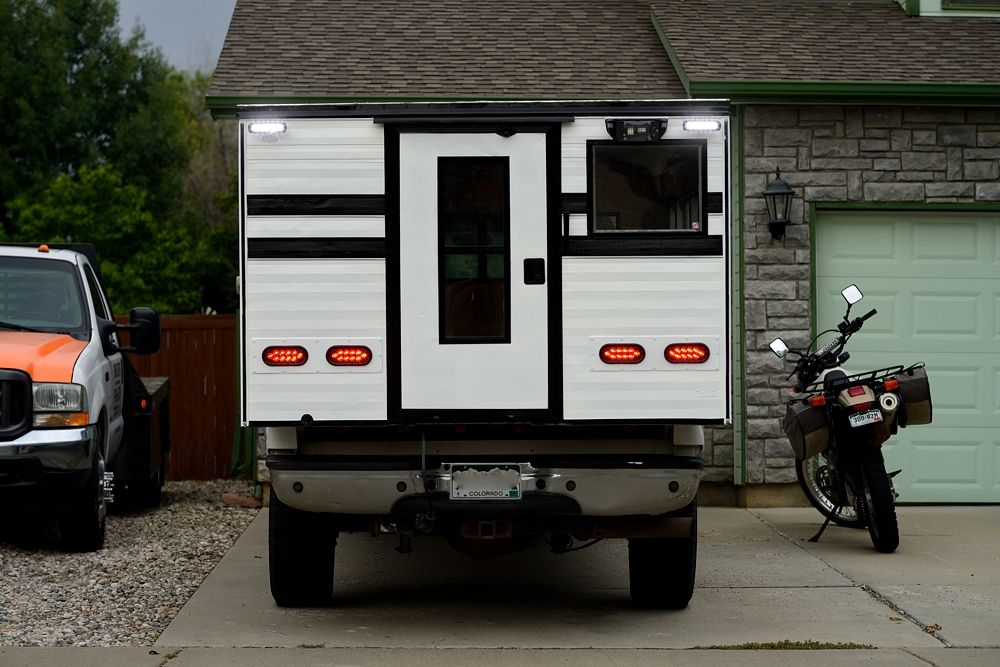
Time for another update.
I haven't done a huge amount to the camper yet, I'm waiting on some more work to come in before spending more money on it. As a small business owner, it is either feast or famine.
Anyway, I'm doing what I can do without spending money, that means working on the outside of the camper!
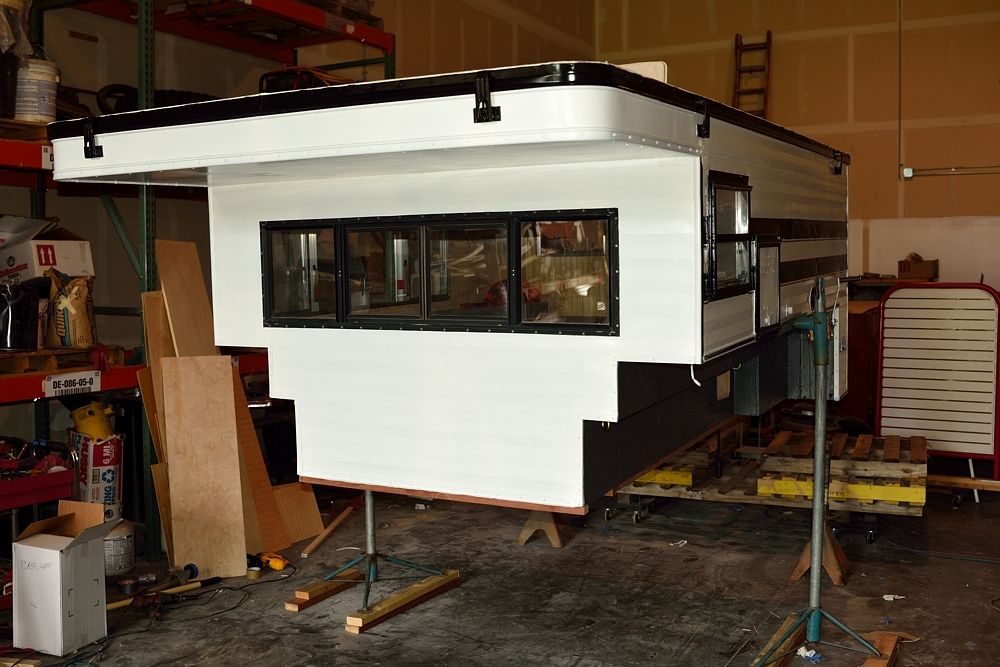
So, I started in on the bondo work to the driver side and back where there were holes poked into the camper from the previous owner. I also removed all the decals (man what a pain!) on the whole camper.
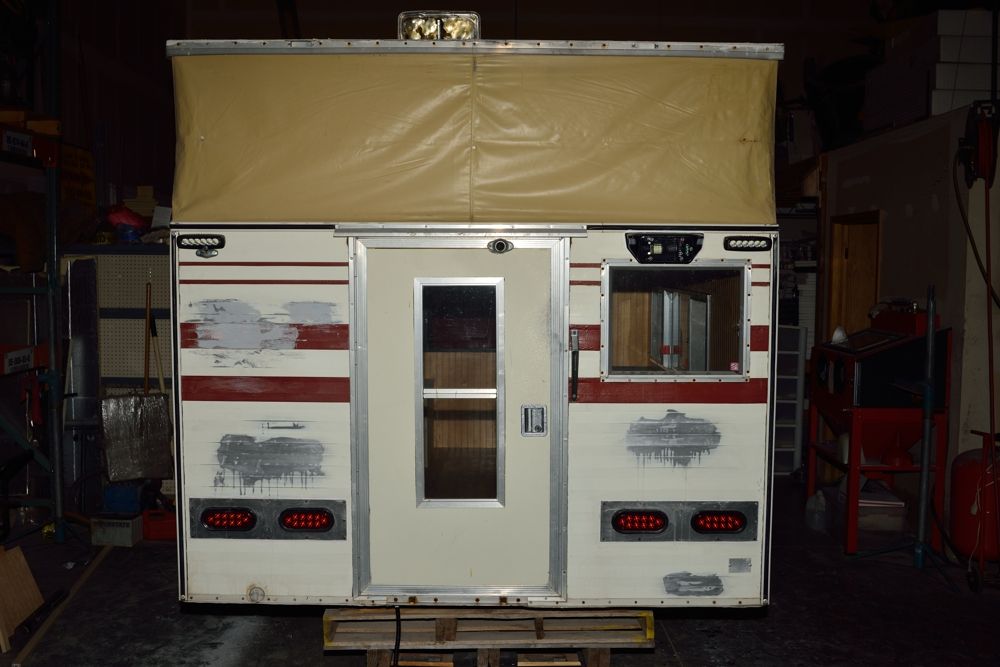
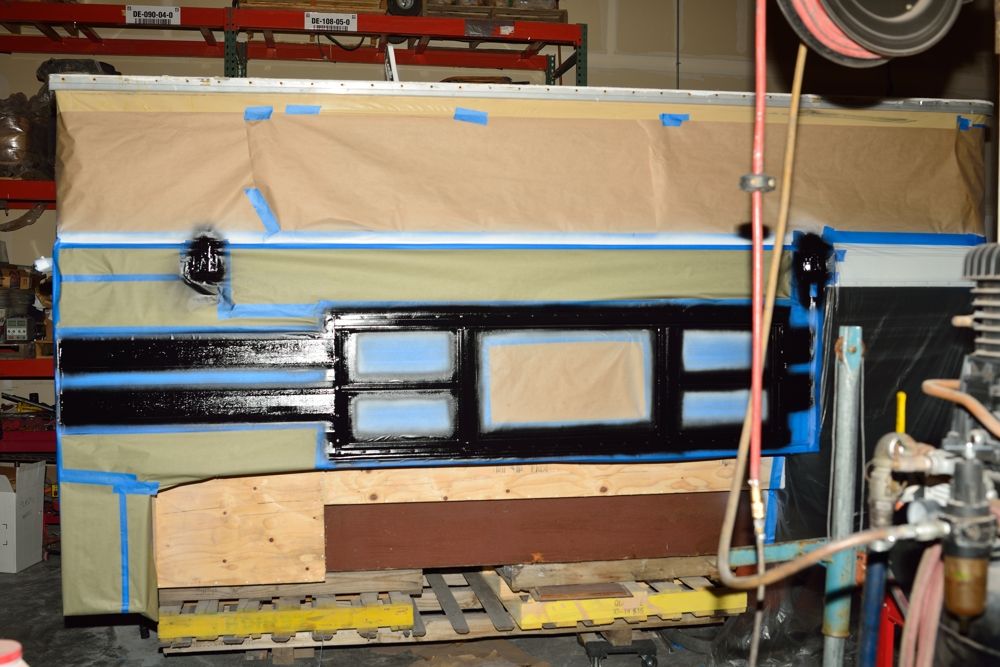
I am also going to be painting all the trim work black as the natural aluminum finish really dates the camper. So after all the bondo work was done and the decals were removed, I prepped the whole camper by wet sanding it with 500 grit wet/dry sandpaper.
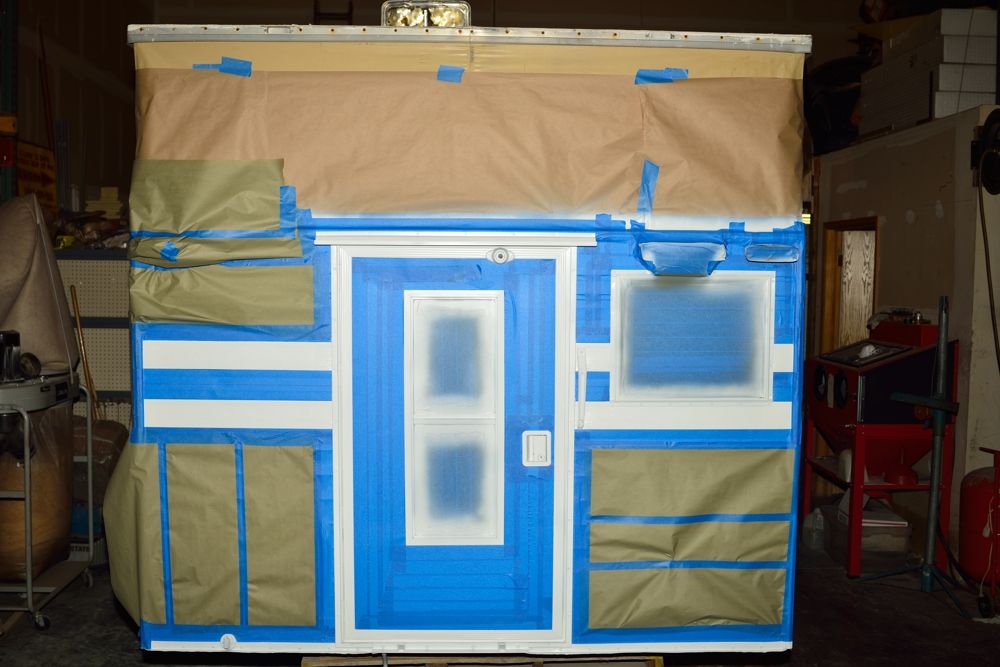
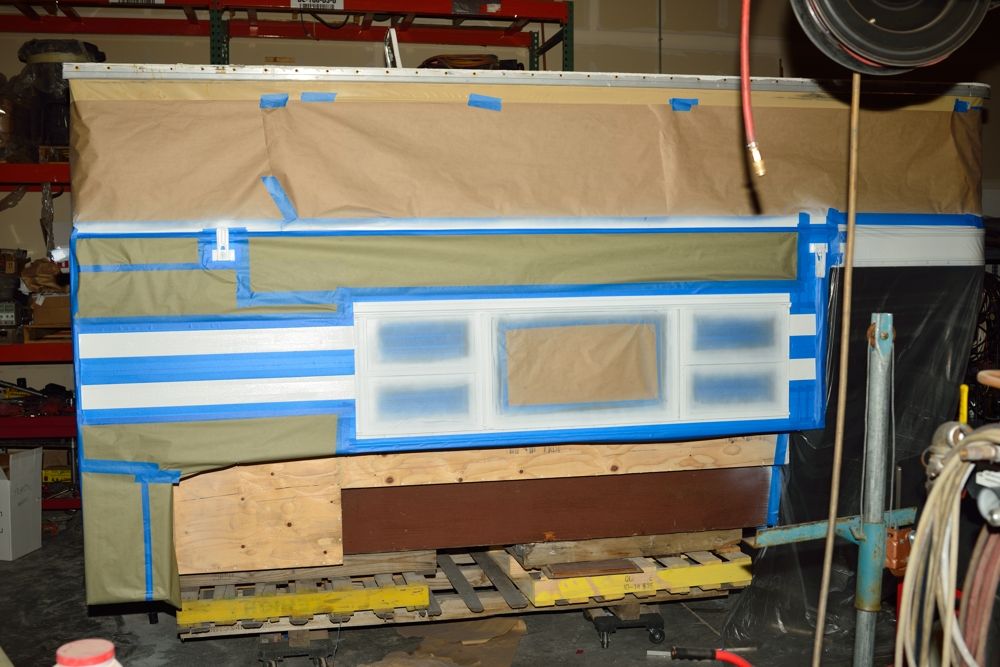
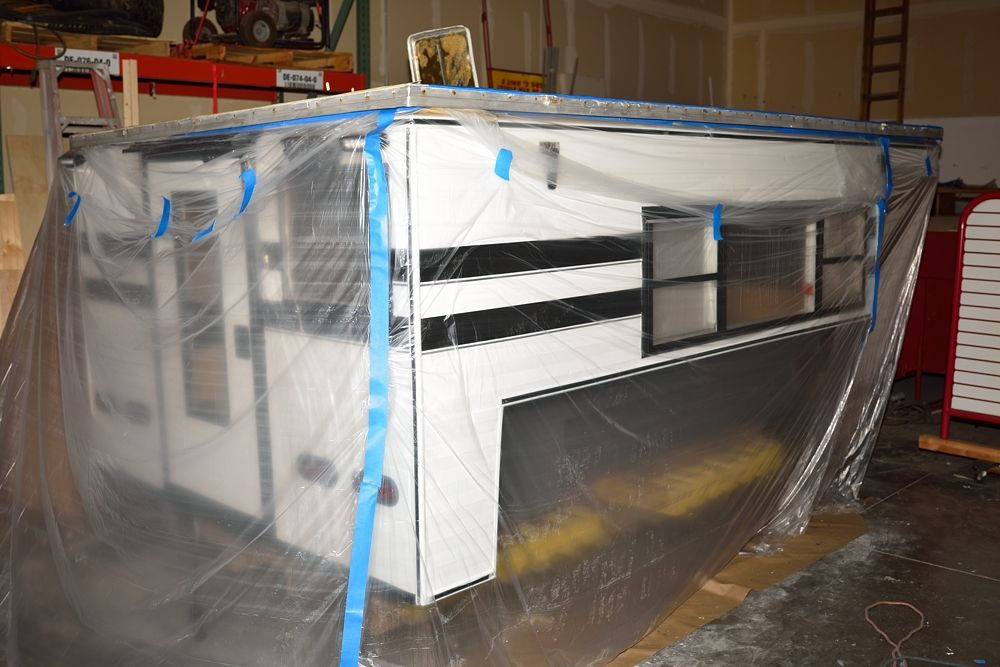
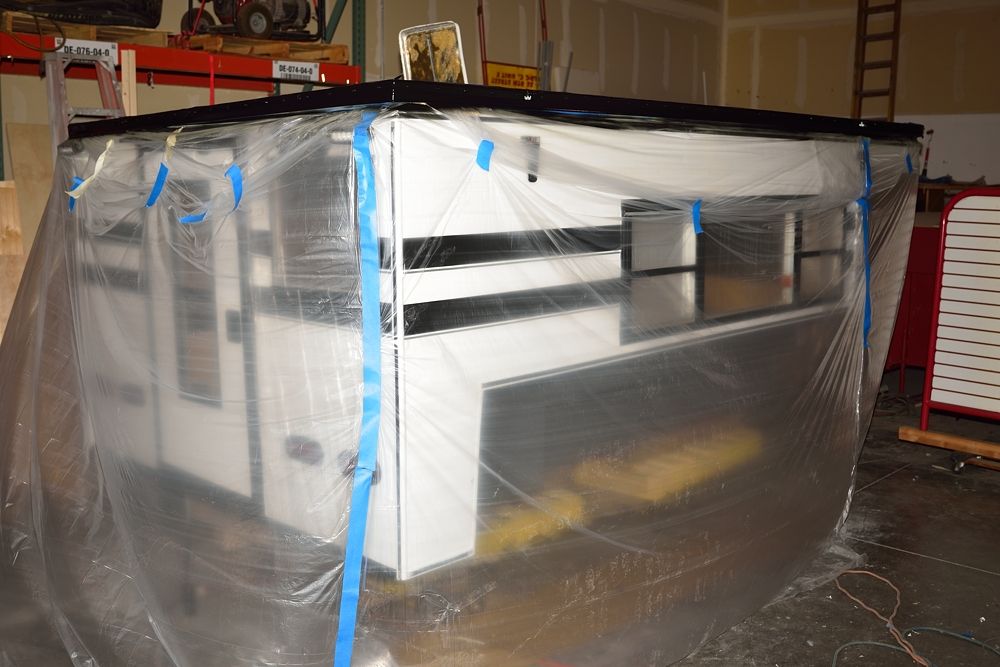
After it was dry, I masked off the camper, then went around the camper and sprayed all the bare aluminum with self etching aluminum primer.
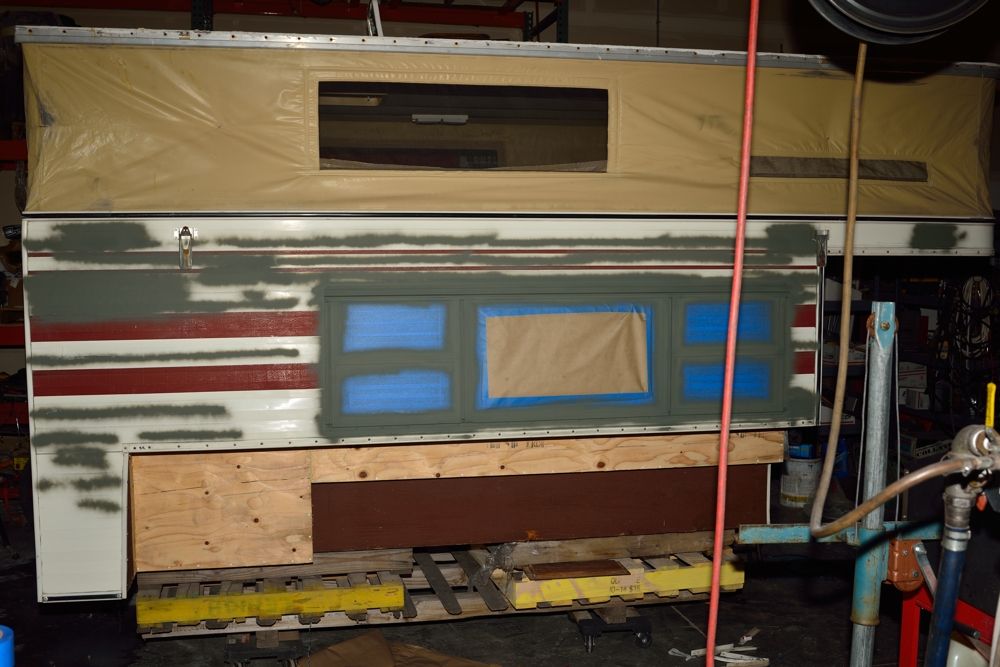
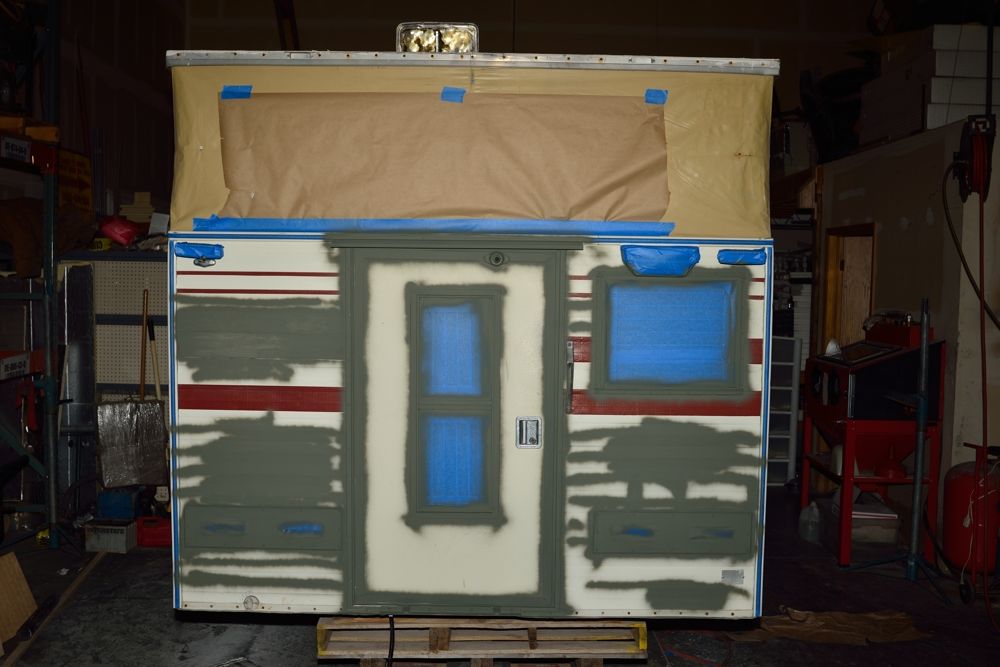
After the primer was dry, I went over it with some #00 steel wool, then sprayed the whole camper with automotive primer.
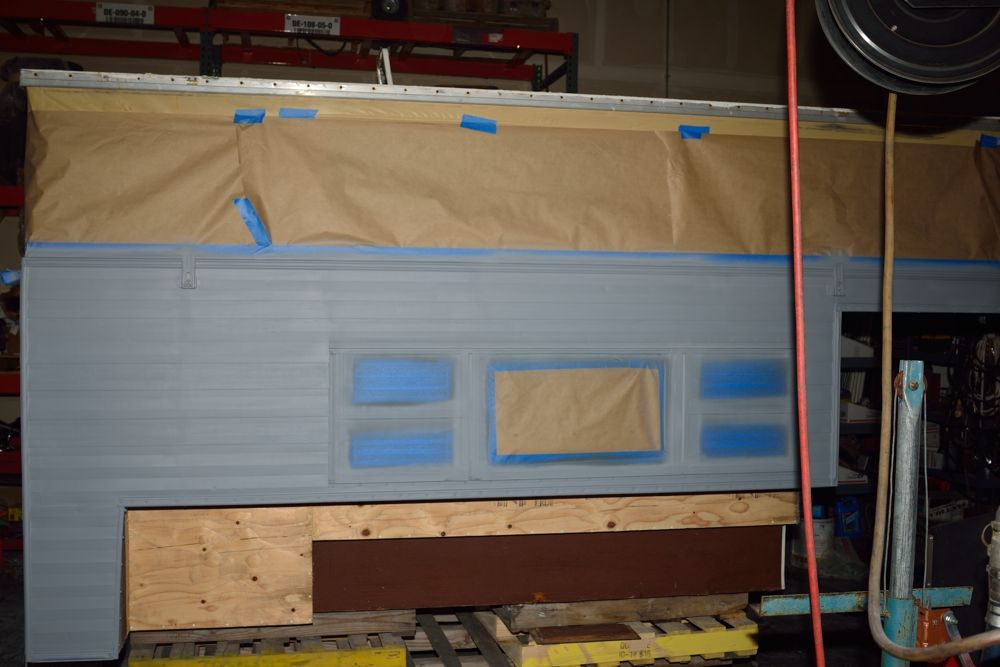
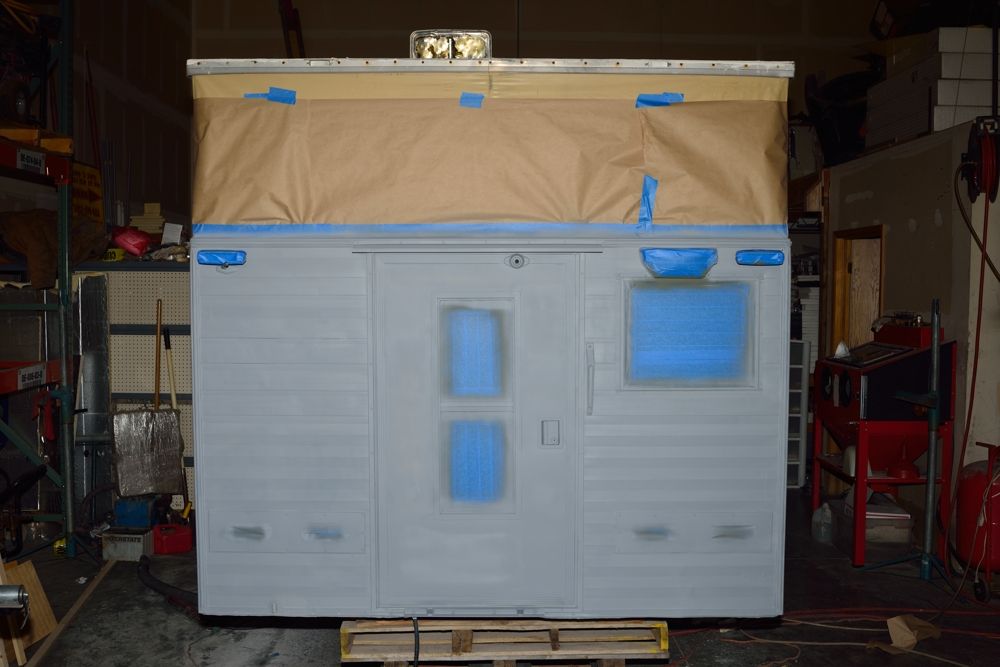
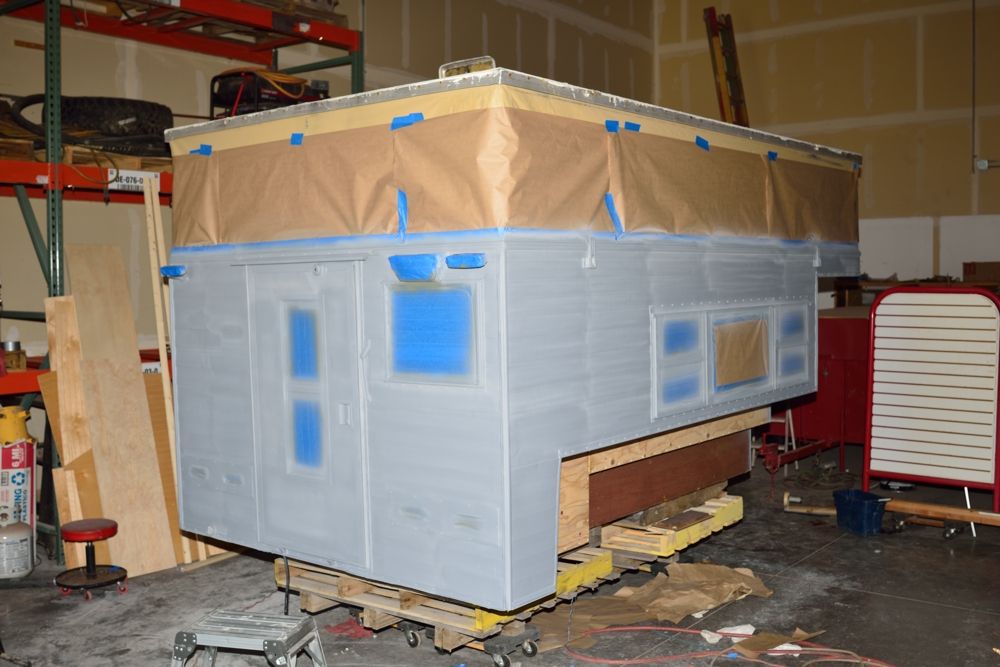
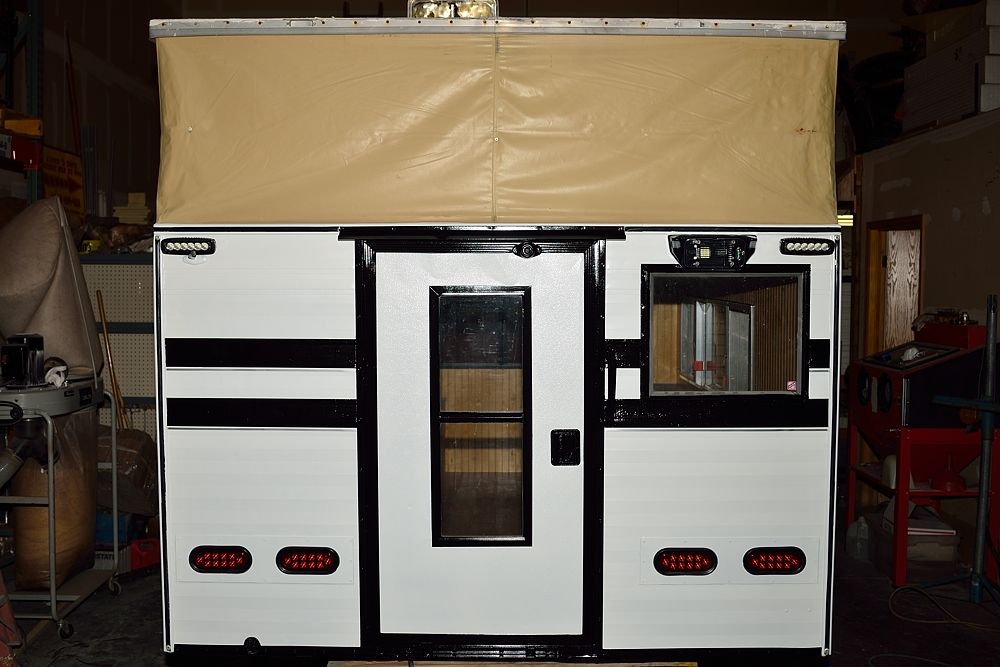
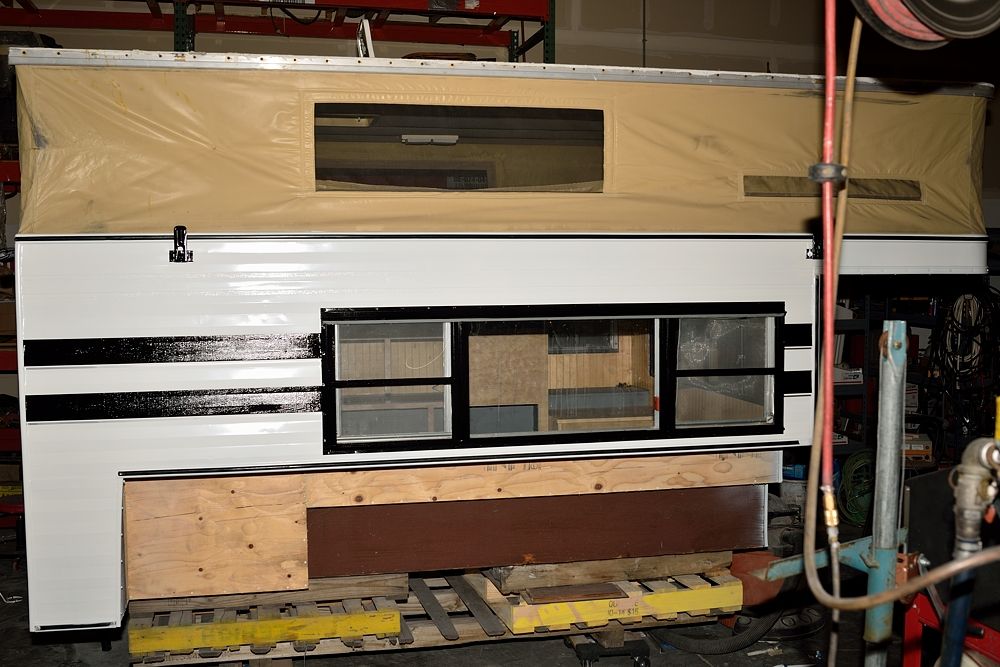
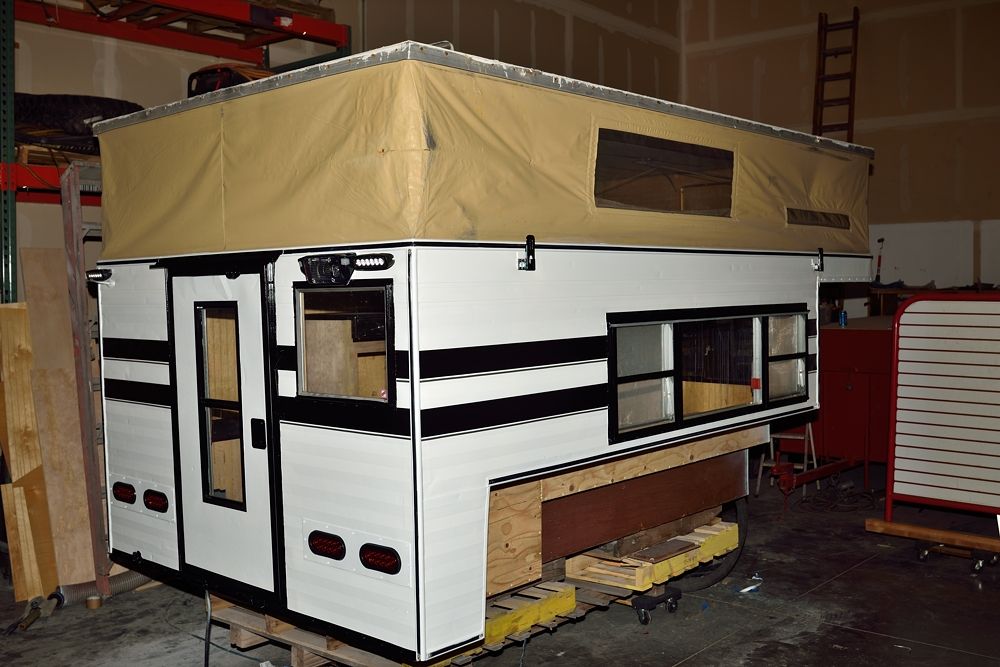
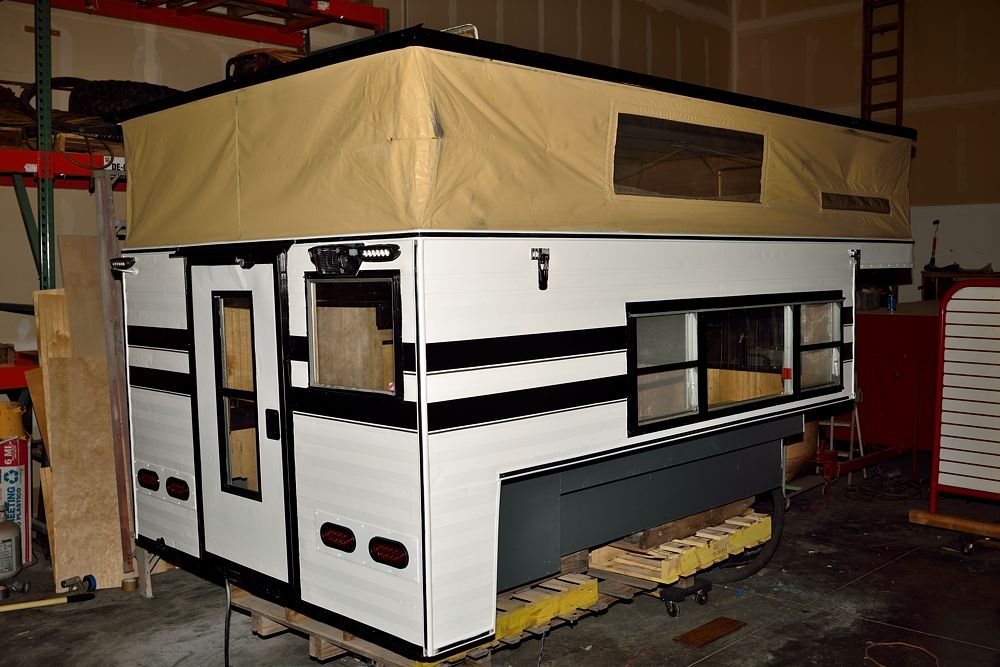
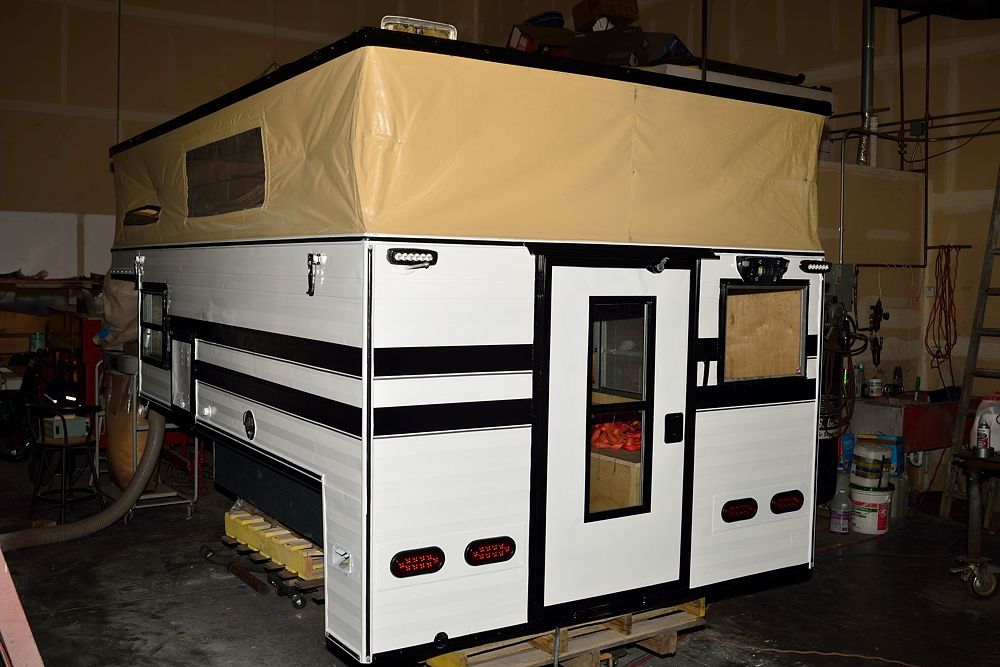
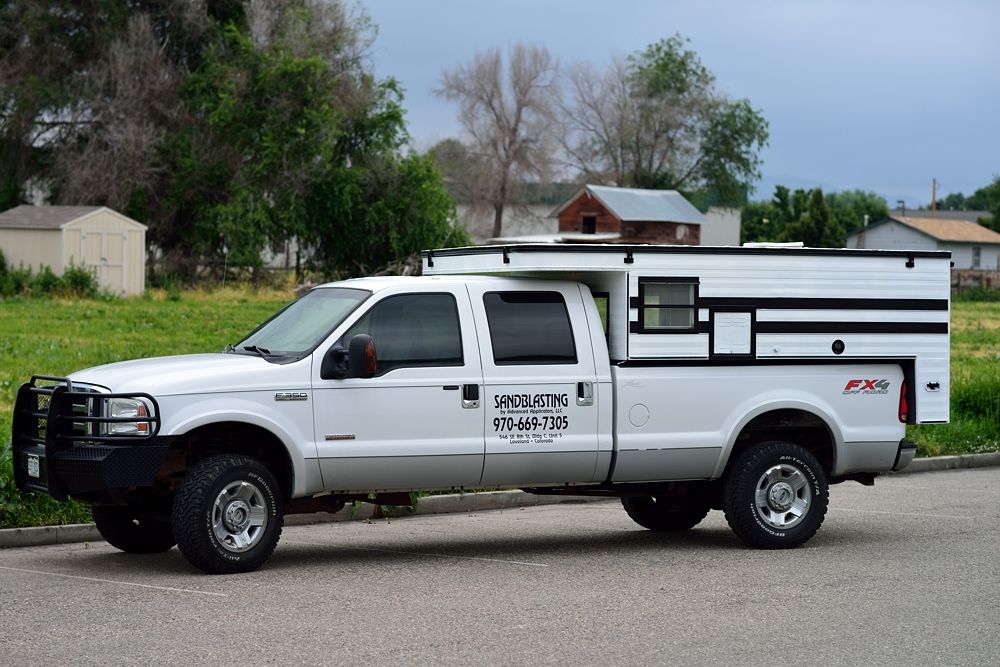
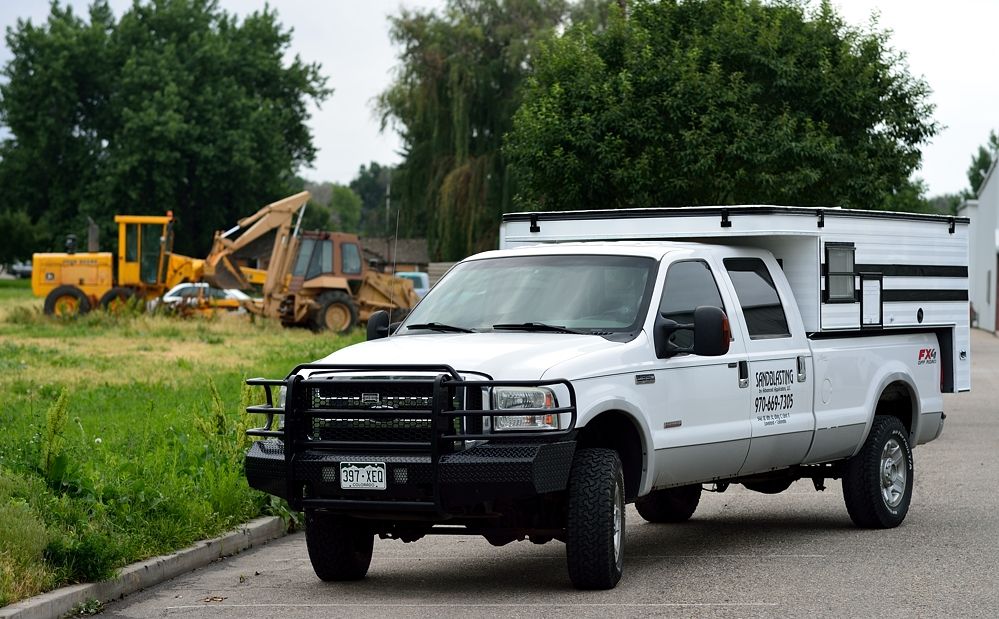
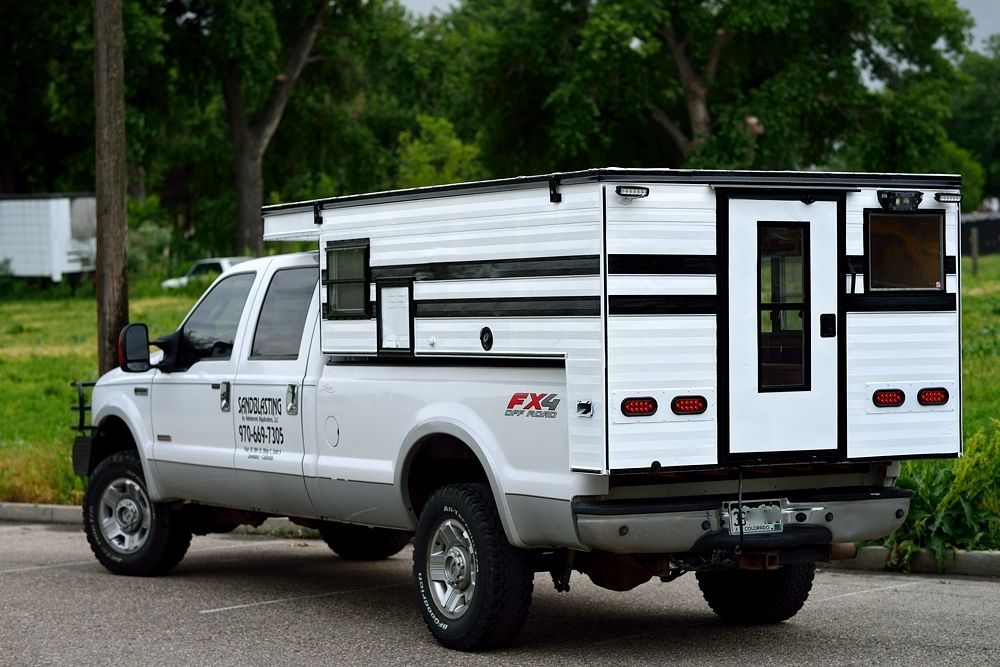
After the primer was dry, I wet sanded it down with some 1000 grit sandpaper. I had some polyurethane paint already on hand in my supplies that matched my truck's color perfectly, so I mixed it up and sprayed it. This isn't the true color as my camera flash ran out of batteries so I used natural light. I didn't bother to color correct the images. The color is the same as my 2005 F350.
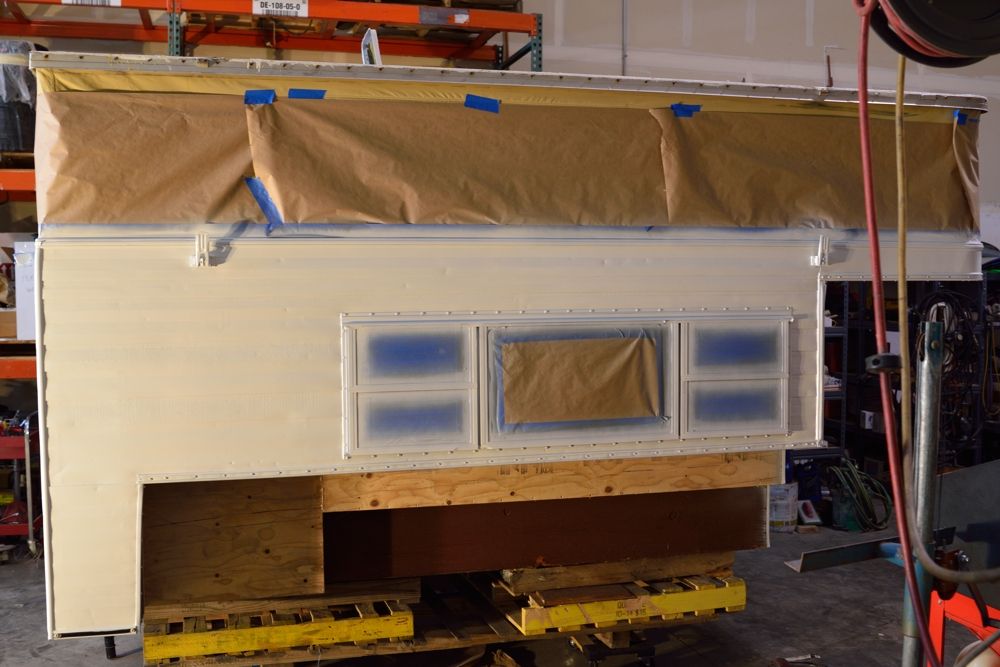
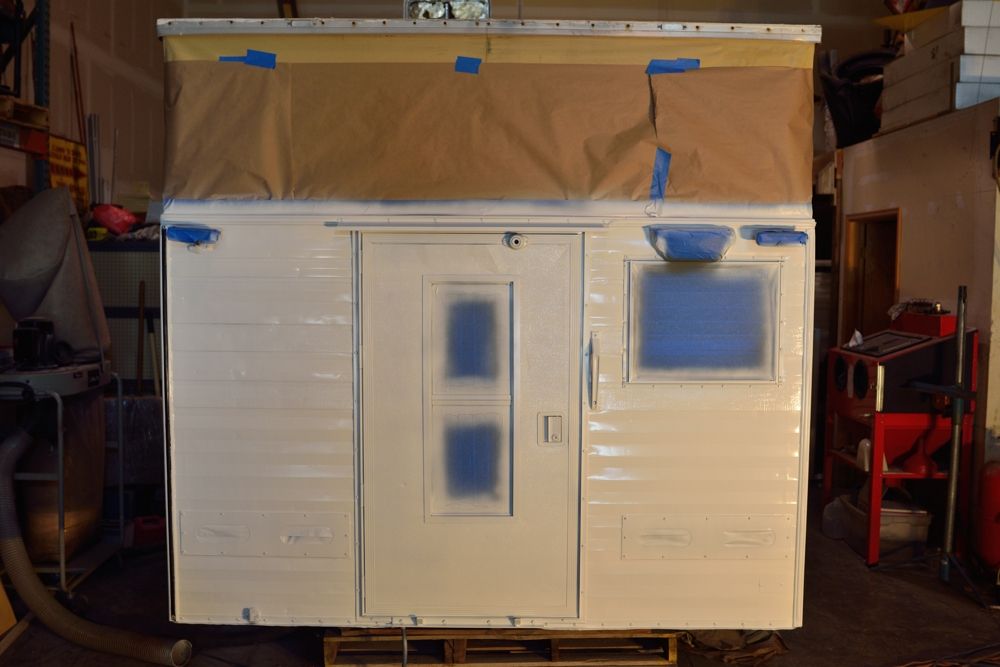
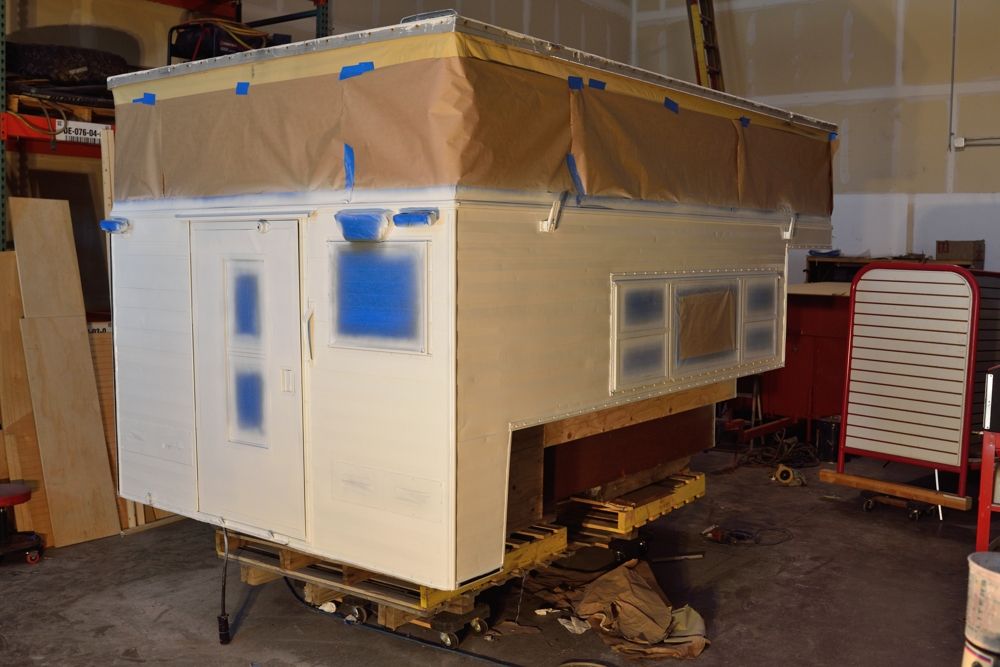
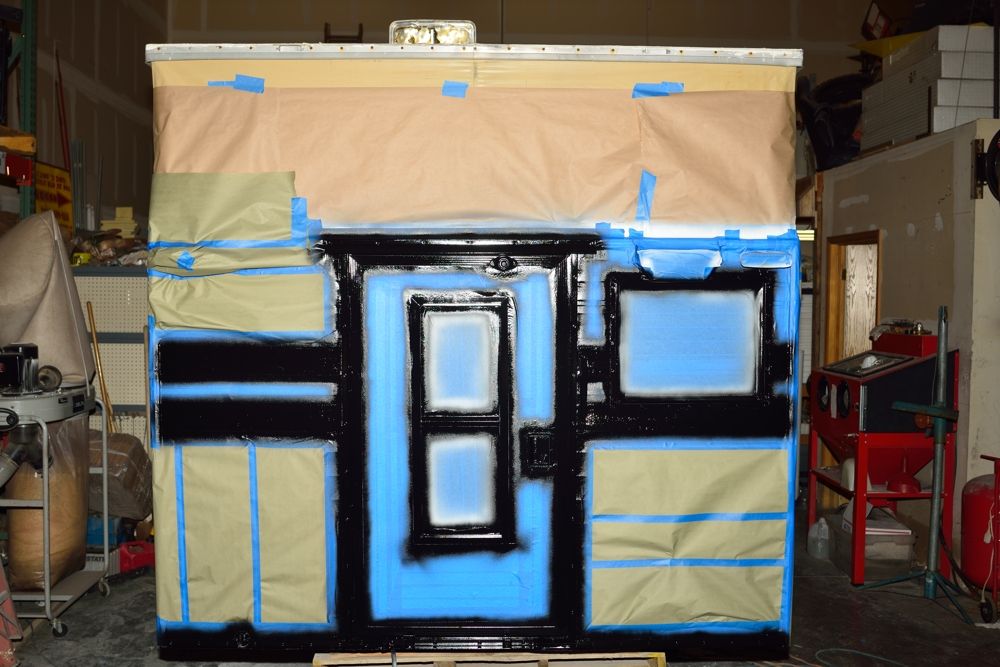
Anyway, after work tomorrow, I'm going to mask off all the trim and the stripe areas, then mix up some black polyurethane and spray down the stripes and trim. I also need to sand down the outside of the floor pack and repaint it with some polyamide epoxy.
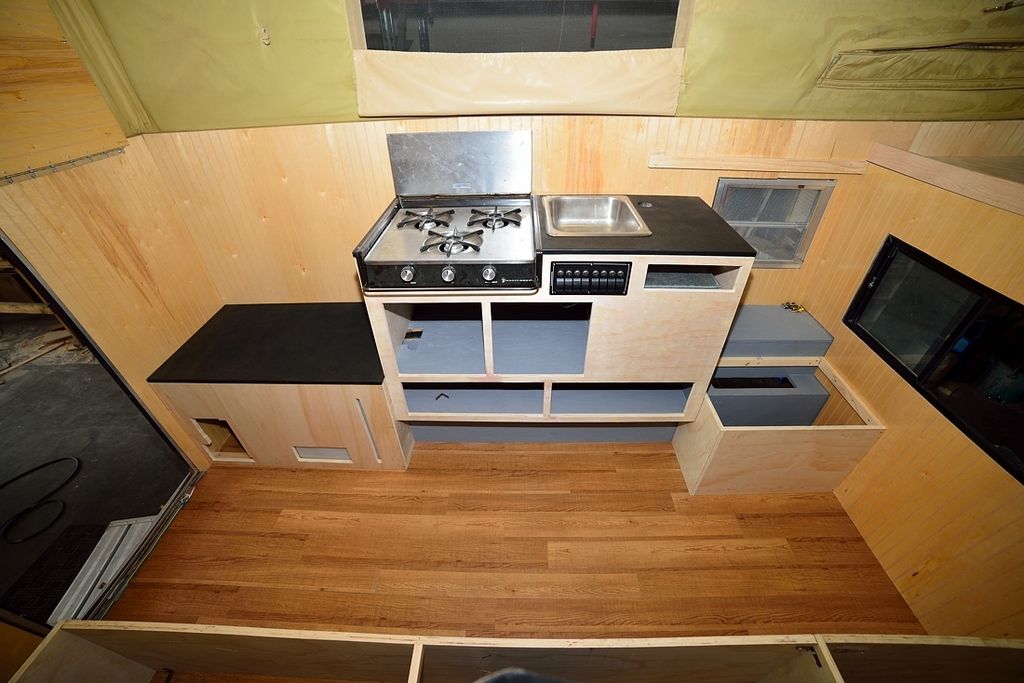
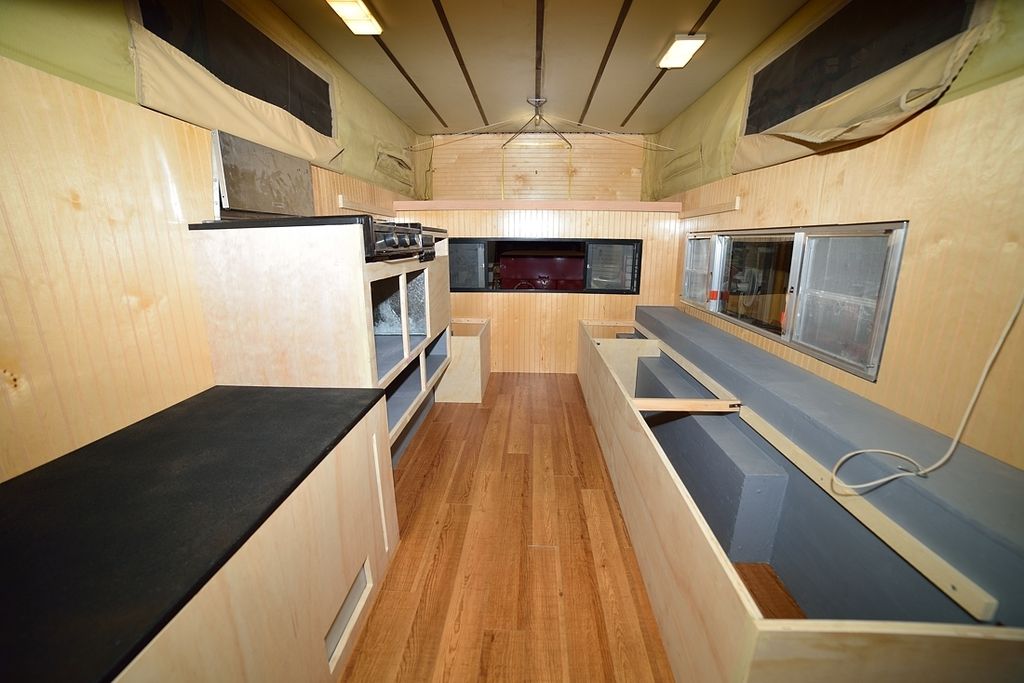
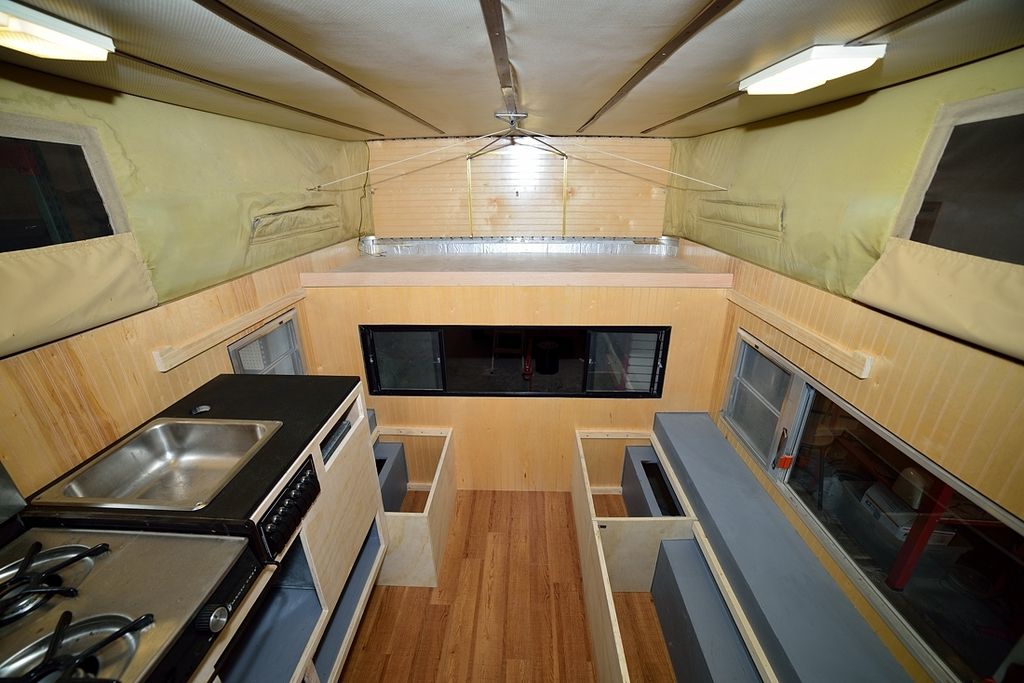
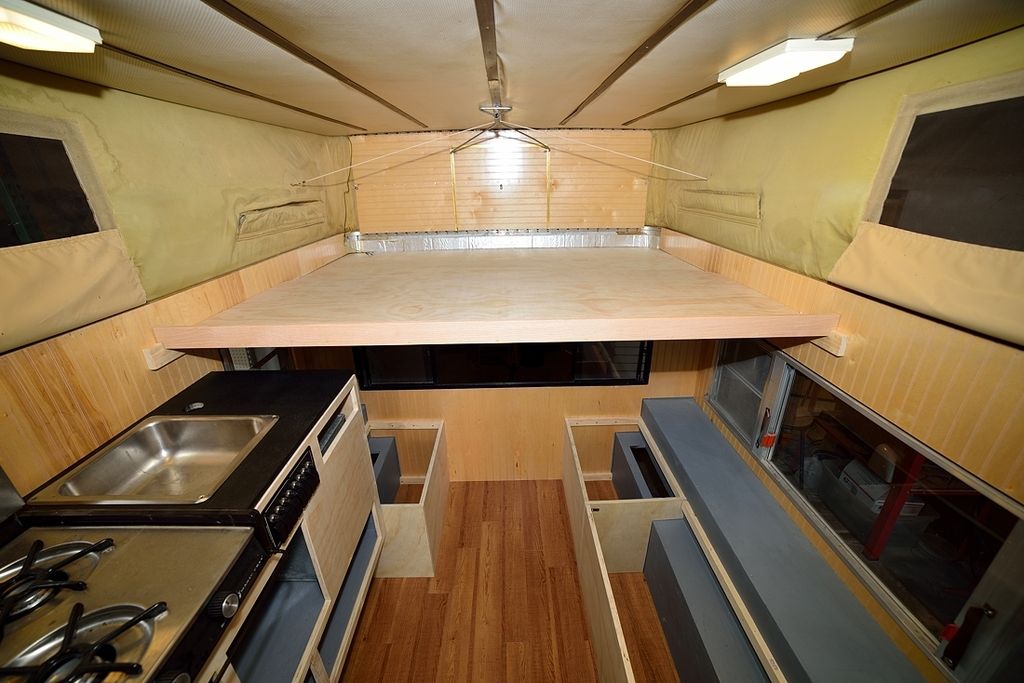
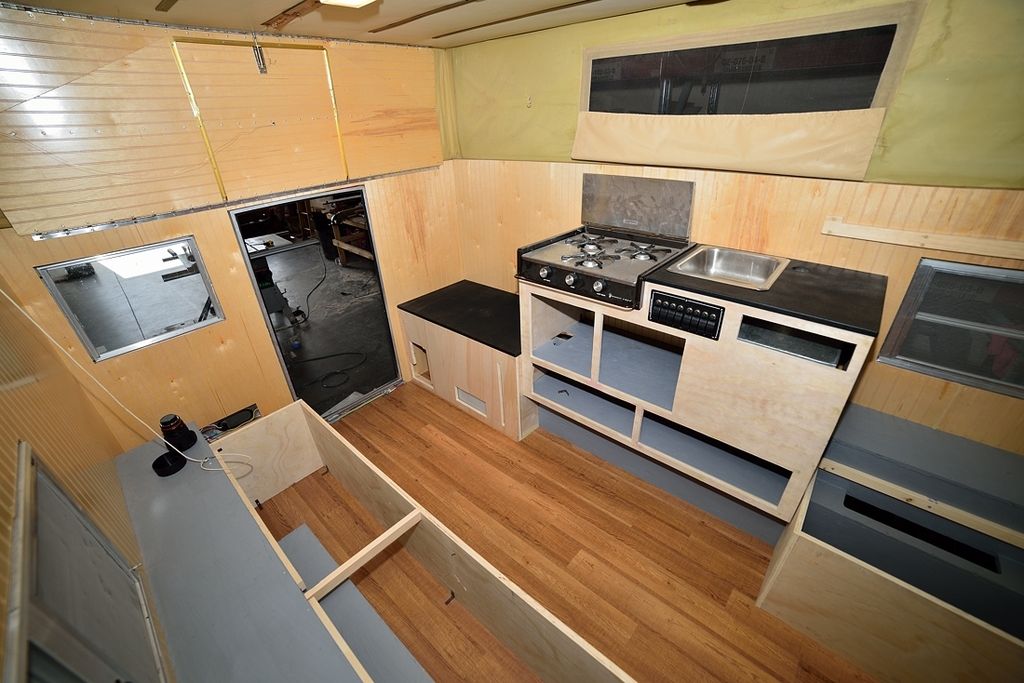
Then it is back onto the inside and finishing up the cabinet work and chalk painting the cabinetry and seat bases.
It is pretty close to being finished after that. Just need to buy some foam for the seating and sleeping areas and pick out the fabric I want to use for the covers. My sister will be sewing all the cushion covers for me, so that's one less thing I need to do.
Then all I have left is to finish up the inside wiring and it is done!
