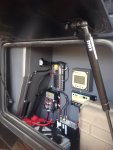
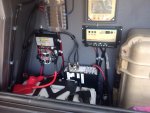
Remove the spare from the door and disconnect the door stop at the bottom of the door jamb. The door naturally opens all the way 180* and stops with out any kind of interference. The caveat is the spare must be removed, hence my future rear bumper/swing out spare mount project.