Great White: A Chevy K10 Build

Ouiwee

Observer
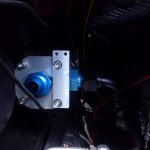
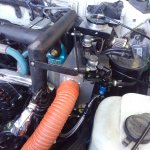
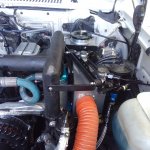
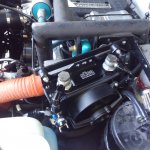
Here is what the thermostatic valve looks like...it is large once you plumb it with -12 AN hose.
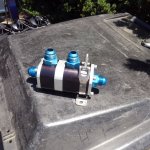
525888

It resides on the passenger side radiator support.
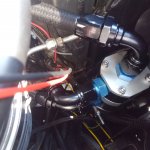
525889

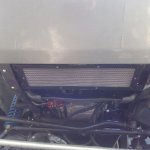
From under the truck...

525890

With stone guard/shield.

525892

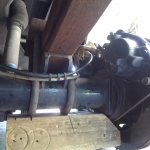
I guess I need less steering drop from the box...have attempted to keep the truck as low as possible. Maybe a 2" instead of 4" drop?

Anyway, I put in 3 quarts of oil expecting about 2 quarts additional oil required to fill the cooler and lines. I was close and had to remove roughly a quart once everything was hot.

I am tickled with the results. Of course, the electric fans are left undone but I don't anticipate too much trouble hooking up the controller. I have noticed that when everything is hot and ugly, the 600 rpm GM set for the engine isn't copacetic with the accessories I have bolted to the engine. There is a serious voltage drop with the big fan rolling and steering isn't super easy. I have tested and it seems 800 rpm is where we ought to be.

Good grief, I have 30 hours work in this cooler and I haven't missed a stitch.

And it has been hot here, 90+ degrees F. Good testing weather, I suppose.
 

bknudtsen

Expedition Leader
Looks like if you went to a straight draglink, you’d be nice and flat. Hard to tell with the angle of the picture tho.
 

Ouiwee

Observer
Looks like if you went to a straight draglink, you’d be nice and flat. Hard to tell with the angle of the picture tho.

The truck isn't sitting perfectly flat, which is hard to tell from the picture. I'd like to get that joint further off the panhard rod. It drives fine and doesn't bind, so I haven't bothered. If I changed the pitman arm to 2" less drop, I guess it would fit better and I would still have some room for lift, if I need it.

I want to change that panhard rod to 7075 aluminum at some point too.
 

Ouiwee

Observer
I installed a 13" pusher fan blowing directly into the AC condenser and connected the relay to the +12v AC turn on switch. Where the AC or defroster are turned on, the pusher fan fires up--no matter the engine temperature. The fan moves a good amount of air so I am not worried about the AC super heating (or whatever the technical term).

The ECU now commands the two puller fans. The oil cooler fans will run on a separate circuit that switches the fans on once the thermostat directs oil through the cooler and temps at the cooler core get high. I suspect the oil cooler fans to only activate under extreme towing conditions or off-roading in extreme heat.

I still need to consider heat shields for the headers and pipes back to the cats. Advanced Thermal Products did a great job on another project--the reduction in temps was huge. It is, however, rather spendy and the parts have to be sent out to them for a custom fit. The turn around was really good last time, but the truck is currently my daily driver.

These square body trucks do not have near the insulation modern trucks have. The transmission tunnel, for example, is just steel. Modern trucks have a thick layer of insulation between the drive train and the cab. In addition, the inside is fitted with a foam layer to further reduce road noise and temps. I have insulation on the inside of the truck now, but not underneath. I need to think about how to insulate the bottom as well.
 

Ouiwee

Observer
Below is the parts list for the oil cooler.

DescriptionPart#PriceTotal
Setrab Series 1 60 row, 6.42 x 18.31 x 1.83SET-160-7612
$502.95​
$502.95​
Setrab Series 1 Mounting KitSET-23-1002
$36.99​
$36.99​
Setrab 22 mm 90 degree fittings, -12 ANSET-M22RU12-90
$40.50​
$81.00​
Fragola 90 Degree -12 hose end229012-BL
$26.99​
$134.95​
Fragola 60 Degree -12 hose end106012-BL
$41.99​
$41.99​
Fragola -12 ORB to -12 AN FittingsFRA-495109-BL
$18.99​
$75.96​
Canton Racing Oil Thermostat22-480
$229​
$229​
Setrab 12AN Thermal Switch AssemblySET-31TS200-12
$46.50​
$46.50​
Startlite Hose, -12 AN, 10 ftFCU1210
$99.99​
$99.99​
Spal 5.2" Puller Fan30103011
$53.48​
$160.44​
Davies Craig Digital Thermatic Fan Switch KitDC0444
$66.42​
$66.42​
Total
$1,476.19​

The Setrab fittings and thermal switch can be found at Pegasus and Summit Racing should have the rest.
 

Ouiwee

Observer
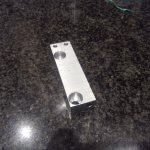
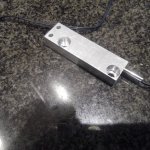
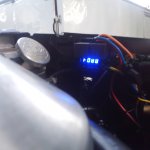
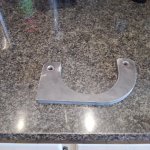
Rather than put the temperature probe in the radiator core, I machined this part to house the probe on the oil thermostat.

526529

With the probe partially inserted.

526530

526531

It is nice that I can see the oil temperature on the digital readout on the controller.

526532

The controller is installed and set to turn on the fans at 230 degrees Fahrenheit. I need only clean up the wiring and put it in loom.

Oil cooler project completed.

Now, I have to figure out what to do with the power steering cooler. Ordinarily, I would put it in front of the radiator but there is a lot going on up there.
 

Ouiwee

Observer
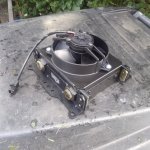
Here is what I have in mind for the power steering cooler. These fan packs are really slick, can go just about anywhere, and don't draw too much current.

527058

I'll have a temperature switch to activate the fan. I just have to figure out where to stuff it...I'm running out of fresh air sources.

If it becomes necessary to cool the fuel, this is the way I would likely go. It would fit cleanly under the truck, but have to keep it away from the exhaust.

I got a quote on the Inconel heat shields and will be sending off the headers back to and including the cats for shields.
 

Ouiwee

Observer
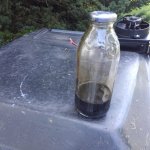
I got around to draining the catch can today.

527228

It seems that the PCV system is working. I expected more water but am glad that what was in the catch can didn't get sent through the intake valves. I'll have to pull the supercharger cover and see if there is any oil visible.

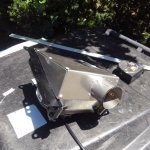
I built a shroud around the intake side of the cooler core so that I can direct cool air into the cooler.

527229

Here is where I put it.

527230

As you can see, I mounted it on some rubber vibration isolation pads.

527231

527232

The silicone hose runs down to the front bottom of the truck to catch cool air. I suspect it will catch enough air on the highway to keep things cool. Off road, the fan will do the work.

I'll see about wiring the fan tomorrow maybe.
 

Ouiwee

Observer
The headers and pipes back to and including the cats have been sent off to get inconel heat shields custom fabricated. It's a long way to Irvine CA, so I guess it is a week or two of down time.

I'll post some pictures when I get the exhaust parts back as well as feedback about how well they work.

The next project, I think, is a truck bed rack. I guess I'll make it out of square tube aluminum. I just have to figure out what will go where and how to build it such that it will be versatile. I was looking at one today that I like from Nuthouse Industries.

Any suggestions or links to someone who has done this would be appreciated.
 

Ouiwee

Observer
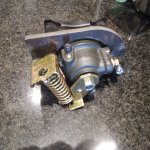
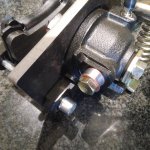
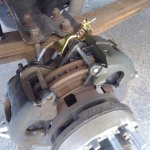
I had some plates cut with a water jet to mount a second set of calipers on the rear axle for a parking brake. This will allow me to mount calipers that I can actually find, which require a 5.5" bolt center.

KIMG0675.JPG

KIMG0676.JPG

KIMG0677.JPG

One can see the aluminum spacers on the brake line. I turned those so that the banjo bolts and washers can be retained on the caliper (despite not being used). I figure that I can use the smaller caliper as a secondary caliper if I have a failure of the primary. Obviously, these have a mechanical lever for a parking/emergency brake. I'll weld the new plate onto the ORD caliper conversion plate to mount them.

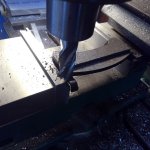
One nuance here is that the rotor is a thick one at 1.25" and the smaller caliper is made for what appears to be a 1" rotor. So, I had to make an adjustment...

KIMG0664.JPG

I've never milled a brake pad before. It left a nice clean finish but dulled the end mill by the time I was done with 4 pads. I figure the thinner pads will last forever given limited use as a parking brake.
 

Ouiwee

Observer
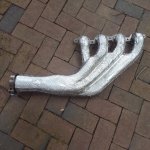
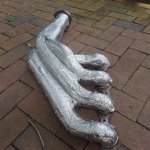
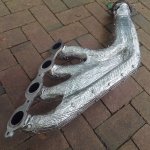
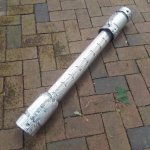
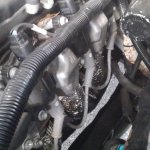
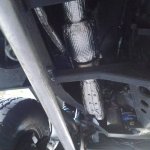
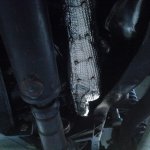
The brown truck dropped off the headers and pipes with new inconel heat shielding. They look fantastic.

KIMG0678.JPG

KIMG0679_2.JPG

KIMG0680_2.JPG

KIMG0681_2.JPG

KIMG0682_2.JPG

The last shot is of the catalytic converter--those things really get hot. Toward the right one can see the v-band clamp and how it gets shielded as well.

The shields are safety wired in place and thus easy to remove.
 

Ouiwee

Observer
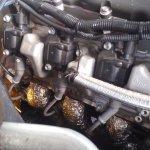
The heat shields sure enough make a huge difference. The fit is great.

Who needs spark plug boots?

KIMG0689.JPG

KIMG0690.JPG

KIMG0692.JPG

KIMG0691.JPG

I have a hot firewall, so I guess some additional heat insulation is in order.
 

Ouiwee

Observer
Took it out for a quick trail or two today and wow, what a difference on the floor board. It is much cooler in the cab.

dSaRT0Y.jpg


Dhaf26x.jpg
 

Ouiwee

Observer
I finally got to the emergency/parking brake. It seems the plan worked without a snag. Here is a shot of the set up.

KIMG0698.JPG

KIMG0699.JPG


Here is what the cable split looks like. I used a Lokar kit.


KIMG0701.JPG

It would have made sense to start with new rotors, but it is a pain in the neck to pull off the hub and press in/out the lugs. It will take a bit of use to seat the new pads.
 

Ouiwee

Observer
I put the old girl on some scales the other day full of fuel. The total was 6,880 lbs. That means 6,600 lbs sans me and the dog.
 

Forum statistics

Threads
188,296
Messages
2,905,092
Members
229,959
Latest member
bdpkauai
Top