Great White: A Chevy K10 Build

Ouiwee

Observer
The fuel system on this truck is not the usual set up. It uses the mechanical pump on the engine as a lift pump and has a surge tank in the engine compartment that houses a high pressure pump. The high pressure pump feeds a Holley multiport fuel injection fuel rail and it does not have a return.
~
I wanted to keep the saddle tanks that everyone removes first off. The fuel slosh in those tanks is considerable and I wanted some protection; thus, the surge tank which holds roughly a liter of fuel. The mechanical pumps are dead reliable and really good at pulling fuel out of the tanks.
~
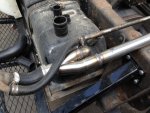
I pulled the bed off and saw the following.

IMG_20160109_100848001_HDR.jpg

Apparently the last person to service the tank didn't like the idea of removing the bed to do it.

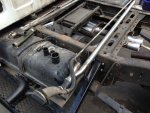
I bought two new steel tanks and painted them the same as all the rest. It looked like a redneck body shop around here.
IMG_20160109_Bed.jpg

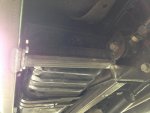
Two tanks installed and plumbed with 3/8" stainless hardline.

IMG_20160118_123114193_HDR.jpg

IMG_20160118_123051992.jpg

I use a 6-port valve to switch between tanks and switch fuel level senders.

IMG_20160118_130344715.jpg
 

Ouiwee

Observer
Both tanks get filled from the driver side of the truck. I used a header collector to distribute the fuel to both tanks. I have a 1" body lift, in part, to provide enough room to run the stainless filler pipe at a slight angle over to the other tank.

IMG_0735.jpg
IMG_0734.jpg

I guess you can see the rock sliders in that picture. I'll get to them next.

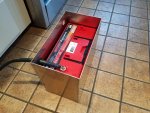
Here is the first incarnation of the surge tank.

IMG_20160206_120800802_HDR.jpg

Holley intake with fuel rails and carb looking throttle body.

IMG_20151126_184910033_HDR.jpg
IMG_20151129_165521505.jpg

It was truly amazing how much more responsive the 383 became with fuel injection. I was getting 14-16 MPG on the highway prior to adding the one-ton driveline gearing (4:56) and weight.
 

Ouiwee

Observer
One last note on the fuel system. The mechanical lift pump fills the surge tank and returns unused fuel to the tank. The fuel from the surge tank dead ends at the fuel rails--no return. I had to modify the Holley kit to remove the regulator and put a fuel pressure sensor in its place. The surge tank has an integrated regulator right on the top of it.
~
IMG_20151126_185034836.jpg
~
I included a fuel pump controller that lowers the voltage going to the pump using pulse width modulation when not needed. Once it reaches a certain programmable rpm, it ramps up the voltage.

IMG_20151128_113716101.jpg
~

I have about 15k miles on the fuel system without a single glitch, even off road.
 

Ouiwee

Observer
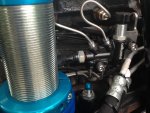
I mentioned that all brake lines are stainless and custom for this application. I used the biggest master cylinder I could find (from a diesel I believe) and installed hydroboost. It will lock up all four tires on the highway, no sweat. However, I am not always pulling a trailer with brakes and thought it wise to add adjustable brake bias.
IMG_0344.jpg

The proportioning valve was useful for calibrating the brake bias given my particular rig. It also allows me to dial in more rear brake when I have weight in the back.

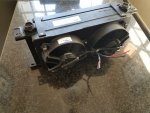
Since I have hydroboost brakes, a steering box, and a ram, the power steering hydraulic system does a lot of work. The PSC reservoir is nice, but I wanted additional fluid volume and a way to cool the fluid in severe environments. I first had this set up.
IMG_20160116_113413054_HDR.jpg

And then got a Setrab cooler and a couple of Spall puller fans. I fabricated a shroud out of aluminum and painted it black.
20170219_094634.jpg

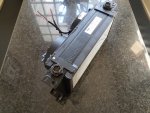
I put a stainless screen mesh on the intake side to keep large debris from entering the cooler.
20170219_094622.jpg

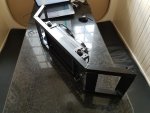
An aluminum frame keeps the cooler up high under the bed. Air intake is from just under the bed.
20170219_085142.jpg

Here is a picture where it can be seen mounted toward the right.
IMG_0746.jpg
 

Ouiwee

Observer
It is getting bigger still...
IMG_0077.jpg

And she is a digger.
~
I relocated the battery to the rear of the truck.

20170318_173115.jpg

And built an aluminum box to house it.

IMG_0763.jpg

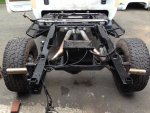
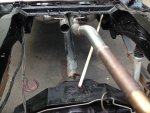
The exhaust had to be reworked to make room for top links that will connect to the truss on the axle.

IMG_0760.jpg
I might get another one of this type of battery and put it up front on the driver side. I'm attempting to keep that area open, however, in the case I install a dry sump oiling system.
 

Ouiwee

Observer
Another view.

IMG_0803.jpg

IMG_0802.jpg

Anyway, I have not completed the top links. Maybe the rock sliders would be good to document next--there doesn't seem to be much on the internet on how to engineer them, keeping saddle tanks.
~
I have swapped the powerplant too, but kept the small block (well...a 454 small block :D).
 

Ouiwee

Observer
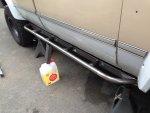
As mentioned above, I wanted to keep the saddle tanks. However, the idea of getting t-boned at an intersection with 20 gallons of fuel there is not appealing. Rock sliders seem to be a solution to two problems.
~

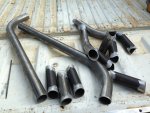
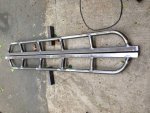
I started with some bends and notched a bunch of 83 wall chromoly.

IMG_0556.jpg
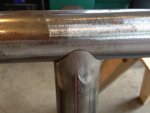
I use the mill with a hole saw to notch.
IMG_0555.jpg
The results are close fits.
IMG_0579.jpg
~
The general shape is a lesser radius in the front and a sharper radius on the rear of the outermost tube.
IMG_0571.jpg
IMG_0589.jpg
 

Ouiwee

Observer
It made sense to make them bolt-on, rather than burn them into the frame. I might have to take a tank out at some point.

IMG_0597.jpg
IMG_0602.jpg

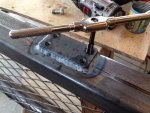
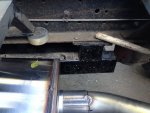
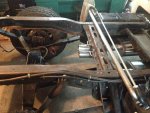
This is not a good picture, but it shows how the front support is tied to the frame as well as the mount for the front suspension links. I used .25 wall steel for front and back supports and .125 wall 2x3 for the inside rails. You can see the inside rail as well.

IMG_0600.jpg


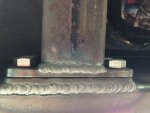
Lots of careful, tedious welding to get this done right.
IMG_0604.jpg
 

Ouiwee

Observer
The back of the inside rail bolts in as well.

IMG_0742.jpg

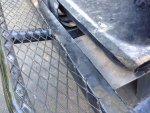
There are two .25 by 1.25 inch angle iron supports that run from outside to inside rails. The plate on the bottom is .25 thick 7075 aluminum.

IMG_0739.jpg

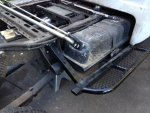
At first glance, it would seem the rearward mount is not very stout. However, taken with the angle iron connecting the inside and outside rails it forms a triangular shape. One can lift the entire side of the truck with the slider.

IMG_0737.jpg

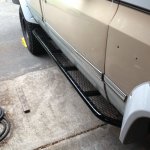
The sliders tie out the fender flares and pull the side of the truck together, I think. I still need to get some spacers to bring the rear wheels out some to match the front track width.

IMG_0666.jpg
 

Ouiwee

Observer
Not a good picture, but you can see that rear wheel needs to come out some. But the sliders make the Bushwacker flares seem less extreme.

IMG_0807.jpg

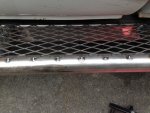
Plate goes all the way down the side.

IMG_0811.jpg

Action Jackson:

IMG_0578.jpg
 

El Gordo

EL Gordo
I did get t-boned in my 87 with the dual tank setup. I am still here....NBC used pyrotechnics to set the trucks ablaze back when they did their b.s. report. You are building a killer truck. Mad skills!
 

Ouiwee

Observer
I did get t-boned in my 87 with the dual tank setup. I am still here....NBC used pyrotechnics to set the trucks ablaze back when they did their b.s. report. You are building a killer truck. Mad skills!

I agree the risk was overstated. Well, the numbers do not lie. The sheer production quantities of these trucks means that we would see sufficient low probability events for drawing conclusions (sorry, I am a statistician).

~
And, thanks. It is difficult to communicate to most how much work is involved in this type of thing:Wow1:.
 

Forum statistics

Threads
188,027
Messages
2,901,342
Members
229,411
Latest member
IvaBru
Top