kga1978
Active member
Where did you source the spare wheel? I'm trying to find four 18" wheels to mount dedicated snow tires.
-Fellow Trailhawk owner
The code for the TH wheels is 5XK991XFAB - you can get them on most Mopar parts sites (~ $265).
Where did you source the spare wheel? I'm trying to find four 18" wheels to mount dedicated snow tires.
-Fellow Trailhawk owner
Where did you source the spare wheel? I'm trying to find four 18" wheels to mount dedicated snow tires.
-Fellow Trailhawk owner
Don’t mean to derail the thread but has there been any solution for a WK2 lift?
I’m betting it’s the new roof rack.
I’m betting it’s the new roof rack.
I'll second that.
Ryan, kudos on your build and thread. Beautiful pics! Even the build pics. I love quality DIY's.
I have a background in building off-road vans but have done a couple SUV's as well. Also, I have a 2016 Rubicon that is the current camping/traveling rig. We just traded her Subie for a 2016 Overland with about every option except lane departure/blind spot/adaptive cruise. I'm pretty impressed with the air suspension and tranny features. Ours does have low range and neutral, though I'm no expert on what exactly the package is called. Same as yours best I can tell. It has the 20"s and lots of chrome trim instead of black but I'm ok with that. I've had a bunch of blacked vehicles over the past few years.
Getting on with it, I have a couple of ideas and questions for you. I'm planning to upgrade my rubber to 275/55-20 KO2's and trimming the spare tire bay to fit the bigger rubber. She doesn't like the idea of a swing out for daily driver use. Did you experiment with this before or since you went with the Wilco?
Also, I have noticed the space under the spare tire well is wide open. I simply can't believe there is that much unused space under any modern SUV. I have the same AMG aux battery as you and am thinking of welding up a rack under there for that battery and a water tank. This will mean fridge and drawer would have to be removed to get to the spare tire well but it's all about compromises.
I have an FSR RTT and am pretty concerned about the overhang/cantilever in front of 2 rails. Did you try it with just the 2 rails before adding the third? Also, how is the wind noise? My RTT has about the same form factor as yours, it's a hard/soft shell hybrid.
Thanks for sharing your journey.
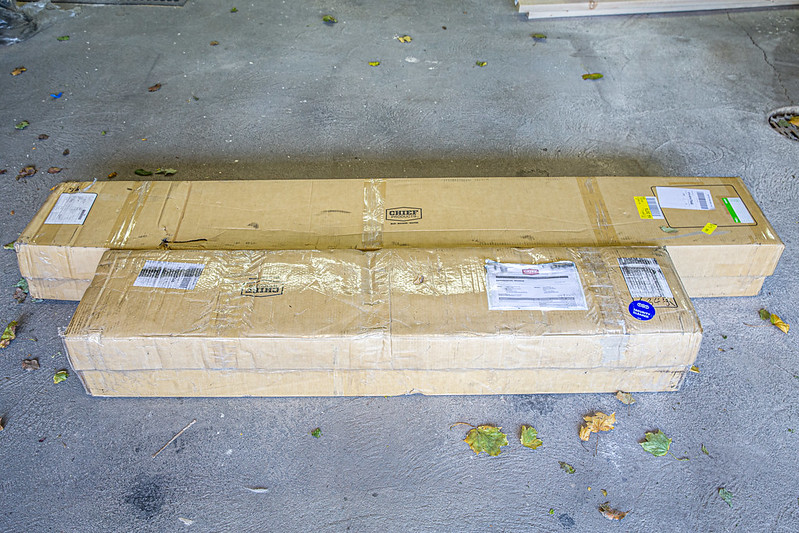


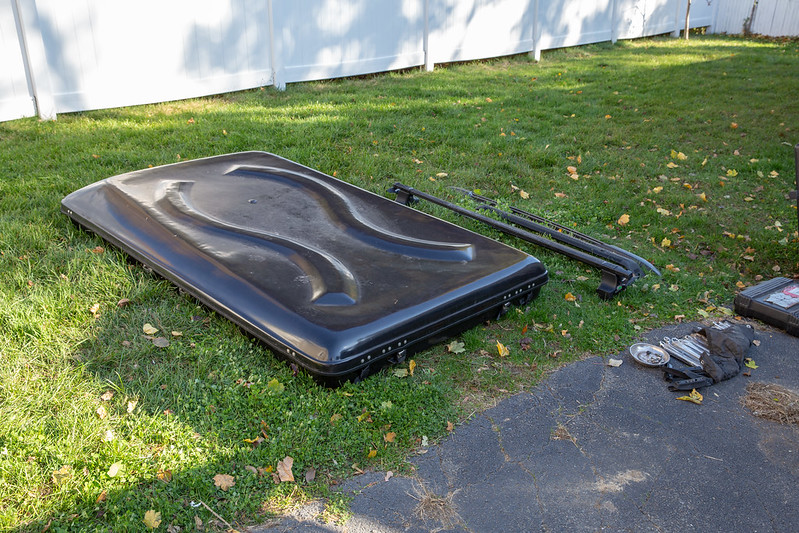
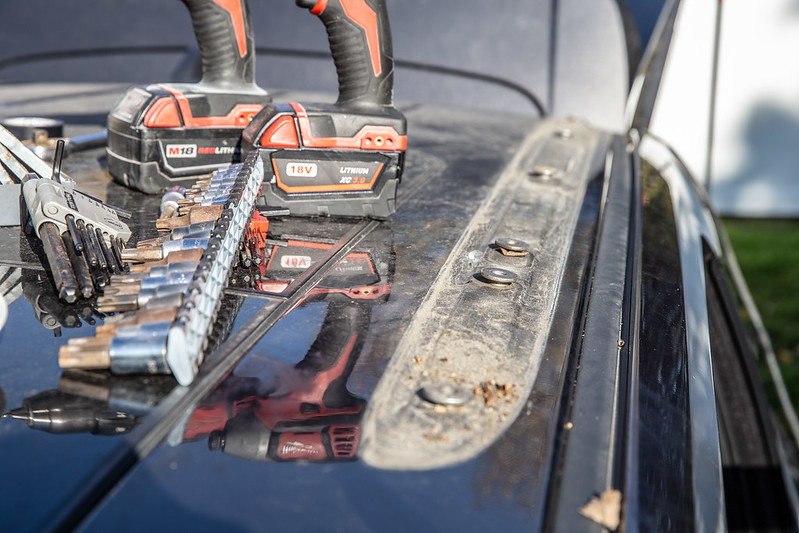
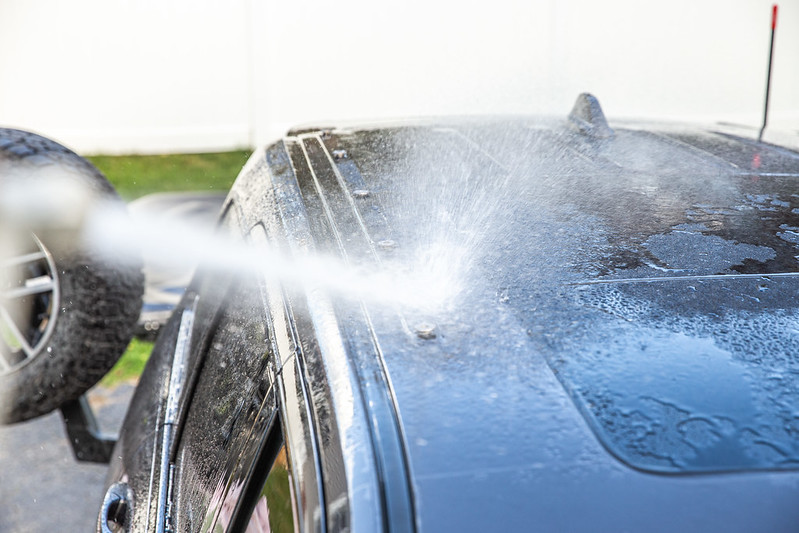


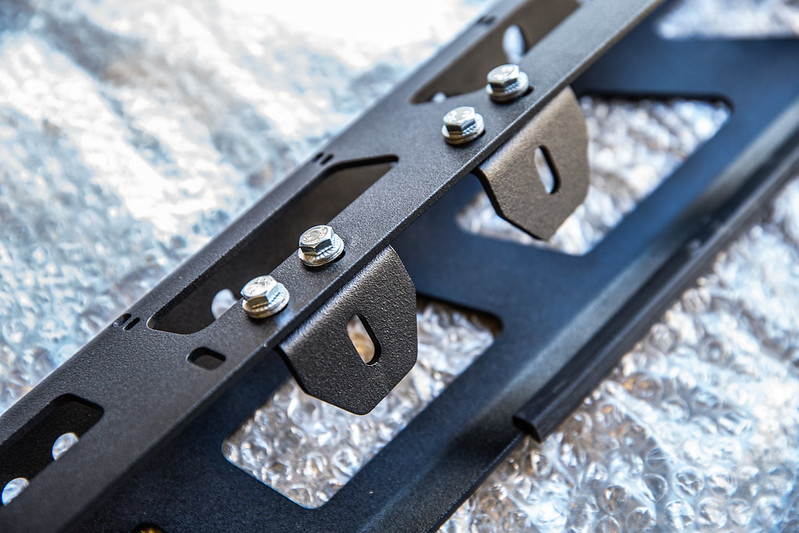


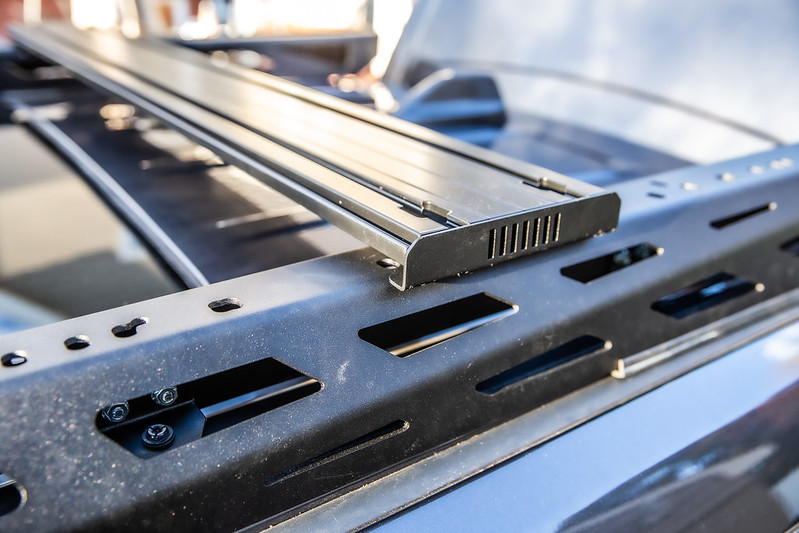


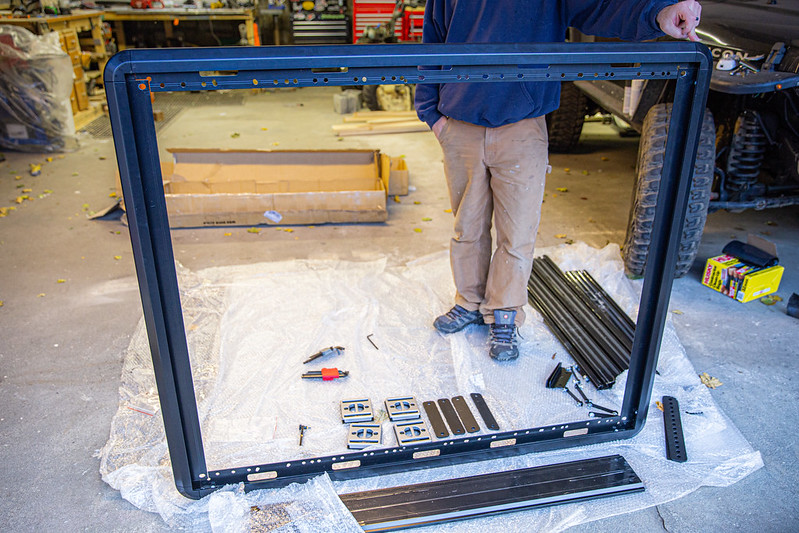


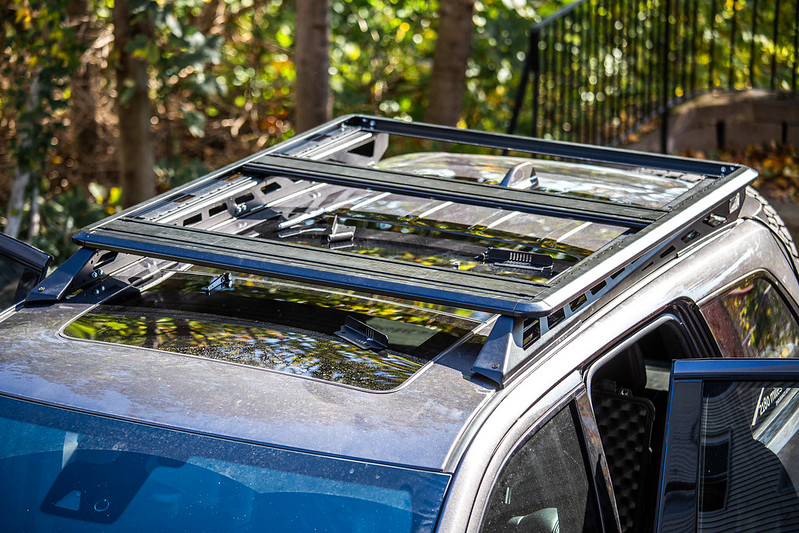
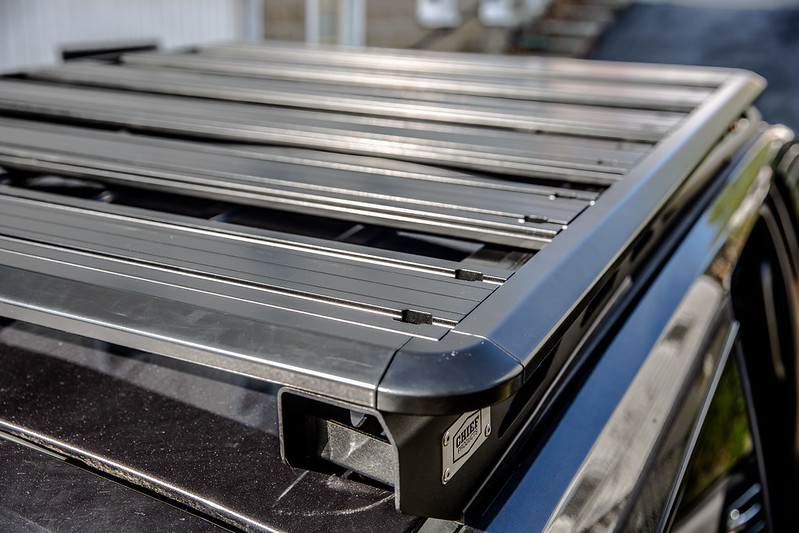


Great write up as usual Ryan. I'm really surprised at how affordable that rack is. That may just be me.
Any chance you could post a pic or two more from a distance to see how the rack changes the silhouette of the truck? I know, I know.

That rack really looks cool Ryan. I’ve been shopping around for some sort of roof rack/basket system for my recently acquired Grand Cherokee Limited. How did you like the Rhino bars you had before?Absolutely. Here ya go! This is as far away as I have currently but let me know if you need further and I can snap some once I'm home from this current work trip.
2180miles WK2 Chief Roof Rack by 2180miles
