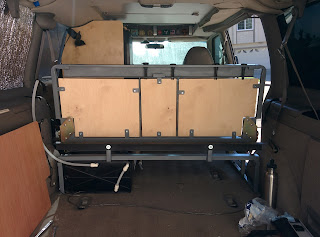
Relocating the water tank freed up the original space for more storage under the bench seat. Most of this has been dedicated to the
custom-sewn luggage I made, with a bit left over for drawer that allowed me to keep the tools safely stowed. The drawer latches to the sofa bed frame to keep it from sliding aft in the rare condition when I don't have the rear cargo space filled with stuff.

The "drawer" is fully removable, with handles on both sides so that I can carry all my tools to wherever they're needed.

And, per the design spec, the tools are accessible from inside the passenger cabin if I unlatch and raise the seat of the Rock-n-Roll bed.

The
Rocket water pump from the original installation was dead reliable and simple, but I got tired of hand-pumping for almost a full minute to fill a pot of water for pasta or washing up, so this time I added an electric pump. The
1.2GPM Seaflo pump has so far been a good compromise to promote water efficiency, but I admit that I do long for a bit more pressure at the sprayer. Maybe a future upgrade... The water fill cap is a marine
angled boat deck-fill neck plumbed to the tank fill nipple. Getting the fill neck connected to the tank was a challenge - RV/Concession water tanks usually have a 1-1/4" fill neck, and most marine deck fills seem to have a 1-1/2" OD. My solution was to use some 1-1/4" corrugated water tubing and stretch it over the neck of a beer bottle while waving a heat gun at it. This stretched it just enough to fit over the 1-1/2" fill neck.

Having the deck fill right at the back door makes filling the water tank a snap - no more climbing into the back of the van to slide the fill tube under the bench seat! I can just slide the mattress forward a bit, unscrew the cap, and insert the water-fill nozzle. On the right hand side, you can also see the vent line that runs up through the D-pillar trim plastic. Water sloshes a bit when we're off-road, so I wanted the exit of the vent line high enough we never have to worry about spill-out. This was occasionally a problem with a short (~6") vent line on the old tank system.

After painting everything, I'm really happy with how this looks and functions. The left-side of the rear bed platform can still be removed when I need to haul large cargo. At the top you can see the un-trimmed vent line exiting the top of the D-pillar. This was eventually cut to length.

I removed the original water-pump mounting box in favor of a simplified arrangement for a spray head. The black switch toggles the power for the water pump, and the sprayer hangs on a
stainless spring clamp.

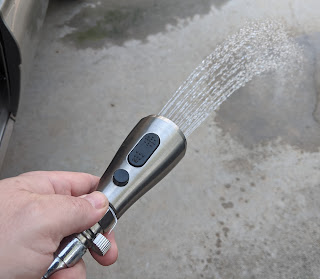
For the sprayer, I wanted something compact and simple, but I did not want one of the ubiquitous plastic hand sprayers that requires holding down a lever to keep water flowing. Therefore, I combined
this pull-out faucet head with
this inline shut-off valve. The valve is easy to operate one-handed with your thumb and the head offers both a spray and aerated flow settings.
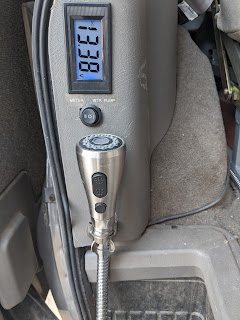
This final view of the rear cabinet shows how things existed from ~2018 to 2020. Just underneath the deck-fill neck you can see the
Shurflo inline strainer that helps keep any crud out of the water pump. The drain line normally just coils up into that space, but is long enough to let me drain the tank past the bumper when needed. (It also doubles as a backup to let me gravity-feed water from the tank if the pump ever fails.)
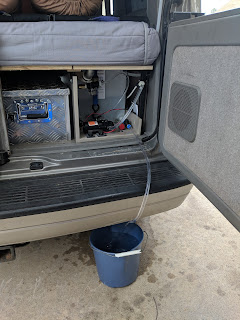
Due to some other work going on near the rear of the van, I finally got motivated to do a little clean-up on the plumbing in the water cabinet. I flipped the water pump to have a cleaner orientation for the output of the strainer to the pump input, and generally tidied up some of the connections. This also gives a better view of the deck-fill connection and cam-strap that holds the tank down. Upcoming work will take advantage of having cleaned up that access area on the right-hand side.


