Metal Twister
Highly Motivated
After looking at the inner workings of Flowmaster mufflers and doing some research I thought I would take a crack at building my own. I was after something unique that would minimize the scrape factor at the same time I did want to do my part to insure that they were spark proof. Catching the forest on fire while wheeling... Well lets just say it 's not going to be my rig blowing sparks.
I made a pattern for the housing out of cardboard to insure that my measurements worked correctly. I then made a set of baffles plates with a series of 1" holes in just one side of the baffle plates. Some smaller center separation baffles were made to hold the main baffle plates apart. The same number of holes were placed in the center separator plates but in different patterns. Plenty of Mig spot welds holds it all in position.
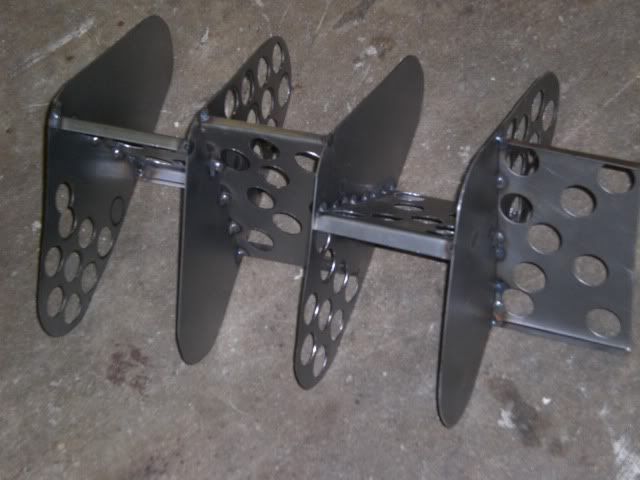
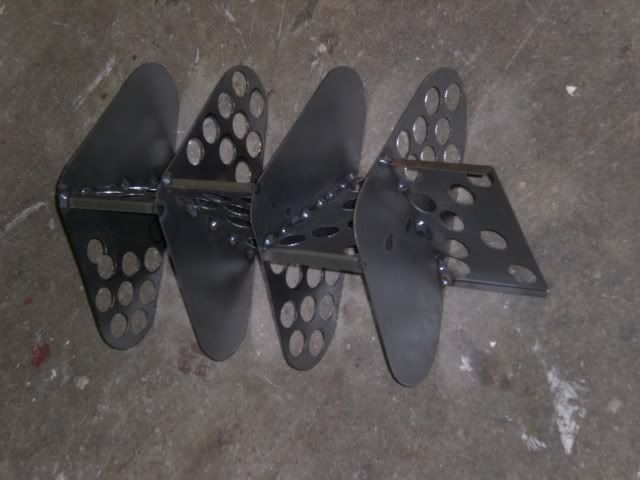
Additional sound baffles were then added in between the main baffle plates. Different shapes and angles were used to mis direct the sound waves.
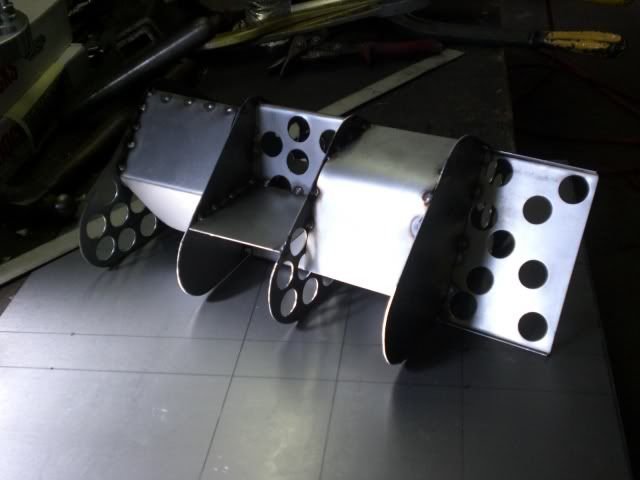
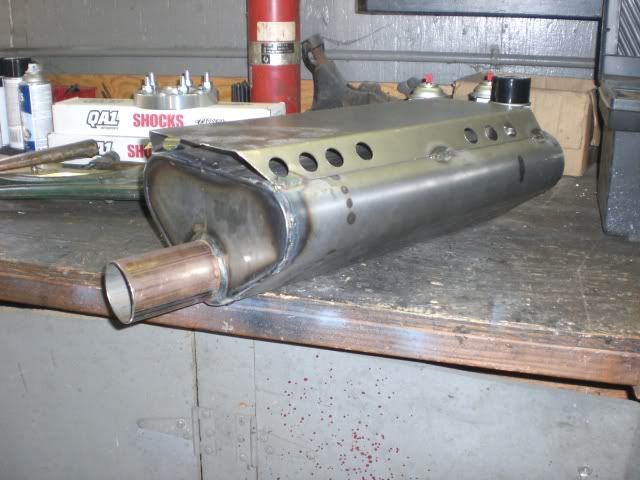
The inner baffle assembly was slid into the shell and tack welded in from the inside where the baffle plates ends were accessible. I then bent some strips into a L shape and capped off the slop between the shell and end baffle plates.

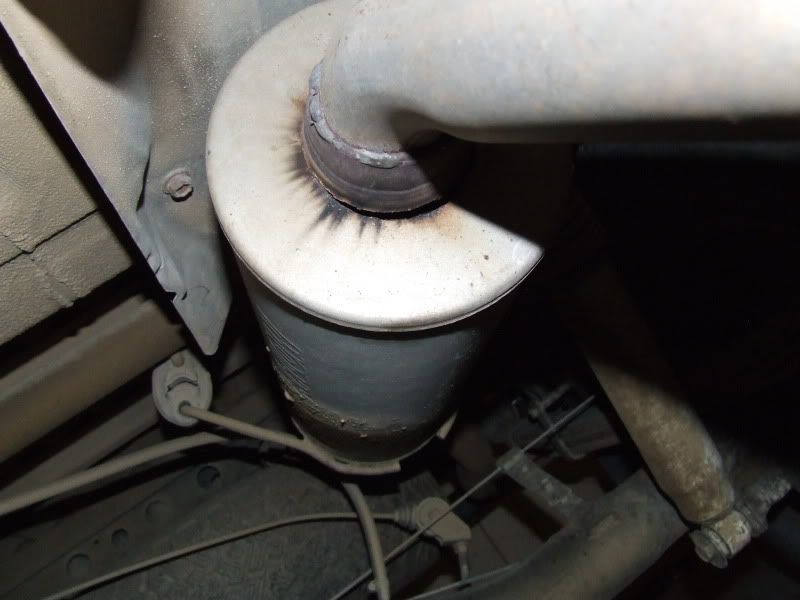
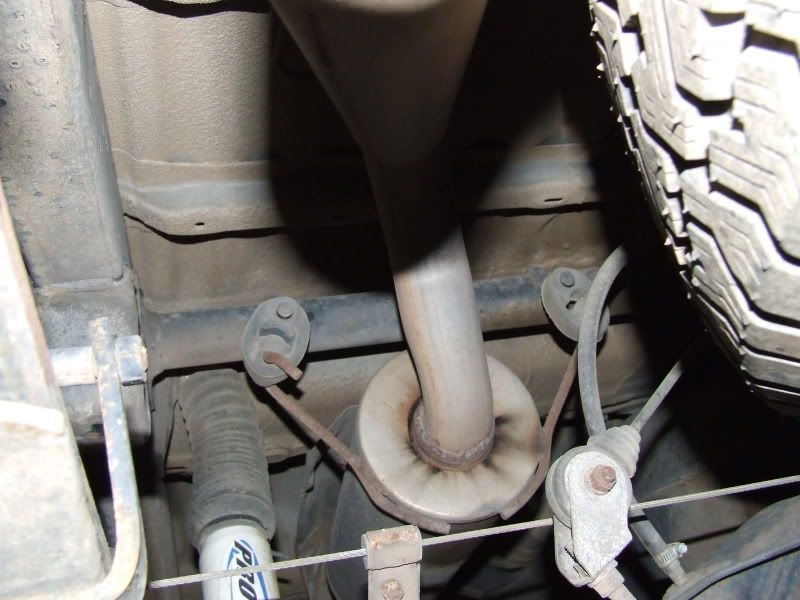
Then end caps were formed with a 2 1/2" dimple die hole in the lower center. I Pressed a piece of tube with a 2 1/4" ID. through the flared hole and welded the back side solid. Welded the end cap on and repeated the process for the rear of the Muffler.
On a side note: Both mufflers with baffles, heat shields, and end caps used up a 4' x 4' piece of 18ga. Cost was $19.00
I made a pattern for the housing out of cardboard to insure that my measurements worked correctly. I then made a set of baffles plates with a series of 1" holes in just one side of the baffle plates. Some smaller center separation baffles were made to hold the main baffle plates apart. The same number of holes were placed in the center separator plates but in different patterns. Plenty of Mig spot welds holds it all in position.
Additional sound baffles were then added in between the main baffle plates. Different shapes and angles were used to mis direct the sound waves.
The inner baffle assembly was slid into the shell and tack welded in from the inside where the baffle plates ends were accessible. I then bent some strips into a L shape and capped off the slop between the shell and end baffle plates.
Then end caps were formed with a 2 1/2" dimple die hole in the lower center. I Pressed a piece of tube with a 2 1/4" ID. through the flared hole and welded the back side solid. Welded the end cap on and repeated the process for the rear of the Muffler.
On a side note: Both mufflers with baffles, heat shields, and end caps used up a 4' x 4' piece of 18ga. Cost was $19.00