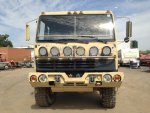
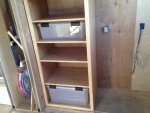
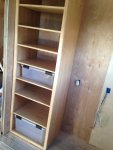
Its a dream but a good dream !

B85

Adventurer
Oh, and the Wife that I'm watching is doing great !

That's why I brought the truck home. Can't get the LMTV ready by Expo,but need a place to stay when we go up. LOL

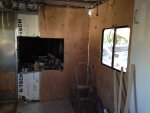
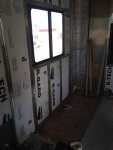
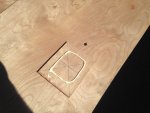
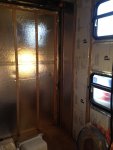
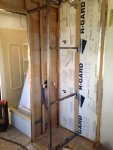
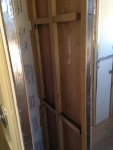
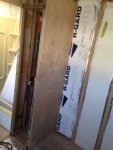
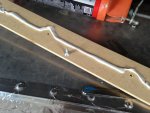
Here are the strips that get glued and screwed to the box frame and then the panels get glued and stapled to the strips.
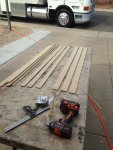
IMG_3622.JPG

IMG_3623.jpg

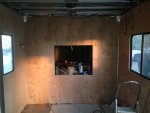
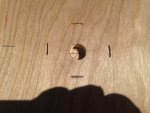
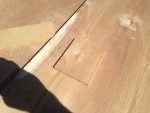
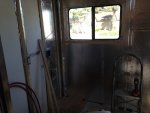
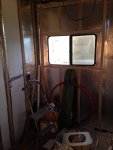
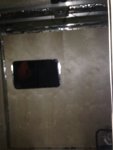
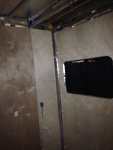
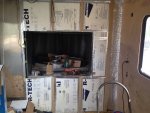
The hole is the pass through to the cab. Its also the other bedroom that's in the sleeper. Going to do a 2' x 2' for the LMTV.
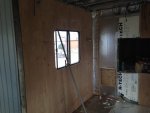
IMG_3624.jpg

And one new front panel.

IMG_3625.JPG

Just think how good it could be when doing the LMTV, LOL
 
Last edited:

B85

Adventurer
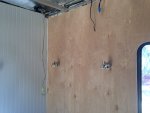
The wall panel's are 1/4" plywood. So use a backing plate to mount things.

IMG_3630.jpg

IMG_3631.jpg

IMG_3632.jpg

IMG_3633.JPG

And, yes their all at 5'. LOL
 

B85

Adventurer
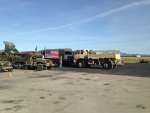
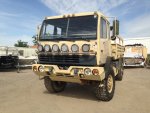
Taking the weekend off. So out comes the LMTV and we will be at the Military Show at Falcon Field, Commemorative Air Force area. You can see what the truck looks like when you get one from GPlanet. With some repairs.

IMG_3585.jpg

Randy
 

B85

Adventurer
Had a great time at the show. Talked to some people looking into building from a M1078 or M1079 . Was fun,we had 3 on hand to look at .

IMG_3637.jpg
 

B85

Adventurer
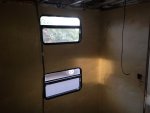
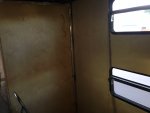
Back to the bedroom. Ready for panels. What a pain.

IMG_3642.jpg

IMG_3644.JPG

IMG_3645.JPG

IMG_3647.JPG

And to think, I will need to do this all over again on the LMTV build ! What a dumb A%$ !
 

B85

Adventurer
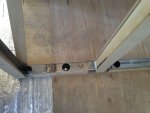
A little more work in the bed room. Also some shots on how to anchor the steel walls to the box. All were bolted to the box frame members.
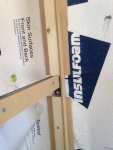
Also you can see how the steel is covered with wood for the panels. I tried to glue just to the steel and had some problem. After switching to screw and glued strips the problem is gone.

IMG_3649.JPG

IMG_3650 (1).JPG

IMG_3651.JPG

IMG_3652.JPG
 

B85

Adventurer
Closer. More panels up and only one left to go.
Then on to some trim and build the bed frames.

IMG_3654.JPG

IMG_3655.JPG
 

B85

Adventurer
Its done. Now planing or deplaning the cabinets for the bed room . Sorry about the poor photos. It was dark out.

IMG_3658.JPG IMG_3659.JPG IMG_3660.JPG

If you look close their is a line for the top cabinets.
 

B85

Adventurer
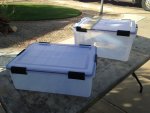
Found some storage containers for the job of luggage , air-tite and will fit in the storage bin.

IMG_3662.jpg

Will be able to pack up in the house and then just put in the locker.
Their will be a total of 5 small and 2 large.
 

B85

Adventurer
Got called into the shop to help out a little.
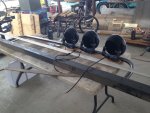
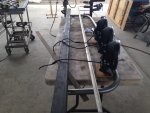
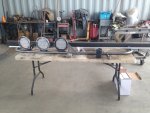
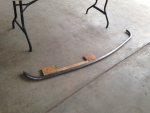
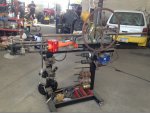
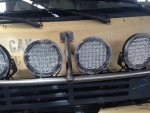
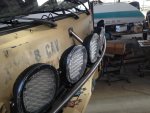
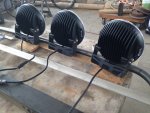
So, I worked on the light bar !

IMG_3670.jpg IMG_3671.jpg IMG_3675.jpg IMG_3672.jpg IMG_3676.jpg

225 Watt LED's X 6 . That should help my failing eye site ? :Wow1: Or maybe you could get a tan . Will be fun to light them off for the first time.

All built on the new work station.

IMG_3668.jpg

Fun to have the air over for the bending. And a move-able stand was great when rolling the 100" tube for the crown.
 
Last edited:
B85

Adventurer
Mounted up. Still need to do some finish welding but what do you think ?

IMG_3681.jpg IMG_3682.jpg IMG_3683.jpg IMG_3685.jpg

Still need to bend the top bar and the roof bars but its a start.
 

B85

Adventurer
How about some storage area. Came out good for a non-cabinet maker. Hope to get better as I work to the front ? LOL

IMG_3687.jpg

Their will be a door with 2 latches to keep it closed up.
 

Attachments

  • IMG_3686.JPG
    IMG_3686.JPG
    366.9 KB · Views: 49

Forum statistics

Threads
188,360
Messages
2,903,740
Members
230,227
Latest member
banshee01
Top