Jackson Rally Suba Wheeler

JacksonRally

Adventurer
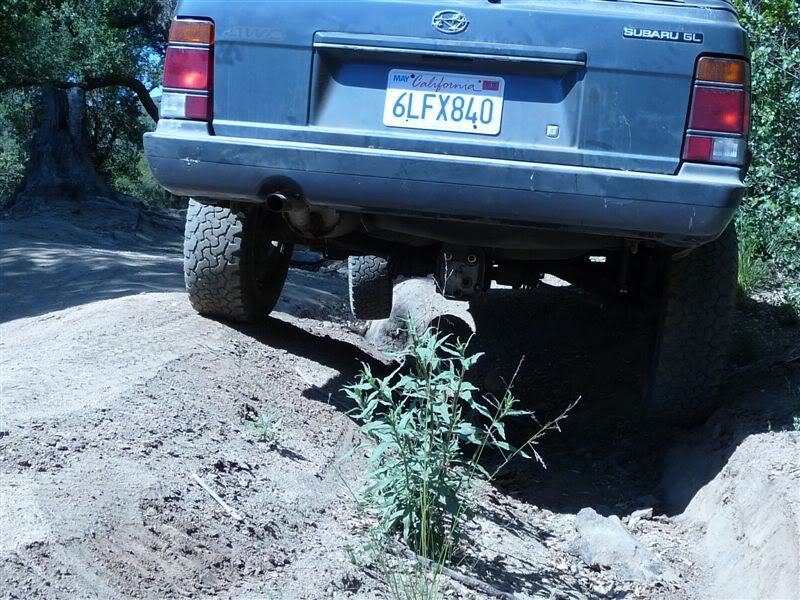
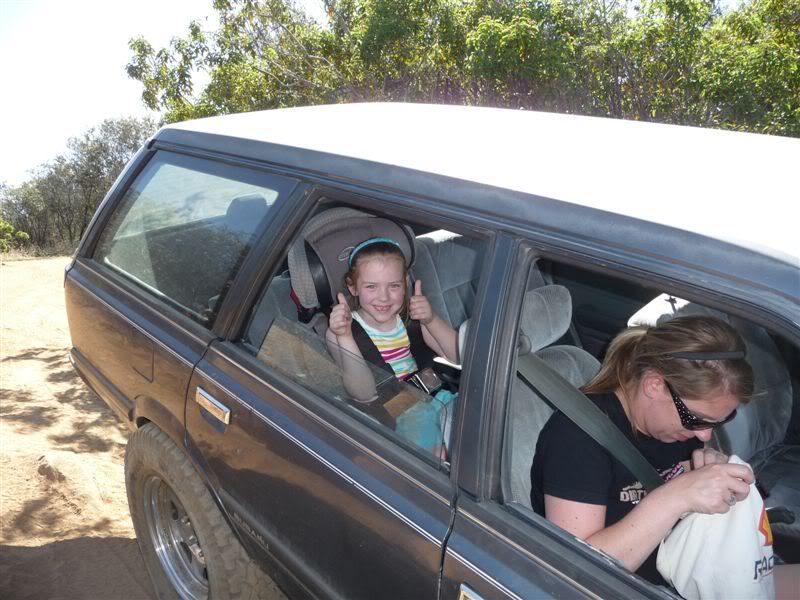
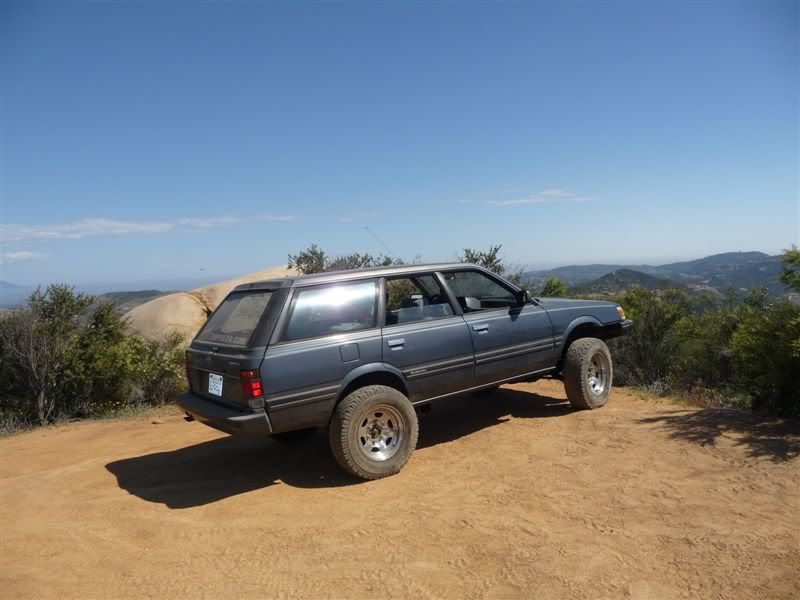
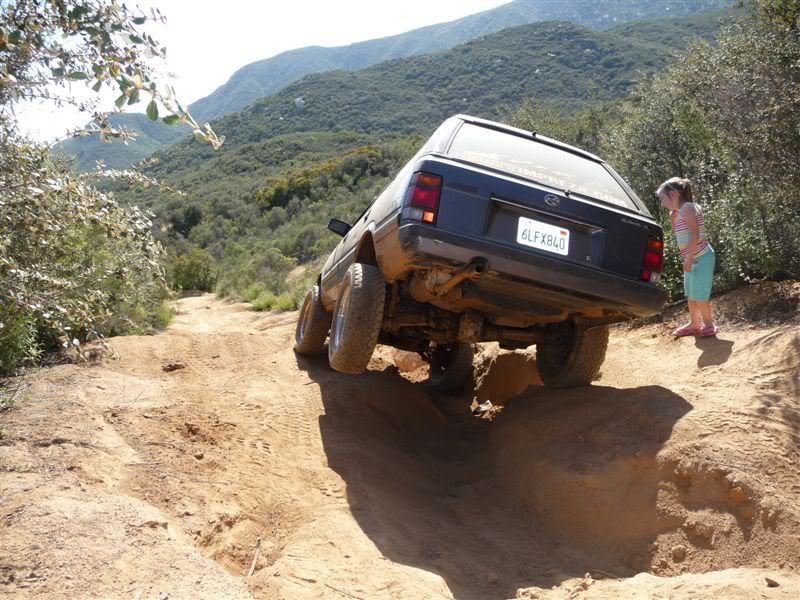
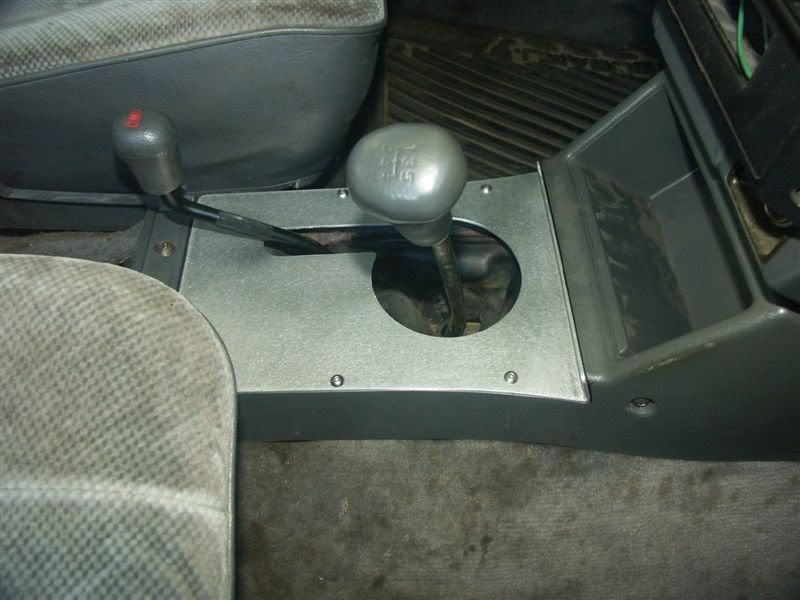
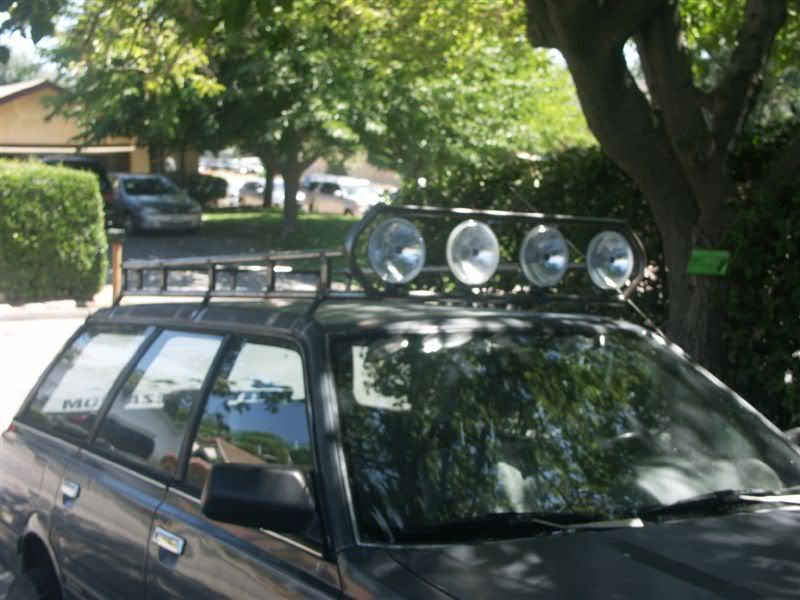
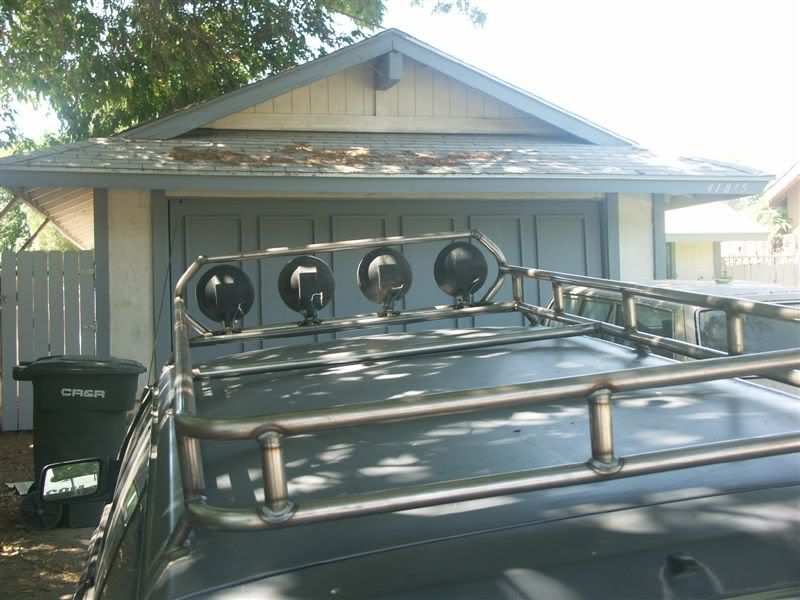
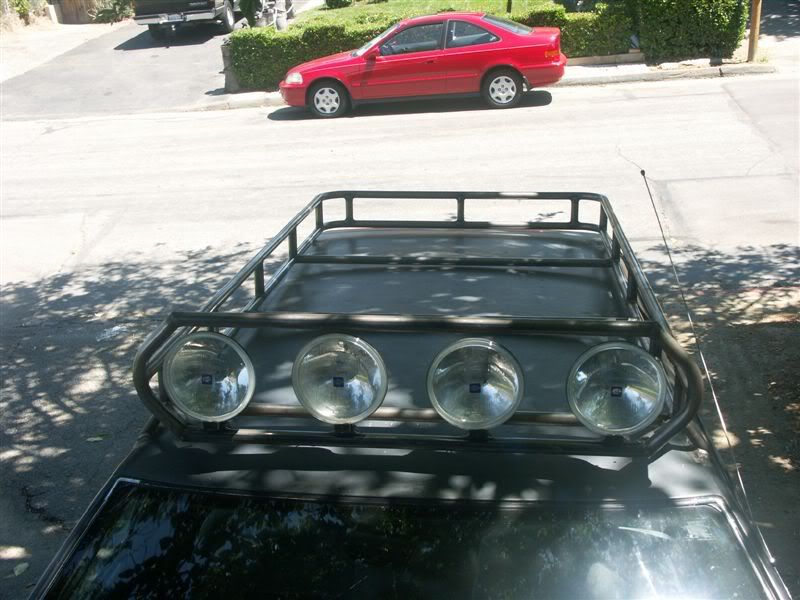
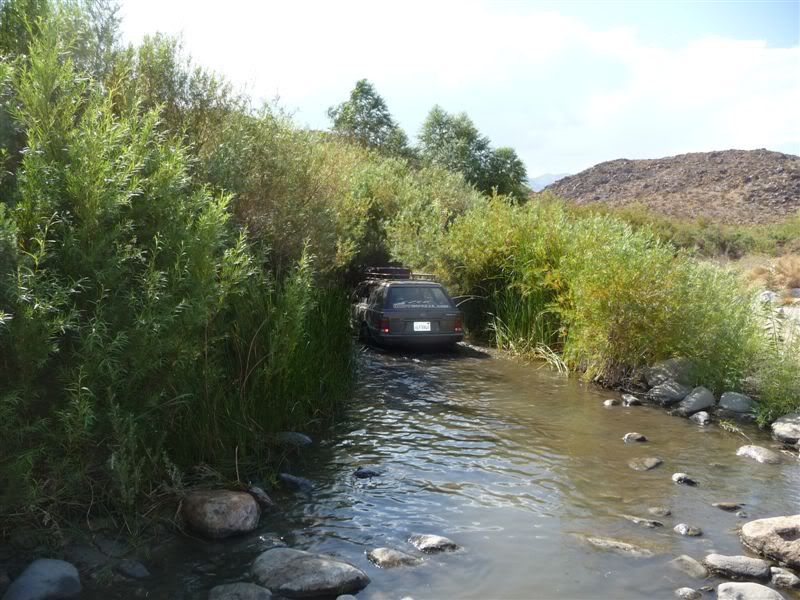
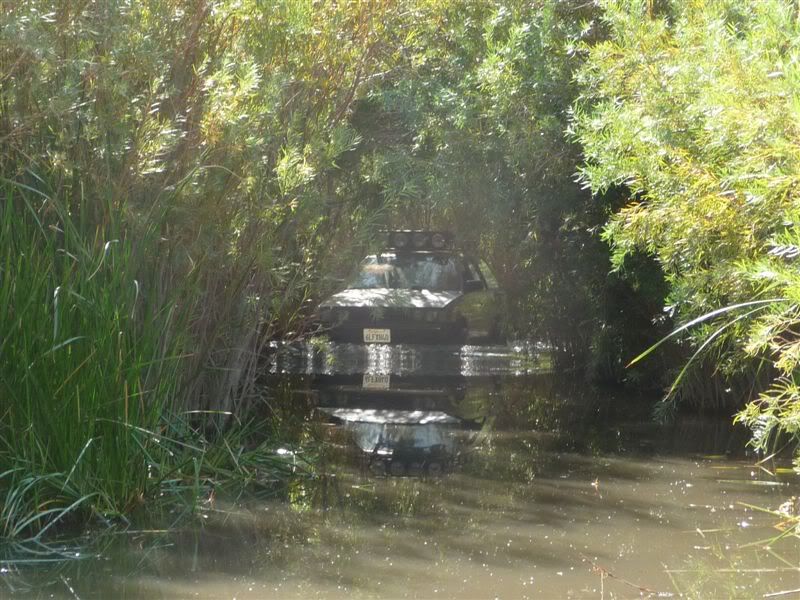
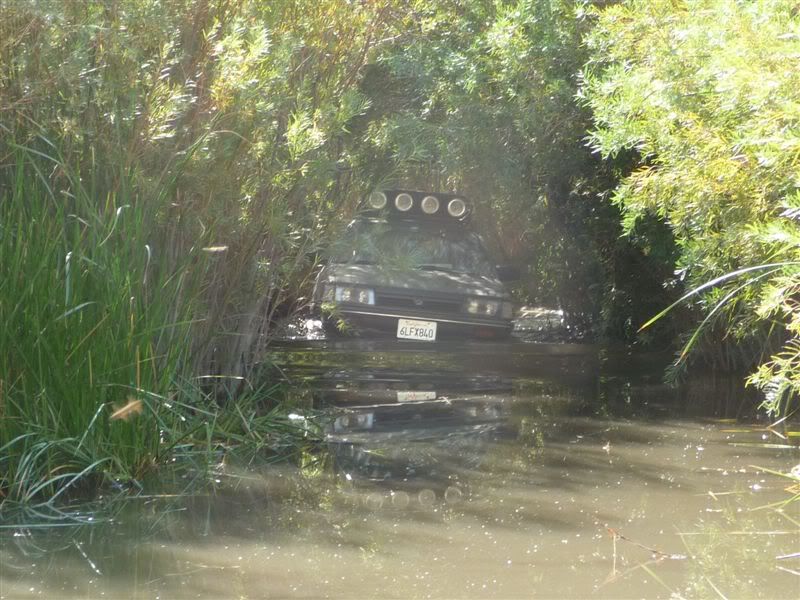
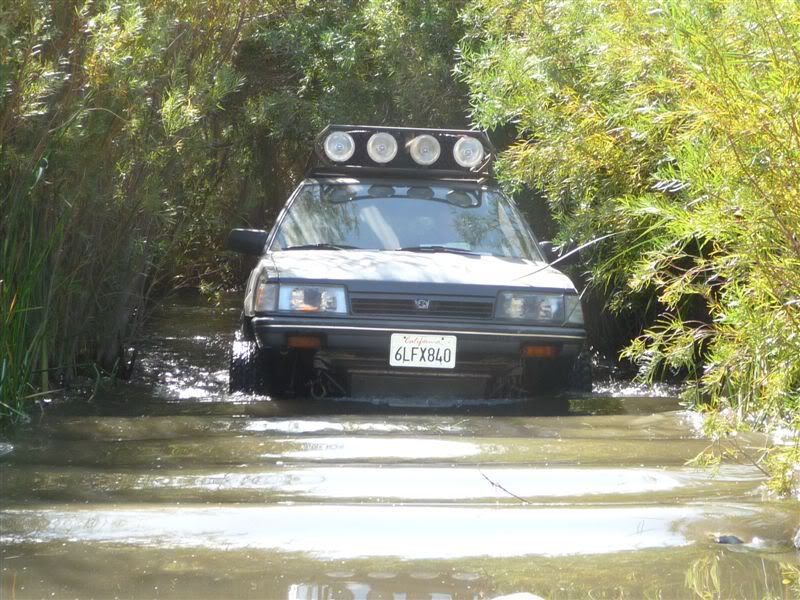
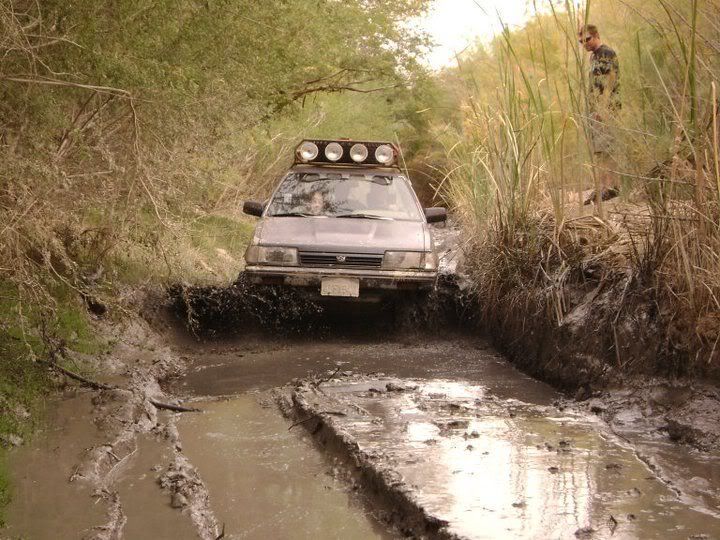
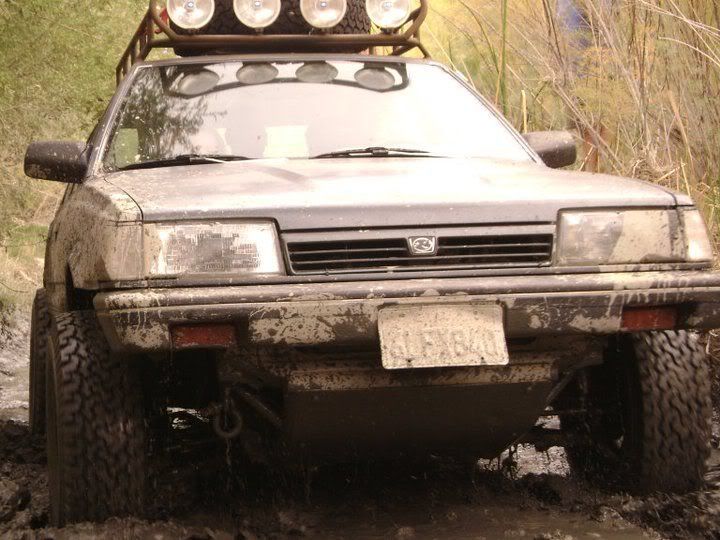
Hello all, I figured it was time to share my build. It is a 1987 Subaru GL wagon, dual range transmission. I've been in the middle of a major swap/update for the last year but wont be finishing it until I finish my brothers Forester (see signature below). So what a better time to post up and start you all from the beginning.

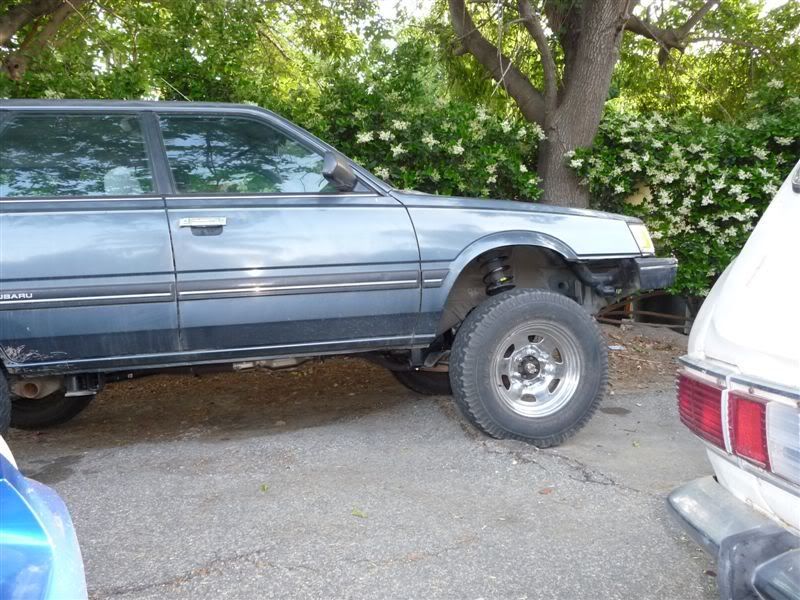
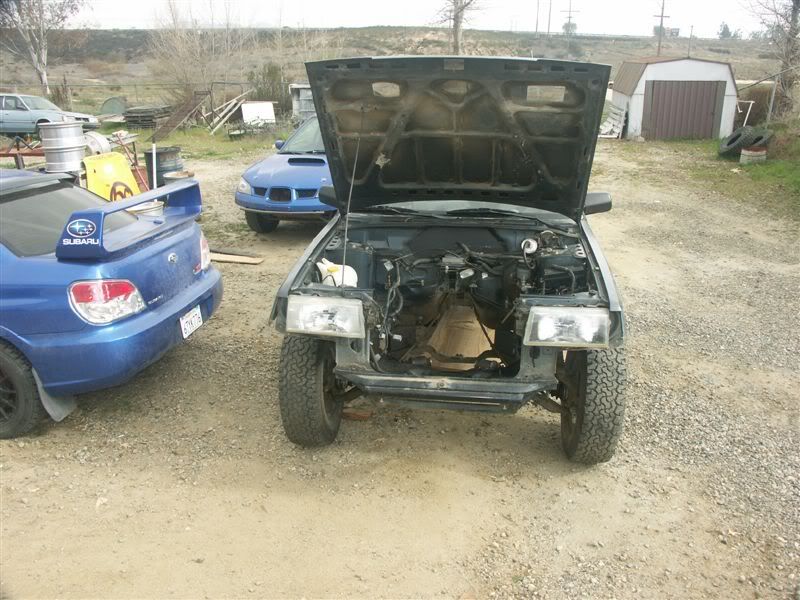
After abusing my 2006 WRX wagon for awhile I figured it would be smart to get something a little more....um well paid for. And would be a dedicated Subaru wheeler/superadventuremobile :) So after hunting around a bit I decided on an older Subaru with a factory dual range transmission. After a little internet surfing I found a nice stock 1987 GL wagon. It had 200 something thousand miles on the clock and was sitting due to blown headgaskets up in Washington. The first thing I had to make sure was that all of the factory smog stuff was all there as I would be having the car shipped to me down in California. After a few emails I picked her up for a couple hundred, found an empty car trailer heading from Idaho to Ca and a few hundred more I had my new project!

09-02-09_1924.jpg


09-02-09_1926.jpg


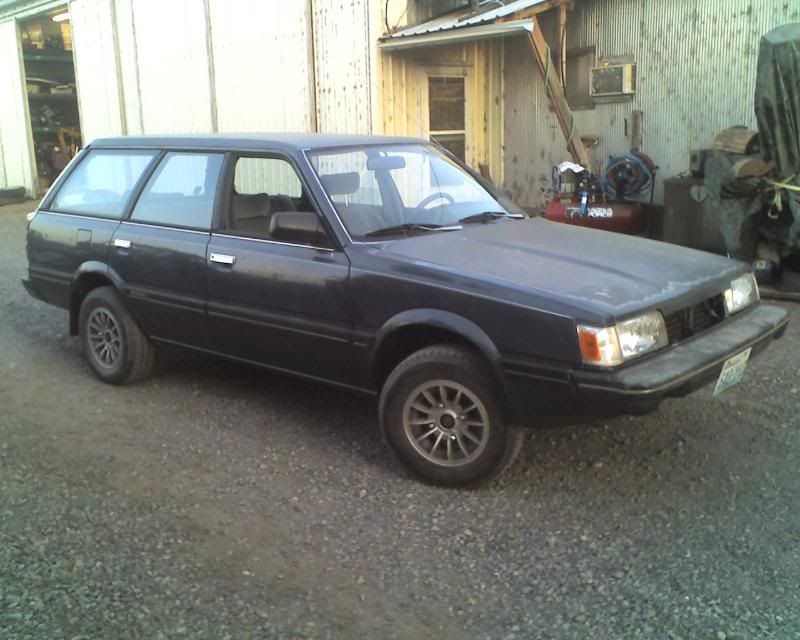
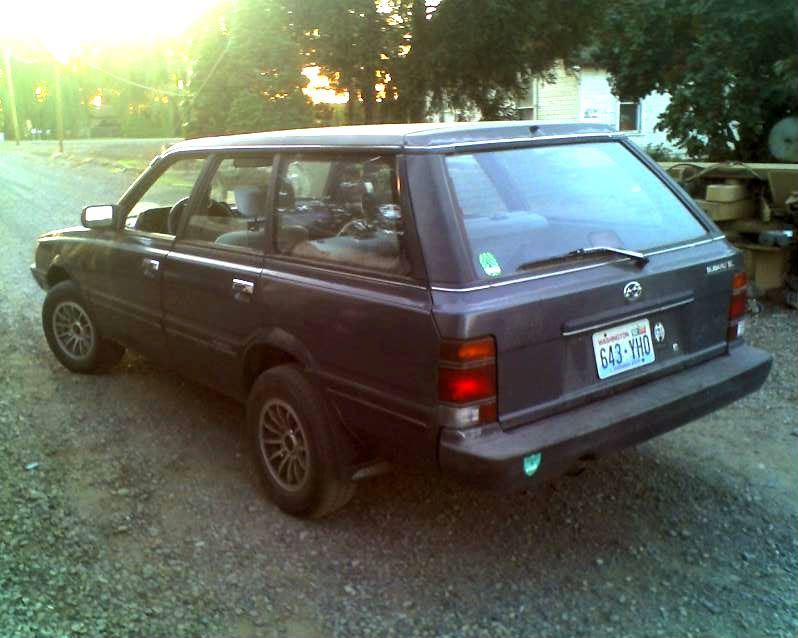
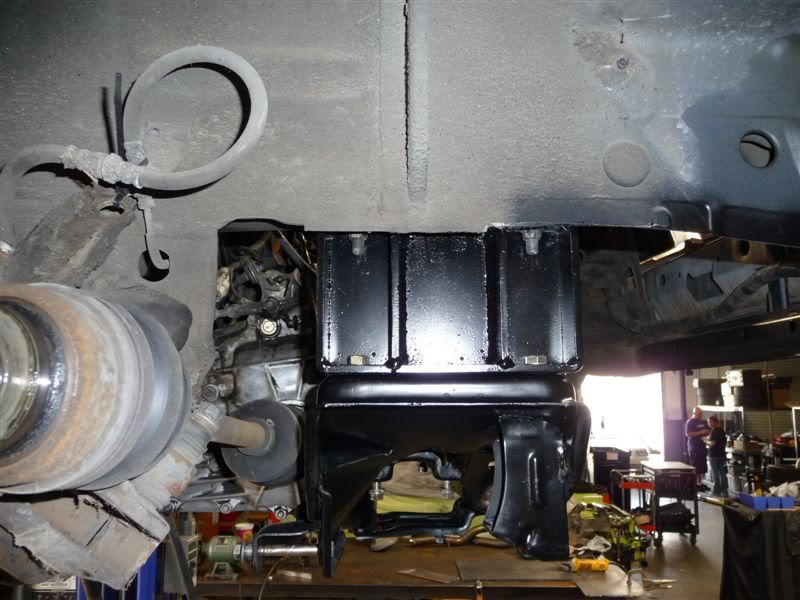
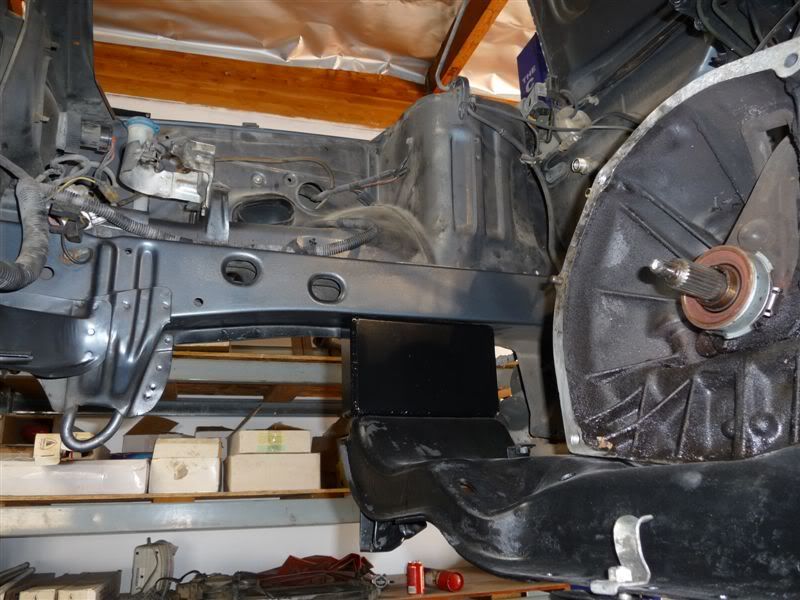
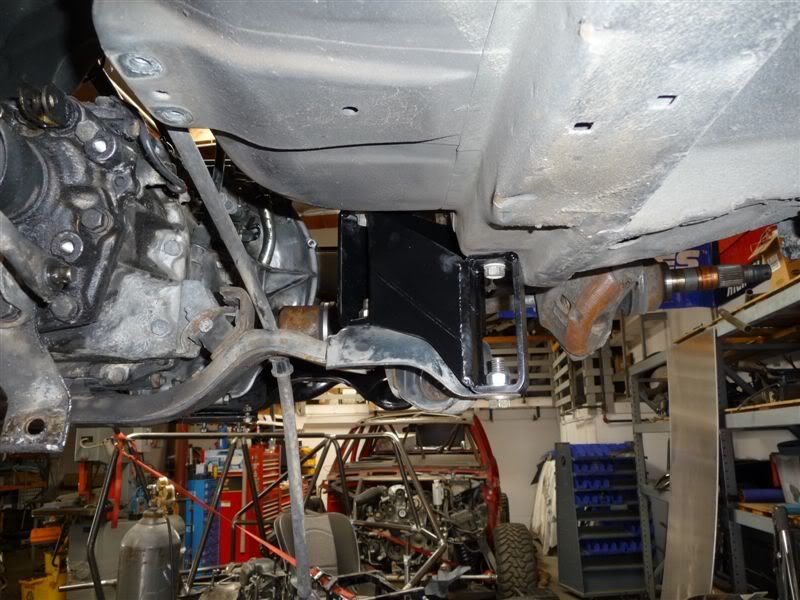
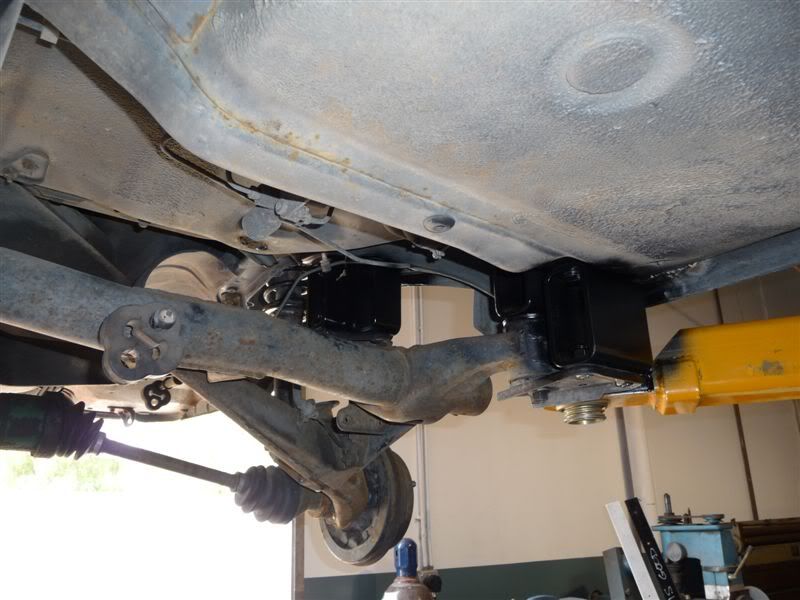
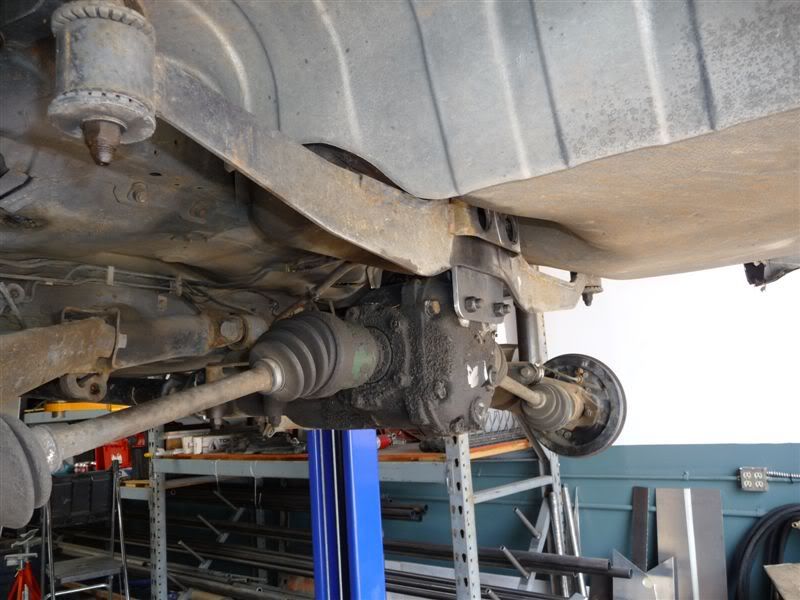
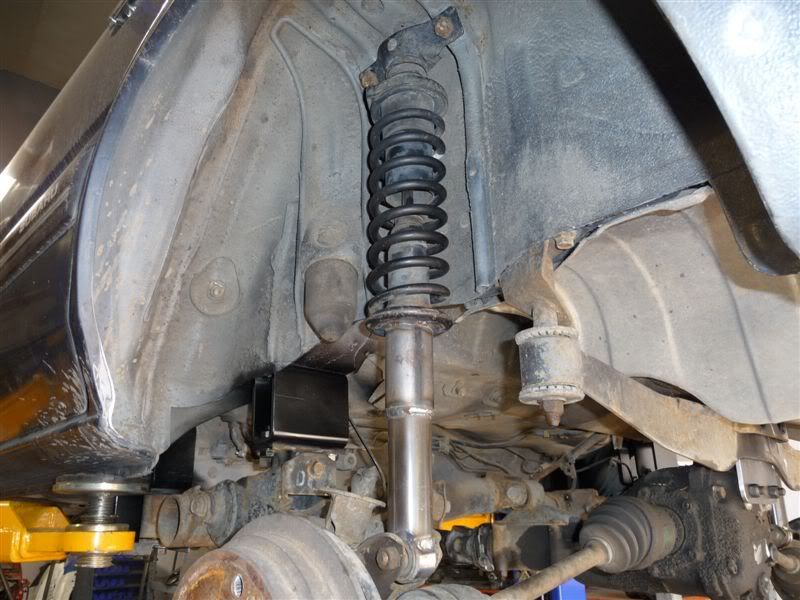
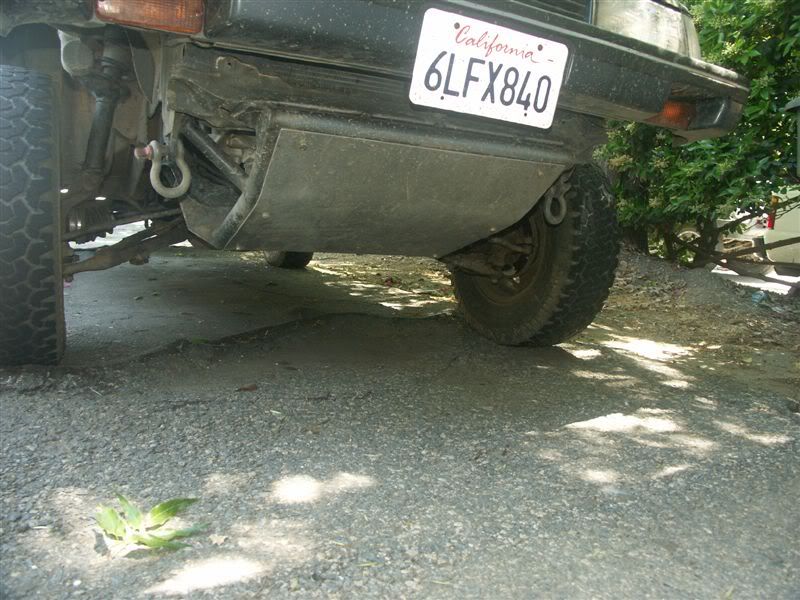
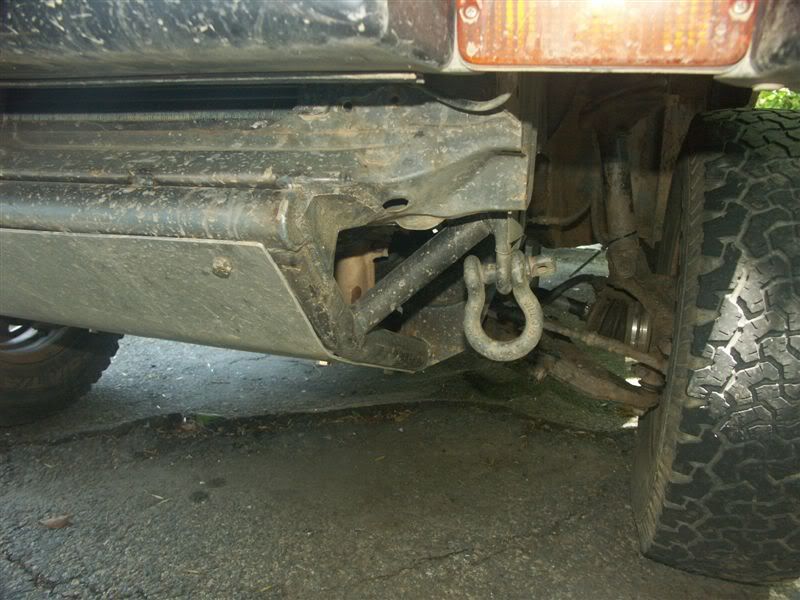
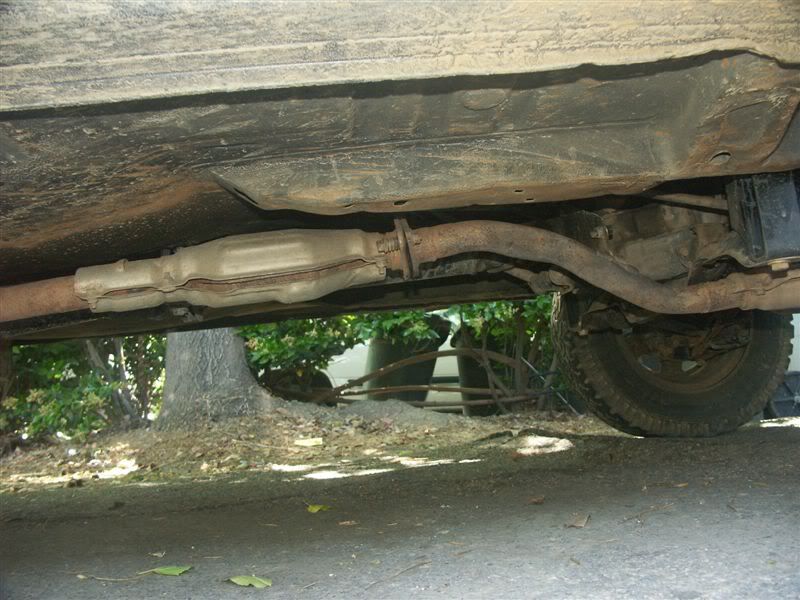
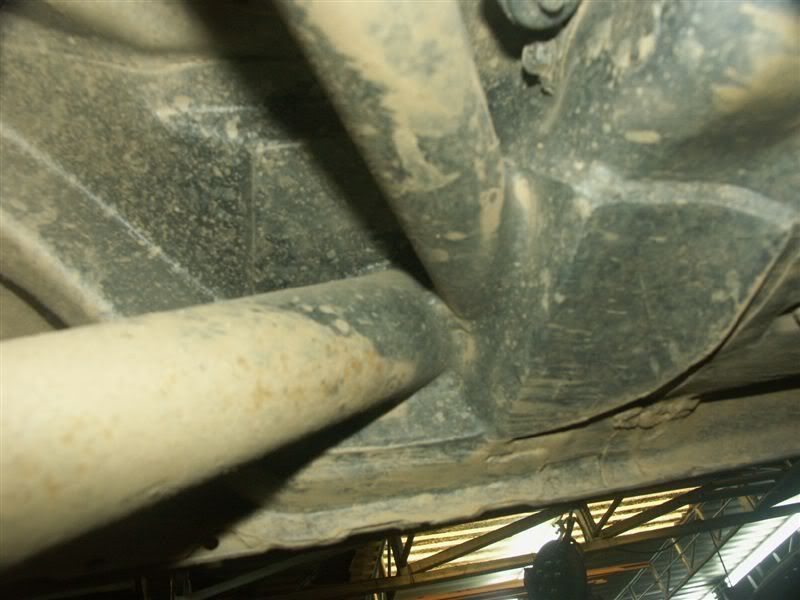
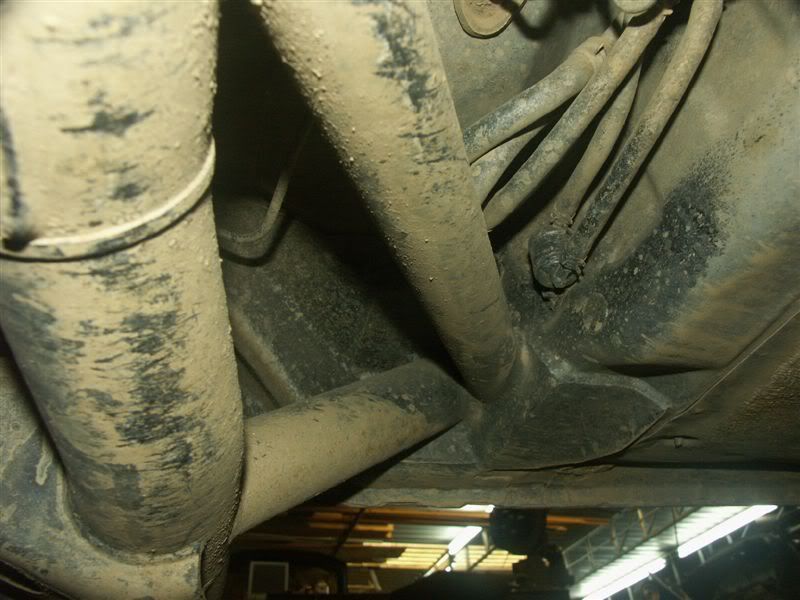
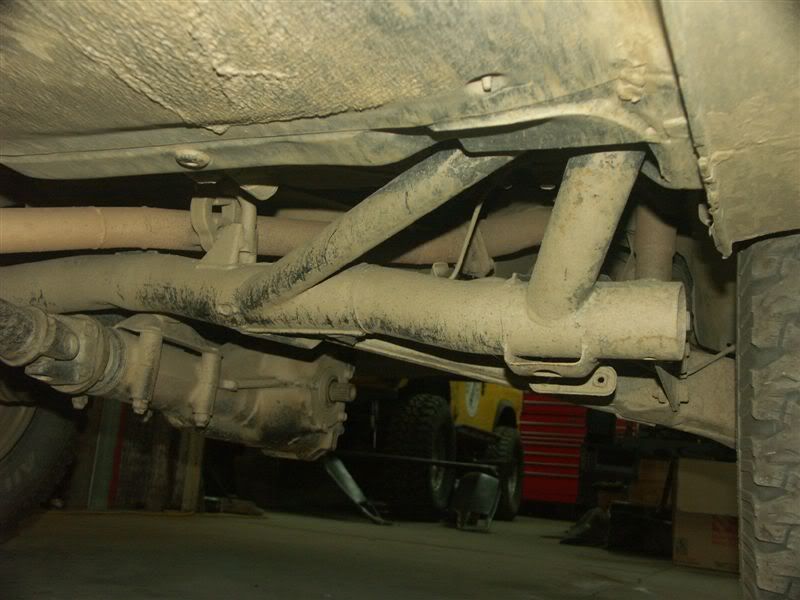
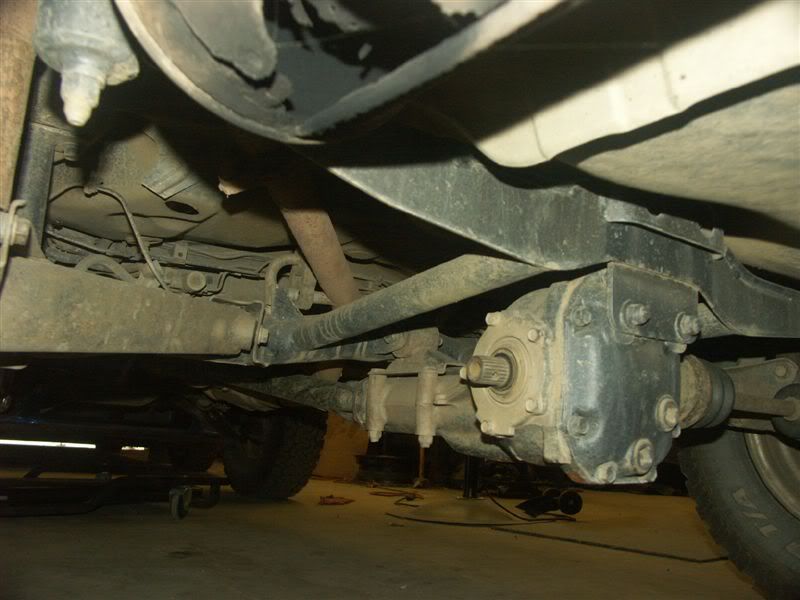
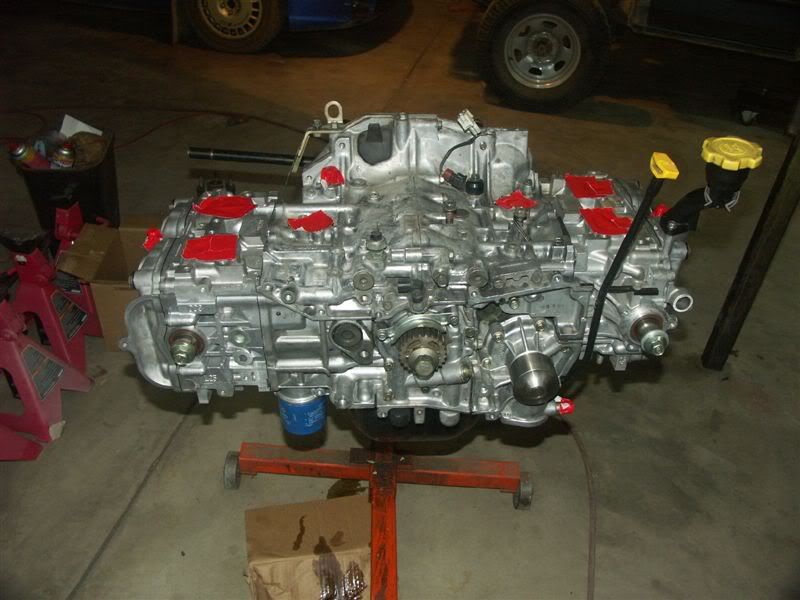
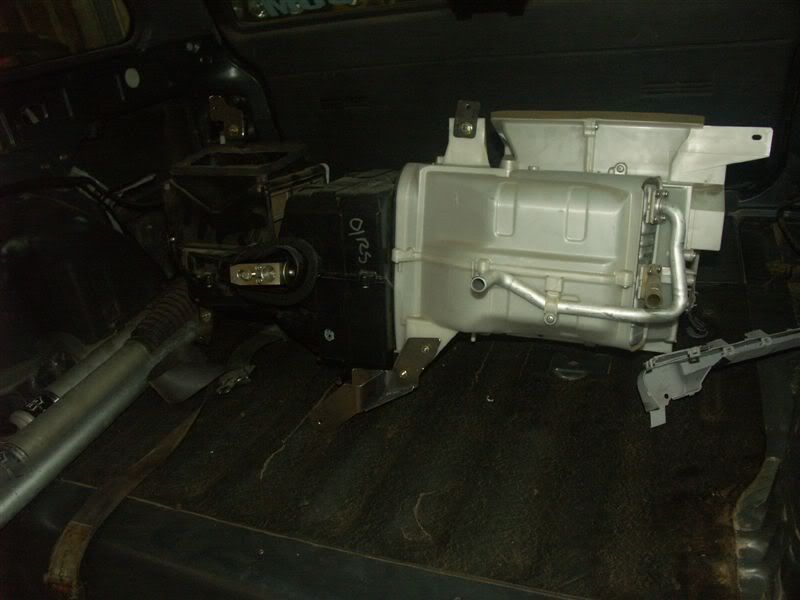
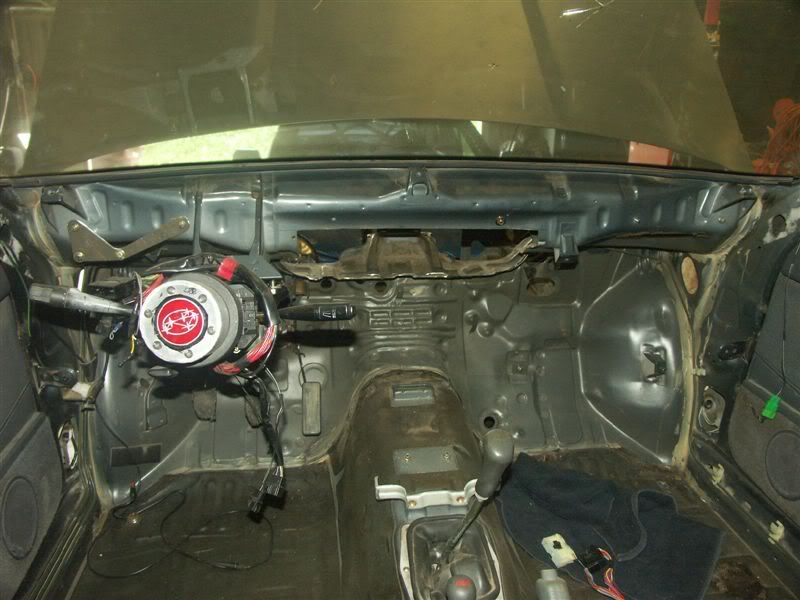
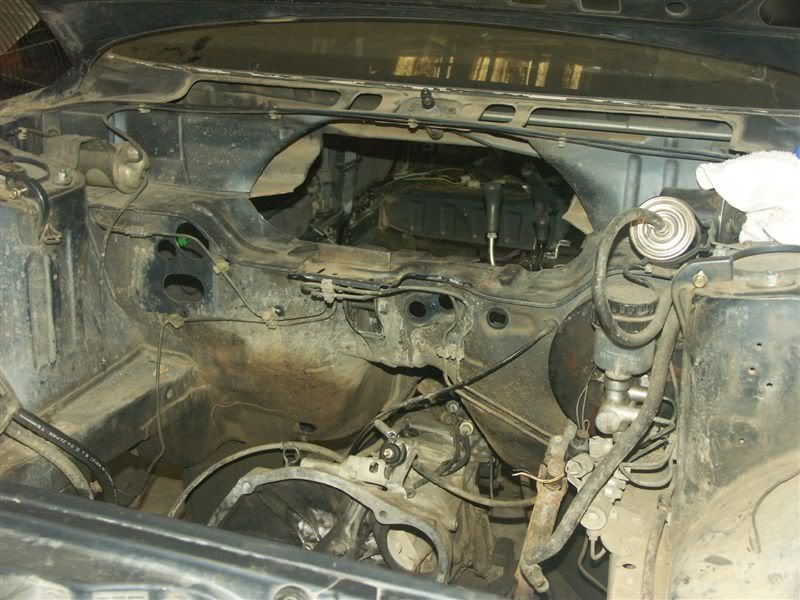
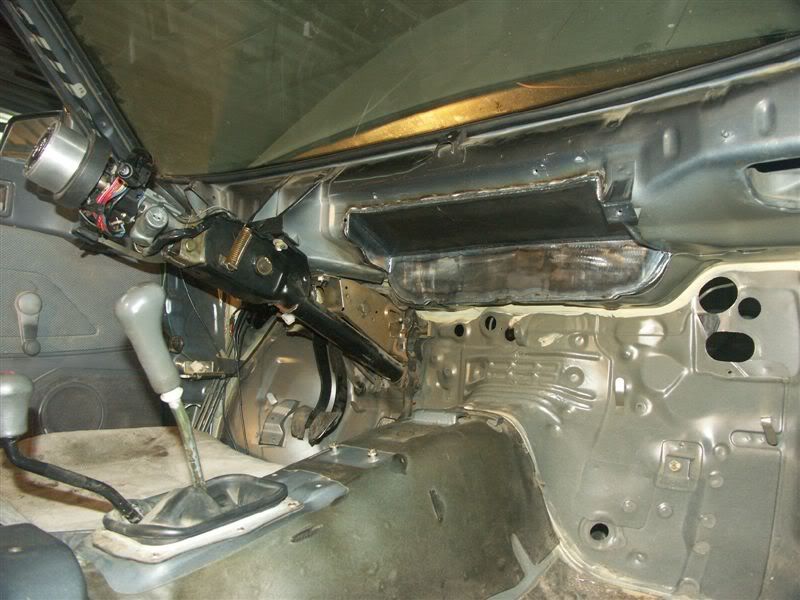
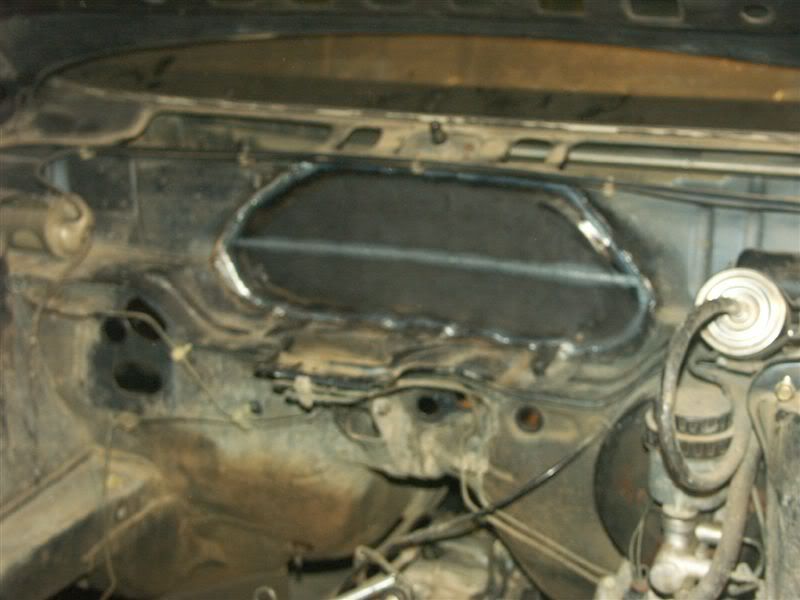
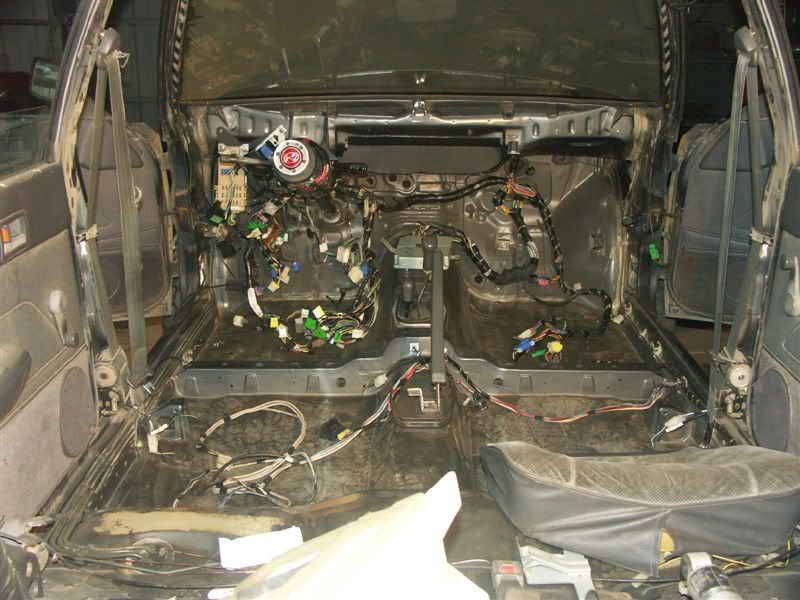
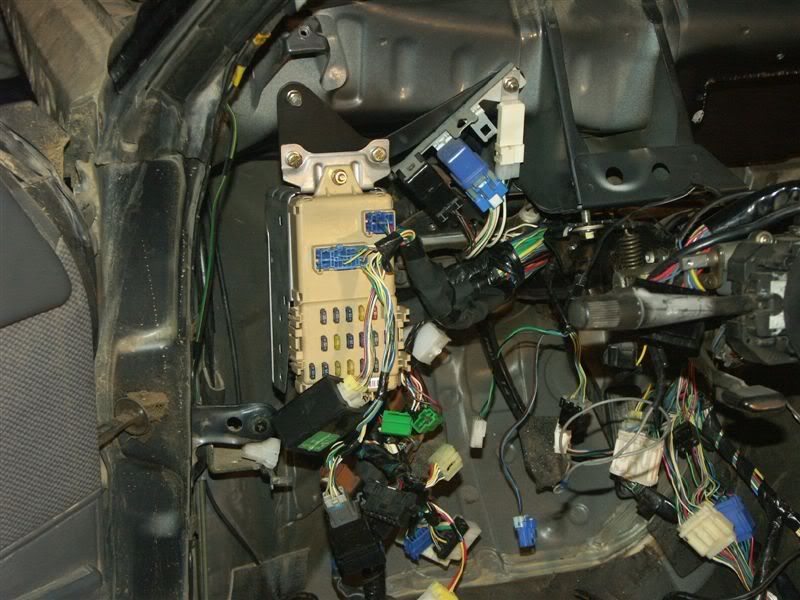
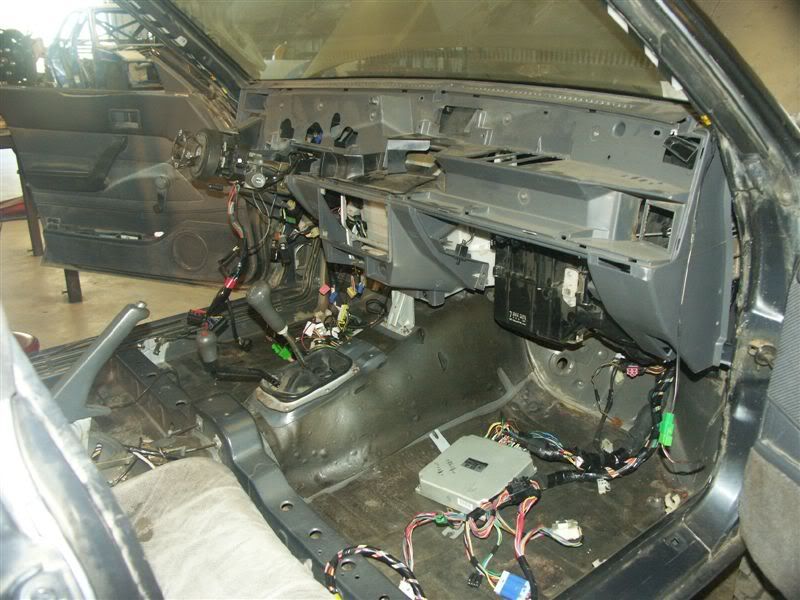
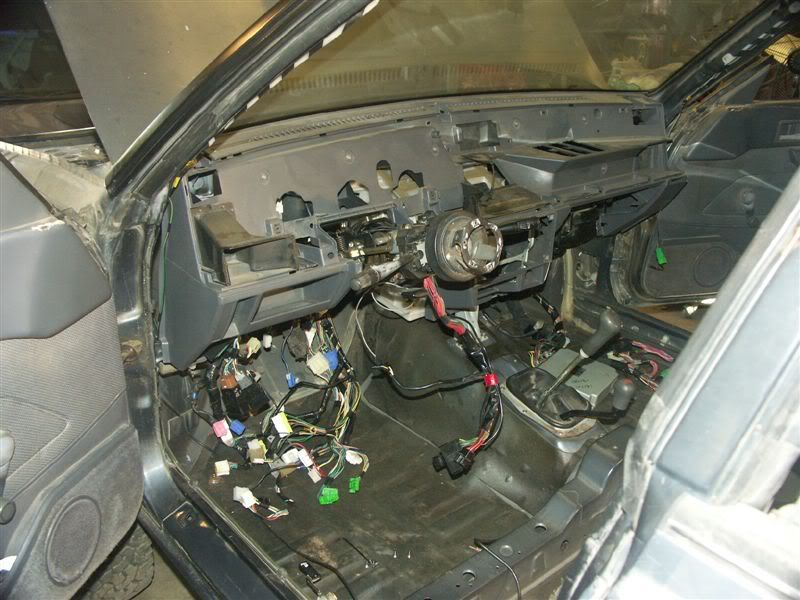
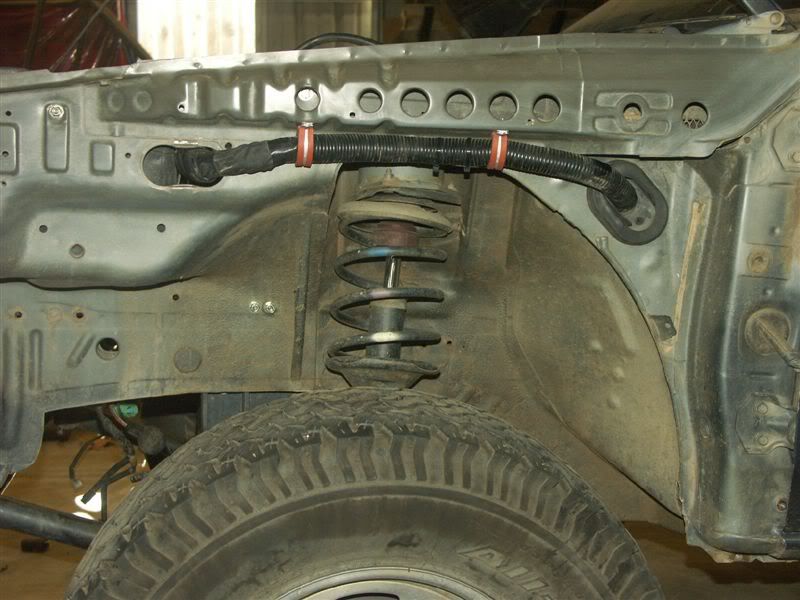
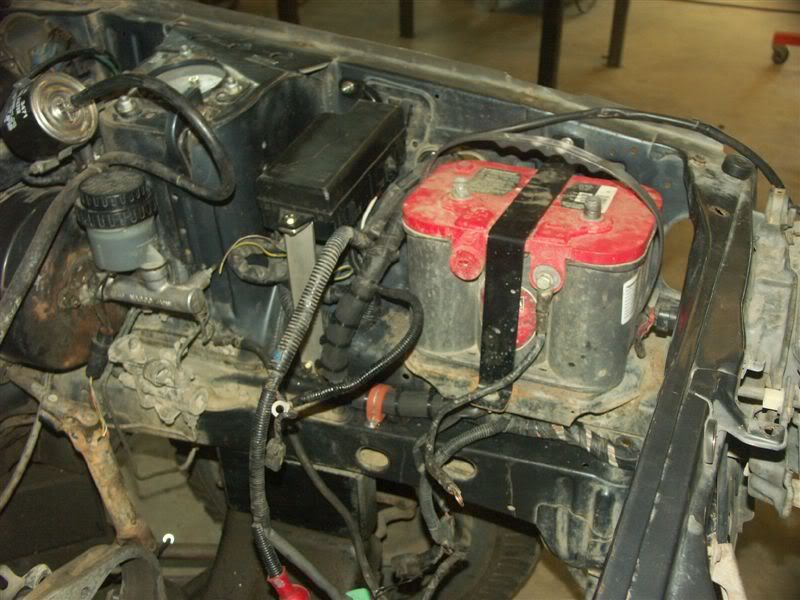
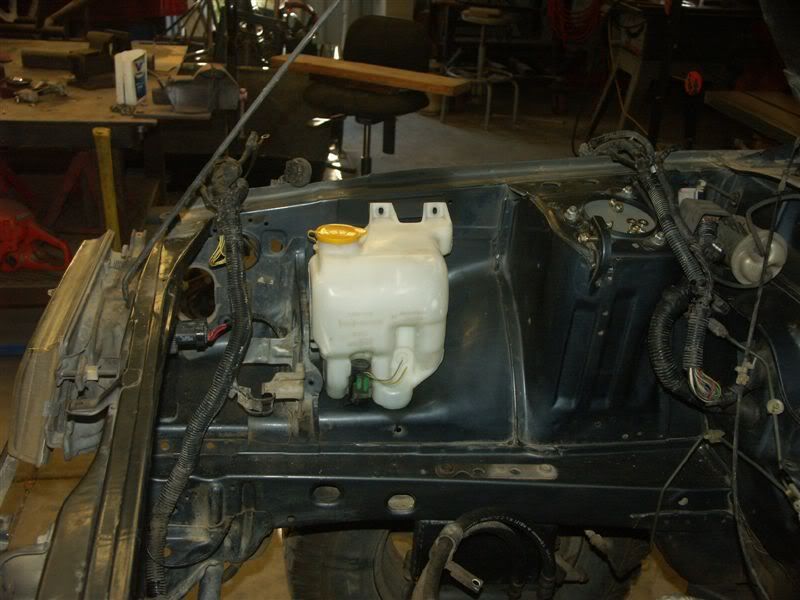
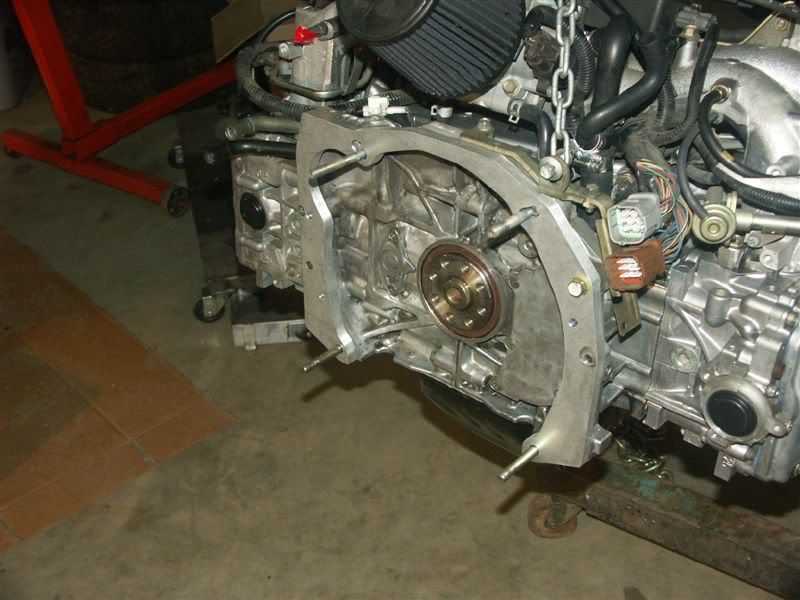
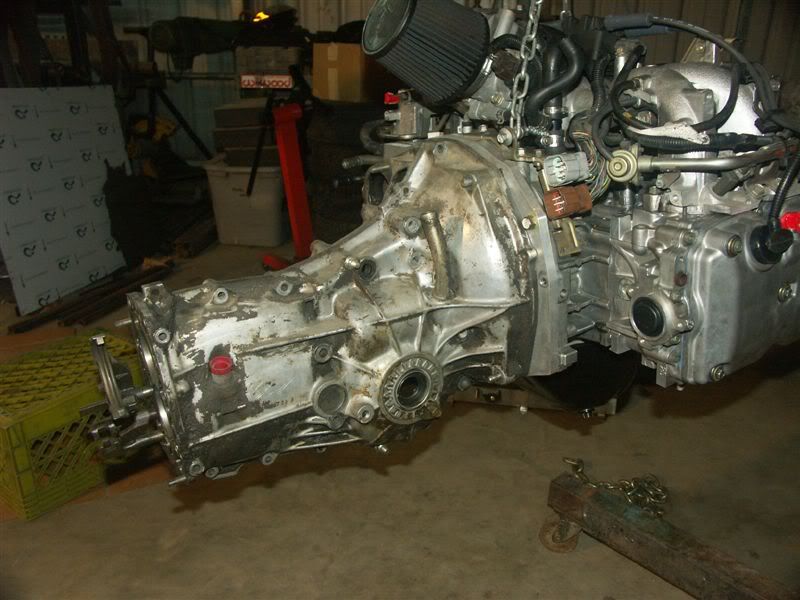
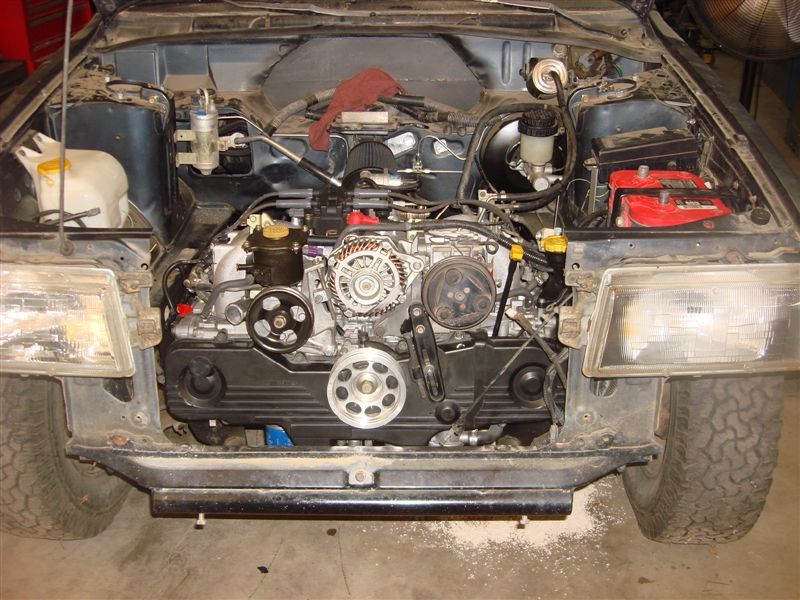
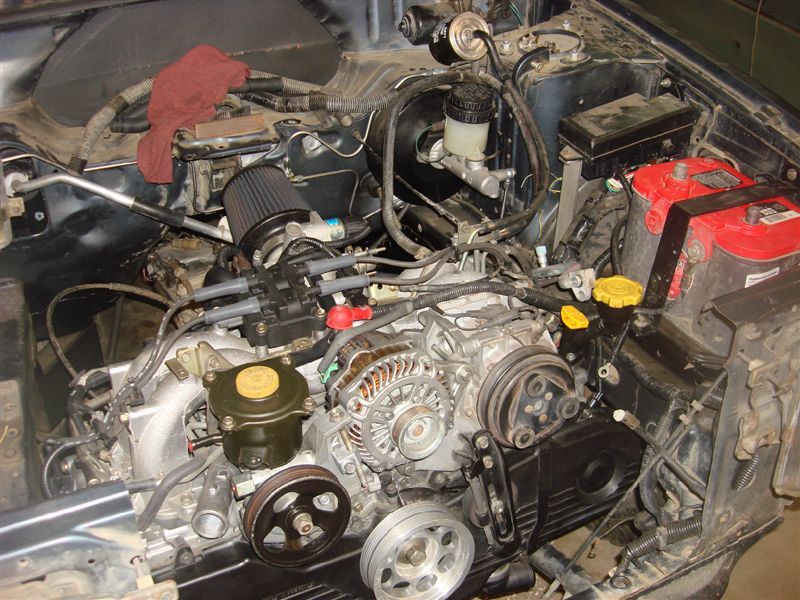
I was very impressed with the shape that this car was in. I was really expecting something that had been a little more beat up. So just for fun I threw a battery in it to see if it would fire and sure enough it fired right up. Good to know the bottom end was good. Soon enough I pulled the engine and rebuilt the top end and a bunch of other little misc items.
 

JacksonRally

Adventurer
Now that she was a runner the first order of business was lift. I already knew I was going to run a 30'' tire and after some research I settled on making a lift around 5''. I actually did 5'' up front and 4'' out back to level it out. There are a few folks up in WA that build lift kits for these cars but I built my own. Lifting a unibody car essentially means you drop down the suspension crossmembers from the unibody. This also mean that the motor and trans comes down too.

Here are a few shots of the drop brackets

Front engine x member/lower control arm mounts

P1010264.jpg


P1010270.jpg


P1010261.jpg


P1010262.jpg


The rear suspension is just like an old VW....coilovers and trailing arms that pivot off of a transverse beam

P1010269.jpg


P1010267.jpg


P1010266.jpg
 

JacksonRally

Adventurer
I thought I had some pics of the 6 lug upgrade but I dont. Anyways I did the common 6 lug trick and got a set of older 4Runner wheels.

P1010281.jpg


And finally it maiden voyage. A quick 1/2 day trip to a little local OHV spot.

P1010289.jpg


P1010288.jpg


Fun for the whole family!

P1010305.jpg


Made it to the top

P1010298.jpg


Small ditch on the way down

P1010306.jpg
 

JacksonRally

Adventurer
Next on the list was a little bit of oil pan protection. I made a tube subframe that ties into the engine x member and mounts a 1/8 aluminum skid plate.

PICT0624.jpg


PICT0625.jpg


Also did a quick tuck and turn to move the exhaust up.

PICT0628.jpg


Next was to address the shifters. I had to lower these along with everything else due to the lift. I no longer had much left of the plastic console and shifter boot so I started on a new aluminum filler piece.

PICT0629.jpg


PICT0630.jpg
 

JacksonRally

Adventurer
Next on the never ending list was more storage for longer excursions. I decided to make a permanent full length roof rack.

PICT0634.jpg


PICT0635.jpg


PICT0637.jpg


I have since finished the floor of the rack with 3 bolt on aluminum panels and some gloss black paint.
 

JacksonRally

Adventurer
Now with a little more storage it was time for a weekend trip to Anza-Borrego state park

I was told the trail went thisaway

P1010463.jpg


In I went

P1010466.jpg


I made it through and turned around to tell my buddy who was in a stock height Subaru that he would not make it

Return :snorkel:

P1010467.jpg


P1010468.jpg


P1010469.jpg


Next was a little mud hole. My dad actually had to have his Land Rover pulled out of here by a well equipt Toyota.....the little Suby made it though

put_02.jpg


put_01.jpg
 

JacksonRally

Adventurer
After a few trips there was an area of the rear suspension that needed an upgrade. Since there are no aftermarket lockers available for these I had welded the rear diff from day 1. This plus the drop brackets from the lift, plus larger tires, plus a little wheelin added a bit more leverage to the weld nuts inside the unibody where the rear beam bolts to. This resulted in the weld nuts pulling out of the unibody. I ditched all off the rear lift blocks and plated in the corner of the unibody where they bolted to and ran tubes from the beam to the newly plated body section.

PICT0788.jpg


PICT0787.jpg


PICT0785.jpg


At this time I tied the rear diff mount to the beam and now finally have a solid mounted rear diff.

PICT0786.jpg
 

JacksonRally

Adventurer
This pretty much brings us up to October 2011. From then til now I have been working on a motor swap and overall upgrade of the entire car (minus suspension, thats the next, next project). The little factory 1.8 litre had proved itself to be very reliable. The biggest issue was power. Not that I need a 900 hp car it was just the fact that it was tired and only rated at 90 hp from the factory. Now with over 200k miles on it plus 30'' tires it became pretty hairy merging onto the interstate. Now throw in a slight hill and you were being passed by big rigs. Since day one I've wanted to be able to explore more and more. Last October I finally parked her and started the transformation.

The new power plant is from a 2001 Subaru Impreza RS. It is a 2.5 litre shoc engine rated at 165hp and 165tq. Im also using the entire chassis harness from the 01, the 01 guage cluster, 01 hvac unit, 01 radiator, 01 blinker/wiper switches......etc Pretty much everything from the 01 except for the trans.

Here is the new motor. Actually I got it with 70xxx miles. I went through everything minus the bottom end, hoping my buddy didnt lie to me about the bottom end being good.

PICT0792.jpg
 

JacksonRally

Adventurer
Now to the fun stuff. The interior. First on the list is to make room for the 01 hvac unit. It obviously it a bit different than the 87 unit. I had to do a little cutting to make it fit under the stock dash.

New hvac

PICT0748.jpg


Little more room

PICT0747.jpg


PICT0746.jpg


Plated back in and weather tight once again

PICT0791.jpg


PICT0790.jpg


Now theres room I had to make a few brackets to mount it and also some brackets to mount the new fuse block and the start of running the new harness

PICT0789.jpg


PICT0797.jpg


PICT0798.jpg


PICT0795.jpg


PICT0794.jpg


Dash still fits!

PICT0800.jpg


PICT0801.jpg
 

JacksonRally

Adventurer
Now it time to run the harness into the engine bay.

PICT0844.jpg


Mounted the new engine bay fuse block and a newer washer spray bottle

PICT0843.jpg


PICT0842.jpg


Now back to the motor. I had to make a motor plate to adapt motor to trans

PICT0887.jpg


PICT0888.jpg


PICT0890.jpg
 

JacksonRally

Adventurer
Before dropping the motor in I needed to clean up the engine bay and do a few other things while theres room. I removed the brake booster and cleaned it up, replaced the master cylinder and started on making some stainless steel brakelines. And gave the engine bay an overall sponge bath.

PICT0922-1.jpg


PICT0921.jpg


PICT0922-2.jpg
 

JacksonRally

Adventurer
And now finally I dropped the motor and trans in :)

But I had to cut out the center of the core support right quick because I knew the 2001 radiator was not going to fit right in. I figured may as well cut this little section out to give a touch more room for the new motor. The new motor is 1.5'' longer than the old. The width is pretty much the same so it fits right in the framerails.

PICT0910.jpg


DSC00090.jpg


DSC00092.jpg


Then I got started on fitting the 2001 ac lines

DSC00091.jpg


Now the car is sitting again and waiting for me to finish up a project to be able to pull it back into the shop.
 

JacksonRally

Adventurer
The car is on the back burner right now, but I did find some time to start planning, purchasing and organizing my camp kitchen setup.

Here it is setup in the house. Just basic Coleman stuff. And the table is made by Rio Adventure.

DSC00135.jpg


The table is 4'x2' and folds to 2'x2' and latches shut. Weight approx 14lbs

DSC00137.jpg


DSC00138.jpg


My goal was to have the entire kitchen fit into a 30gal action packer.

PICT0949.jpg


PICT0948.jpg


And it all fits! (minus the table)

PICT0947.jpg
 

Forum statistics

Threads
190,677
Messages
2,930,462
Members
234,353
Latest member
Dawid.alex
Top