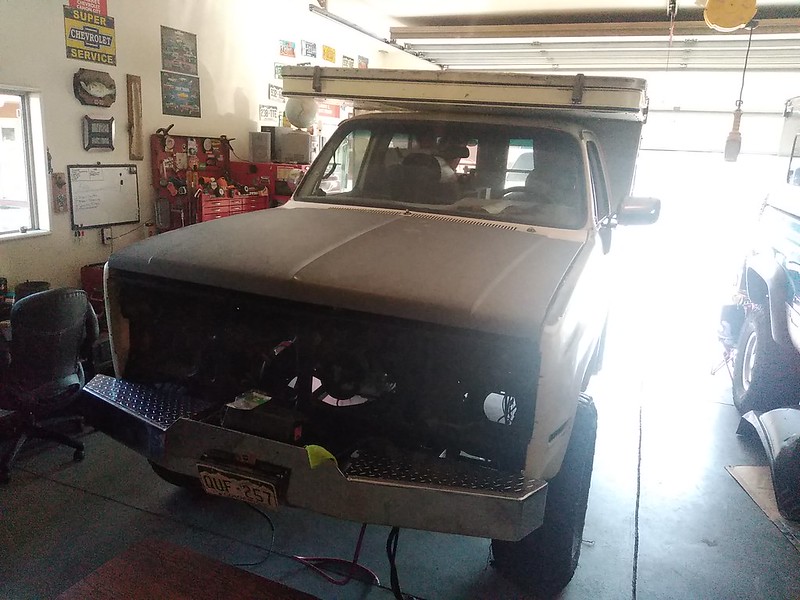
K5 Camper. My offroad home away from home.

2Dogs

Member
CK5 Brother!! ?

So you used the plates on the t-case cross member to protect the frame and correct for a bend....?

I just went through the same thing except I have the 4l80 - everything cleared on mine with the closest area being the ORD front cross member. I was able to bolt the t-case cross member with no spacers - that is temporary until I can build a real skidplate.
 

zoomad75

K5 Camper guy
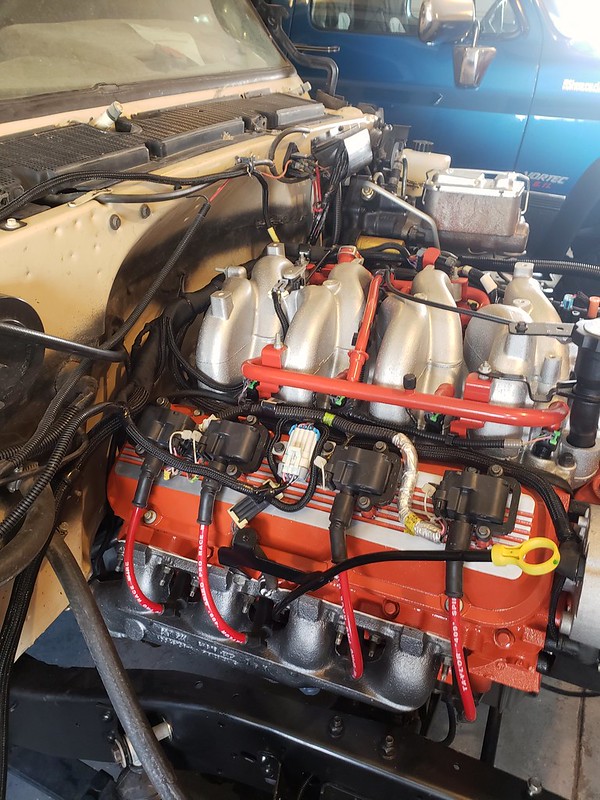
That is the prettiest 8.1 I've ever seen. Nice work! Love the Chevy orange.
We wanted to be different on mine. I'm pretty sure it's the only one like it. Thanks!

CK5 Brother!! ?

So you used the plates on the t-case cross member to protect the frame and correct for a bend....?

I just went through the same thing except I have the 4l80 - everything cleared on mine with the closest area being the ORD front cross member. I was able to bolt the t-case cross member with no spacers - that is temporary until I can build a real skidplate.
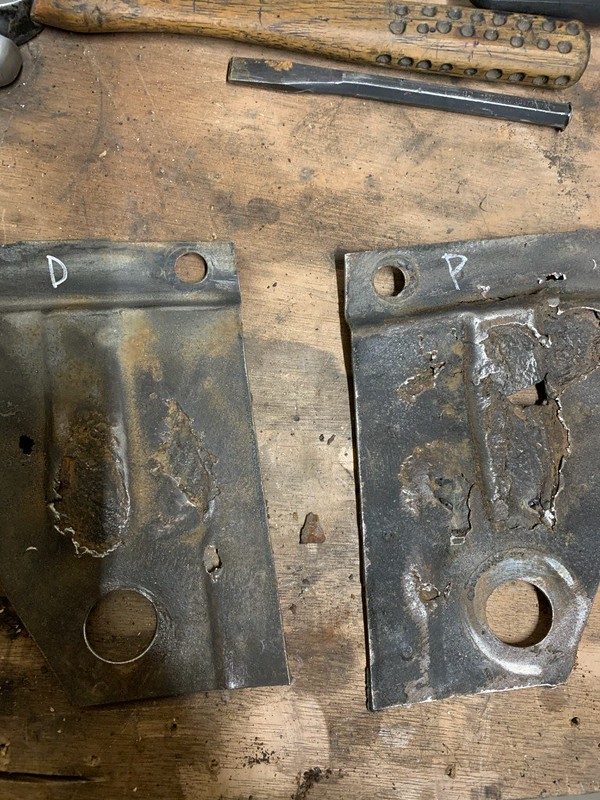
The two plates are merely there to tweak my driveline angle. No other reason for them. The bend in the frame is actually side to side. He had to push out on the driver side rail to get the bolt holes to line up.
Damn, you and Larry both have frame issues! Maybe I don't need to come ride with you guys...

:LOL::ROFLMAO::LOL::ROFLMAO:
Funny thing is normally we are pretty careful. Plus if Larry catches me going "Fall Guy" with the truck again he will likely kick me square in the balls and refuse to help me on the truck again.

Denver Museum of Modern Art wants that flywheel for display. (y)
He's an artist, what else can I say.
 

nitro_rat

Lunchbox Lockers
Funny thing is normally we are pretty careful. Plus if Larry catches me going "Fall Guy" with the truck again he will likely kick me square in the balls and refuse to help me on the truck again.

I've been known to huck my Suburban's from time to time. With the long wheelbase and surprisingly good F/R weight distribution they fly level and land well!!!
 

zoomad75

K5 Camper guy
I've been known to huck my Suburban's from time to time. With the long wheelbase and surprisingly good F/R weight distribution they fly level and land well!!!
It might have handled the air time just fine. It was the landing the messed everything up. Rough country springs up front don't have the compliance to soak up a heavy truck from being airborne. Adding a couple hundred more pounds of cast iron goodness under the hood isn't going to make that happen any better.
 

nitro_rat

Lunchbox Lockers
I would recommend Tuff Country HD's for your rig. They ride nice on a heavy rig. Better than stock on my diesel Suburban. I'm running the 2" lift HD's with blown out stock rear shocks up front and everybody loves how it rides. It'll probably be real nice if I ever put some good shocks up there...
 

Oilbrnr

Active member
Second the Tuff Country's, if they can carry all the weight. Wonder in the end if you're going to have to come up with something semi-custom to get it like you want it.
 

zoomad75

K5 Camper guy
Tuff Country or the same Skyjacker springs Larry has on both his trucks. I'd really like to get some ORD custom springs based on the actual weight of the truck. That is going to have to wait until I get done with this phase of the build. In the meantime, I'm going to take it easy.
 

zoomad75

K5 Camper guy
So to catch up, Larry was able to get the trans cross member bolted in with the help of his porta-power to get the frame lined up to drop the bolts in.
50330526028_94d773fa60_c.jpg


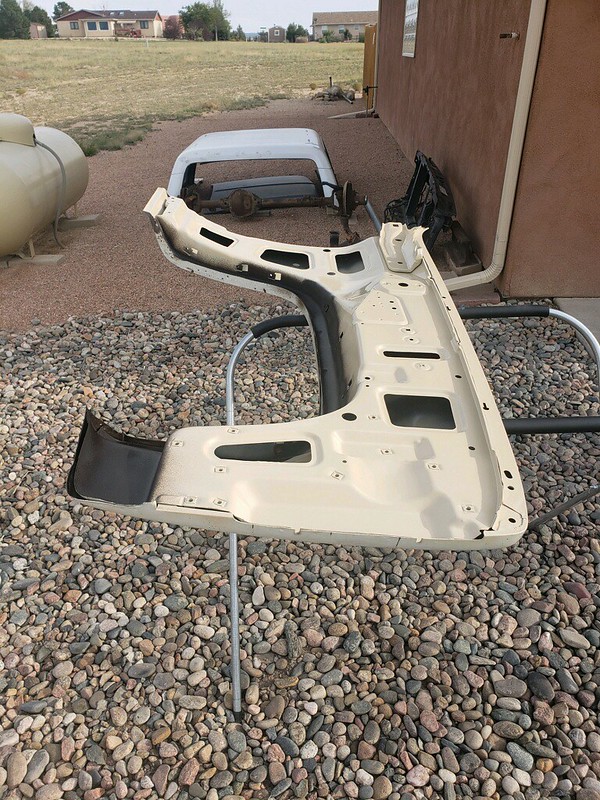
My project this last weekend was to clean up the inner fenders and prep them for coating with bedliner. I ended up using an angle grinder with a knotted wire cup brush for the majority of it. Note to self, tuck in the t-shirt when using that thing. I was near the end of the work to clean them up when I managed to lean over the inner fender while the grinder slipped of the edge and managed to catch my shirt and reel it in faster than I could react. The cup brush did tag me on the belly but not break the skin. I got a nice bruise from it for sure. I figured I was done at the point. Since I wasn't prepping for paint I didn't go to town with paint stripper or get every ounce of old paint off.
Ready for minor rust repair.
50343253218_a212a3239b_c.jpg


The standard problem area right behind the brace on the backside of the wheel opening.
50343253053_aa8457c72c_c.jpg


Same thing, other side plus another small spot to fix.
50344093757_d136eced19_c.jpg


I had got a text from Ian that offered to patch up the rusty spots and to drop them by. He's finishing up the floors on his CUCV so he's got all the tools out to tackle the little job.

Ian drilled out the spot welds and pulled braces.
One side don't look too bad.
50343250233_6c909ca29c_c.jpg


The other side, not so good.
50343933156_2ae0a4d8b0_c.jpg


Larry has been working on the shifter boots. Following what he's done on his Suburban, the 241 shifter is trimmed of the parts that would normally mount the big black shifter bezel and replaced with a boot and ring from a 205.
50344058031_9ecd00d823_c.jpg


Another view. The 205 boot is pretty ratty, but all we got for the moment. CaptRon's gonna see what he's got in his stash for anything better.
50343375508_6175f35110_c.jpg


I was planning on using some rattle can bedliner on the inner fenders, but we are using some Raptor liner at work on one of our used trucks so I'm going to bring them up and sneek them in the booth.
 

zoomad75

K5 Camper guy
Progress dump. Larry's been busy since his daughter gets to go back to school and that allows Mama to go to work too. In between work calls he's picking away at the list.
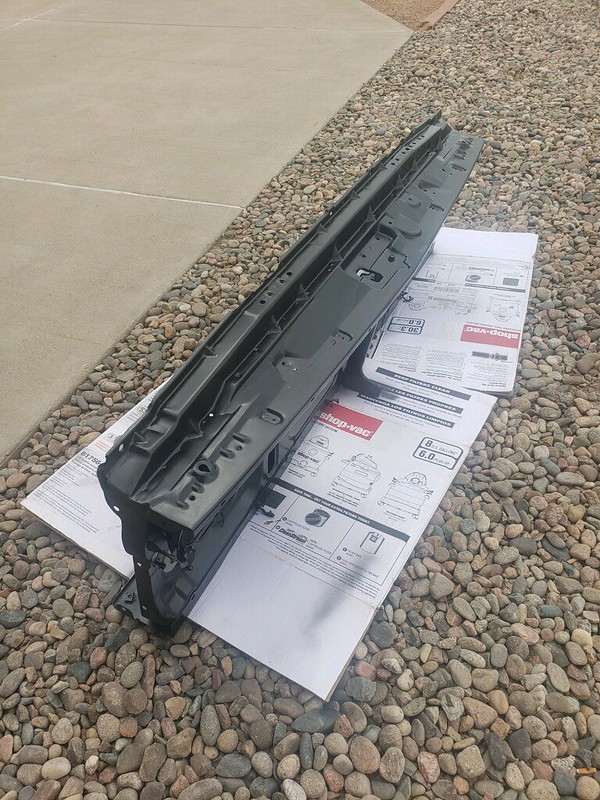
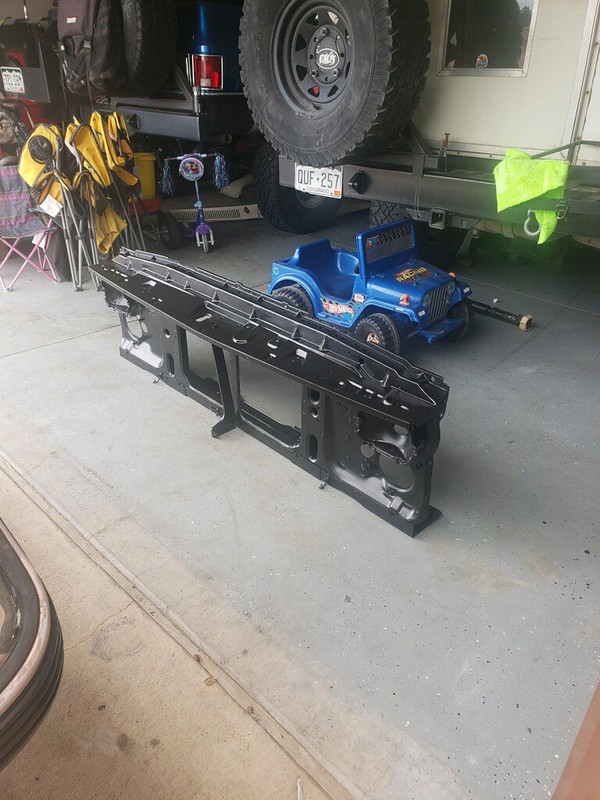
Single headlight core support cleaned up and fogged black.
50388199631_46c54a5358_c.jpg


50388374542_2054872620_c.jpg


50388374532_aa6027c535_c.jpg


Sorry for the glare, but the afternoon sun really lights up Larry's shop. He's pulling some fuel from the tank since Murphy struck again since I didn't run out the last tank of fuel I put in it after the Desert trip.
50388374682_d9f071352c_c.jpg


With the tank down he pulled the sending unit to install the higher pressure pump (ac delco ep381). But he may have found why my fuel gauge has always been a little wonky.
50388374662_9459d19638_c.jpg


He used a little epoxy on the arm and buttoned it up after it cured. Tank back in he started to tackle the fenders. I still had a couple of cans of tan I had mixed up from the last go-round so at least the insides would match and the outside will be done with the rest of the truck.
50387501593_fb5e55f916_c.jpg

50388199836_5af7a90efd_c.jpg


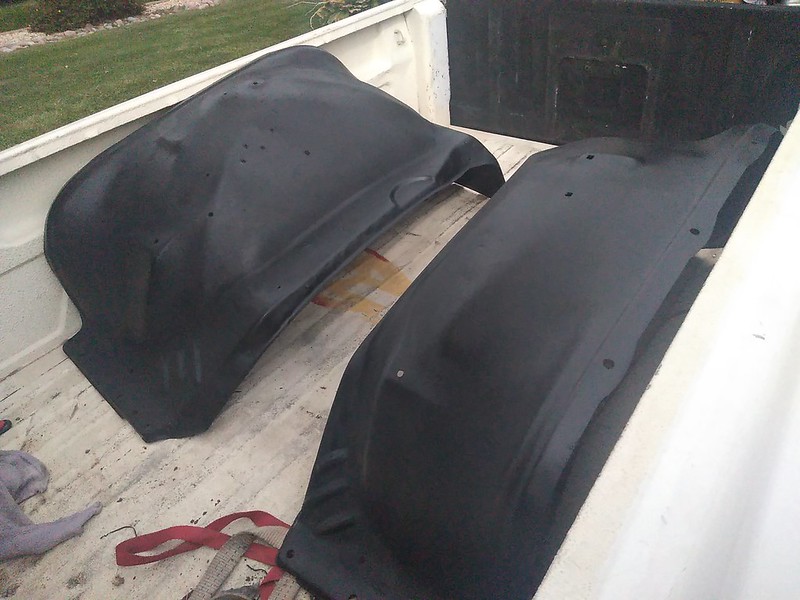
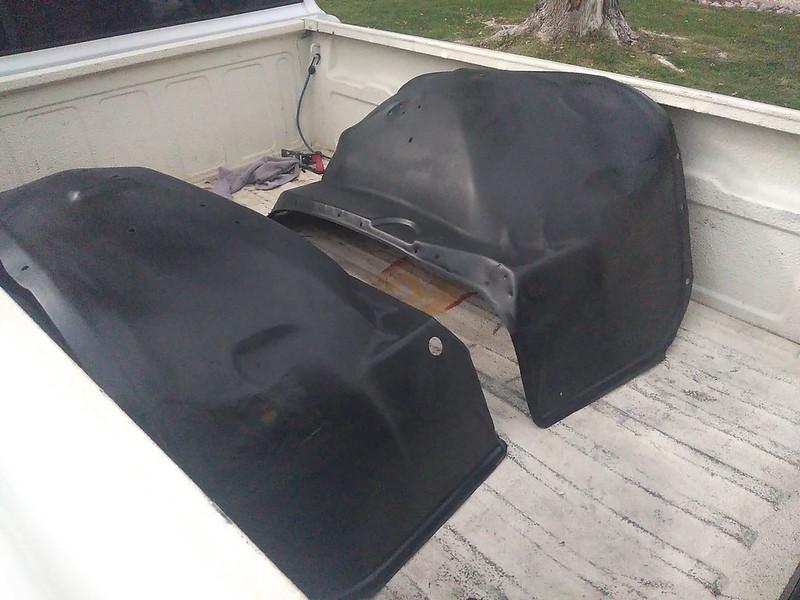
Meanwhile, I've had the inner fenders that Ian did some excellent repairs to the rust on at work for the last two weeks. I've been waiting for my body guys to squeeze them in and shoot them with bedliner while they shot one of our used trucks. Didn't happen last weekend and didn't happen today. So I ordered a couple of rattle-cans of Raptor liner and picked up some primer on the way home. I got home and got with it. At the point of the pics below I had a single coat on each after the primer. The Raptor was pretty thin so I had to run for another couple of cans and put another coat on each.
50388373507_06a8b81ecc_c.jpg


50387500398_033446ff04_c.jpg


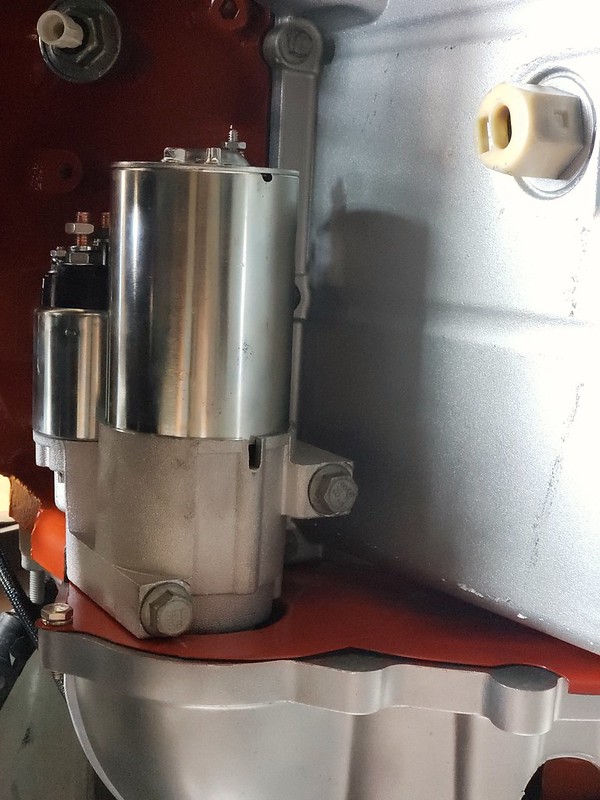
Larry's got the starter in too.
50370825733_b2baf64fff_c.jpg


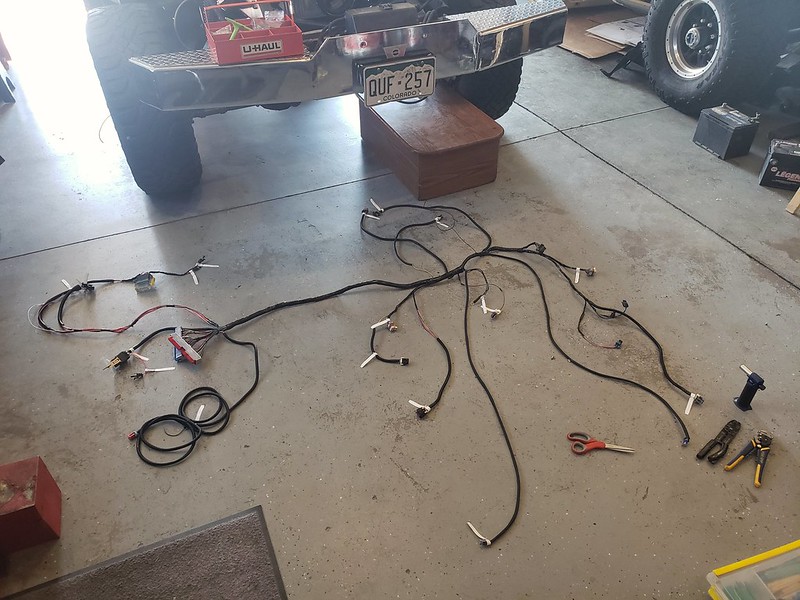
We are getting down to the nitty gritty of wiring. But we want the front clip back on so we can map out the layout of the harness, set up the ECM mount and fuse panel.
 

zoomad75

K5 Camper guy
Lets get caught up on the recent progress. Larry's been picking away at it when he can. We are really close now.

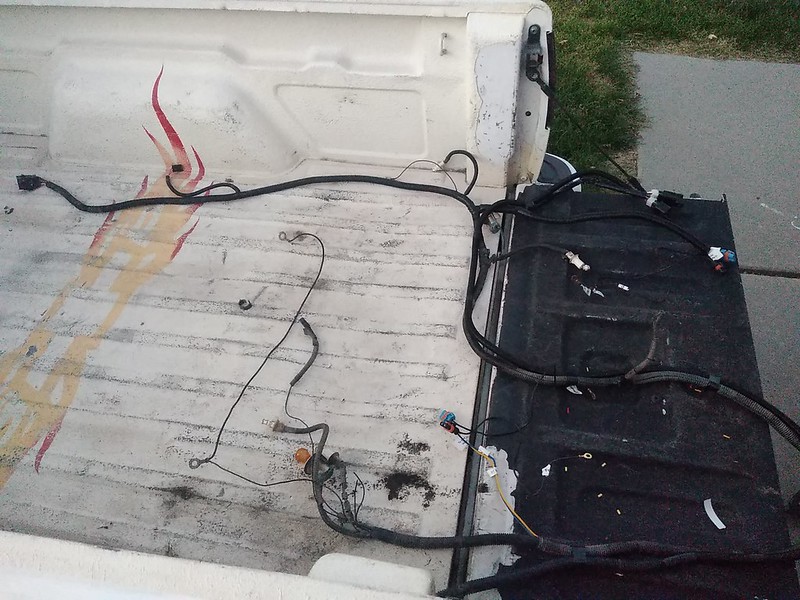
The Howell harness was unwrapped and a few extra circuits we didn't need got pruned. He added length to the knock sensors to allow routing from the front of the engine vs the rear and a couple other routing changes based on where the ECM is going to land.
50409072728_56f0a58a6c_c.jpg


Initial layout on the engine:
50409073963_a768779ce2_c.jpg

50409777891_a1db390637_c.jpg

50409778846_a4115a1210_c.jpg


While Larry plugged away on the electrical, I took some homework back from his place in the form of the inner fender panels. After our buddy Ian fixed the rusty bits, I scuffed and primed with some rust converting primer. I followed it with some rattle can Raptor liner. I would have preferred to have the body shop at work shoot them with the right gun for that stuff, but they were way behind on customer rides.
50387500398_033446ff04_c.jpg

50388373507_06a8b81ecc_c.jpg


Larry shot the last of the rattle cans I had mixed with the doeskin tan paint code on the fresh fenders I picked up to replace the cracked and broken ones we peeled off.
50388199836_5af7a90efd_c.jpg

He also shot the new to us radiator support (single headlight version) with black paint after he cleaned it up.
50388199631_46c54a5358_c.jpg


The fuel tank was drained and fuel pump swapped over to the EP381 for the correct pressures on the 8.1.
50388374682_d9f071352c_c.jpg


I spent last Saturday over there helping out and re-doing the mount for the onboard air tank. We were able to get the front clip reinstalled and adjusted for decent body gaps.
50414264526_5d7204e45f_c.jpg

50414264451_145b666e05_c.jpg


Core support mounted.
50414423972_8e1809a33c_c.jpg


Fenders:
50414423307_c3e1d141a6_c.jpg


Hood back on.
50414263681_a26262dfb4_c.jpg


I took some more work home to let Larry work on the ECM mounting. I have the task to convert the 4 headlight forward light harness to a 2 headlight system plus installing an HD relay kit to properly power the new headlights.
50424928793_53b1624ce8_c.jpg

90% done, still had to install the headlight connectors.
50424928758_db932abc8b_c.jpg


Larry built the bracket to mount the ECM and attached it to the inner fender and got the harness routed.
50429280027_6712e38a2a_c.jpg

50429279207_3af5f999df_c.jpg


The air intake was assembled and mounted.
50440083852_b7a8cbdf64_c.jpg

50439910011_b54147a231_c.jpg


The Wiring is complete, cooling system completed and filled and the fuel system is complete. Pretty close to light the 8.1 off.
 

Forum statistics

Threads
188,177
Messages
2,903,327
Members
229,665
Latest member
SANelson
Top